The Site Is Part of the Home
A tiny home does not become livable when the last cabinet is installed. It becomes livable when it lands on a site that can support it through weather, daily use, repairs, deliveries, and quiet routines. The most polished tiny house can feel fragile if it is parked on soft soil, wedged behind a tight turn, pitched toward a puddle, or dependent on a power cord stretched across a muddy path.
Site prep is easy to underestimate because it looks like background work. The house gets the tour, the photos, and the design attention. The pad, driveway, drainage, hose routing, exterior steps, and utility clearances are less exciting, but they decide whether move-in week feels calm or improvised. Before you finalize a floor plan, buy land, sign a private parking agreement, or schedule a delivery truck, treat the site as a system with the same seriousness you would give framing or wiring.
This guide sits between the Legal Requirements and Building Guide . Legality tells you whether the home is allowed to be there. Construction tells you whether the home is built well. Site prep tells you whether the place itself will behave once the home arrives.
Start with Access, Not the View
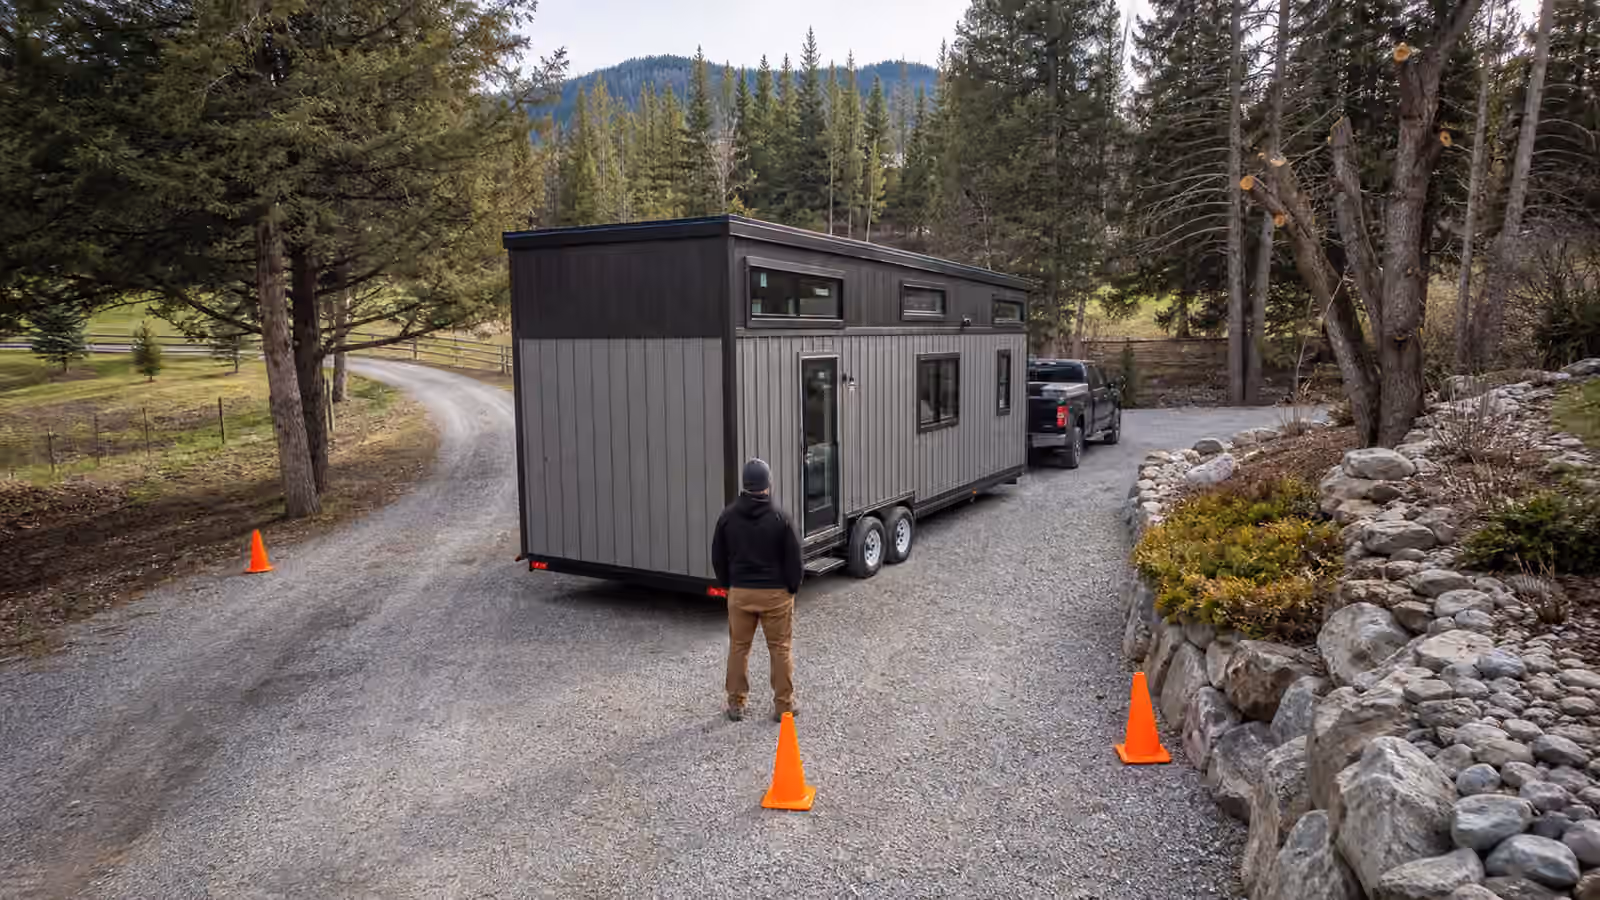
The prettiest corner of a property is not always the best place for a tiny home. Delivery access comes first, especially for a tiny house on wheels or a factory-built unit delivered by a professional hauler. A route that looks generous to a car can be impossible for a long trailer. Narrow gates, low branches, soft shoulders, steep driveways, tight switchbacks, overhead wires, and small culverts all matter more than they appear on a casual walk-through.
The practical test is to imagine the whole movement, not just the final parking spot. The truck needs room to enter, turn, align, back in, and leave without tearing up the property or risking the home. A long straight approach is easier than a dramatic curved driveway. Firm gravel is easier than lawn. A slightly less scenic pad near an existing drive can be a better choice than a secluded clearing that requires a complicated tow, extra grading, or a recovery plan if the soil gets wet.
Access is also about the future. The first delivery is not the last large vehicle that may need to reach the home. Septic service, propane delivery, well maintenance, fire access, material drops, and eventual relocation all benefit from a route that remains usable after the excitement of move-in has faded. If a site only works on a dry summer afternoon with a skilled driver and perfect luck, it is not really ready.
Build a Pad That Drains Before It Looks Finished
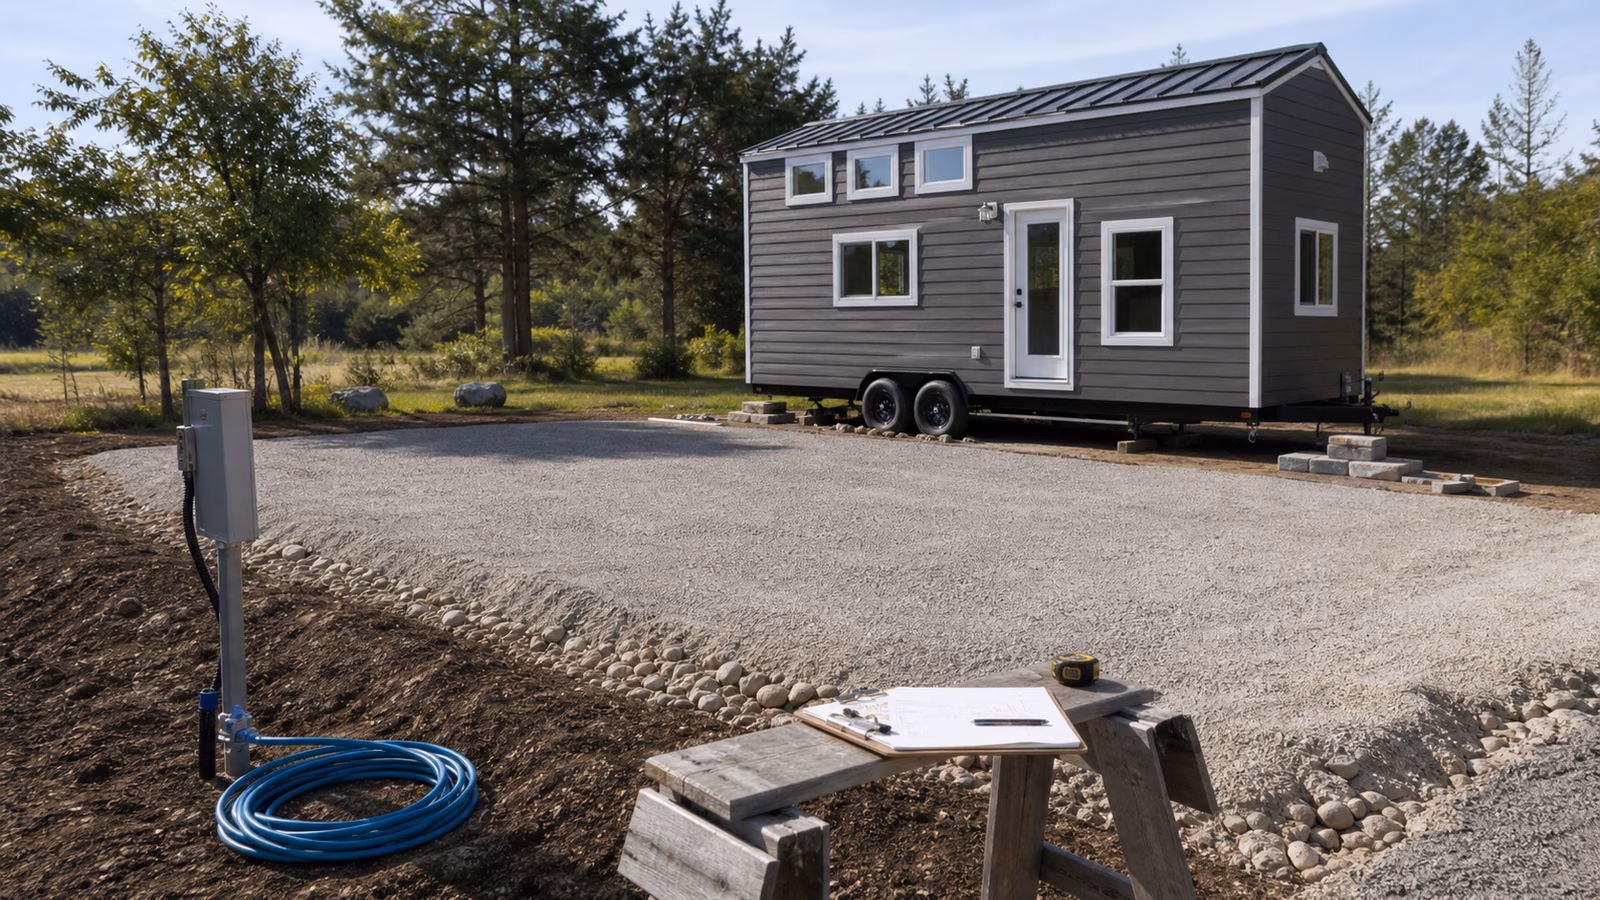
A good tiny home pad does two jobs at once. It spreads the load of the home and moves water away from the structure. Those jobs are connected. Water softens soil, creates ruts, undermines blocks and piers, feeds mold around skirting, and makes ordinary maintenance unpleasant. A pad that looks level on delivery day can still be a problem if the first hard rain turns it into a shallow basin.
Most sites benefit from removing organic topsoil where the home will sit, compacting the base, and using a stable gravel layer rather than parking directly on grass or bare dirt. The exact assembly depends on climate, soil, frost depth, local practice, and whether the home is temporary or permanent, but the principle is simple: the home should sit on material that does not hold water like a sponge. Gravel gives water a path down and away, while a slight crown or controlled slope keeps surface water from lingering under the floor.
Drainage should be planned before the pad is dressed up. Watch where water currently flows during rain if you can. If you cannot, read the land carefully. Low spots, mossy patches, erosion lines, and darker soil often reveal what the site does when nobody is watching. The goal is not to fight the whole landscape. It is to keep roof runoff, driveway runoff, and uphill sheet flow from collecting beneath the tiny home or against any skirting.
This is where site prep connects directly to Ventilation and Moisture Control . Moisture problems are not only indoor problems. A damp underside, blocked airflow below the floor, or splashback against siding can make the building envelope work harder than it should. A dry pad gives the home a better starting condition every day.
Leveling Is a Maintenance Issue, Not a One-Time Task
Leveling gets treated like a delivery-day detail, but it affects doors, windows, drains, appliances, cabinets, and sleep. A slightly twisted home can make a door rub, a shower pan hold water, or a refrigerator sit out of plumb. On a tiny house on wheels, the frame and supports also need to share loads sensibly. The wheels may be part of the structure, but long-term parking usually asks for stabilizing support so the home does not bounce, settle unevenly, or shift as seasons change.
The important distinction is between leveling the home and trusting the ground. A level home on unstable soil is a temporary success. Blocks, pads, piers, jacks, or stands need firm bearing under them, and they need to be inspectable. If a support disappears behind skirting or sinks into wet soil, the problem can grow quietly until it becomes obvious in a sticking door or a sloped floor.
Plan to recheck level after the first few weeks, after the first major rain, after freeze-thaw cycles in cold climates, and after any significant site work nearby. This habit belongs in the same family as the seasonal walkthrough in Tiny Home Maintenance . Tiny homes are small enough that small shifts are noticeable. That is useful if you pay attention early.
Put Utilities Where Daily Life Actually Happens
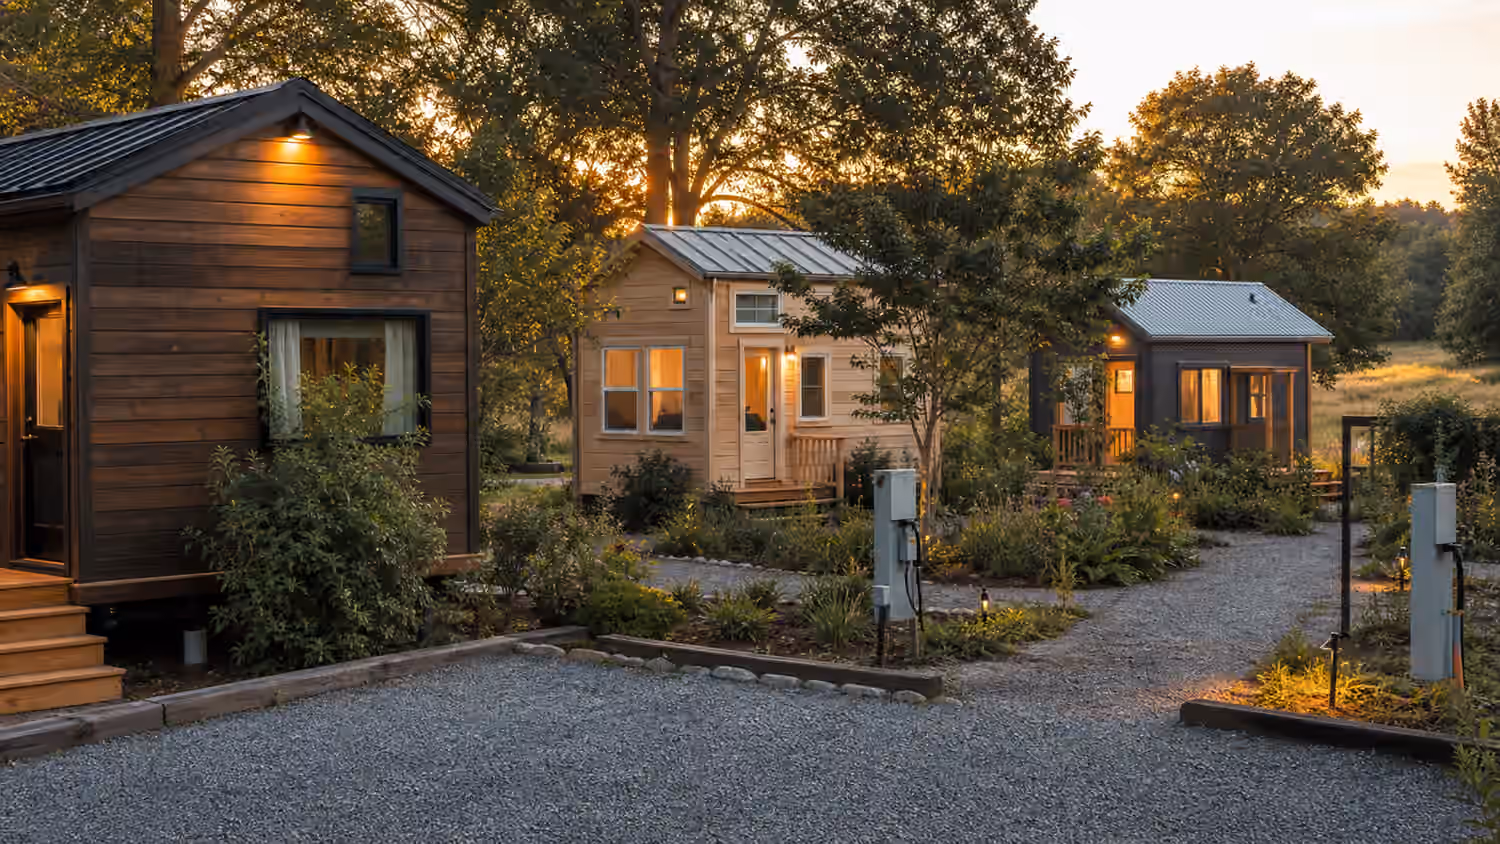
Utility planning begins with a humble question: where will the cords, hoses, drains, tanks, filters, valves, meters, shutoffs, and service panels be when you are tired, cold, carrying groceries, or troubleshooting a problem in the dark? A setup that looks clean in a sketch can be annoying if the water hose crosses the entry path, the power pedestal blocks future steps, or the shutoff is hidden behind storage.
Grid-connected sites are often easier to live with, but they still need careful placement. Shore power or permanent electrical service should be close enough to avoid voltage drop and cord hazards, but not so close that clearances become unsafe or service access becomes cramped. Water hookups should be protected from freezing where needed and positioned so hoses or pipes do not create trip lines. Sewer or septic connections need slope, cleanout access, and a realistic path for service if something clogs later.
Off-grid or hybrid sites add another layer. Solar exposure may argue for one pad location while privacy argues for another. Water storage wants freeze protection and access for filling. Batteries and inverters need dry, ventilated, serviceable space. Greywater handling depends on what is legal and appropriate for the site. If you are comparing utility strategies, read Sustainable Systems and Solar Power Sizing before committing to the pad location. A beautiful shaded spot can be a poor solar site, and moving the home later is much harder than moving the drawing now.
Design the Threshold as a Working Zone
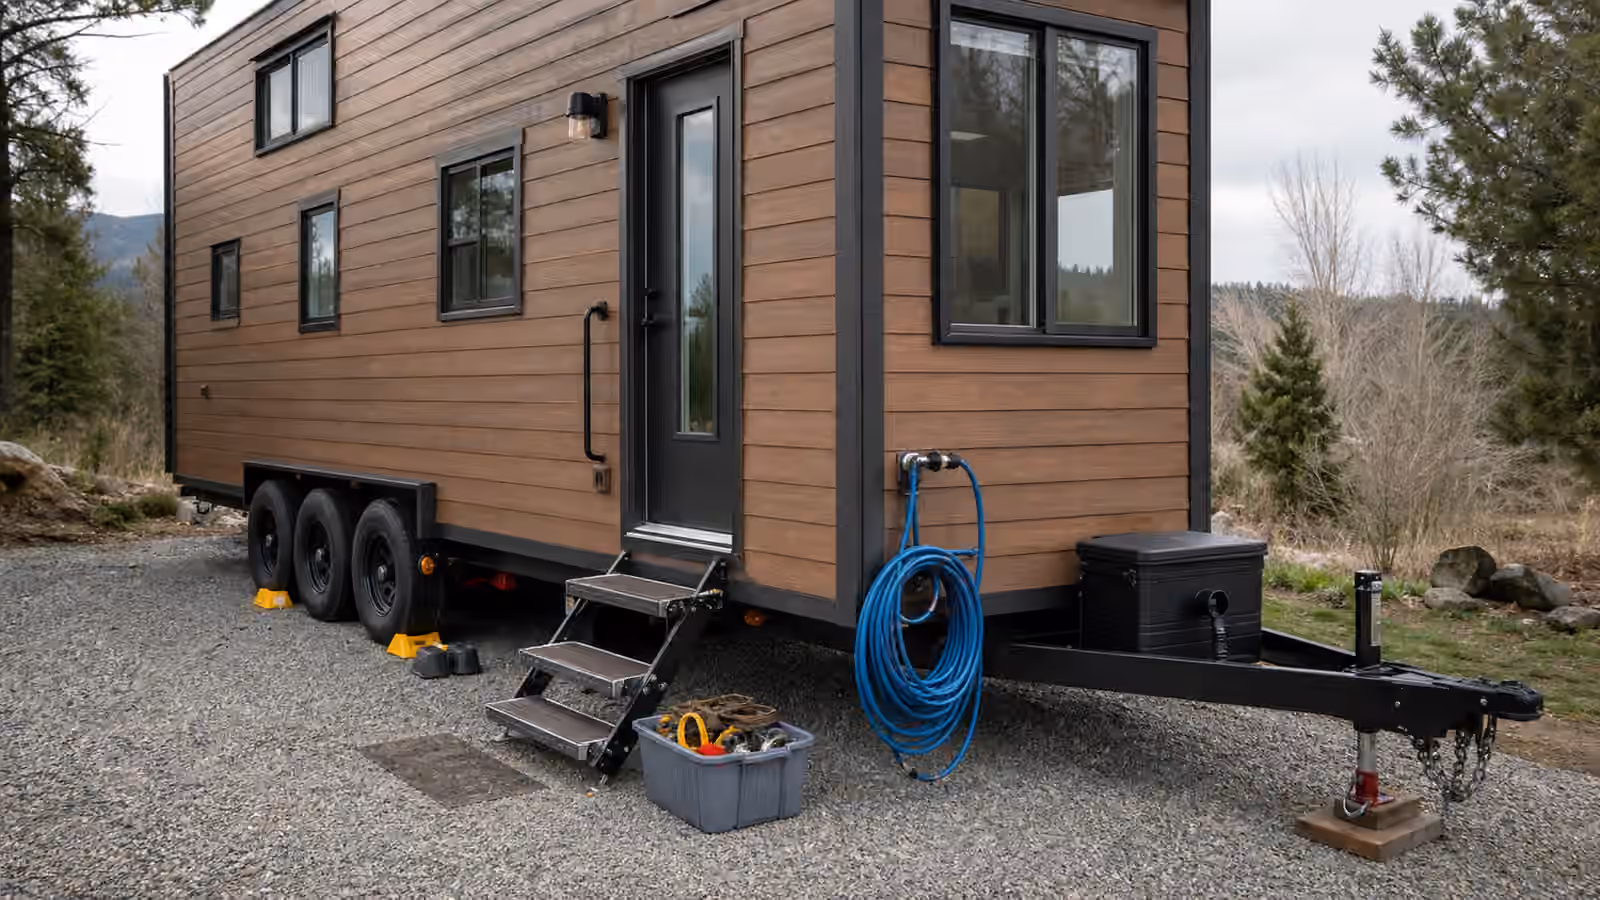
The front door area carries more work than people expect. It is the place where mud, packages, firewood, wet coats, pet gear, tools, groceries, and visitors all collide. In a conventional house, a garage, porch, hall closet, or laundry room absorbs that mess. In a tiny home, the threshold has to be deliberate or the first six feet inside the door becomes permanent overflow storage.
A good entry zone starts outside. Stable steps, a small landing, a covered spot to pause, and a surface for setting down a bag can change daily life more than a decorative finish inside. The landing should not trap water against the home, and it should not block access to trailer components, skirting panels, or service points. If the site gets snow, mud, or heavy rain, the entry path deserves the same practical attention as the pad itself.
The indoor side should connect to the storage logic from Design Principles . Shoes need a real place. Coats need a real place. The thing you carry every day needs a real place. Site prep cannot solve interior clutter by itself, but a better threshold reduces how much outdoor life gets dragged into the main room.
Respect Climate Before You Choose the Final Spot
Tiny homes are sensitive to microclimate. A pad tucked under trees may stay cooler in summer, but branches can shade solar panels, drop debris on the roof, and hold damp air around the home after rain. A fully exposed pad may improve solar production and winter drying, but it can create harsh summer heat and wind-driven rain. A low meadow can look peaceful until cold air pools there at night or spring runoff crosses the site.
Wind direction matters for comfort and durability. The side that takes the strongest weather should have good flashing, a sensible entry strategy, and space for maintenance access. Sun direction matters for windows, roof heat, passive warming, outdoor living, and panel output. Seasonal changes matter because the right answer in April may not be the right answer in January.
For cold climates, think about skirting, pipe protection, snow storage, and how you will reach shutoffs after a storm. For hot climates, think about shade, exterior fan noise, reflective surfaces, and whether the site lets evening breezes move through the home. For humid climates, keep air moving around and under the structure. The Heating and Cooling guide covers indoor comfort systems, but the site can either help those systems or make them work harder every day.
Budget for the Ground as Honestly as the House
Site costs are often the least satisfying money in a tiny home budget because they disappear into the ground. Gravel, grading, trenching, conduit, drainage pipe, equipment rental, utility extensions, permits, steps, skirting, and delivery prep rarely feel like dream purchases. They are still part of the home.
The mistake is budgeting only for the tiny house itself and treating the site as a few weekend chores. Some sites really are simple. A level gravel pad beside an existing driveway with nearby legal hookups can be straightforward. Other sites ask for serious work before they are ready: tree trimming, driveway reinforcement, culvert repair, drainage corrections, electrical service, septic planning, well access, retaining walls, or professional towing coordination. Those are not cosmetic extras. They are the difference between a home that settles into place and one that keeps producing avoidable problems.
If the numbers feel uncomfortable, use the principle from Tiny Home Budgeting : spend first on the conditions that are hard to change later. A good pad, drainage plan, and utility route are less visible than a backsplash, but they protect the whole investment. Finishes can wait. Water management should not.
The First Week After Arrival
Move-in week should be treated as a testing period, not the end of the project. Walk the site after the first rain. Look under the home. Check whether water runs where you expected. Open and close doors and windows. Confirm that steps feel stable. Watch how you actually carry things from parking to the door. Notice whether hoses, cords, or drains are in the way. Listen for rattles when the wind rises. Check that exterior lights illuminate the path you use, not the path you imagined.
This first week is when small corrections are easiest. A few more inches of gravel, a different hose route, a better downspout extension, a second stepping stone, or a clearer service access panel can prevent months of irritation. The site will teach you quickly if you let it.
The best tiny home sites are not always the most elaborate. They are the ones where water leaves, vehicles fit, utilities are reachable, the entry works in bad weather, and the home can be inspected without drama. When those quiet conditions are handled, the tiny home gets to feel like a home instead of an ongoing field repair.