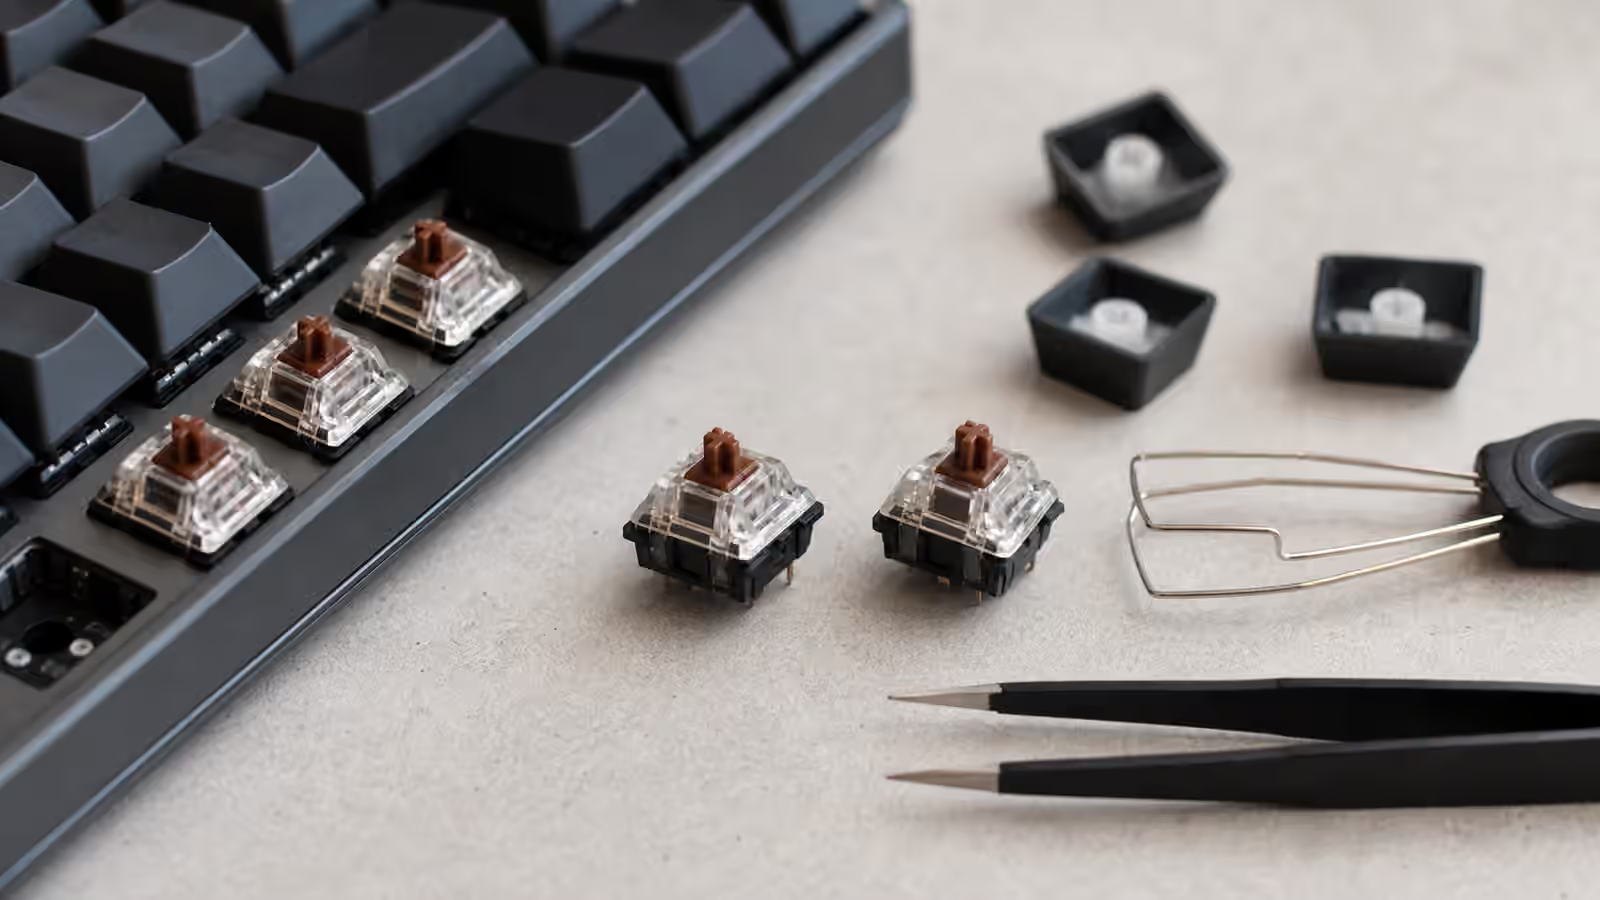
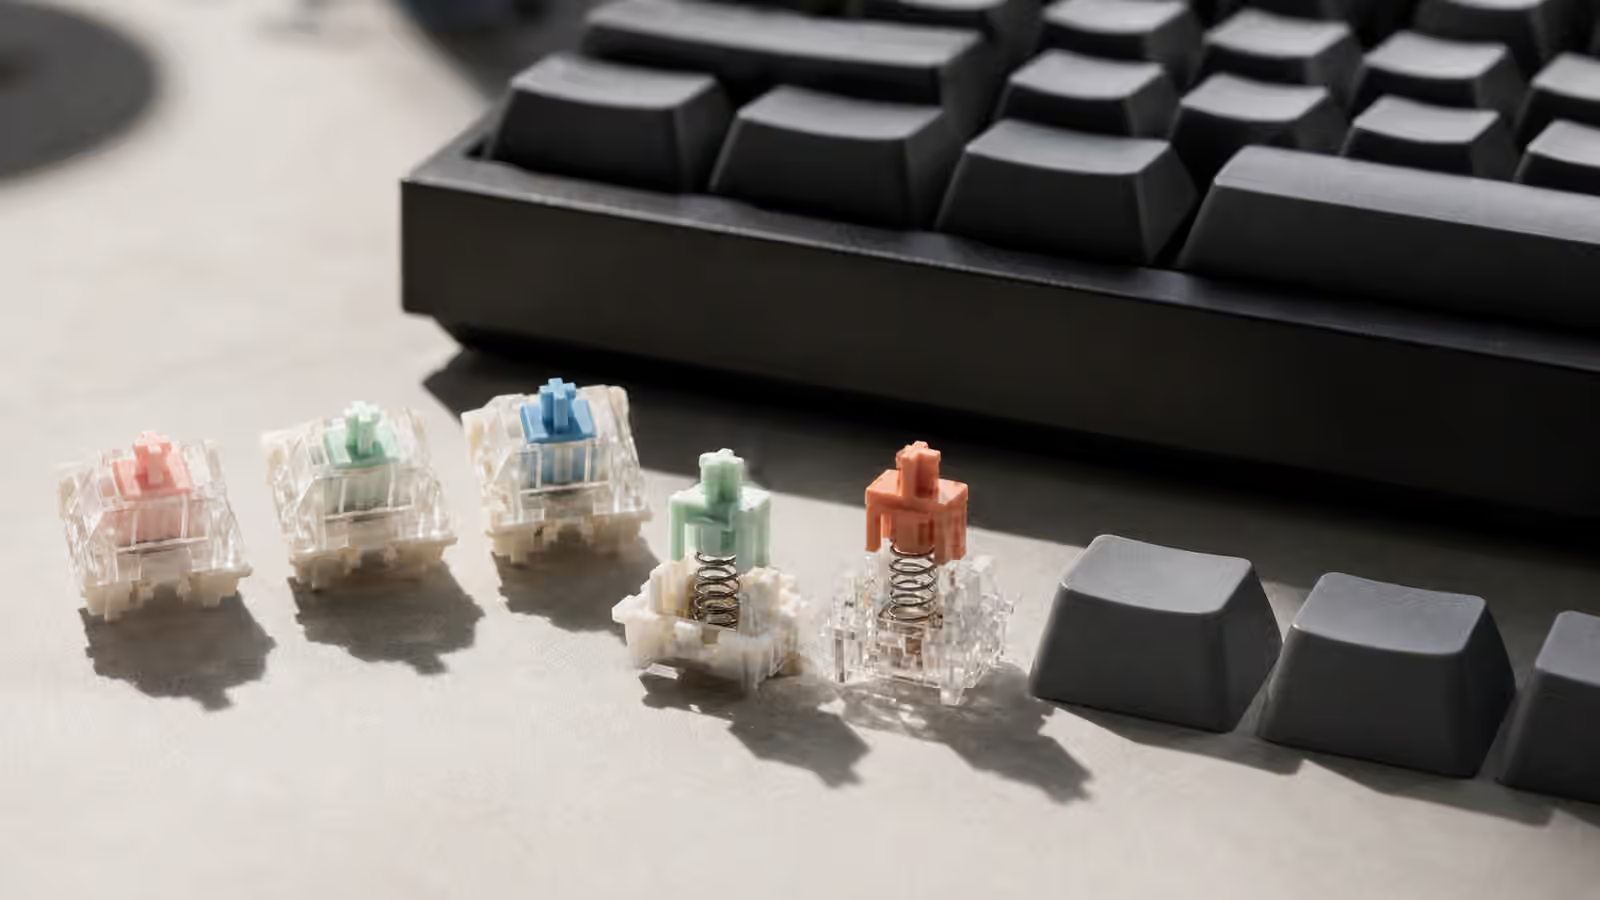
Switch samples are useful because switch preference is hard to borrow from someone else’s vocabulary. One person says a switch is creamy, another says it is dull. One person calls a tactile bump crisp, another calls the same bump harsh. Reviews help with patterns, but your hands still have to answer the practical question: can you type on this switch for normal work without fighting it?
The Complete Switch Guide explains the families: linear, tactile, clicky, and silent. This guide is about the next step, when you have narrowed the field but do not want to buy seventy or ninety switches on faith. A sample can save money, but only if you test it in a way that resembles real use. A switch tester tapped for ten seconds is a clue. A few switches installed in a keyboard for an evening are evidence.
What a switch tester can and cannot tell you
A switch tester is a small plate or block that holds loose switches. It lets you compare travel, spring weight, tactile shape, and broad sound without buying a whole set. That makes it a good filter. If a clicky switch annoys you immediately, if a heavy linear feels tiring before the first paragraph, or if a tactile bump feels too sharp, the tester has done its job. It has removed a bad candidate early.
The tester is weaker at predicting the final keyboard. A loose acrylic tester does not sound like an aluminum case, a gasket-mounted board, or a thin plastic tray. It does not include the same plate, foam, keycaps, stabilizers, desk mat, or typing angle. Even the switch position matters. Pressing one switch with one finger is different from typing a sentence across the home row. The tester shows isolated feel. A keyboard shows rhythm.
That distinction matters because mechanical keyboards are systems. A switch that sounds bright in a tester can become pleasant in a softer case with thicker keycaps. A switch that feels exciting as a single sample can feel too intense when every letter uses it. Treat the tester as a first interview, not a final verdict.
Test the family before the flavor
The most efficient sample session starts broad. Before comparing tiny differences between two similar linears, make sure the main switch family fits your hands and room. Try one ordinary linear, one mild tactile, one stronger tactile, one clicky switch if noise is allowed, and one silent switch if shared-space typing matters. The goal is not to find the perfect switch immediately. It is to learn which kinds of feedback your fingers trust.
Linear switches reward smooth motion, but they expose spring preference. If they feel too easy to trigger by accident, the issue may be weight rather than smoothness. Tactile switches add confirmation, but the bump can either guide your fingers or interrupt them. Clicky switches are honest about their personality from the first press, and that honesty is useful. Silent switches deserve longer testing because their dampeners can feel clean, cushioned, or slightly mushy depending on the design.
Once the family is clear, smaller comparisons become more meaningful. Then it makes sense to ask whether you prefer a lighter or heavier spring, a sharper or rounder bump, a deeper or brighter housing, a factory-lubed feel or a drier stock feel. The Switch Spring Weight guide is especially useful at this stage because many switches that seem different are partly asking the same force question.
Put samples into a real keyboard when possible
A hot-swap keyboard turns sampling from a desk toy into a real trial. Instead of pressing one loose switch, install a few candidates under common keys and type normally. The home row is the most revealing place because those keys receive constant use and resting pressure. The space around common letters is also useful because it lets you compare the sample against the switches already in the board.
Do not replace the entire keyboard for the first test. A small cluster is enough. Put one switch under a common letter, another under a nearby letter, and leave several keys unchanged. The contrast will show whether a switch feels heavier, lighter, sharper, slower, or less stable. If every key changes at once, your hands adapt quickly and the comparison becomes vague. If only a few keys change, the difference stays visible.
Give the sample ordinary work. Write a message, edit a document, enter a password, use shortcuts, and type without thinking about the test for a while. Mistakes matter more than first impressions. A switch that feels luxurious for thirty seconds but causes extra accidental presses is not a good match. A switch that seems plain at first but lets you type calmly may be doing the better job.
Listen for the source, not the adjective
Sound is where samples can be most misleading. The same switch can be clacky, muted, thin, or deep depending on the board around it. A tester exaggerates high-pitched plastic noises because the switch is exposed and lightly supported. A finished keyboard adds plate resonance, case volume, keycap material, desk surface, and typing force. That is why sound words travel poorly across builds.
Instead of chasing adjectives, listen for sources. Spring ping is a metallic ringing after the press. Leaf noise can sound like a small tick inside the switch. Housing looseness can create a scattered top-out or plastic chatter. Bottom-out volume comes from the stem, keycap, plate, and your finger. Stabilizer rattle belongs to large keys and should not be blamed on the switch sample. The Keyboard Sound Profiles guide gives the broader vocabulary, but the sample test should stay grounded in what part is actually making noise.
If quiet use is the goal, compare samples inside the board and from the listener’s position. A switch can sound acceptable under your fingers and still carry across a room through the desk. Silent switches can reduce bottom-out and top-out, but they will not fix loose stabilizers, a hollow case, or hard typing on a bare desktop. The Low-Noise Keyboard Setup guide covers the rest of that chain.
Do not overvalue one perfect press
Sample testing encourages slow, theatrical pressing. You hold the switch near your ear, press it carefully, and pay attention to every millimeter of travel. That is useful for learning anatomy, but it is not how typing works. Real typing is faster, messier, and more repetitive. The switch has to return cleanly, tolerate off-center presses, and stay comfortable while your attention is on the work rather than the keyboard.
A good test includes both slow presses and normal typing. Slow presses reveal scratch, tactile shape, spring crunch, and dampener feel. Normal typing reveals rhythm, fatigue, accidental input, and whether the switch disappears into the task. A switch that wins the slow test may lose the typing test because it demands too much attention. A switch that seems less dramatic may become the one you forget about, which is often the point.
There is also a novelty effect. Unusual switches can feel better because they are new. Heavy tactiles, very light linears, and loud clickies often make strong first impressions. Before buying a full set, ask whether the switch is still appealing after the novelty fades. If possible, keep the sample cluster installed for more than one session. The second day often tells a quieter truth than the first minute.
Compare stock before planning mods
Many switches can be improved with lube, films, spring swaps, or careful sorting, but samples should start stock. If a switch is unpleasant before modification, be honest about how much work you are willing to do. A full-size board can require a long evening of opening switches, brushing lube, managing springs, and checking consistency. The Switch Lubing by Hand guide explains why that work rewards patience and punishes hurry.
Testing stock also protects your judgment. If you lube one sample but not another, you may be comparing your technique instead of the switch. If you film only the loose switch, you may be comparing housing fit rather than stem feel. That can be useful later, but it is confusing at the buying stage. First ask whether the switch has a character you like. Then ask whether modding is worth the time.
Factory-lubed switches complicate this because some arrive smooth and consistent while others arrive uneven. If one sample feels oddly sluggish or wet, do not assume the whole model behaves that way, but do treat it as a warning to read more owner reports and test more than one switch if you can. A switch that depends on perfect factory treatment may vary more than you want across a full set.
Keep notes that describe behavior
Memory is unreliable when switches are similar. After ten samples, “nice tactile” and “smooth linear” are not enough. Useful notes describe behavior: too light under resting fingers, bump arrives early, scratch audible on slow press, return feels lazy, bottom-out sharper than expected, quieter in the board than in the tester. Those notes do not need to be formal. They just need to preserve the reason a switch stayed in or left the running.
It helps to separate hand feel from room behavior. A switch can feel excellent and sound too bright for a shared office. Another can sound polite but feel padded in a way you dislike. If you keep those judgments separate, the final choice becomes clearer. You may decide to accept a slightly less exciting feel for quiet work, or you may keep the lively switch for a board used only in a private room.
Compare samples near the purchase you are actually making. If the target is a low-profile travel board, full-height MX samples only teach part of the lesson. If the target is a soldered custom kit, samples in a hot-swap board still help, but they cannot eliminate the need to check PCB orientation, plate support, and keycap clearance. The Keyboard PCBs and Hot-Swap Sockets guide explains those compatibility details before the switch order becomes the easy part of a harder build.
When to stop sampling
Sampling can become a hobby inside the hobby. There is always another switch with a slightly different stem, spring, housing blend, factory lube, or sound profile. At some point, the right question changes from “what is best?” to “what is good enough for this keyboard?” A switch that fits your typing, room, budget, and patience is a successful choice even if another switch might be five percent better in an imagined build.
The best stopping point is practical confidence. You know the family you prefer, the weight range that does not tire you, the noise level your space can tolerate, and the amount of modding you are willing to do. You have tried the front-runner in a real keyboard if possible, or at least compared it against enough samples to understand its trade-offs. That is enough evidence to buy a full set without turning the decision into a guessing game.
If you can attend a local meetup, do it before a major purchase. Typing on finished boards teaches lessons that no tester can. It also shows how much the case, plate, keycaps, stabilizers, and desk setup change the switch. The Keyboard Meetup Story captures that experience well. A tester gives you a vocabulary. A real board gives you context. Between the two, switch buying becomes less about chasing adjectives and more about choosing a tool your hands will trust every day.