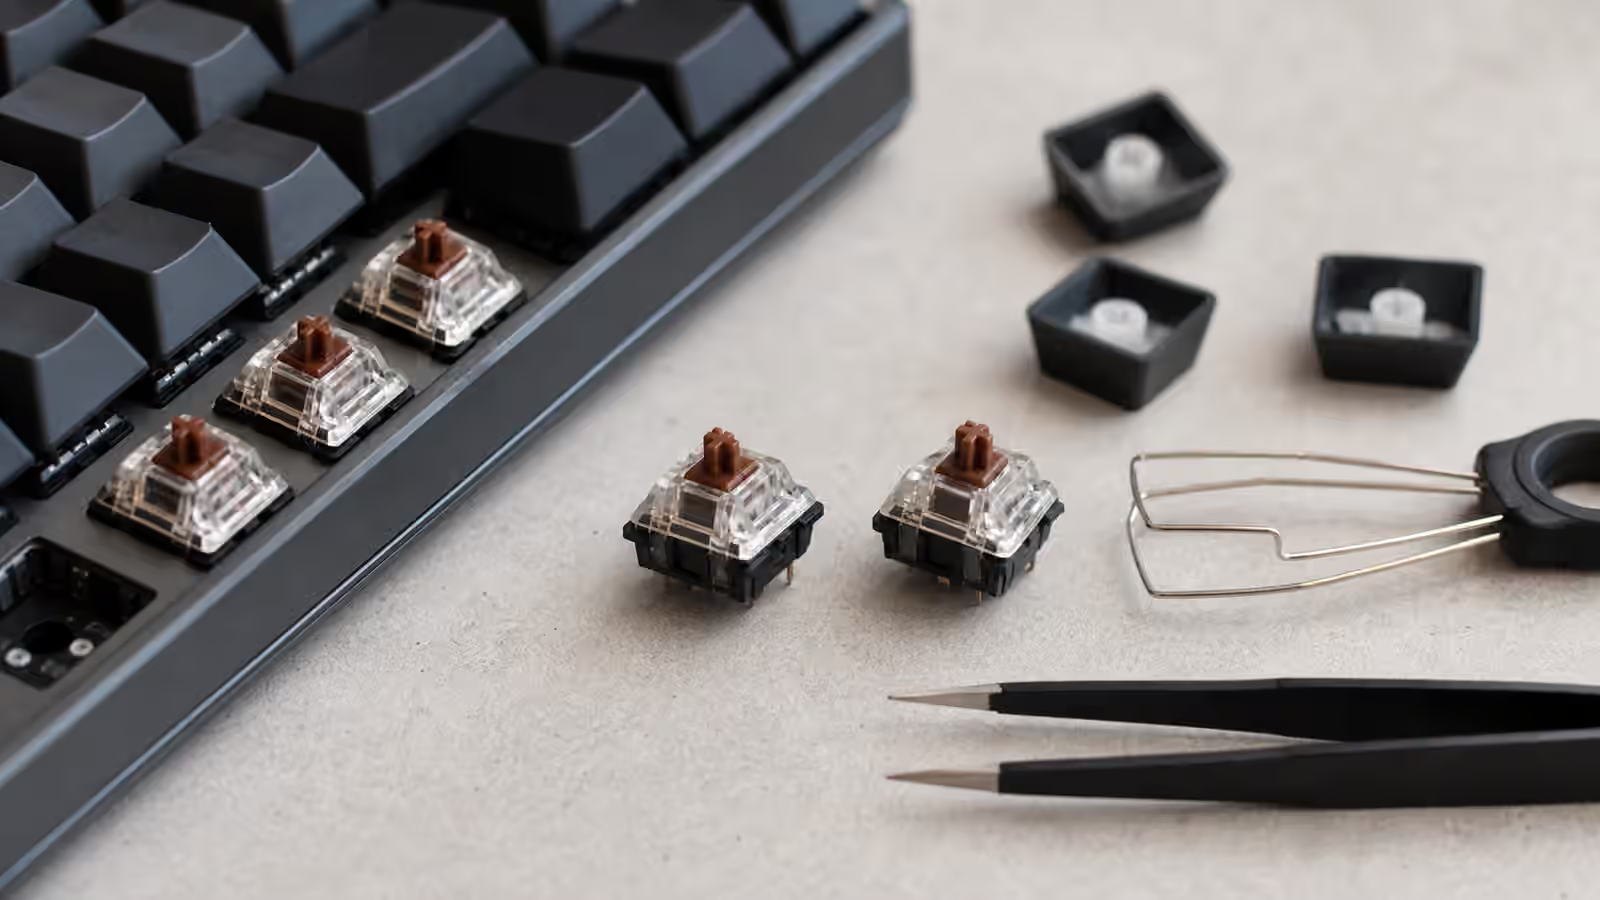
Switch lubing is one of the few keyboard mods that can genuinely change the feel of every keypress, but it is also easy to oversell and easy to overdo. The goal is not to make a switch feel wet, slow, or artificially heavy. The goal is to reduce scratch, spring noise, and dry plastic contact while keeping the switch’s original character intact. A well-lubed switch should still return quickly. It should still feel like the switch you chose. It should just stop calling attention to friction.
If you are still deciding what kind of switch belongs in the board, start with the Complete Switch Guide and the Switch Spring Weight guide . Lubing improves a switch you already like more often than it rescues one you dislike. A light linear that causes accidental presses will not become deliberate because it has lube on the rails. A tactile switch with the wrong bump shape will not suddenly fit your fingers. Treat lubrication as finishing work, not as a substitute for choosing the right spring, stem, and housing.
What lube actually changes
Inside an MX-style switch, the stem slides against guide rails in the lower housing, the spring compresses and expands around the center post, and the upper housing keeps the stem aligned. Every one of those contact points can create small sounds and sensations. Some are useful. A tactile bump is friction by design. A click bar is noise by design. Other friction is just roughness: a scratchy slide, a faint crunch at the top of travel, or a metallic spring ping that lingers after the key returns.
Lubricant works by placing a thin film between those moving surfaces. On a linear switch, that can make the full travel feel smoother and less grainy. On a tactile switch, it can smooth the travel before and after the bump, but careless application can round off the bump itself. On springs, a tiny amount of thin oil can reduce ping and crunch without changing the main force of the keypress. On stabilizers, heavier grease has its own role, but that is a different job with larger parts and different tolerances. The Complete Stabilizer Guide is the better place for that part of the keyboard.
The most common beginner mistake is using too much. Heavy lube can make a switch feel muted in a bad way, with a sluggish return and a dull bottom-out. Once that happens, the fix is tedious because each switch has to be reopened and cleaned. Good switch lubing feels almost suspiciously light when you are doing it. The brush should look barely loaded. If you can see a thick white smear on the stem, you are probably past the point where the switch needs help.
Choosing switches worth lubing
Factory lubrication has improved enough that many modern switches are pleasant out of the bag. That does not make hand lubing pointless, but it changes the decision. The question is no longer “should every switch be lubed?” It is “does this switch have a problem that hand work can solve?” Dry, scratchy linears are strong candidates. Springs that ping audibly are good candidates for oiling. Loose housings may need films more than lube, which is why the broader Keyboard Modding Guide still matters.
Some switches are poor candidates. Clicky switches usually should not be lubed around the click mechanism, because the part you soften is the part that gives the switch its purpose. Tactiles with a delicate or sharp bump need a careful hand. Pre-lubed switches may only need spring treatment or no work at all. Silent switches can benefit from smoothing, but their dampening pads already soften bottom-out and top-out, so excess lube can make them feel gummy faster than expected.
The best first project is not your rarest or most expensive set. Use spare switches, a small tester, or a keyboard you can afford to redo. Lube a few switches first, install them in a corner, and type for a day. The difference you like at a workbench may feel too heavy after an hour of writing. The keyboard is the test, not the jar.
A clean setup matters
Switch lubing is repetitive work, and repetition rewards order. A switch opener, fine brush, tweezers, clean tray, and enough desk light are more important than a dramatic tool kit. Keep opened tops, stems, springs, and bottoms separated so you do not create inconsistent switches by accident. If the switches are already smooth from the factory, consistency matters more than intensity. You are trying to make eighty small parts behave alike.
For most linear switches, a medium-thick grease such as Krytox 205g0 is the familiar baseline. Thinner lubes are often safer for tactile switches because they are less likely to drown the bump. Spring oil is usually thinner still. The exact brand is less important than the behavior: thicker grease stays where it is placed and changes feel more strongly, while thinner oil spreads more easily and is better suited to springs. Whatever you use, start with less than you think. A clean switch with barely visible lube almost always beats a switch that looks carefully painted.
Linear technique
Linears are the easiest switches to learn on because there is no tactile leg to protect. Open the switch, remove the stem and spring, and keep the lower housing steady. Touch the brush to the lube, then wipe most of it back onto the container edge. The brush should carry a sheen, not a blob. Apply a thin coat to the rails inside the lower housing where the stem slides. A very light touch on the center post can help, but it is another place where too much can slow the return.
The stem needs the same restraint. Coat the long side rails and the surfaces that rub against the housing. Avoid filling the underside with grease. The spring contact point can receive a trace, but many builders prefer to handle springs separately with thin oil so the main lube does not migrate unpredictably. Reassemble the switch, press it several times, and listen. A good result feels smoother but still lively. If it sounds flat and returns lazily, the switch is telling you that the layer is too heavy.
Consistency is the hard part. The first ten switches often vary because your hand is still learning how much pressure belongs on the brush. By the middle of the batch, the rhythm improves. That is another reason to begin with a small sample and compare it with an untouched switch. The dry switch provides a reference. Without that reference, your ear and fingers can adapt to almost anything.
Tactile technique
Tactile switches ask for more judgment because the bump is part of the switch’s identity. The stem legs that create the tactile event should usually be left alone or touched only with extreme restraint. Lubing them heavily can turn a crisp tactile into a vague one. Some people like that softened feel, but it should be a choice, not an accident.
For a tactile switch, focus on the rails, the sides of the stem, and the areas that guide travel without creating the bump. Use thinner lube when in doubt. The aim is to remove scratch around the tactile event while leaving the event readable under your finger. Reassemble one switch and test it against an untouched switch before continuing. If the lubed version feels quieter but less expressive, you may need less lube, a thinner lube, or no stem-leg contact at all.
Strong tactiles can tolerate more work because their bumps remain noticeable even after light smoothing. Mild tactiles are easier to erase. Cherry MX Brown-style switches, for example, can become almost linear if treated carelessly. That does not mean they should never be lubed. It means the builder needs to respect how little tactile margin they have.
Springs and the quieting effect
Spring noise is one of the most satisfying problems to fix because it can be obvious and small at the same time. A pingy switch may feel fine but leave a metallic echo after each press. Thin oil on the springs can reduce that resonance without changing the switch housing much. Some builders oil springs one by one. Others use a small bag or container and coat a batch lightly, then let the oil distribute as the springs move.
Do not confuse quiet with dead. Removing ping is useful. Removing every bit of life from a switch can make the keyboard feel less responsive. If your main goal is shared-space sound control, combine switch work with the larger acoustic chain: stabilizer tuning, desk surface, case resonance, and typing habit. The Low-Noise Keyboard Setup explains why the loudest sound may not be the switch itself.
Testing before committing
The safest habit is to build a small comparison row. Place a dry switch, a lightly lubed switch, and a more heavily lubed switch in the same board if the PCB is hot-swap. Type normal sentences, not only single taps. Listen for bottom-out, top-out, spring noise, and uneven return. A single press can flatter a switch. A paragraph exposes it.
Once you find the amount you like, protect that baseline. Keep the same brush, same lube, same seating pressure, and same order of operations. If fatigue sets in, stop. Sloppy late-night lubing creates the inconsistent keys you notice later: one mushy A, one scratchy Semicolon, one Enter that sounds like it came from another keyboard. Patience is not decorative here. It is the quality control system.
Hand lubing is worthwhile when it respects the switch. It can make a budget linear feel cleaner, calm spring noise, and bring a build closer to the sound and feel you wanted. It can also waste an afternoon if the switch was already good or if the wrong lube buries the feel that made the switch interesting. Start small, compare honestly, and let the finished keyboard decide whether the work earned its place.