Switch orientation sounds like a small PCB detail until a keycap bottoms out against a switch housing instead of the switch stem. On MX-style keyboards, a switch can be mounted with its LED window or upper housing facing the top of the board, often called north-facing, or rotated the other way, often called south-facing. Both orientations can work well. The problem is that orientation changes where the tallest part of the switch housing sits relative to the inside wall of the keycap. With some sculpted keycaps, especially Cherry-profile caps on certain rows, that difference can become a clearance problem.
This topic lives between the Keycap Compatibility guide and the Keyboard LED Orientation and Shine-Through guide. Keycap fit is not only about stem shape and key width. PCB orientation is not only about lighting. The two meet under the cap, where a few millimeters decide whether a key feels clean, muted, scratchy, or strangely short.
What north-facing means
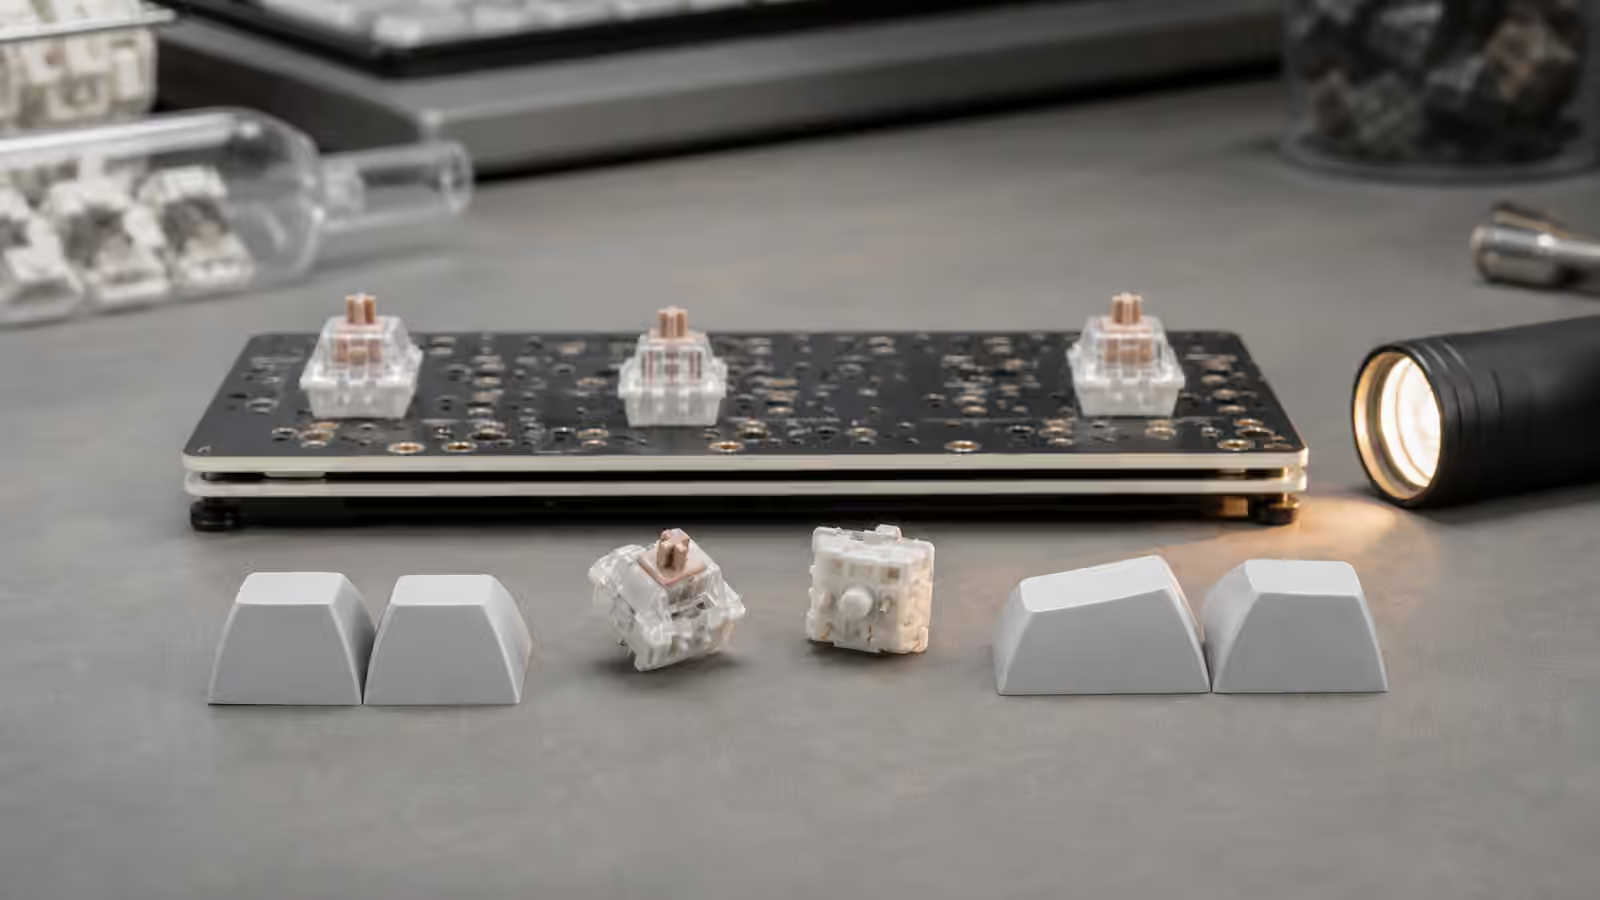
Most MX-style switches have an upper side and a lower side. The upper housing shape, LED slot, logo placement, and leaf side all give clues about orientation. In a north-facing PCB, the LED window or switch top usually faces the number row. In a south-facing PCB, it faces the spacebar side. The switch still registers normally either way because the electrical pins line up with a PCB designed for that orientation. You cannot rotate a switch freely unless the PCB supports it, because the metal pins and plastic legs need matching holes.
North-facing orientation became common in many prebuilt boards because it works well with shine-through keycaps. If the legend sits near the top of the keycap, a north-facing LED places light closer to that legend. That can make backlit legends brighter and more even. South-facing orientation became popular in many custom boards because it tends to improve compatibility with Cherry-profile keycaps and shifts the lighting priority away from shine-through legends.
Neither orientation proves that a board is high or low quality. It tells you what the designer prioritized. A bright gaming keyboard with translucent legends may sensibly use north-facing LEDs. A custom board aimed at thick opaque keycaps may sensibly use south-facing switches. The mistake is buying one set of assumptions and expecting the other.
Why Cherry-profile caps get mentioned so often
Cherry-profile keycaps are relatively low and sculpted. Their inner walls can come close to the top housing of a north-facing switch on certain rows. When the cap descends, the inside front wall of the cap may touch the switch housing before the switch completes its clean bottom-out. The result can be a faint tick, a shortened feel, or a dull collision that makes the key feel less consistent than neighboring rows.
This is not universal. Some Cherry-profile sets have enough internal clearance. Some switches have housings that avoid the conflict. Some boards use washers, plate thickness, or tolerances that change the relationship slightly. Some typists never notice because they do not press hard enough for the interference to matter. The point is not that every north-facing board rejects every Cherry-profile set. The point is that this pairing deserves a check before you assume it will feel normal.
Other profiles can avoid the issue because they are taller, shaped differently, or have more internal room. OEM, SA, MT3, DSA, XDA, and low-profile systems each bring their own geometry. The Keycap Profile Height and Typing Feel guide is useful here because profile changes the finger experience and the physical clearance at the same time.
How interference feels
Interference does not always announce itself loudly. Sometimes it feels like a row has less travel than expected. Sometimes it sounds like a plastic tap before bottom-out. Sometimes it appears only on off-center presses. A typist may describe the switch as scratchy, harsh, or muted even though the switch itself is not the source. The cap is simply touching something it should clear.
The easiest test is comparative. Put the same switch under two keycaps from different rows or profiles and press slowly. If one cap stops with a clean switch bottom-out and another produces an earlier plastic contact, clearance is suspect. If the board is hot-swap and supports safe testing, compare the same switch in different row positions. If the problem follows the cap shape rather than the switch, the cap is part of the answer.
Sound tests can mislead. A desk microphone may capture a different tone, but it will not always reveal why the tone changed. Use feel first, then sound. If a key feels like it is landing on an obstacle inside the cap, do not solve it with foam or switch lube. The problem is geometry.
Shine-through is the real trade-off
The practical reason many buyers accept north-facing switches is lighting. Shine-through legends usually look best when the LED is close to the legend. On many keycaps, that means light near the north side. South-facing switches can still provide underglow or per-key light, but legends may look dimmer or uneven if the caps were designed around north-facing illumination.
Opaque custom keycaps change the priority. If the legends are dye-sublimated, double-shot opaque, blank, or otherwise not meant to transmit light, LED direction matters less for visibility. Then clearance, sound, and compatibility may matter more. A south-facing board with opaque caps can look excellent because the keyboard is not asking light to pass through legends at all.
This is why the answer depends on the keyboard you want to build. A night desk with bright legends and a stock keycap set is different from a quiet writing board with thick opaque caps. The Keyboard Buying Guide helps frame that choice before a small spec detail turns into a surprise.
What to check before buying keycaps
Start with the board’s PCB orientation. Product pages often mention north-facing or south-facing switches, especially for hot-swap boards. If they do not, photos can help, but use caution. Marketing photos may show a related model or a render. Look for the LED position in relation to the top edge of the board and for confirmation from the manufacturer or reliable owner photos.
Then check the keycap profile. If the set is Cherry profile and the board is north-facing, search for compatibility reports for that exact board, switch family, and keycap set if possible. If exact reports do not exist, treat the combination as a modest risk rather than a guaranteed failure. Some switch manufacturers shape their top housings to reduce interference. Some keycap makers adjust molds. Small differences matter.
Do not forget switch films and plate fit. Anything that changes how the switch sits in the plate can slightly change clearances. A switch that is not fully seated can create a false problem. Before blaming orientation, confirm that the switch is clipped into the plate, the pins are straight, and the keycap is fully installed on the stem. The Switch Stem Wobble and Keycap Stability guide covers the neighboring issue of cap movement and off-center feel.
What to do if you already have interference
If the board and caps are already on your desk, the cleanest fix is usually changing keycaps or switches, not modifying the PCB. A taller or differently shaped profile may clear the switch housing. A switch with a more compatible top housing may help. If you love the caps and the board is hot-swap, testing a few alternative switches is cheaper than replacing the full keyboard. If you love the board and use shine-through caps, staying with the stock profile may be the practical choice.
Avoid filing keycaps or switch housings unless you understand the risk and are willing to ruin parts. Removing material can create rough edges, visual damage, and uneven fit. It is usually a poor solution compared with choosing parts that already agree. Also avoid treating the issue as a lube problem. Lube can change switch smoothness, but it cannot make a keycap wall occupy different space.
If the interference is mild and you barely notice it during normal typing, you may decide it is not worth solving. Mechanical keyboard tuning can turn tiny differences into large anxieties. The standard should be ordinary use. If the key feels consistent when writing, gaming, and using shortcuts, perfection under a slow press may not matter. If the key bothers you every session, geometry deserves a real fix.
Choosing orientation on purpose
Choose north-facing switches when shine-through legends and bright per-key lighting are central to the board. Choose south-facing switches when opaque keycap compatibility, especially with Cherry-profile caps, matters more. If you are buying a first keyboard and do not know your keycap plans yet, south-facing is often the more forgiving enthusiast choice, but that does not make north-facing wrong. It just means the keycap path needs more attention.
Switch orientation is one of those details that rewards looking under the cap before buying the cap. It explains why two keyboards with similar switches can feel different, why one Cherry-profile set behaves perfectly on one board and oddly on another, and why lighting decisions can shape typing feel. Once you understand the trade-off, the spec stops being trivia. It becomes another fit check, like spacebar size, stabilizer type, and switch stem compatibility.