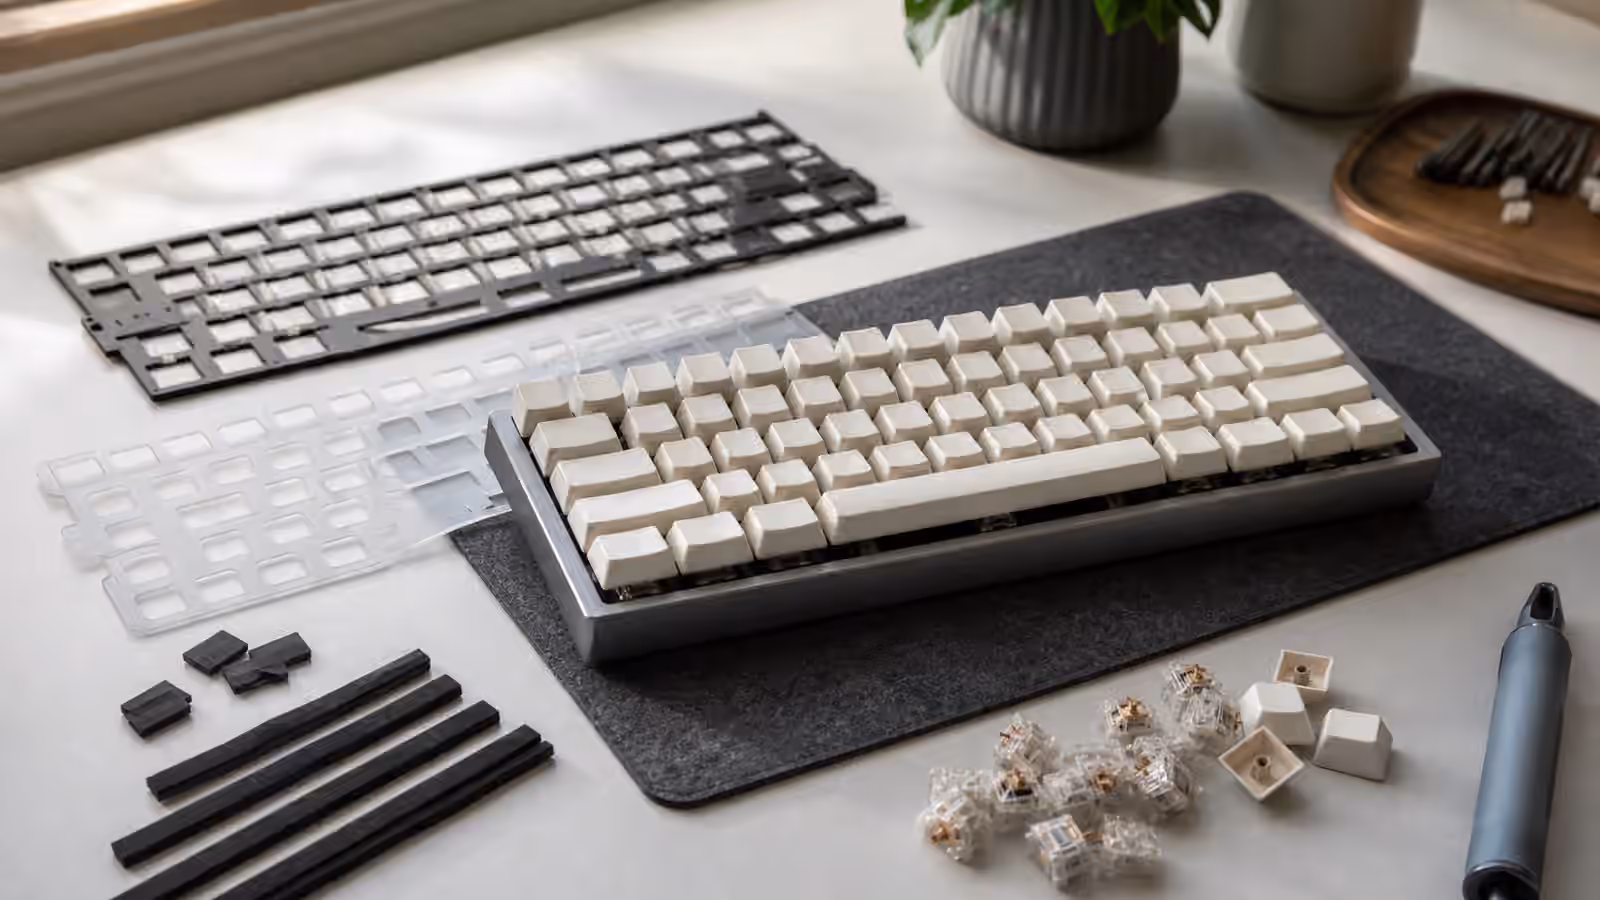
Mounting style and plate material are easy to ignore when you are buying your first board. Switches have names, keycaps have colors, cases look expensive, and firmware can be tested in software. The mount and plate sit in the middle of the keyboard, mostly hidden, doing quiet structural work. Yet they decide how a keypress moves through the build: where the force goes, how much the assembly flexes, how sharp the bottom-out feels, and how much of the sound becomes case resonance instead of a clean note.
Think of the keyboard as a small instrument. The switch is the hammer, the keycap is the surface your finger touches, the plate is the bridge, and the case is the body. Change the bridge and the whole instrument responds differently. A switch that feels smooth in a soft polycarbonate plate can feel firmer and brighter in brass. A case that sounds controlled with a gasket mount can sound direct and unforgiving with a tray mount. The parts are not good or bad in isolation. They are choices that need to agree with the sound, feel, and use case you want.
If you are still sorting out the basics, read the Building Your First Custom Keyboard guide first, then come back here when the parts list starts mentioning plates, gaskets, top mount, tray mount, or plateless builds. If you are chasing a specific tone, keep the Keyboard Sound Profiles Guide nearby, because the plate and mount are two of the biggest reasons the same switch can sound different in two boards.
What the plate actually does
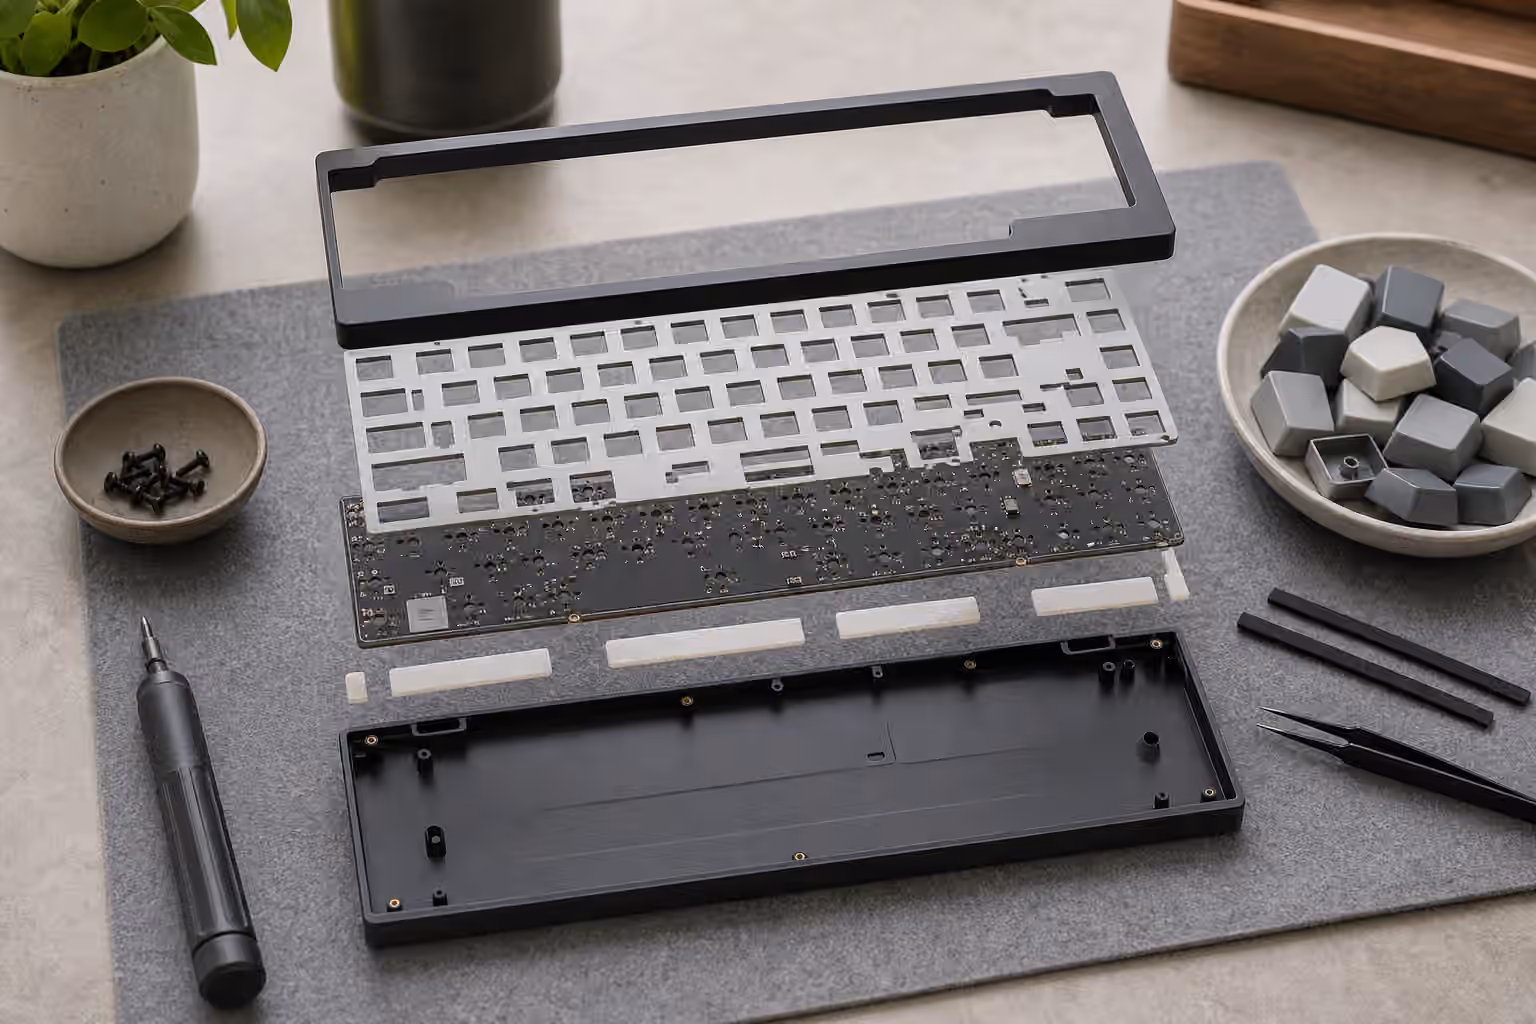
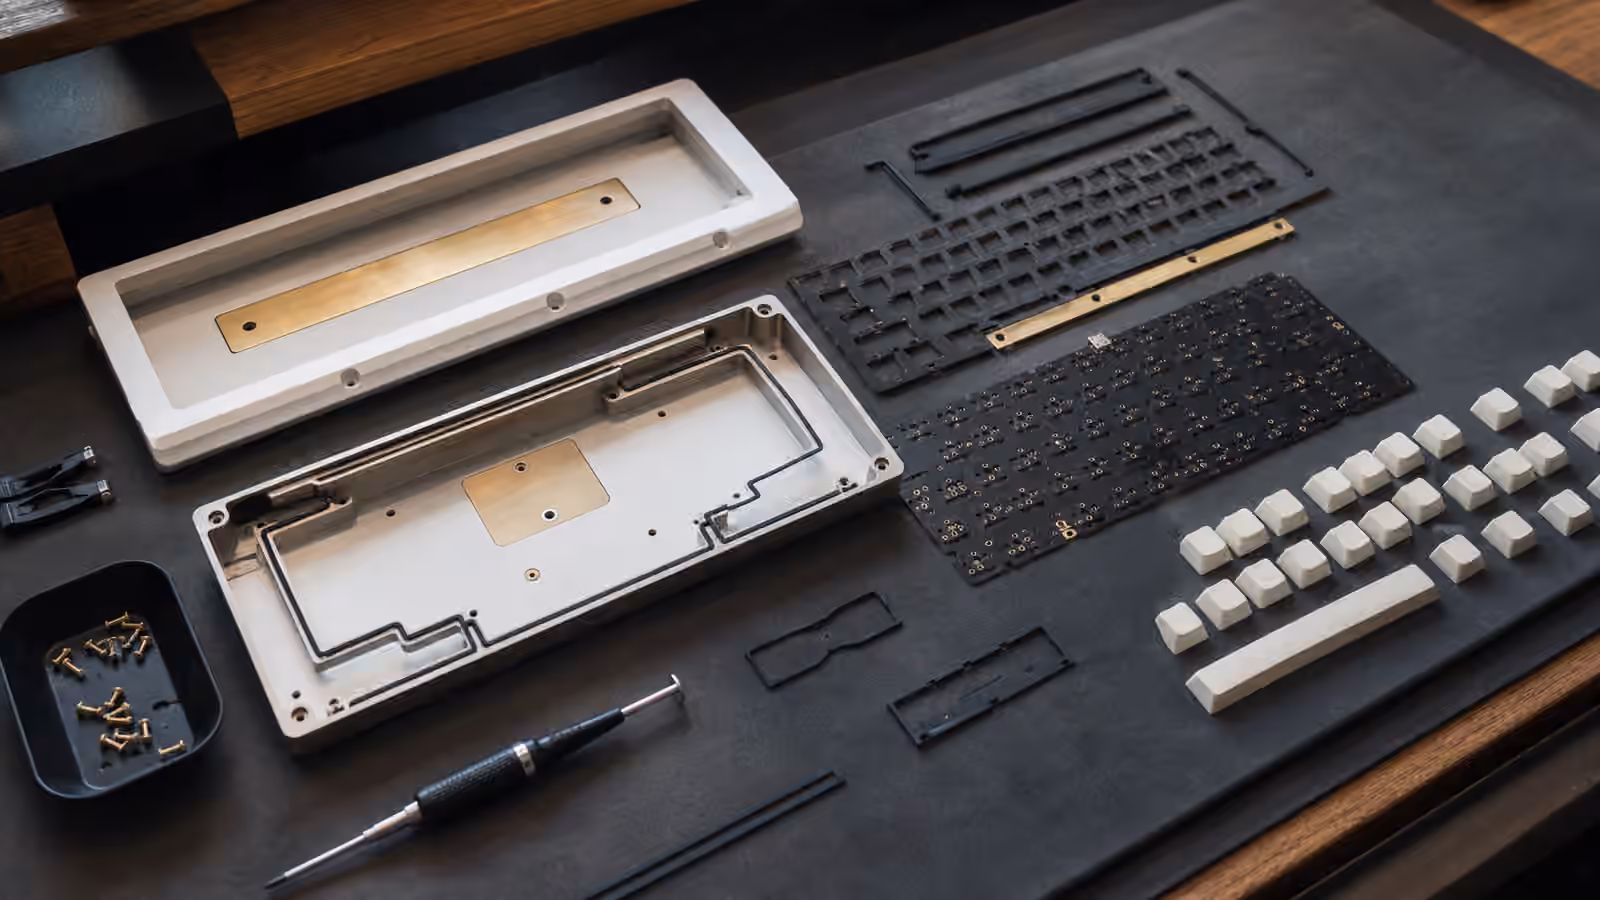
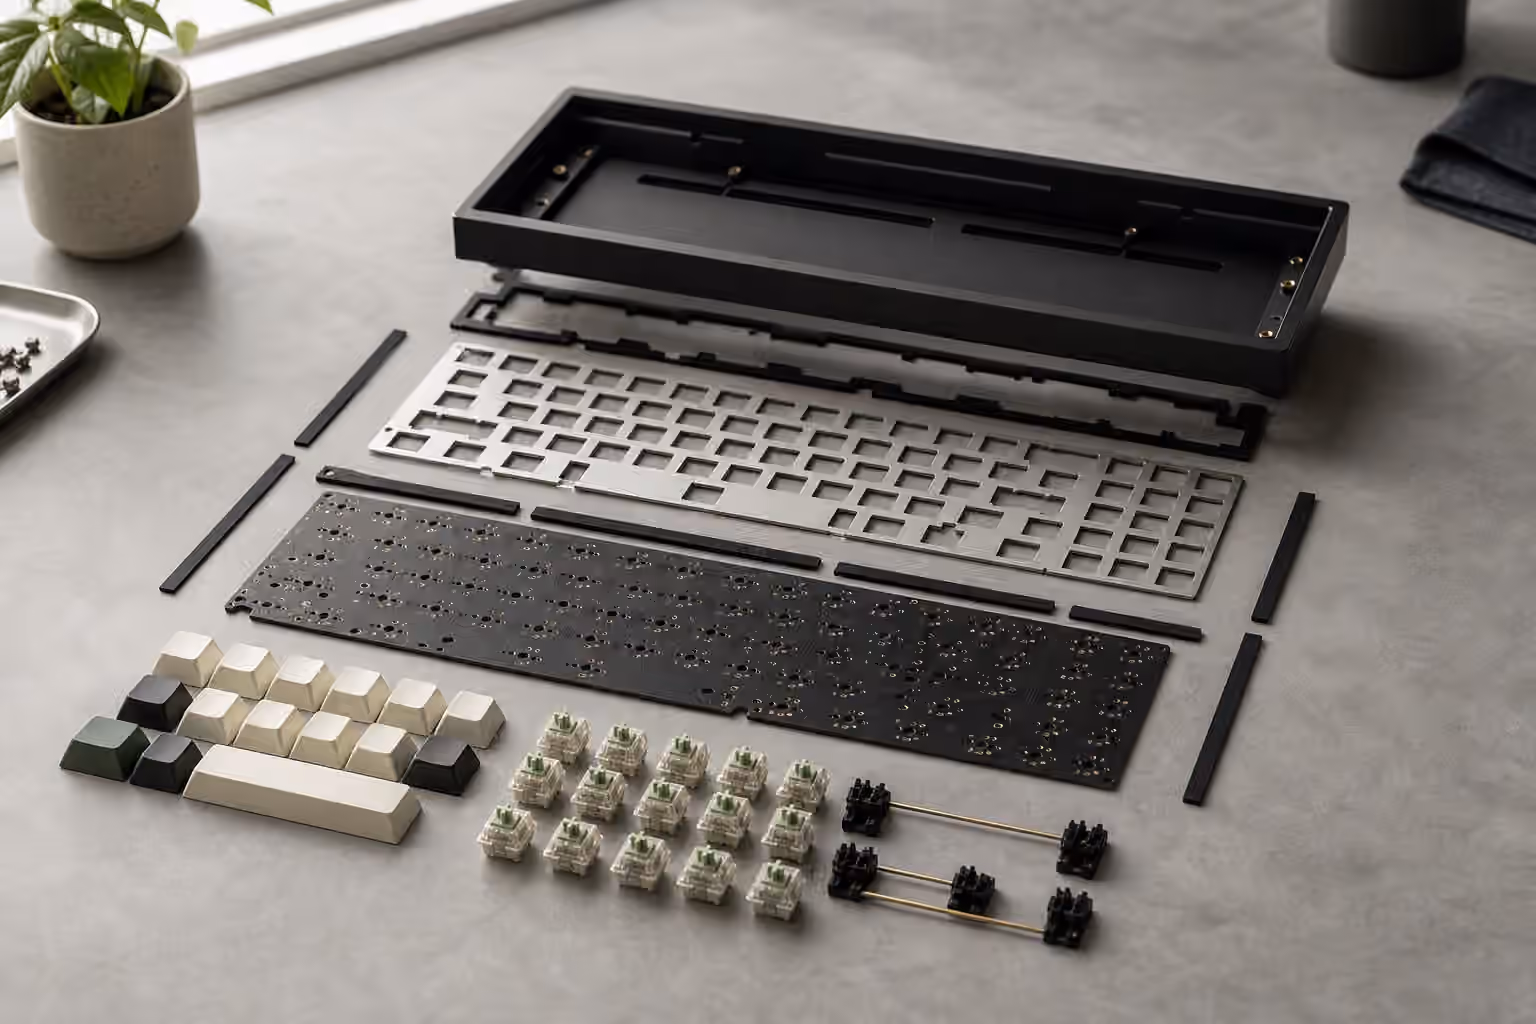
The plate is the sheet that the switches clip into before they connect to the PCB. On many keyboards, the plate supports the switches and keeps them aligned. It also spreads the force of each keypress across the assembly. Without a plate, the switches depend more heavily on the PCB and case structure, which can create a softer and more flexible feel but also asks more from the design.
Plate stiffness is the first thing you notice. A stiff plate makes bottom-out feel immediate. The keypress has a clear stop, and fast typing can feel crisp because the board gives very little under your fingers. A softer plate allows more movement. The keypress may feel cushioned or elastic, especially in the center of the board where there is more room to flex. That softness can be pleasant for long writing sessions, but it can also feel vague if the rest of the build is already damped or if you prefer a hard landing.
The plate also shapes pitch and texture. Harder, denser plates tend to push the sound brighter and more defined. Softer plates often round the sound and reduce harshness. This is why a switch review cannot tell the whole truth. The Complete Switch Guide can explain linear, tactile, and clicky behavior, but the plate decides how that behavior is framed by the keyboard around it.
Common plate materials
Aluminum is the practical middle ground. It is stiff enough to feel clean, light enough not to make the build absurdly heavy, and common enough that many kits offer it by default. In sound, aluminum often sits between warm and bright. It can feel controlled in a gasket board and direct in a firmer mount. If you do not know what plate to choose and the kit offers aluminum, it is usually a sensible baseline because it shows you the character of the board without pushing too far in one direction.
Polycarbonate is softer and more forgiving. It can take the edge off sharp switches, reduce harsh bottom-out, and add a little bounce to the typing feel. Some people choose it for a deeper or more muted sound, although the final result still depends on the case, foam, keycaps, and mount. Polycarbonate works well when you want comfort and a slightly cushioned response. It can feel less precise if you like a firm, decisive stop at the bottom of each press.
FR4 is the same family of fiberglass material used for many PCBs, and it often lands between aluminum and polycarbonate. It has enough stiffness to feel stable, but it can sound less metallic than aluminum and less soft than polycarbonate. Many builders like FR4 because it gives a clean, lively response without the extra brightness of harder metals. It is also a good material for experimenting because it tends to be approachable in both cost and feel.
Brass is dense, stiff, and assertive. It can make a board feel substantial and give keypresses a brighter, more ringing character. That can be beautiful in a build designed for clarity and weight, but it can also become harsh if paired with loud switches, thin keycaps, or a resonant case. Brass is rarely the quiet choice. It is better treated as a flavor than an upgrade. Choose it because you want the firmness and tone, not because it sounds more premium on a parts list.
POM is softer and lower-friction in feel, often used when a builder wants a smooth, muted, slightly flexible plate. It can make a board feel relaxed without going as soft as some foam-heavy builds. Carbon fiber is the opposite kind of specialty choice: light, stiff, and often crisp, with a quick response that some typists love and others find too dry. These materials are worth trying once you know what aluminum, FR4, and polycarbonate feel like, because they make more sense as adjustments than as blind first choices.
How mounting style changes the same plate
Mounting style describes how the internal assembly is held in the case. The exact designs vary, but the practical question is simple: does the plate and PCB assembly sit rigidly in the case, or is it allowed to move and absorb energy?
Tray mount is common in budget and older custom boards. The PCB or plate assembly screws into posts rising from the bottom case. It is simple, sturdy, and affordable, but the feel can be uneven because keys near screw posts may feel firmer than keys farther away. A good tray mount can still be enjoyable, especially with thoughtful material choices, but it is not the mount most people choose when they want consistent flex across the whole board.
Top mount attaches the plate to the top half of the case. It usually feels more even than tray mount because the plate is held around its perimeter rather than pinned from below. The result is often firm, classic, and controlled. Top mount is a strong choice if you want the keyboard to feel precise but not dead. It can pair well with aluminum or FR4 when the goal is clean feedback and a traditional custom keyboard feel.
Gasket mount uses strips, tabs, or pads of softer material between the internal assembly and the case. Instead of hard contact, the plate and PCB sit cushioned inside the shell. This can reduce harshness, soften sound, and create a sense of suspension under the keys. Gasket mount became popular because it makes a board feel refined quickly, but it is not automatically better. If the gaskets are too soft, the case has too much foam, and the plate is already flexible, the whole board can feel muted and indistinct.
Sandwich mount, o-ring mount, leaf spring mount, and isolated variations all chase different balances of support, flex, and acoustic control. The names matter less than the result. Ask where the plate is supported, how much hard contact exists between the typing assembly and the case, and whether the design encourages even movement or locks everything in place. Once you learn to ask those questions, mount names stop feeling like secret language.
Matching feel to daily use
For long writing sessions, many people prefer a slightly forgiving build: polycarbonate or FR4 plate, gasket or softer mounting, and switches that do not force the fingers to slam into the bottom. The goal is not maximum flex. The goal is reducing the hard impact that can make a tall mechanical keyboard feel tiring after an hour.
For gaming or fast shortcut-heavy work, a firmer build may feel better. Aluminum or carbon fiber can make repeated presses feel immediate, and top mount can keep the board predictable across the whole layout. A very soft board is not slower in a technical sense, but some users dislike the sense of movement when they are making quick directional or modifier presses.
For shared spaces, the plate and mount should support the quieting plan instead of fighting it. A brass plate in a lively case can make a silent switch seem sharper than expected. A gasket board with a softer plate, tuned stabilizers, and a desk mat can keep sound closer to the desk. The Low-Noise Keyboard Setup guide covers the rest of that chain, but the mount and plate are part of it from the beginning.
Avoiding the usual mistakes
The first mistake is treating the stiffest or most expensive plate as the best one. A rigid plate can be excellent, but only if that is the feel you want. The second mistake is assuming gasket mount means soft, quiet, and premium every time. A poorly implemented gasket mount can feel lifeless or inconsistent. A well-designed top mount can feel more refined than a trendy gasket board with careless execution.
The third mistake is changing too many parts at once. If you replace switches, keycaps, plate, foam, and stabilizers in a single weekend, you may end up with a better keyboard but no clear understanding of why it improved. Change one major variable when you can. If you are already happy with the switches, try a different plate before rebuilding the whole board. If the spacebar is the loudest problem, fix the stabilizers before blaming the mount.
Case material still matters, so do not isolate this decision from the shell around it. The Keyboard Case Materials Guide explains why aluminum, plastic, polycarbonate, acrylic, wood, and brass bodies each color the result. Plate and mount sit inside that larger structure. A soft plate in a hollow plastic case will not behave like the same plate in a dense aluminum case.
A practical way to choose
If you are building a first custom keyboard and the kit offers options, choose the combination that matches your clearest preference. For a balanced typing board, aluminum or FR4 with a moderate gasket or top mount is a safe place to start. For a softer, lower-pitched writing board, polycarbonate with gasket mounting is easy to understand and easy to tune. For a bright, firm, display-worthy board, brass or carbon fiber can be interesting, but they ask for more care with switches and keycaps.
Most builders do not need to chase the most flexible possible keyboard. Flex is useful when it improves comfort and sound; it becomes a distraction when the board feels unstable. Likewise, stiffness is useful when it creates confidence; it becomes fatiguing when every keypress feels like it hits a metal shelf. The best mount and plate disappear under your hands. They let the switches feel intentional, keep the sound consistent, and make the keyboard easier to use for the work you actually do.