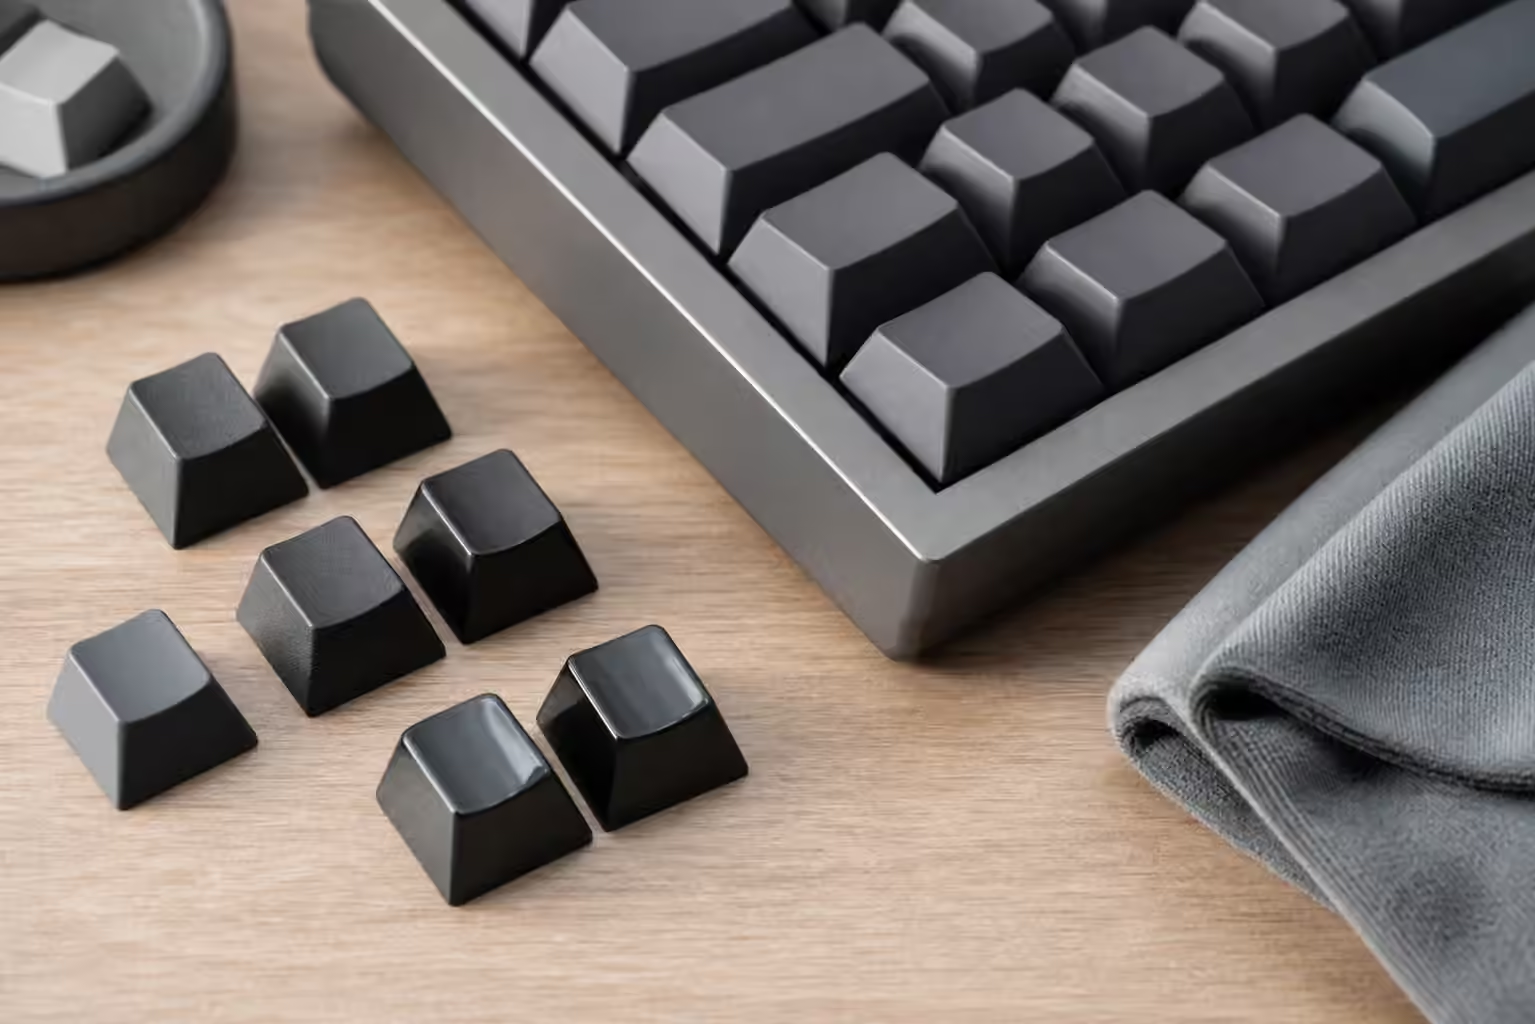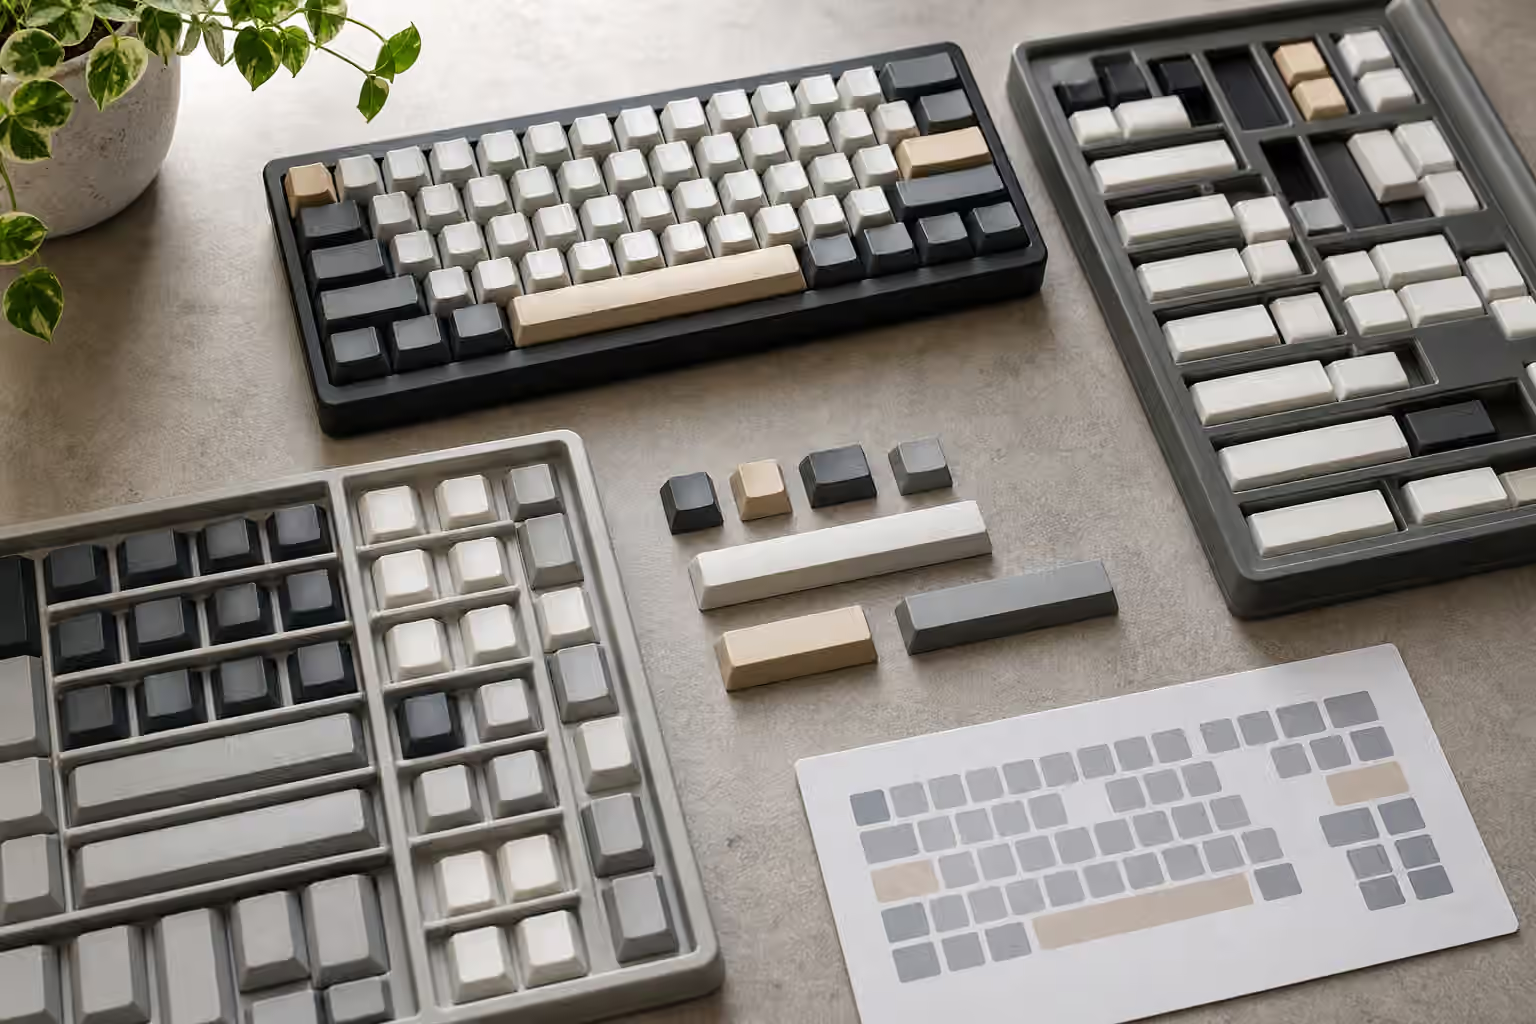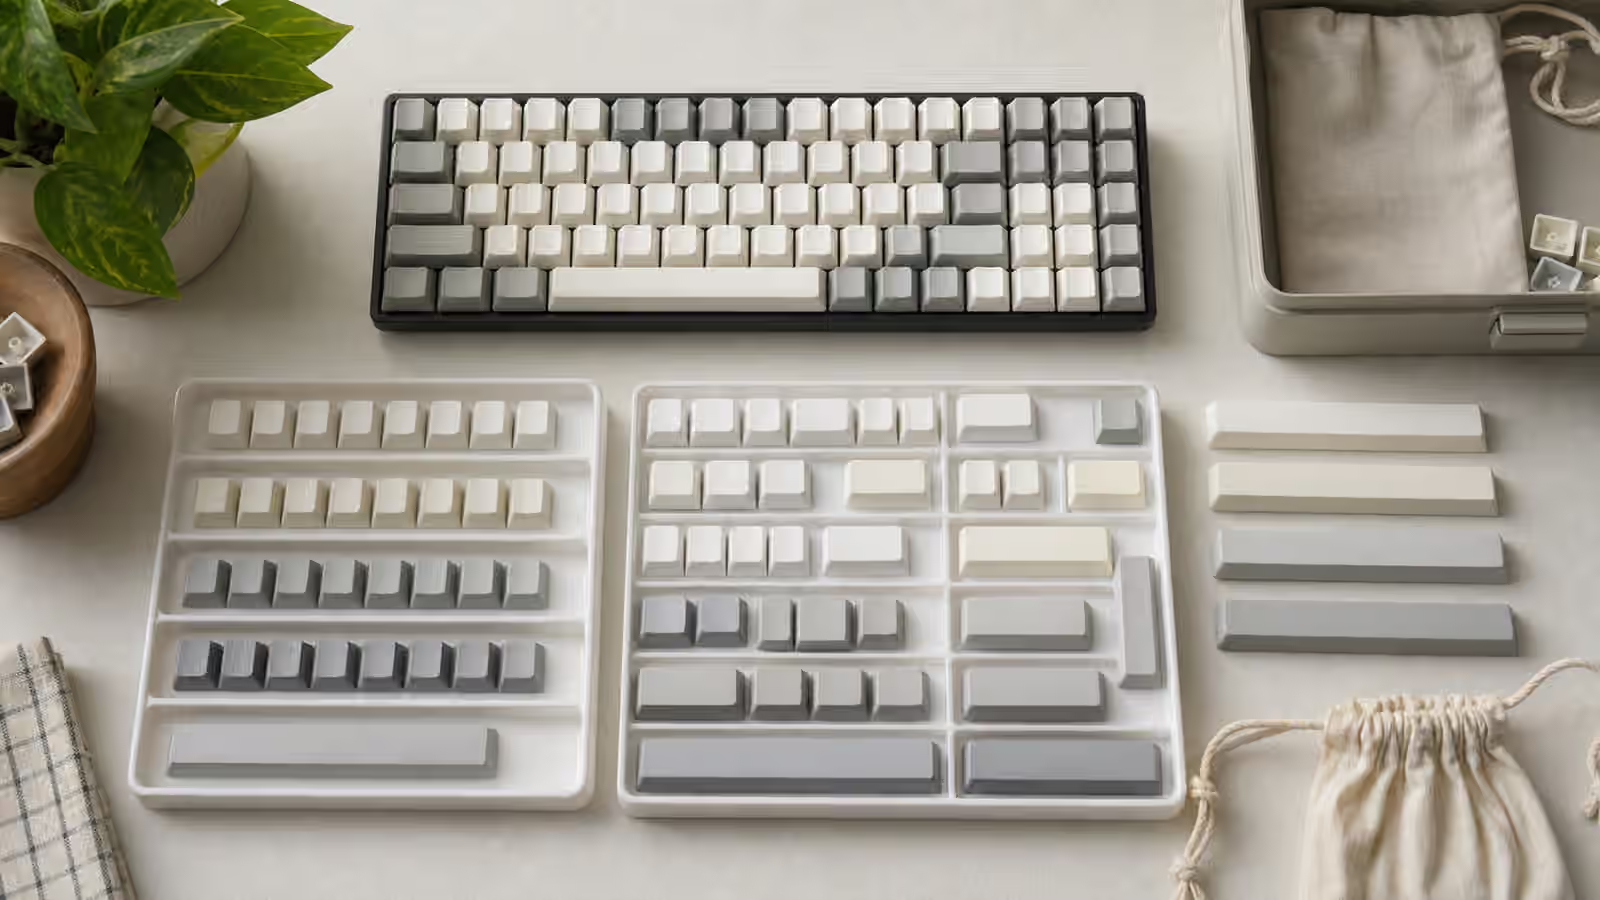
Keycap storage becomes important the first time a set is no longer on a keyboard. A full kit can contain well over a hundred small pieces, many of them nearly identical until the moment you need the exact right row, size, legend, or spacebar. The caps are easy to pour into a bag and forget. They are also easy to lose, shine, scratch, warp, or separate from the extension kit that made the layout work. Good storage is not about making a collection look precious. It is about preserving the ability to build a complete keyboard later.
The Keycaps Guide covers material, sound, texture, and profile. The Keycap Compatibility guide explains why row, kit, and layout coverage matter before buying. Storage is the habit that keeps those decisions usable after the set leaves the board. A keycap set that technically includes a 1.75u right Shift is less helpful if that cap is hiding in a bag with unrelated novelties.
Keep the kit identity intact
The first rule is to keep a set and its child kits together. Base kit, spacebar kit, ISO kit, novelty kit, alternate alphas, and odd layout support should not drift into separate mystery bags. They were bought to solve one compatibility problem. If the parts scatter, the set becomes harder to use and harder to sell or lend honestly.
Packaging can help if it is sturdy. Original trays preserve row order and make missing keys obvious. They also take space, and some trays are flimsy after shipping. Bags save room but hide details. Boxes protect better but need internal organization. The right answer depends on how often you swap caps and how many sets you own. A daily tinkerer may want trays that open quickly. Someone storing one spare set may be fine with a compact box and careful grouping.
If you use bags, avoid making one heavy bag full of every cap. Separate alphas, modifiers, spacebars, and extension keys in smaller groups. That way a future layout check does not require dumping the whole set onto the desk. Small groups also reduce surface rubbing, which matters for glossy ABS, dark colors that show scuffs, and caps with delicate finishes.
Row order matters for sculpted profiles
Uniform profiles are forgiving because every row uses the same shape. Sculpted profiles are not. Cherry, OEM, SA, MT3, and similar profiles give each row a different height or angle. A key from the number row may fit physically on the home row, but it will feel wrong and sit at the wrong slope. Storage should preserve row identity whenever possible.
Trays do this naturally. If you are moving a sculpted set into bags or boxes, group rows separately or keep a simple reference photo of the layout before disassembly. A photo is especially useful for blank caps because there is no legend to rescue you later. For alternate layouts, row discipline matters even more. The Keycap Profile Height and Typing Feel guide explains why a row mismatch changes more than appearance.
Do not rely on memory if several sets share similar colors. White-on-dark modifiers from different sets can look interchangeable under poor light and clash badly on a finished board. Texture, profile, legend style, and color temperature can all differ. If two sets are close enough to confuse, store them farther apart or keep a quiet identifying note outside the caps. The note should not be needed for the final build, but it can save time at the desk.
Spacebars need protection
Spacebars are the most awkward keys to store because they are long, easy to mix by size, and sensitive to warping or stem spacing mistakes. Keep them straight and supported. Do not wedge a spacebar diagonally into a cramped box where pressure bends it over time. Do not pile heavy parts on top of long bars. A slightly warped spacebar can turn a clean build into a tuning session full of ticks, sluggish return, and uneven sound.
Group spacebars by set and size. A 6.25u bar and a 7u bar are not interchangeable, and split-spacebar kits add even more sizes. If you own Alice-style, ergonomic, or compact boards, the small spacebars may be the rarest part of the set. Losing one can make the whole kit less useful. The Split Spacebars and Thumb Key Layouts guide goes deeper into why those small bars deserve attention.
If a spacebar was already slightly warped, store it without adding new stress and mark it in your own records. Do not let a future version of you rediscover the same flaw after building the board. The Spacebar Tuning guide can help with usable bars, but storage should not create the problem.
Clean before long storage
Keycaps collect skin oil, dust, and desk debris. Storing them dirty can transfer grime to other caps and make the next build feel worse than it should. Before long storage, remove loose dust with a soft brush and clean the caps gently if they need it. Warm water with mild soap is enough for many plastic caps, followed by thorough drying. Moisture trapped in stems or bags is not worth the shortcut.
Be careful with legends and coatings. Some caps tolerate washing well. Others have pad-printed legends, coatings, infill, or finishes that deserve less aggression. Avoid harsh solvents unless you know the material and printing method can handle them. The Keycap Legends and Manufacturing guide explains why legends differ so much in durability.
Let caps dry completely before closing a box or bag. A towel can remove surface water, but stems and undersides need time. Spread the caps on a clean cloth with enough airflow and patience. The Keyboard Maintenance guide covers cleaning rhythm more broadly. For storage, the key point is that clean and dry beats fast.
Avoid heat, sunlight, and pressure
Keycaps are small plastic parts, and plastic responds to environment. Heat can worsen warping, especially for long keys. Direct sunlight can fade colors or yellow some materials. Heavy pressure can scuff surfaces and stress stems. A box in a hot car, a sunny windowsill, or a crowded drawer under tools is not a storage plan.
A cool, dry, shaded place is enough for most sets. You do not need museum conditions. You do need to avoid obvious abuse. If the caps are valuable, rare, or hard to replace, give them a rigid box rather than a soft bag at the bottom of a drawer. If they are everyday caps, still keep the spacebars protected and the rows understandable.
Travel storage is a separate problem because movement adds abrasion. If you carry spare caps to a meetup or between workspaces, use a tray, divided organizer, or padded bag that prevents constant rubbing. The Keyboard Travel and Storage guide covers moving whole boards, but loose caps need the same basic idea: prevent pressure and motion from doing slow damage.
Make future swaps easy
A good storage system should make the next keycap swap feel calm. You should be able to find the base kit, confirm the right Shift, locate the spacebar, and compare bottom-row modifiers without excavating every cap you own. If it takes half an hour to identify the set, the storage has failed even if no cap is damaged.
When removing caps from a keyboard, keep the board layout in mind. Pull stabilized keys carefully, keep their sizes together, and avoid mixing them with random modifiers until you have a place for them. If the board uses an unusual layout, take a quick reference photo before disassembly. That photo can help you reconstruct which caps came from the board and which came from the spare kit.
Do not overcomplicate the system. Perfect labels, spreadsheets, and color codes are optional. The useful standard is whether you can rebuild the keyboard you care about. For one person, that means original trays on a shelf. For another, it means small bags inside one box, grouped by set and row. For a collector, it may mean a more formal index. The method matters less than preserving kit identity, row shape, spacebar safety, and clean dry storage.
Keycaps are the part of a keyboard most likely to change its personality in minutes. They change sound, texture, height, color, and layout coverage. Storing them well keeps that flexibility available. The next time a board needs a new profile, a quieter sound, or a different layout kit, the right cap should be where the old version of you left it: clean, unwarped, and still part of a complete set.