A mechanical keyboard usually fails in small, specific ways before it fails completely. One key repeats itself. Another works only when pressed hard. The board disconnects when the cable moves. A freshly built hot-swap keyboard has two dead keys in the same corner. These problems feel random when you meet them at the desk, but most of them come from a short list of causes: contamination, a bent switch pin, a lifted socket, a bad cable, a firmware map that does not match the physical layout, or a solder joint that was never quite solid.
The goal is not to turn every typist into an electronics technician. The useful habit is narrower: isolate the problem before replacing parts. A keyboard is a chain of physical switch, plate, PCB, controller, firmware, cable, wireless link, operating system, and application. If you change three parts at once, the board may start working again, but you will not know what actually fixed it. If you move slowly and test after each change, the problem usually gets smaller.
If the board is dirty, sticky, or has lived through a spill, start with the Keyboard Maintenance and Care Guide . If the problem appeared right after a new build, keep the Keyboard PCBs and Hot-Swap Sockets guide open as a companion. Firmware can also create symptoms that look like hardware faults, so the QMK and VIA Firmware Guide is worth checking before you assume a switch has died.
First, describe the failure clearly
The first mistake in keyboard troubleshooting is using one word for several different problems. A dead key is not the same as chatter. A missing keypress is not the same as a wrong character. A board that disconnects from USB is not the same as a layer key that seems to vanish after a remap. The repair path depends on which failure you actually have.
Key chatter means one physical press produces extra repeated characters. You tap E once and get ee, or the spacebar occasionally inserts two spaces. Missed input is the opposite. You press a key and nothing registers, or it only registers when you press at a certain angle. Wrong output means the electrical press is being seen, but the keyboard sends the wrong key because of firmware, layout, operating system settings, or a layer state. Connection failure affects the whole board at once. It may freeze, disconnect, reconnect, or wake slowly after sleep.
A simple keyboard tester makes this distinction clearer. Use a local tester app or a plain text field where shortcuts will not interfere, then press one key at a time with normal force. Avoid hammering the key while testing because that hides the difference between a real double registration and a heavy finger. If the same key misbehaves in the same way every time, the problem is probably local to that key or its part of the matrix. If many keys fail at once, especially in a row, column, or half of a split board, widen the search to the PCB, cable, connector, firmware, or wireless link.
Chatter usually starts at the switch
Key chatter often begins inside the switch. The metal contacts can bounce electrically, become dirty, or wear enough that the controller sees more than one press. Some firmware includes debounce settings to ignore extremely brief repeat signals, but debounce is not a magic repair. If one old switch chatters while the rest of the board behaves, the switch is the first suspect.
On a hot-swap board, the cleanest test is substitution. Pull the suspect switch carefully, inspect both metal pins, and swap in a known-good switch from a key you rarely use. If the chatter moves with the switch, the switch is the problem. If the same keyboard position still chatters with a different switch, the socket, PCB trace, solder joint, or firmware deserves attention. This is why hot-swap is so useful for diagnosis. It lets you separate the switch from the board without making the repair permanent.
On a soldered board, the same logic applies, but the work is heavier. You can still test around the switch with a keyboard tester, inspect the solder joints, and compare behavior across nearby keys. Desoldering a switch only to discover the problem was a remap is frustrating, so confirm the firmware and cable first. If desoldering becomes necessary, the Keyboard Soldering Guide explains the technique and the patience that keeps pads intact.
Switch cleaning can help when dust or a small spill is the cause, but it has limits. A tiny amount of suitable contact cleaner used carefully may revive some switches, while sugary residue often leaves enough contamination that replacement is more reliable. Lubricant is not a chatter cure. Too much lubricant can create sluggish return or inconsistent feel, and it does not repair damaged electrical contacts. If a switch chatters after cleaning and substitution confirms it, replacing it is usually the calmer decision.
Dead keys need a physical inspection
A dead key on a hot-swap board is often less dramatic than it feels. The most common cause after a switch swap is a bent pin. MX-style switch pins are easy to fold under the switch if the switch enters the socket at a slight angle. From above, everything may look seated. Under the switch, one pin may be pressed flat against the housing instead of entering the socket.
The fix starts with power disconnected and the switch removed. Look at both pins in good light. They should be straight, parallel enough to enter the socket, and not curled under the plastic. A slightly bent pin can usually be straightened with tweezers or a fingernail. Reinstall the switch slowly and stop if it resists. Force is how a small bent-pin problem becomes a damaged socket problem.
If the pins are straight and a known-good switch still does not work in that position, inspect the socket from the back of the PCB if the case allows it. A lifted hot-swap socket may sit loose, tilt away from the PCB, or move when touched. That repair usually requires soldering because the socket has separated from its pads or joints. It is repairable in many cases, but it is no longer a simple switch issue. The PCB guide covers why hot-swap sockets are convenient but still need careful handling.
Dead keys on a soldered board point toward the solder joints, the switch itself, or the matrix around that switch. A dull, cracked, or underfilled joint can be intermittent or fully dead. Reflowing a joint can fix a build that was almost right, but the board should be unplugged and handled with the same care as any electronics repair. If several keys in a row or column are dead, the problem may be a diode, trace, connector, or controller pin rather than several switches failing at once.
Wrong keys often mean firmware, not hardware
When a key sends the wrong character, the switch is usually doing its job. The board saw a press and reported something; it was just not the thing you expected. That points toward the keymap, the active layer, operating system layout, or a mismatch between the firmware and the physical PCB.
This is common after remapping in VIA or flashing QMK. A compact keyboard may have several layers, and it is easy to place a key on layer one while testing layer zero, or to leave a toggle layer active and forget that the board is no longer in its normal state. Hold-tap behaviors can also feel like missed keys if their timing does not match your typing. A key that acts as Backspace when tapped and Control when held is useful only if the firmware can reliably infer what you meant.
The most practical test is to return to a known-good map before opening the case. Save the current layout if you care about it, then reset the questionable key or layer to a plain keycode. If the physical key now behaves normally, the hardware was innocent. If the problem survives a clean map, then the fault is more likely below the firmware layer. For prebuilt boards with proprietary software, the same principle holds. Undo the remap, check the operating system keyboard language, and test in a simple text field before replacing parts.
Firmware mismatch is especially important on custom PCBs with multiple layout options. A PCB may support split Backspace, split right Shift, ISO, or several bottom rows, but the flashed firmware has to describe the layout you actually built. If the firmware thinks one switch position is somewhere else in the matrix, the result can look like strange hardware behavior. The more unusual the layout, the more carefully the firmware and physical build need to agree.
Whole-board dropouts usually start outside the switches
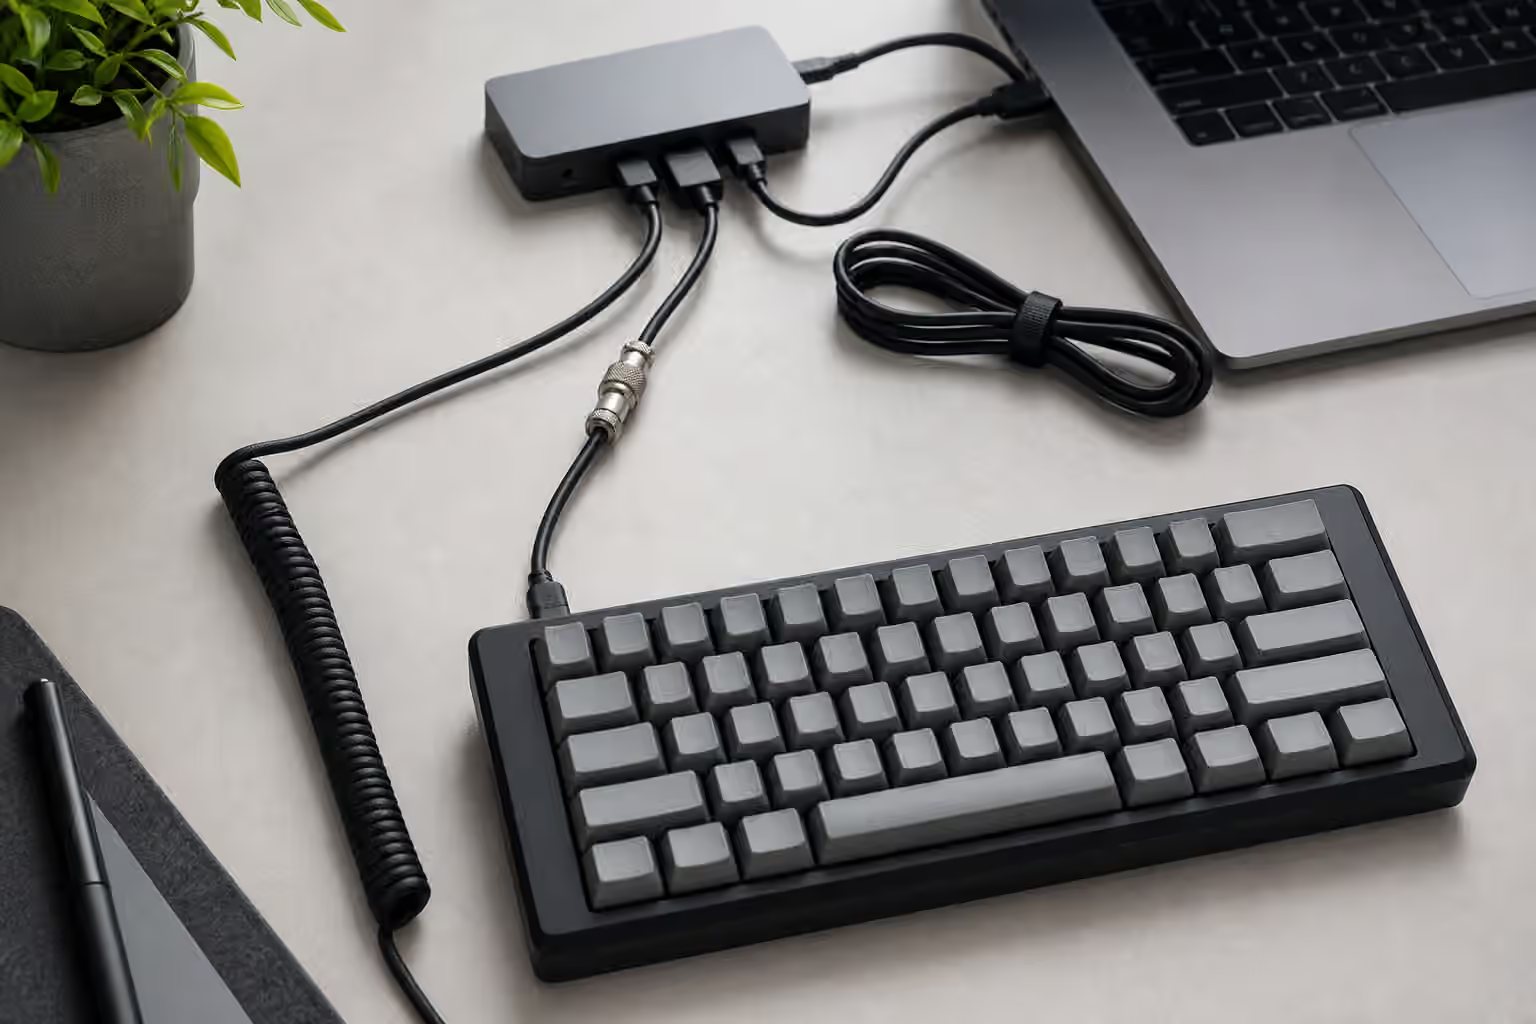
If every key stops working at once, do not begin by pulling switches. Whole-board failures are usually connection problems. On wired keyboards, the cable is the easiest suspect. A loose connector, damaged cable, stressed USB-C port, or unreliable hub can create dropouts that feel like a dying keyboard. Test with a known-good cable connected directly to the computer. Move the cable gently near each connector while typing in a safe text field. If the board disconnects when the cable flexes, the problem is probably mechanical rather than mysterious.
Hubs, docks, and monitor USB ports can add their own complications. A keyboard draws very little power compared with many devices, but a poor hub can still create wake, disconnect, or recognition problems. Testing directly into the computer removes one variable. If direct connection fixes the issue, the keyboard may be fine and the desk wiring needs attention.
Wireless keyboards add radio and battery variables. Bluetooth wake delay can look like missed input when the first keystroke after sleep disappears. A 2.4 GHz receiver hidden behind a metal computer case can stutter even when the keyboard itself is healthy. Low battery can create intermittent behavior before the board fully dies. The Wireless Mechanical Keyboards guide explains those trade-offs in more detail, but the troubleshooting habit is simple: charge the board, test wired mode if available, move the receiver closer, and separate wireless symptoms from switch symptoms.
USB ports on custom boards also deserve gentle handling. A daughterboard cable that is not fully seated can cause intermittent connection after assembly. A case opening that presses against the cable connector can stress the port. If the keyboard only fails after being moved or after the case was opened, think about connectors and internal cables before thinking about the controller.
Sound problems are not always electrical problems
Some complaints sound like failure but are really tuning issues. Stabilizer tick, plate ping, spring noise, case resonance, and loose keycaps can make a keyboard feel broken even when every key registers correctly. A rattling spacebar is not a PCB fault. A sharp metallic ping after each press may come from springs, plate material, case resonance, or desk surface. A keycap that sits crooked may be warped, poorly seated, or attached to a damaged stem.
The useful test is whether the problem appears in a keyboard tester. If the key registers correctly and only the sound or feel is wrong, treat it as a tuning problem. The Complete Stabilizer Guide is the place to start for large-key rattle. The Low-Noise Keyboard Setup guide is better for a board that is electrically healthy but too loud for its room. This distinction saves time because the repair for sound is often a mat, stabilizer service, switch choice, or case damping rather than electronic diagnosis.
Build a repeatable testing habit
The best troubleshooting habit begins before anything breaks. Test a PCB before assembly. Test stabilizers before all keycaps go on. Test every key after installing switches. Test again after closing the case. When a problem appears, you will know which change introduced it. This is especially important in a first custom build, where excitement can turn a bare PCB into a fully assembled keyboard before any single part has been verified.
Keep a small set of known-good parts if you work on keyboards often. One spare switch, one spare cable, a keycap puller, a switch puller, tweezers, and access to a keyboard tester can answer many questions without guesswork. You do not need a full repair bench for ordinary diagnosis. You need enough stable references to ask whether the problem follows the part or stays with the position.
The final judgment is knowing when to stop. If a board smells burnt, shows corrosion, has a battery problem, or has a damaged USB port pulling away from the PCB, casual troubleshooting is over. If an expensive custom PCB has lifted pads or a failed controller, slow down before making the damage larger. Some repairs are worth doing yourself after study. Some are better handled by the maker, a local electronics repair person, or a keyboard hobbyist with the right tools.
Most keyboard problems are smaller than they first appear. A chattering switch can be swapped. A dead hot-swap key may only have a bent pin. A strange key output may be a layer mistake. A dropout may be a cable. The discipline is to move from symptom to cause without skipping the boring tests. When you diagnose that way, even a broken keyboard becomes less like a mystery and more like a conversation with the parts you already know.