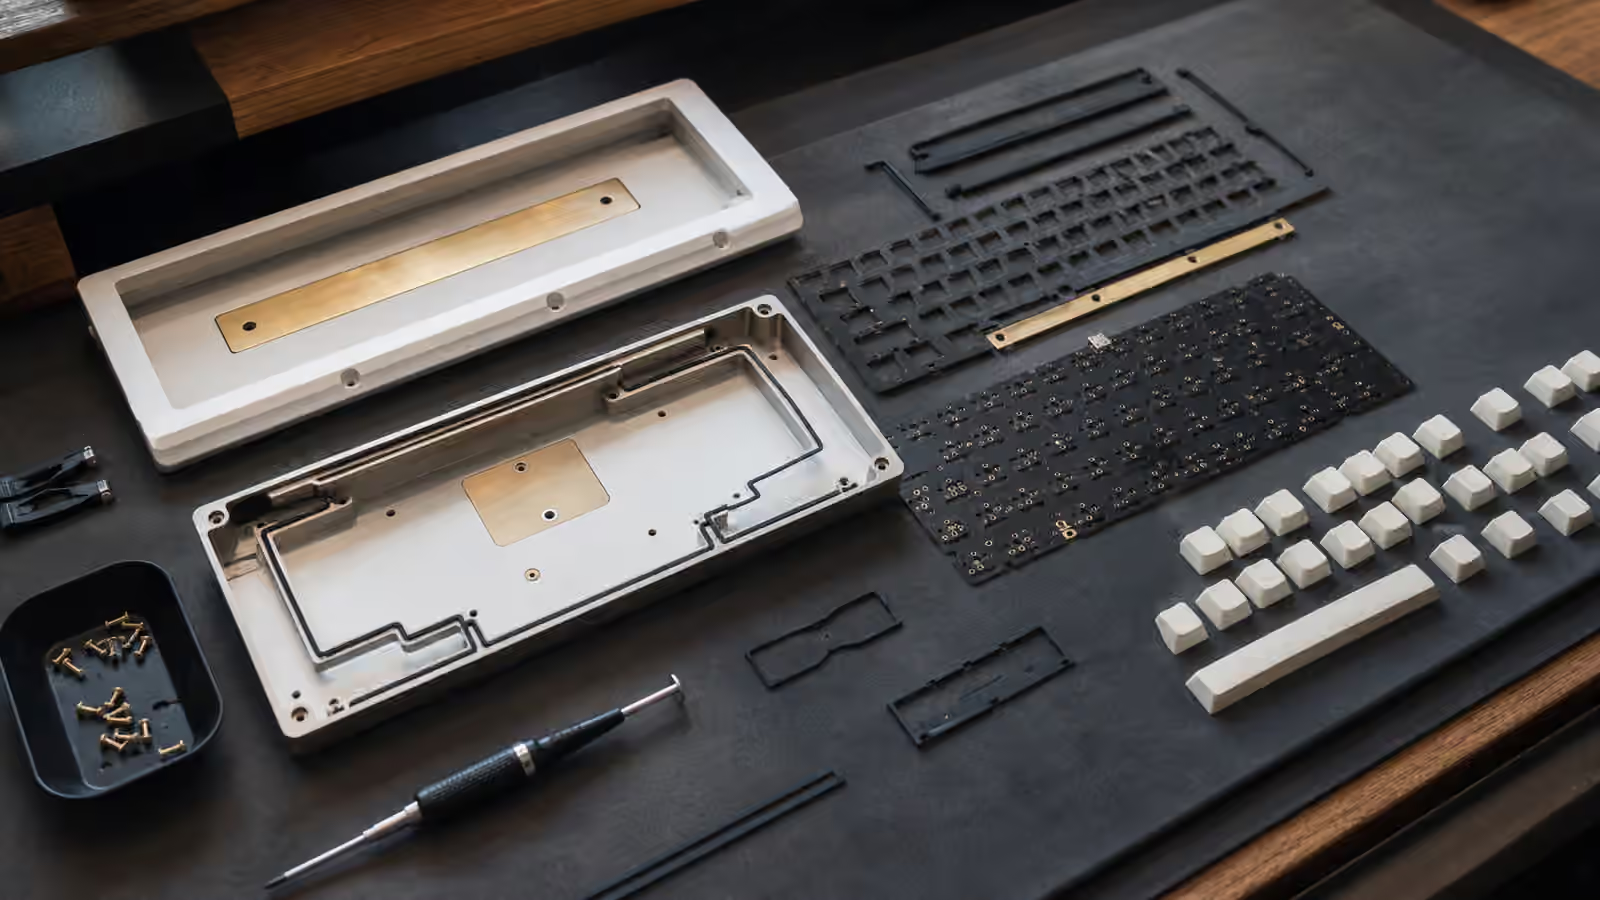
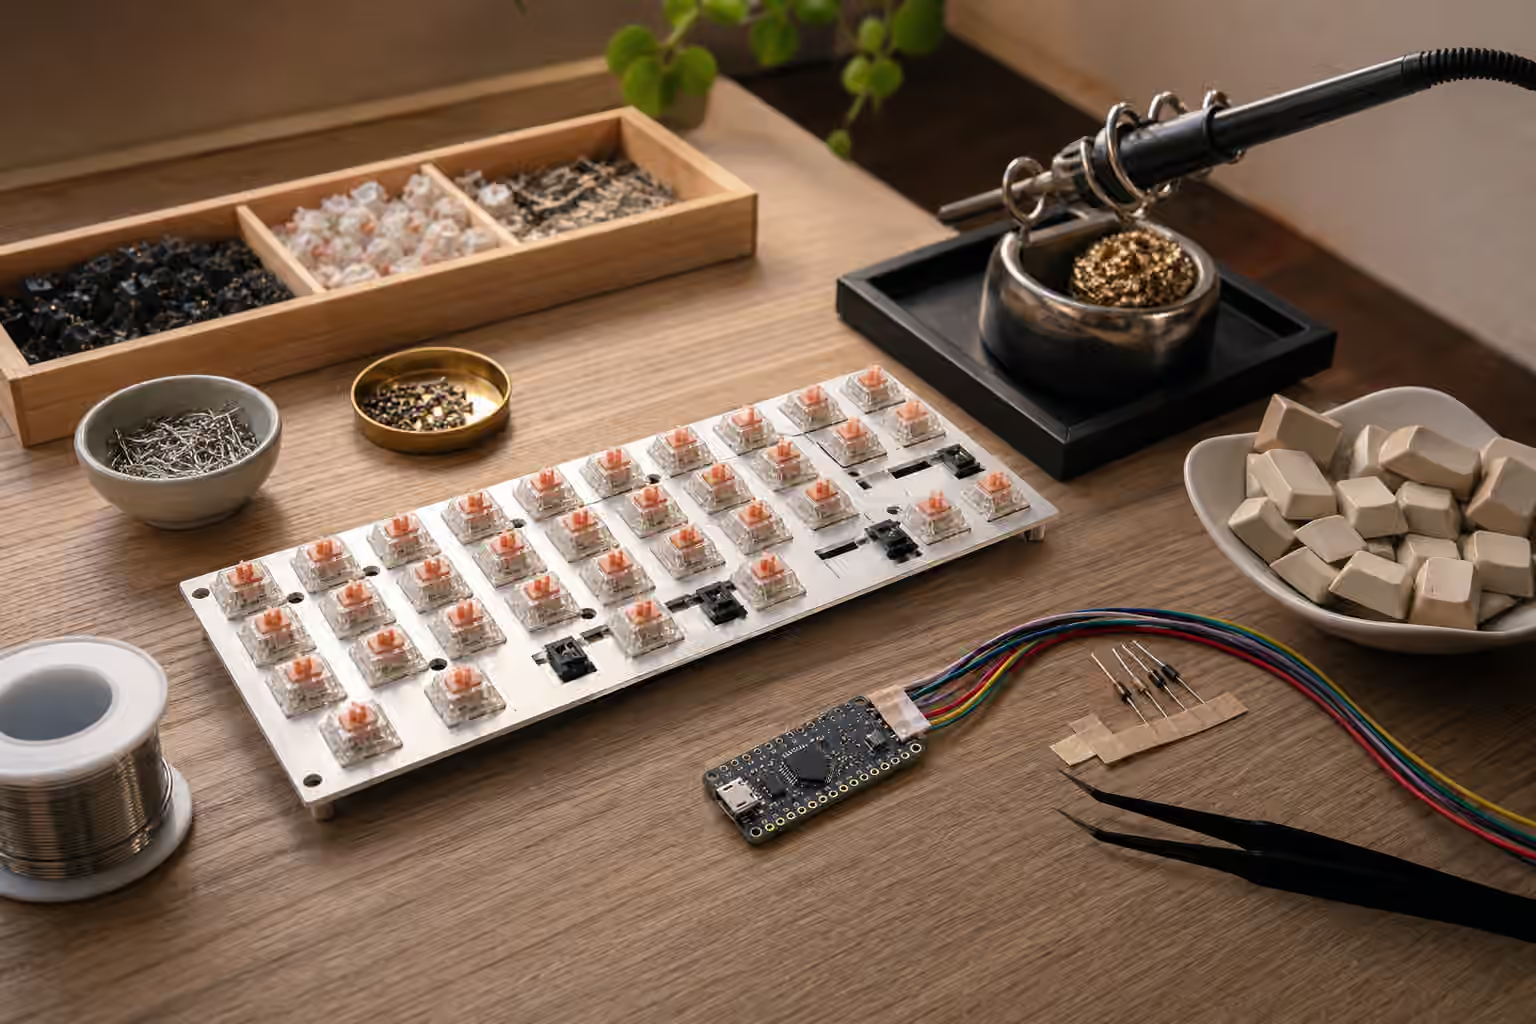
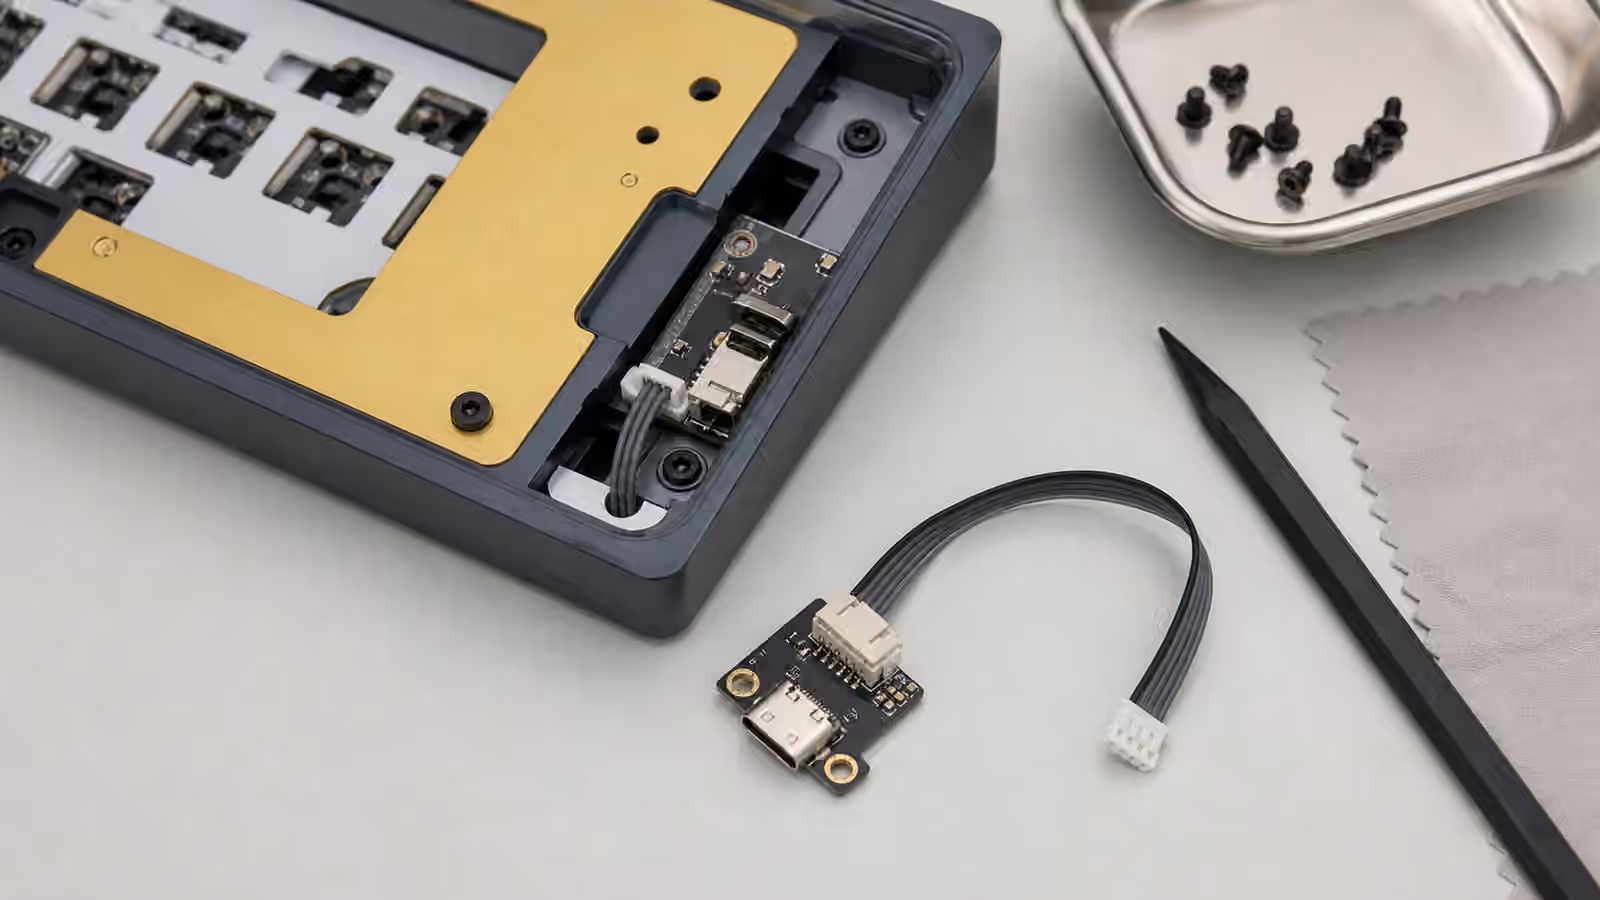
A good keyboard tool kit is smaller than most shopping lists make it look. You do not need a drawer full of specialty gear to own, clean, and adjust a mechanical keyboard. You need a few tools that protect parts from damage, help you see what is happening, and make careful work repeatable. The difference between a calm switch swap and a bent-pin afternoon is often not skill in the dramatic sense. It is having the right puller, enough light, and the patience to stop when something resists.
The tool kit should match the keyboard you actually use. A hot-swap prebuilt needs different gear from a soldered custom build. A person who only changes keycaps twice a year does not need a full lube station. A builder who tunes stabilizers, opens switches, and tests used boards will want more control. The cleanest approach is to build the kit in layers, starting with safe handling and testing, then adding modding tools only when a real project asks for them.
If you are preparing for a first full build, read Building Your First Custom Keyboard before buying every accessory in sight. If you are fixing a specific failure, the Keyboard Troubleshooting guide will help you decide whether the problem is a switch, socket, cable, stabilizer, or firmware issue. This guide is about the tools that make those jobs cleaner.
The first tools protect keycaps and switches
Start with a wire keycap puller. It is simple, cheap, and much gentler than the old plastic ring pullers that grab the sides of a cap. The wire slips under opposite edges and pulls upward evenly. That matters for tight caps, long keys, and caps with delicate finishes. Pull straight up, keep the force steady, and support the keyboard with your other hand. If a cap is stubborn, wiggle lightly from the wire, not by twisting the cap with your fingers.
A switch puller is the second basic tool for hot-swap boards. It compresses the small tabs at the top and bottom of an MX-style switch so the switch can lift out of the plate. The motion should feel controlled. If the switch does not move, the tabs may not be fully released, the plate may grip tightly, or the switch pins may be stuck in the socket. Pulling harder is the habit that bends plates, scratches cases, and sometimes damages hot-swap sockets. The Keyboard PCBs and Hot-Swap Sockets guide explains why socket care matters so much.
Tweezers are useful, but they should be treated like precision tools rather than pry bars. They can straighten bent switch pins, hold a stabilizer insert, lift a small piece of foam, or retrieve debris near a switch. They can also gouge a PCB trace if used impatiently. Fine ESD-safe tweezers are nice, but the important feature is control. If your hand is shaking because the board is balanced on your lap, the tool is not the problem. Move the work to a stable surface first.
Cleaning gear should be gentle and boring
Most keyboard cleaning does not require chemicals. A soft brush, microfiber cloth, and careful air movement solve the ordinary dust problem. The brush clears the plate around switches. The cloth handles case edges and keycap tops. Air helps with crumbs, but it should be used in short bursts and with awareness of where the debris goes. The goal is to remove dirt, not drive it deeper into stabilizers and switch openings.
For keycaps, a bowl of warm soapy water and time are often better than aggressive scrubbing. The caps need to dry completely before they return to the board. Moisture trapped in stems is an avoidable risk. For case surfaces, a slightly damp cloth is usually enough. Alcohol can help with sticky residue on some surfaces, but it can damage certain finishes, legends, coatings, and plastics. The Keyboard Maintenance guide gives the broader cleaning rhythm and spill response, but the tool principle is simple: use the mildest thing that works.
A small parts tray is underrated. It keeps screws, stabilizer parts, switch springs, and keycaps from wandering across the desk. A tray also slows you down in a useful way. When each part has a place, reassembly becomes less anxious. Magnetic trays are useful for screws, but keep magnets away from anything where you do not understand the electronics or storage media nearby. For normal keyboard screws on a clean desk, a plain dish or divided tray is enough.
Stabilizer work needs control more than force
Stabilizer tuning is where many people buy too many tools and still struggle. The essential needs are access, a clean surface, a small brush or applicator, a safe lubricant choice, and a way to test the key repeatedly. Wire balancing tools, syringes, and specialty stations can help, but they do not replace careful diagnosis. A ticking spacebar might need wire adjustment. It might need cleaner lubricant placement. It might be a warped spacebar, a loose stabilizer housing, or a keycap fit issue.
The most important stabilizer tool is often a normal keycap that you trust. Swap the suspect spacebar or Shift key with another known-good cap if possible. If the sound changes dramatically, the cap may be part of the issue. If the sound stays, the stabilizer or board is more likely. The Complete Stabilizer Guide explains the tuning process in depth. Your tool kit should make that process less messy, not more complicated.
Use lubricant sparingly and keep it contained. A fine brush gives more control than a large applicator. For wire contact points, thicker grease is common, but excess grease attracts dust and can make keys feel sluggish. For switch internals, the amount needed is smaller than beginners expect. Good lighting helps here because over-application is easier to see before the board is reassembled.
Switch opening and lubing tools are project tools
A switch opener is useful only if you plan to open switches. It separates the top and bottom housings without chewing up the plastic clips. That makes it better than improvising with small screwdrivers, especially across a full set. A stem holder, fine brush, spring container, and lube station can make the work faster, but they are not mandatory for learning. What matters is consistency. Each switch should receive the same light treatment, then return to the same orientation.
Switch lubing is slow work. The tool kit should support that reality rather than hide it. A comfortable chair, good light, clean hands, and a stable tray matter as much as branded accessories. If the project feels rushed, stop before opening all the switches. It is better to lube a few samples, install them, and test the result than to turn a full set sluggish because you treated the job like painting a fence. The Switch Lubing by Hand guide covers technique and judgment.
Switch films, springs, and sample testing add more tiny parts. Keep them separated and labeled in a way that does not rely on memory. Blank note cards can help as long as they stay outside the photography or final build if you care about a clean desk. More importantly, write down what changed. Switch name, spring weight, film thickness, lube choice, board, plate, and keycap profile all affect the result. The Switch Sample Testing guide is built around that habit of comparing evidence instead of impressions.
Screwdrivers and case tools deserve restraint
Many keyboards use small hex, Torx, or Phillips screws. A quality precision driver set is worth owning because poor bits strip small screws quickly. Use the bit that fits fully, press straight down, and loosen screws gradually. If a screw resists, check whether it is hidden under a foot, badge, sticker, or case lip before adding force. Some cases use different screw lengths in different positions, so arrange them in order as they come out.
Opening a case should feel like careful disassembly, not a fight. Plastic clips can snap. Anodized finishes can scratch. Daughterboard cables can pull loose. Wireless batteries can sit close to the bottom case. Before lifting a PCB assembly, look for cables, switches, and foam that may still be attached. The Keyboard Foam and Dampening guide is relevant here because internal material can hide screws or create pressure you need to release gently.
Avoid metal prying tools unless you have no better option and understand where the clips are. A plastic spudger or guitar-pick style opener is kinder to plastic seams and coated cases. Even then, many keyboards were not designed for frequent opening. If the board is under warranty or uses fragile clips, the smartest tool may be restraint.
Soldering tools belong in a separate tier
Soldering changes the tool conversation. A soldered keyboard needs a temperature-controlled iron, solder, flux, tip cleaning gear, ventilation, a heat-resistant surface, and a desoldering method for mistakes. Those tools are not just bigger versions of normal keyboard accessories. They introduce heat, fumes, and the possibility of PCB damage. If you do not plan to solder, do not buy soldering gear just because it appears in build photos.
If you do plan to solder, use the Keyboard Soldering Guide as the starting point. Practice on something low-stakes before working on a valued PCB. A good iron can make the work easier, but it cannot fix impatience, poor lighting, or a switch installed with bent pins. Desoldering tools are part of the kit from the beginning, not an afterthought for the day something goes wrong.
For most hot-swap owners, soldering is not needed. That is one reason hot-swap is such a friendly entry point. The everyday kit can stay focused on keycaps, switches, cleaning, stabilizers, and testing. When a repair finally requires soldering, you can treat it as a separate skill rather than pretending it was part of basic ownership all along.
Testing tools close the loop
Every tool kit needs a way to confirm the work. A simple keyboard tester page or local tester app can show whether each key registers after a switch swap or case opening. Firmware tools can confirm layer behavior. A spare known-good USB cable can separate a board problem from a cable problem. A few spare switches can help diagnose whether chatter follows the switch or stays with the socket.
Testing should happen before all the keycaps return. It is much easier to reseat one switch, straighten one pin, or reopen a case when the board is still partly exposed. After a cleaning session, test large keys first because stabilizers are easiest to disturb. After a switch swap, test the swapped keys and their neighbors. After case work, test the whole board because a cable or foam sheet can affect more than the area you touched.
The right keyboard tool kit makes you calmer. It does not make every project automatic, and it does not need to look impressive. A wire keycap puller, switch puller, brush, cloth, tweezers, screwdriver set, parts tray, and testing habit will carry most owners a long way. Add switch openers, lubing gear, stabilizer tools, and soldering equipment only when the work in front of you needs them. Tools are there to protect the keyboard from haste. The moment they tempt you into unnecessary surgery, they have stopped helping.