Keyboard sound tests are useful, but they are easy to overtrust. A recording captures one keyboard, one desk, one room, one microphone position, one typing style, and one playback chain. Change any of those and the same board may seem deeper, sharper, quieter, or less controlled. Recording your own keyboard can teach you a lot, especially when comparing changes, but the goal should be consistency rather than studio drama.
This guide is about practical comparison. If you are still learning sound vocabulary, read Keyboard Sound Profiles first. If you are trying to make a shared-space board quieter, Low-Noise Keyboard Setup will help connect recordings to real room behavior. A sound test is evidence, not a verdict.
The room is part of the recording
A microphone does not hear only the keyboard. It hears reflections from the desk, walls, monitor, shelves, floor, and ceiling. A small bare room can make a board sound louder and brighter than it feels at the desk. A room with curtains, books, and soft furniture may absorb the same board into something calmer. This is why recordings from different people are hard to compare directly. You are hearing their environment as much as their build.
The desk is even closer to the sound. A hollow tabletop can amplify low thumps. A glass surface can add sharpness. A thick mat can reduce vibration transfer and soften the attack. The Keyboard Desk Mats and Surface Sound guide explains this acoustic chain in more detail. For recording, the practical rule is to keep the surface the same when comparing parts.
If you want to know how a mod changed the keyboard, do not change the room at the same time. Record before and after on the same desk, with the same mat, chair position, microphone position, and typing sample. If you move from a bare desk to a mat and also change switches, the recording cannot tell you which change mattered.
Microphone position changes everything
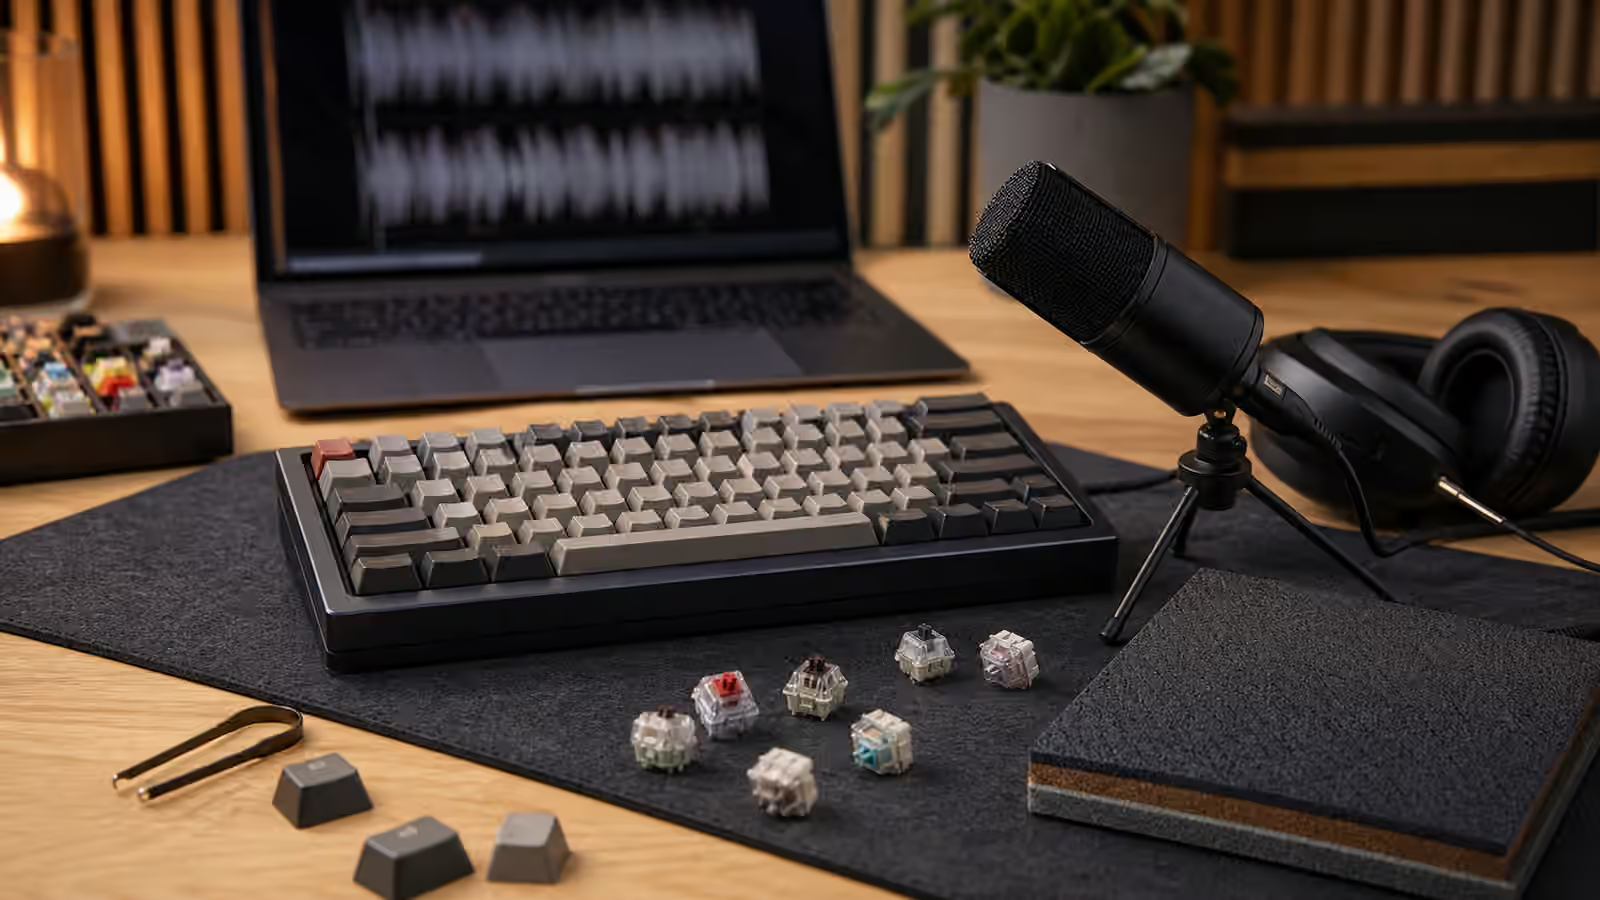
A microphone close to the keyboard exaggerates details that a person across the room may never hear. It may make stabilizer ticks, switch scratch, and spacebar resonance sound larger than they are in daily use. A microphone farther away captures more room sound and gives a better sense of how the keyboard travels through shared space. Neither position is wrong. They answer different questions.
Pick a position and mark it. A small piece of tape on the desk, a fixed tripod spot, or a measured distance from the keyboard edge can make future comparisons more honest. Height matters too. A mic pointed directly at the switch field hears a different balance from one off to the side or above the board. If the goal is personal comparison, repeatability is more important than owning special gear.
Built-in laptop microphones can still be useful if used consistently, but they often apply processing that changes level and tone. Phones can work for casual comparison, though automatic gain and noise handling may shift the result. A separate microphone gives more control, but it does not remove the need for consistent placement. Better equipment can produce clearer mistakes if the setup changes each time.
Type the same sample the same way
Typing style is part of the instrument. A hard typist can make a quiet switch sound loud. A light typist can make a bright board seem controlled. If you type one recording casually and the next with extra force, the comparison becomes weak. Use the same passage, same pace, and same posture when possible. Record a short warm-up first if you tend to type differently once you know you are being recorded.
Include stabilized keys deliberately. Letter-only typing can hide the spacebar, enter, shift, and backspace behavior that dominates real sound. A useful sample includes normal words, a few corrections, and some punctuation so the large keys appear naturally. You do not need a theatrical sound demo. You need a piece of typing that resembles how the keyboard is used.
Gaming, coding, writing, and spreadsheet work all create different sound patterns. If your concern is office noise, record ordinary work typing rather than a maximum-speed test. If your concern is spacebar rattle, record the spacebar separately after the normal sample. The Spacebar Tuning guide can help interpret what you hear from long keys.
Compare one change at a time
Sound tuning becomes confusing when several changes happen together. Switches, keycaps, foam, plate material, desk mat, and typing force can all affect a recording. If you change switches and add case foam in the same session, the final board may sound better, but you will not know which part did the work. That may be acceptable if the only goal is a finished setup. It is less useful if you want to learn.
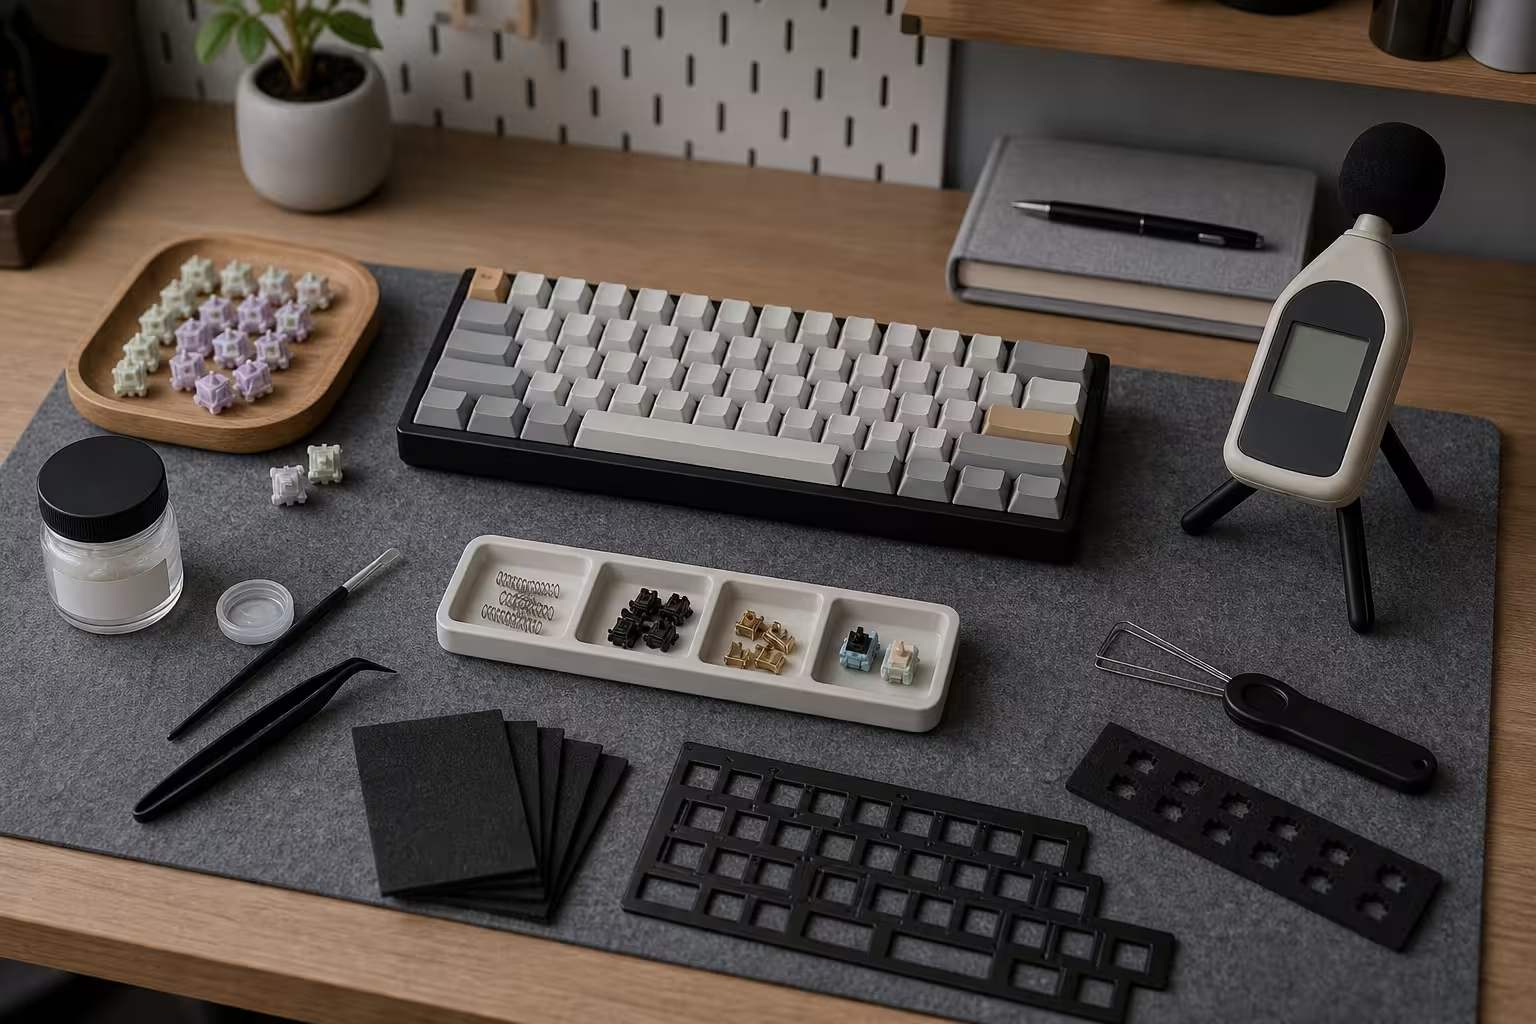
Simple before-and-after clips teach the most. Record the stock board. Add only the desk mat. Record again. Add only a foam layer. Record again. Change keycaps. Record again. The process can feel slow, but it builds judgment. The Keyboard Foam and Dampening guide is especially useful with recordings because foam often changes resonance in ways memory alone may exaggerate.
Volume matching matters. Louder often sounds better, fuller, and more detailed, even when the tone did not improve. When comparing clips, adjust playback so the overall level feels similar. Do not decide that a mod improved the board simply because the second recording played back louder. This is one reason private comparison is easier than public posting. You can focus on what changed instead of making the clip impressive.
Listen for specific traits
A useful recording session has a question. Is the spacebar still ticking? Did the foam reduce hollowness? Did the new keycaps lower the pitch? Did the desk mat reduce the thump through the table? Did the switch swap remove scratch or only change loudness? A vague search for “better sound” invites endless changes. A specific question turns the recording into a tool.
Listen for consistency across the board. If the center alphas sound controlled but the corner keys ping, the case or mount may be involved. If one stabilized key jumps out, tune that key before changing switches. If every key has a sharp bottom-out, spring weight, typing force, plate choice, or keycap profile may be part of the issue. The Switch Spring Weight guide can help connect sound to force.
Headphones reveal details, but speakers reveal social reality. A tiny tick may be obvious in headphones and irrelevant across the room. A low thump may disappear on small speakers and still travel through a desk. If the keyboard lives near other people, listen from the place where they hear it. A recording can guide you, but the room still gets the final vote.
Public sound tests need humility
When sharing a recording, describe the setup plainly. Mention the desk surface, mat, switches, keycaps, case, plate, dampening, microphone position, and typing style if those details are known. Do not imply that the clip predicts every buyer’s experience. Someone else may use the same switches in a different board and hear a different instrument.
When watching other sound tests, look for context rather than treating the clip as a ranking. A microphone close to a desk mat in a damped room may flatter a build. A phone across a bare desk may make a good board sound crude. Neither clip is necessarily dishonest. They are simply incomplete. The Sound Test Story captures the hobby side of learning to hear those differences.
Recording is most valuable as a memory aid. Your ears adapt quickly, and excitement changes perception. A short clip from before a mod lets you return to the baseline instead of arguing with memory. Keep the process simple, repeatable, and honest. The best sound comparison does not prove that one keyboard is universally superior. It shows what changed on your desk, under your hands, in the room where the keyboard actually lives.