Mechanical keyboard shopping often sounds like one question: which keyboard should I buy? In practice, it is three different questions hiding under the same sentence. Do you want a finished keyboard that works immediately? Do you want a barebones board that lets you choose switches and keycaps without building the whole structure? Or do you want a kit where the assembly, tuning, and small decisions are part of the pleasure?
All three paths can lead to a good keyboard. None of them is the adult version of the others. A carefully chosen prebuilt can be a better tool than a custom kit assembled without patience. A barebones board can be the perfect middle path. A full kit can be deeply satisfying if you actually want the work. The mistake is choosing the path that matches an online identity instead of the path that matches your time, tolerance for troubleshooting, and curiosity.
If this is your first mechanical keyboard, read How to Buy Your First Mechanical Keyboard first. This guide is about the buying format once you know the rough size, switch feel, and desk role you want.
Prebuilt boards are not the consolation prize
A prebuilt keyboard arrives assembled with switches, keycaps, stabilizers, firmware, and usually a cable or wireless mode ready to use. The obvious advantage is time. You can type on it the day it arrives. If something is wrong, the seller has a complete product to support rather than a pile of parts whose responsibility is unclear.
Prebuilt quality has improved enough that many people do not need to build a custom board to enjoy mechanical typing. Hot-swap sockets, decent factory lubrication, better stock stabilizers, gasket-style mounts, sound dampening, and VIA support are no longer limited to obscure kits. A good prebuilt can be practical, repairable, and pleasant without turning the keyboard into a project.
The trade-off is that the choices are bundled. You may like the case but not the switches. You may like the switches but dislike the keycaps. You may like the layout but find the stabilizers mediocre. If the board is hot-swap, those problems are not fatal, but the purchase price includes parts you might replace. If the board is soldered or uses unusual keycaps, the upgrade path can be narrower than the product page makes it sound.
Prebuilt is the best path when you need a reliable daily tool, when you are still learning your preferences, or when the thought of troubleshooting a non-working kit sounds exhausting. It is also a strong path for office and shared-space boards, where predictability may matter more than acoustic experimentation.
Barebones is the useful middle
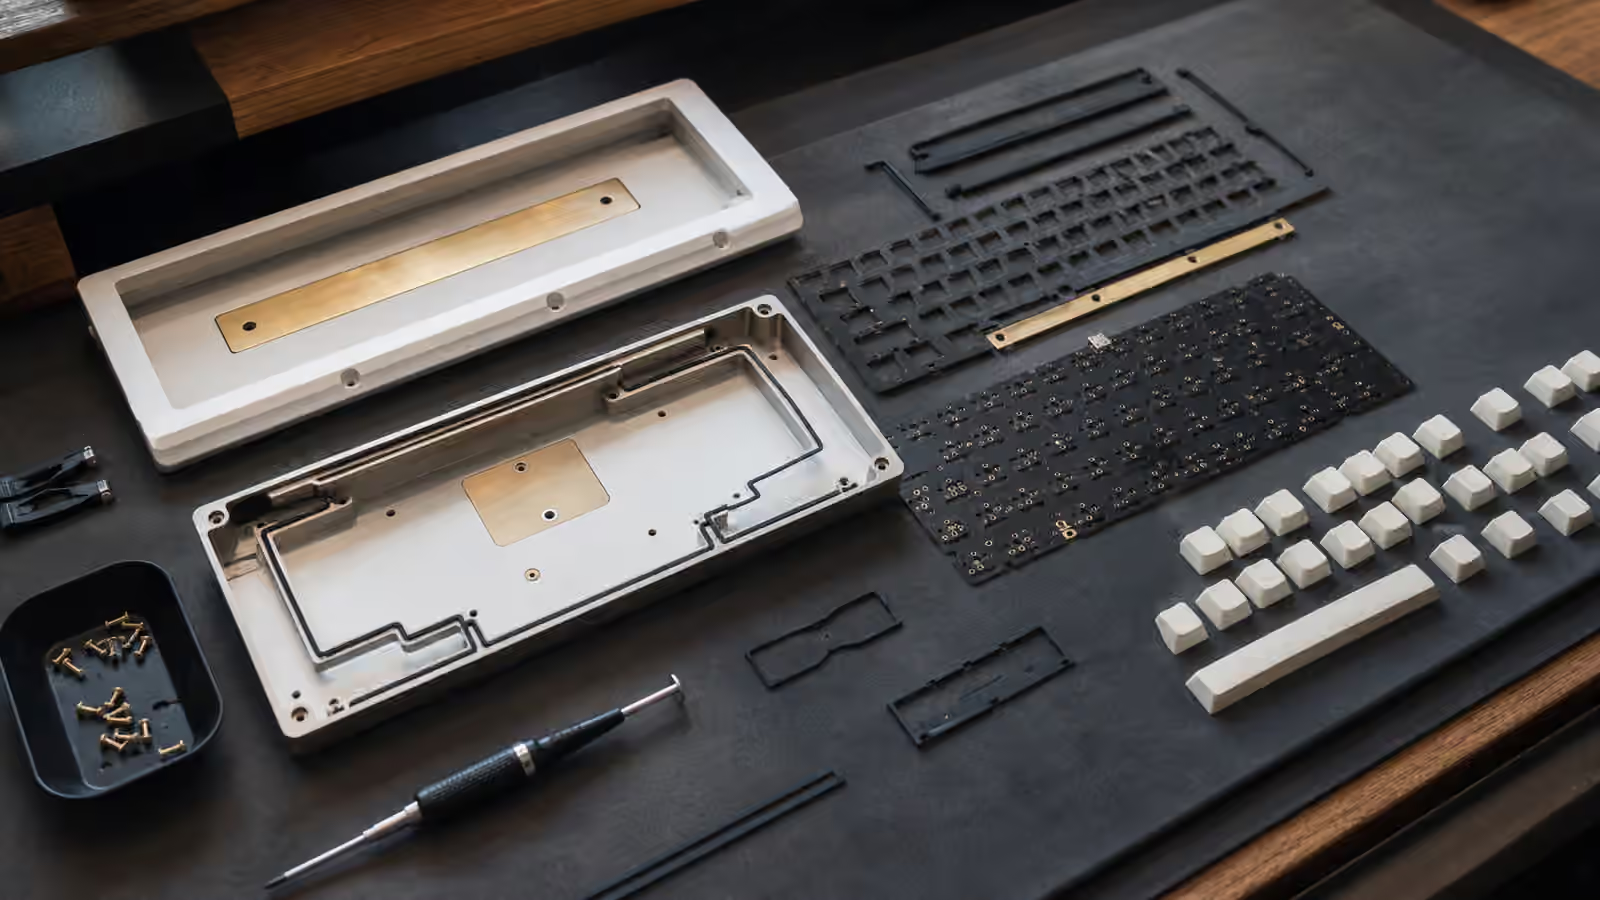
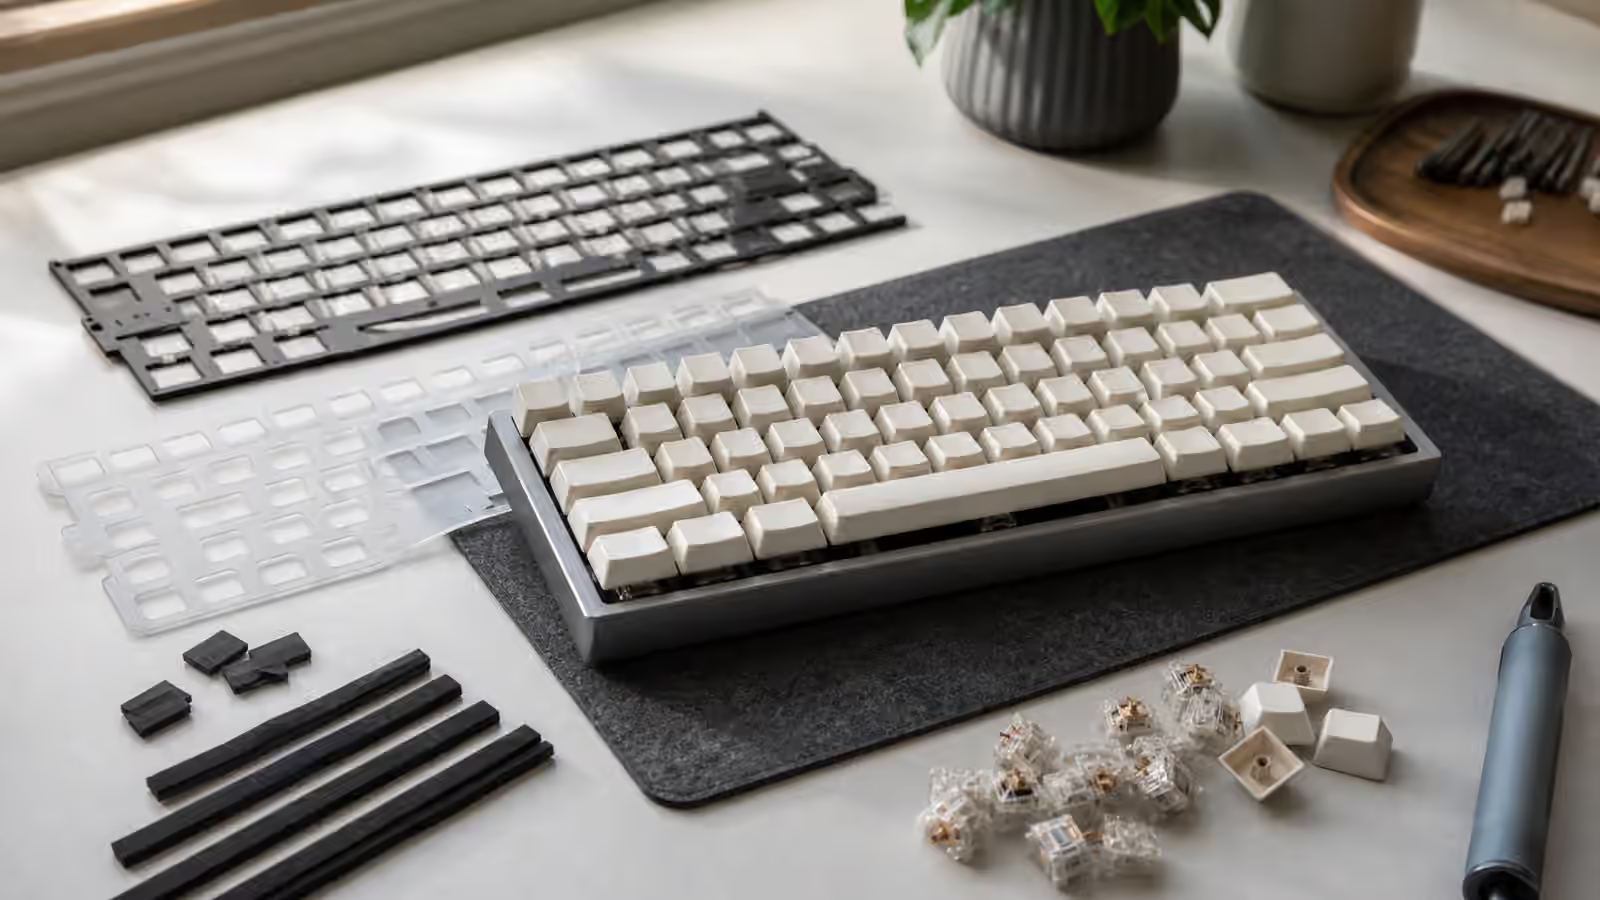
A barebones keyboard usually includes the case, PCB, plate, mounting system, stabilizers, and sometimes foam or a knob, but not switches or keycaps. You supply the two parts that most directly affect feel, appearance, and sound. This path is popular because it gives you meaningful control without asking you to solder, flash firmware from scratch, or understand every internal design detail on day one.
Barebones makes sense when you already know some preferences. If you have tried a few switch types and know you want medium-weight tactiles, the stock switches in a prebuilt may feel like waste. If you care about a specific keycap profile or colorway, bundled caps may be irrelevant. A barebones board lets the structural parts come finished while leaving the touch points to you.
The risk is that “barebones” can sound simpler than it is. You still need compatible switches. You still need a keycap kit that covers the layout. You still need to seat switches carefully so pins do not bend. You still need to test every key. If the stabilizers are poor, you may have to tune or replace them. None of this is advanced, but it is real work.
The switch sample testing guide can help before you buy a full switch set. The keycap compatibility guide is essential if the barebones board uses a compact right Shift, split spacebar, ISO support, or any nonstandard bottom row.
Full kits are for people who want the build
A full keyboard kit puts more responsibility in your hands. Depending on the kit, you may install stabilizers, prepare the PCB, choose a plate, add gaskets or foam, assemble the case, mount switches, install keycaps, flash firmware, and tune sound after the first test. Some kits are beginner-friendly. Others assume you already know how keyboard parts behave.
The appeal is control and intimacy. You learn why the stabilizer wire matters, why the plate changes sound, why a gasket can be too compressed, and why a switch that sounded good in a video feels different in your case. A full kit turns the keyboard from a product into a small instrument you assembled. For many hobbyists, that is the point.
The cost is time and uncertainty. A kit can expose every small mistake. A stabilizer may tick. A switch pin may bend. A daughterboard cable may sit awkwardly. A firmware file may not behave as expected. A beautiful case may sound hollow until you change foam or desk surface. These problems are solvable, but they require patience rather than panic.
If you are drawn to this path, read Building Your First Custom Keyboard before ordering parts. If the kit requires soldering, read the Keyboard Soldering Guide and decide honestly whether you want that skill now or later.
The upgrade path matters more than the label
The best buying format depends partly on what can change later. A hot-swap prebuilt with standard keycaps may be more upgradeable than a beautiful barebones board with an odd layout and weak firmware. A full kit with broad PCB support may be easier to maintain than a proprietary prebuilt whose replacement parts vanish. Look beyond the category name and ask how the keyboard behaves after the first month.
Switch replacement is the easiest upgrade when the board is hot-swap and uses MX-style switches. Keycap replacement is easy only when the layout is well supported. Stabilizer tuning may require opening the board, but it can transform the large keys. Firmware support matters if you want layers, macros, operating system layouts, or external modules to feel coherent. The PCB and hot-swap sockets guide explains the hardware side of that upgrade path.
Sound tuning is another hidden divider. Some prebuilts are designed to sound finished out of the box. Others are built to a price and need stabilizer work or dampening. Barebones boards may include foam and gaskets but still depend heavily on your switch and cap choices. Full kits give the most control, but also make you responsible for knowing when to stop. The keyboard foam and dampening guide is useful once you start changing the acoustic recipe.
Match the path to your real constraints
Choose prebuilt if the keyboard is mainly a tool and you want the least friction. You can still choose carefully, swap switches later, and enjoy the hobby without treating every purchase as a project. Choose barebones if you want the feel and look to be personal but prefer the case, PCB, and structure to arrive mostly sorted. Choose a full kit if the process itself sounds rewarding and you are willing to troubleshoot the small failures that teach you how keyboards work.
Budget does not answer the question by itself. A cheap kit can become expensive after switches, caps, tools, shipping, and replacements. A pricier prebuilt can be good value if it needs no immediate changes. A barebones board can be economical if you already own switches and caps, or expensive if it tempts you into buying every part twice.
The most useful test is to imagine the first evening after the box arrives. If you want to plug in a finished keyboard and get back to work, buy prebuilt. If you want to spend an hour installing switches and caps, buy barebones. If you want the desk covered in parts while you learn how the board fits together, buy a kit. The right path is the one where that evening feels like the point rather than an obstacle.