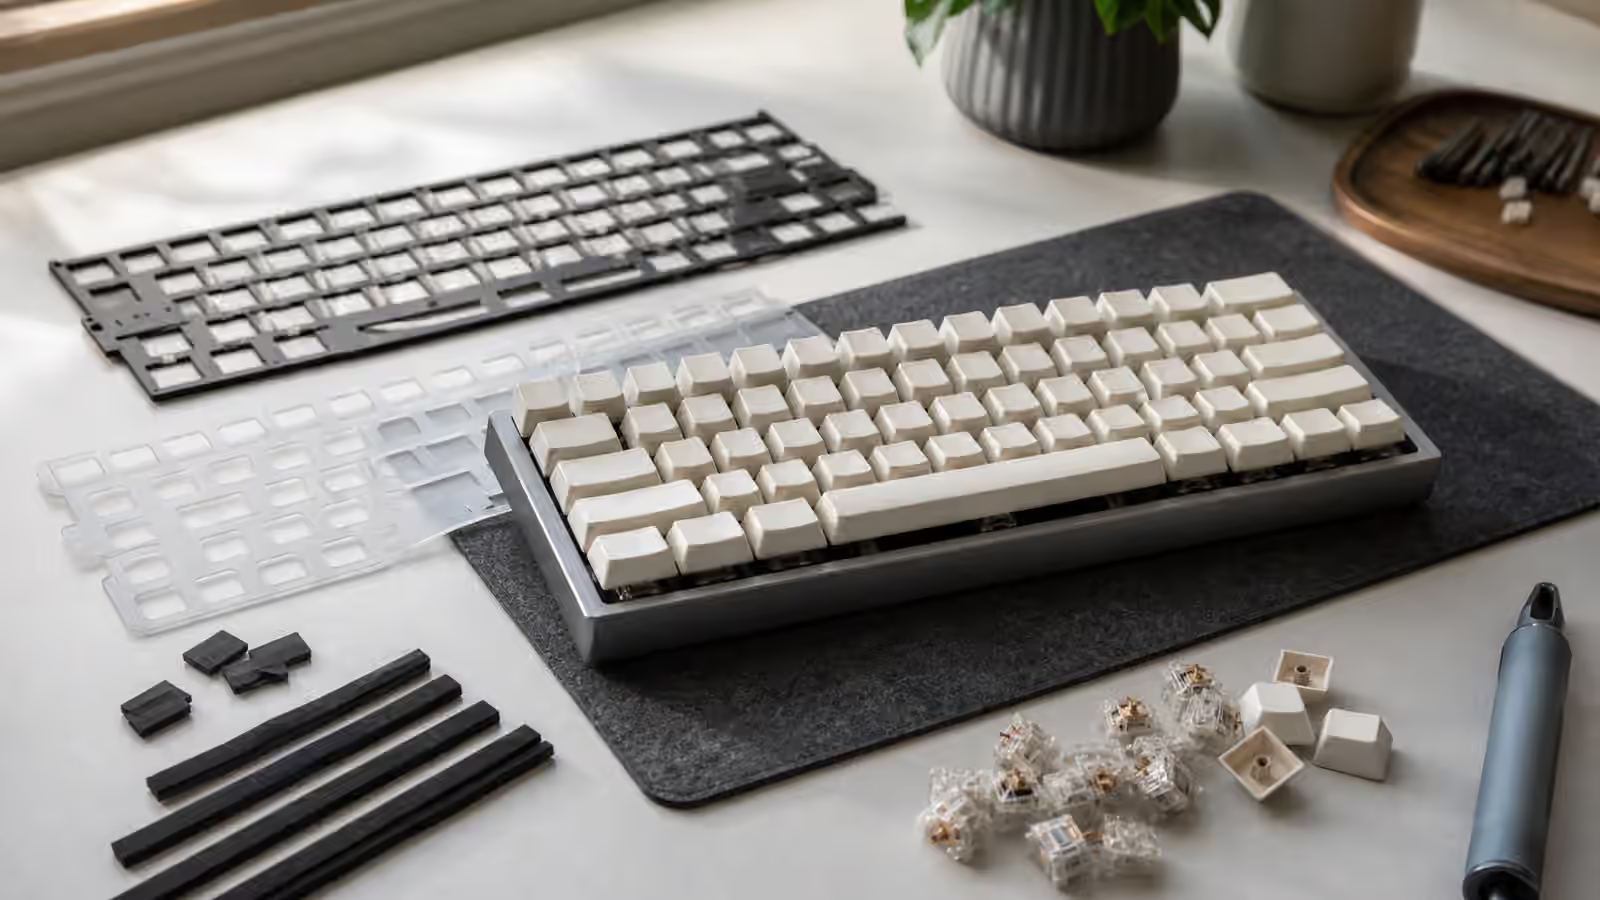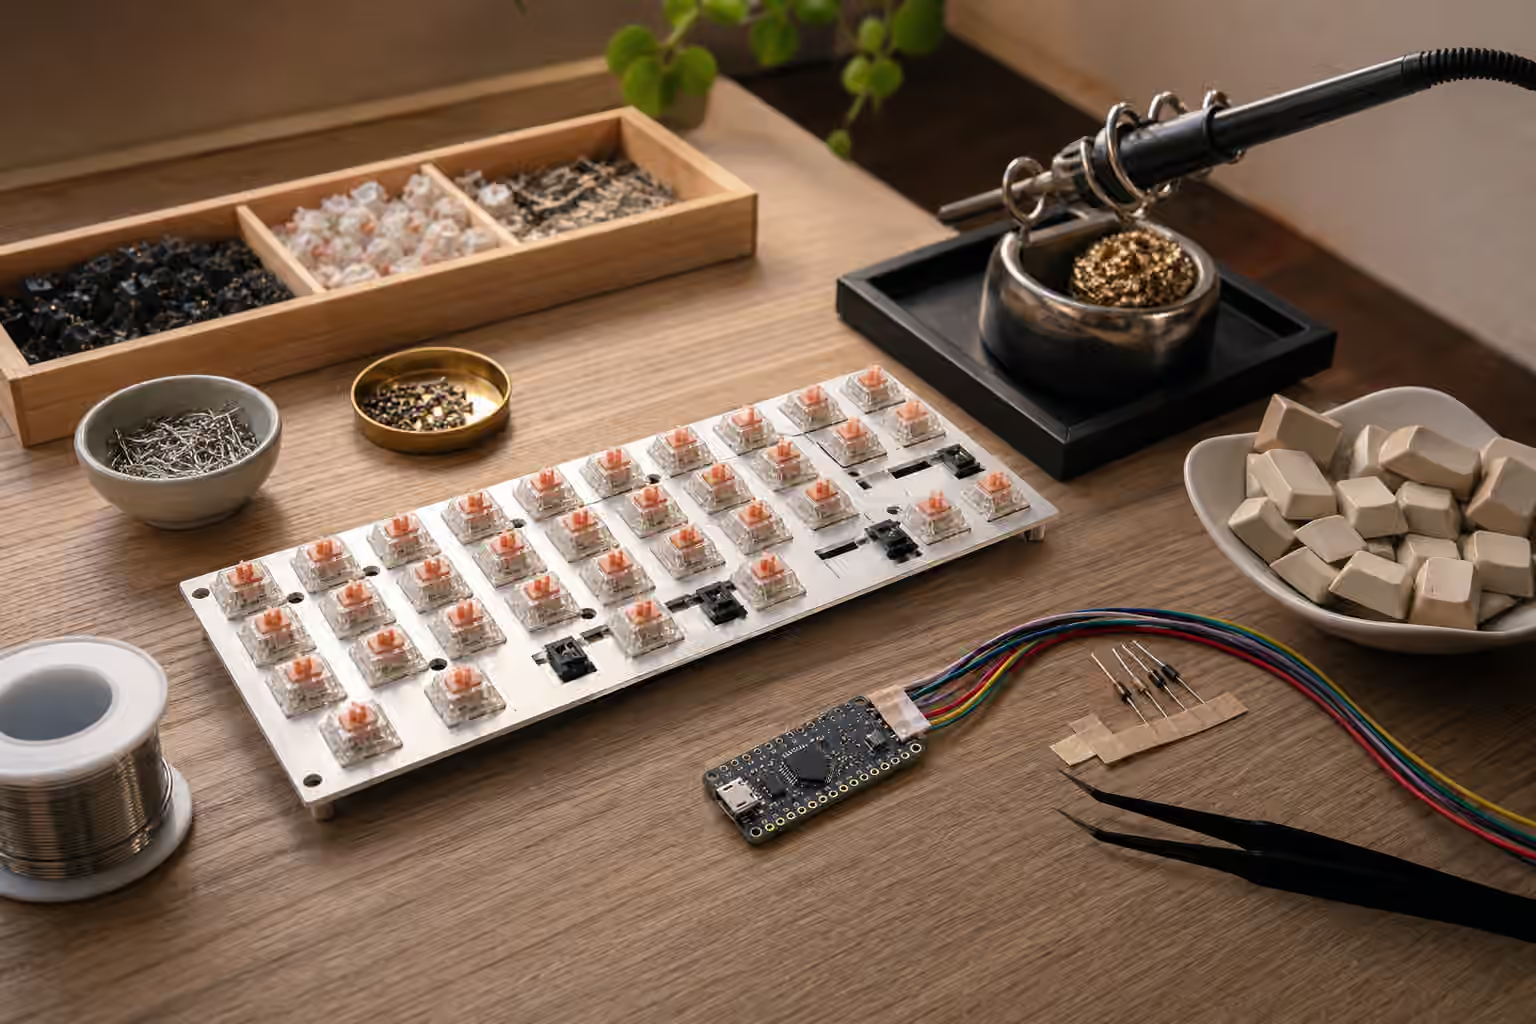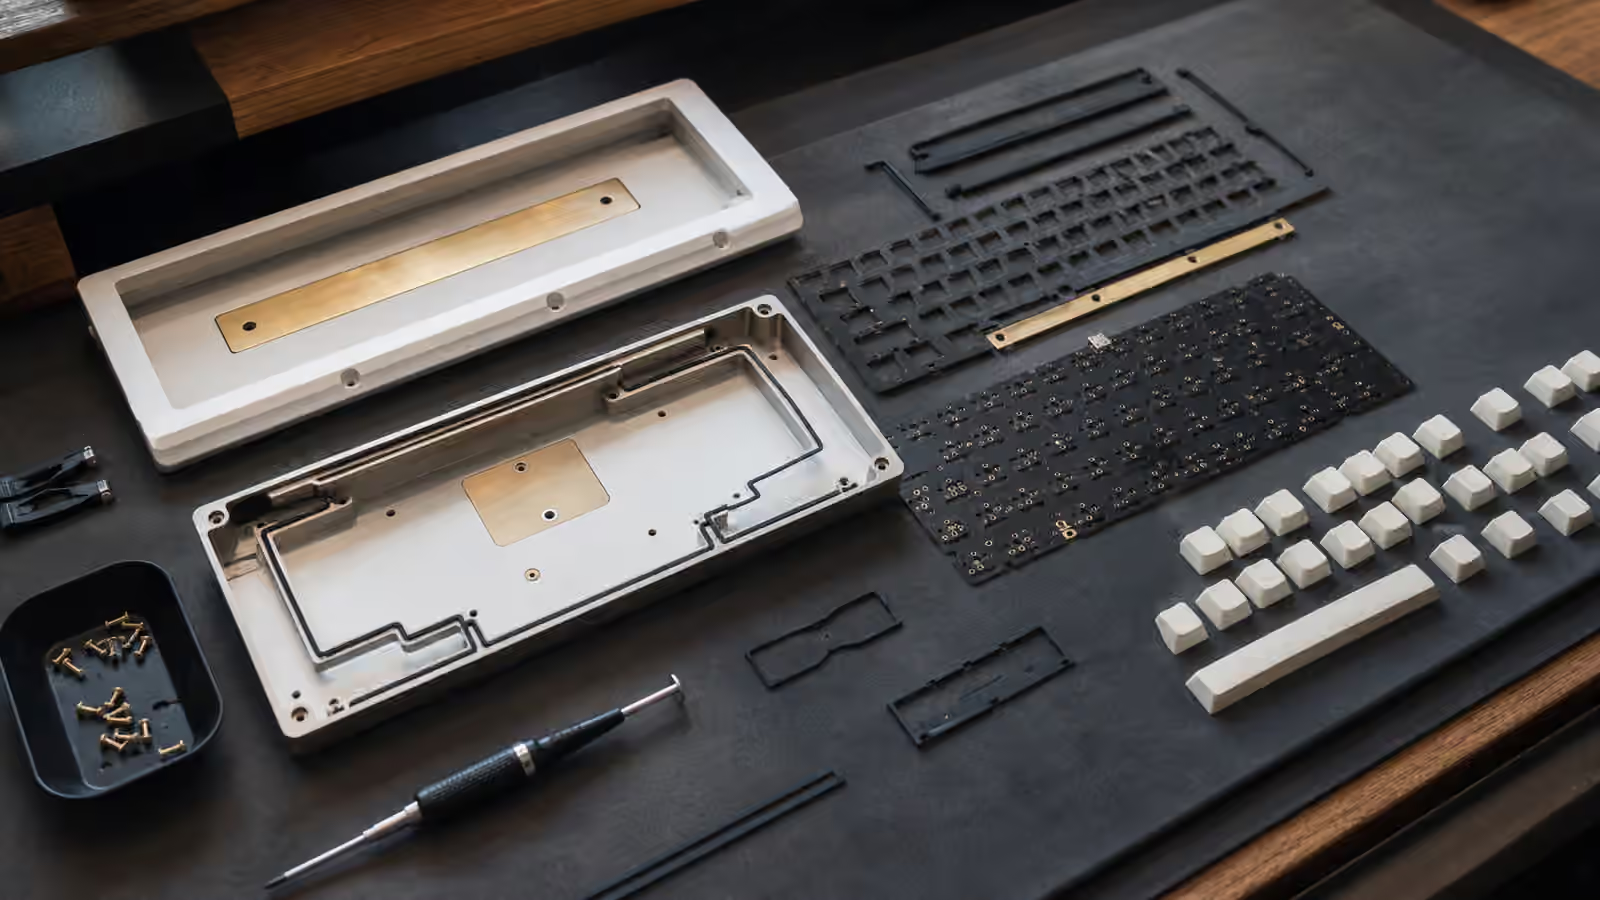
A keyboard can have good parts and still feel wrong after assembly. One screw may be tighter than the others. A gasket may sit folded under the plate. A daughterboard cable may press against foam. A USB port may line up just enough to work but not enough to feel clean. These are not glamorous problems, but they shape the final keyboard more than many people expect. Case fit and tolerances decide whether a build feels settled or slightly stressed.
This guide is for the careful middle ground between first assembly and troubleshooting. If you are building for the first time, read Building Your First Custom Keyboard before opening a kit. If a completed board has chatter, dead keys, or dropouts, use Keyboard Troubleshooting to separate fit problems from electrical ones. Here the focus is the physical alignment that makes a keyboard feel coherent.
Tolerance is not the same as quality
Every part is made with allowable variation. A plate may be slightly tight around switches. A case seam may have a tiny difference from one side to the other. A PCB may sit within its design range but still need careful positioning. Tolerance is the range in which parts are expected to fit and function. Tight tolerances can feel precise, but they can also make assembly less forgiving. Looser tolerances can make a build easier, but they can leave more room for movement.
Mechanical keyboard parts come from different processes. Machined aluminum, injection-molded plastic, cut plates, PCBs, foam sheets, gaskets, screws, and keycaps all bring their own variation. A custom kit is a stack of those variations. Most of the time the stack works well. Sometimes small differences combine. A plate that is slightly snug, a gasket that is slightly thick, and a case with close clearance can create pressure that affects feel, sound, or alignment.
Good assembly is not forcing parts into obedience. It is reading the fit as you go. If a plate does not drop into place, look for the contact point. If a screw starts crooked, back it out. If a USB port rubs the case, inspect the daughterboard or PCB position before tightening everything. The keyboard usually tells you where the stress is if you slow down enough to notice.
Screw pressure changes feel
Screws do more than hold the case closed. They set pressure across the assembly. Uneven screw pressure can make one corner feel firmer, create case ping, compress gaskets differently, or twist a plate enough to affect stabilizers. This is especially noticeable in boards with soft mounts, flexible plates, or thin cases. The more a design depends on controlled movement, the more uneven pressure can change it.
Tightening should be gradual. Bring screws into contact first, then snug them in a balanced pattern rather than fully tightening one side before the other. The exact pattern depends on the case, but the principle is the same as many small assemblies: avoid pulling the whole structure toward one corner. If a screw stops early, do not force it. It may be cross-threaded, the wrong length, or blocked by a part that is not seated.
Some boards sound better with screws backed off slightly, but this should be done carefully. Loose screws can rattle, fall out, or allow movement the design did not intend. A board should not depend on unsafe assembly to feel good. If minor screw pressure changes dramatically alter the sound, that is useful evidence about how the case transmits vibration. Pair that evidence with the Keyboard Mounting Styles and Plate Materials guide before chasing more parts.
Gaskets and pads need clean seating
Gasket mounts depend on contact surfaces. A gasket that is twisted, pinched, dusty, or misplaced will not behave like the designer intended. It may create a firm spot, a buzz, or an uneven gap. Foam pads and silicone pieces can do the same. The part may be small, but it sits in the load path between the plate assembly and the case.
Before closing a gasket board, inspect the edges. Make sure strips are seated flat and not half peeled away. Check that plate tabs meet the gaskets consistently. Look for cables or foam sheets crossing the path where the assembly needs to move. If the PCB and plate are meant to float, they need room. A soft mount compressed until it cannot move becomes a stiff mount with extra material trapped inside.
Foam can complicate this. Plate foam, case foam, switch pads, and battery padding all occupy space. They may improve sound, but they can also press the PCB upward or reduce flex. The Keyboard Foam and Dampening guide explains what each layer changes. During assembly, the question is simpler: does this material sit flat without forcing another part out of position?
Ports and daughterboards reveal alignment
USB ports are excellent alignment clues. A centered port that accepts a cable cleanly suggests the PCB or daughterboard is sitting where it should. A port that rubs one edge of the case, sits too deep, or requires cable wiggling suggests something is off. The keyboard may still work, but repeated strain at the connector can become a problem. The Keyboard Cables, USB Ports, and Desk Connectivity guide covers the daily-use side of that stress.
Daughterboard cables deserve care. A small cable can be pinched between case halves, folded sharply under foam, or pulled tight during opening. If the board uses a separate USB daughterboard, treat that cable as a moving part during assembly. Connect it fully, give it a gentle path, and check that it does not sit under a screw post or pressure point. A cable can pass a quick test and still be unhappy if the case closes on it.
Wireless boards add batteries and antennas to the same space. Battery placement can affect case closure, foam pressure, and wireless performance. Do not improvise battery movement unless you understand the design and safety implications. For normal users, the practical rule is to avoid squeezing, bending, or puncturing anything and to keep the assembly close to the intended layout.
Stabilizers expose case stress
Large keys are often the first place assembly stress becomes audible. A spacebar that sounded fine before closing the case may tick after the screws are tightened. An enter key may bind slightly if the plate is twisted. A backspace may sound different near one case corner. These changes can happen because stabilizers are sensitive to alignment, cap shape, and pressure around the plate.
Test stabilized keys before and after closing the case. If a key changes dramatically, reopen and inspect before adding more lubricant. The problem may be a wire, but it may also be the case putting pressure into the plate. The Spacebar Tuning guide covers stabilizer diagnosis in detail. During case assembly, the key lesson is to treat new large-key noise as evidence, not as an invitation to apply grease blindly.
Switch seating can also change during assembly. A switch that was not fully clipped into the plate may rise slightly when caps are installed or when the plate flexes. On hot-swap boards, a lifted switch can create intermittent contact or bent pins. Test the PCB before keycaps, then test again after caps. The Keyboard PCBs and Hot-Swap Sockets guide explains why this matters for socket health.
Use tools that protect the finish
Case fit work needs ordinary care. A proper screwdriver bit, soft cloth, parts tray, and good light prevent many mistakes. A bit that almost fits can strip a screw. A loose screw rolling under the PCB can scratch a finish. A case half placed directly on a hard desk can pick up marks before the keyboard is even built. The Keyboard Tool Kit guide covers the small tools that make this work calmer.
Avoid prying with metal tools unless the design truly requires it. Plastic clips and coated cases are easy to scar. If a case does not open, look for hidden screws under feet, badges, or covers before applying force. If the top and bottom halves separate unevenly, check for cables before pulling farther. The cost of patience is small compared with repairing a torn connector or chipped finish.
A settled build feels uneventful
Good case fit does not call attention to itself. The seams are even enough, the port accepts the cable cleanly, the screws feel secure, the plate sits without strange pressure, and the keys sound consistent across the board. The keyboard may still have a personality, but it does not feel like the parts are fighting each other.
When something feels off, work backward through the assembly. Look at pressure, seating, cable paths, screw order, and clearance before assuming the chosen switches or keycaps were wrong. Many problems that seem like taste are really fit. A board that feels stiff in one corner, noisy after closing, or unstable around the port may simply need a more careful assembly pass. The goal is not perfection under a microscope. The goal is a keyboard whose parts have enough room, support, and alignment to do their jobs.