The mechanical keyboard world is wonderful and overwhelming.
You came here because you heard the typing experience is better—crisper, more satisfying, more customizable than whatever rubber-dome board came with your computer. And that’s true. But somewhere between “I want a nicer keyboard” and “actually buying one,” you encountered a wall of terminology: Cherry MX Red, Gateron Yellow, tactile vs. linear, hot-swap, gasket mount, PBT double-shot, QMK, VIA, south-facing LEDs, plate material, stab tuning…
This guide cuts through the noise. It answers three questions in order: What size keyboard do you need? What switch type will you like? What should you spend? Answer those, and you can buy with confidence. Everything else is customization you can explore later—if you want to.
Decision 1: Size (How Many Keys Do You Actually Use?)
Keyboard size is measured by the percentage of a full-size keyboard’s keys that it includes. The smaller the board, the fewer dedicated keys—and the more you use layers (function key combos) to access what’s missing.
Full-size (100%)
~104 keys. Everything: alphanumerics, function row, navigation cluster, number pad.
Choose if: You use the number pad regularly (accounting, data entry, CAD), you don’t mind the size, or you want every key always available without layers.
Trade-off: Takes the most desk space. Pushes your mouse further away, which can cause shoulder strain during extended use.
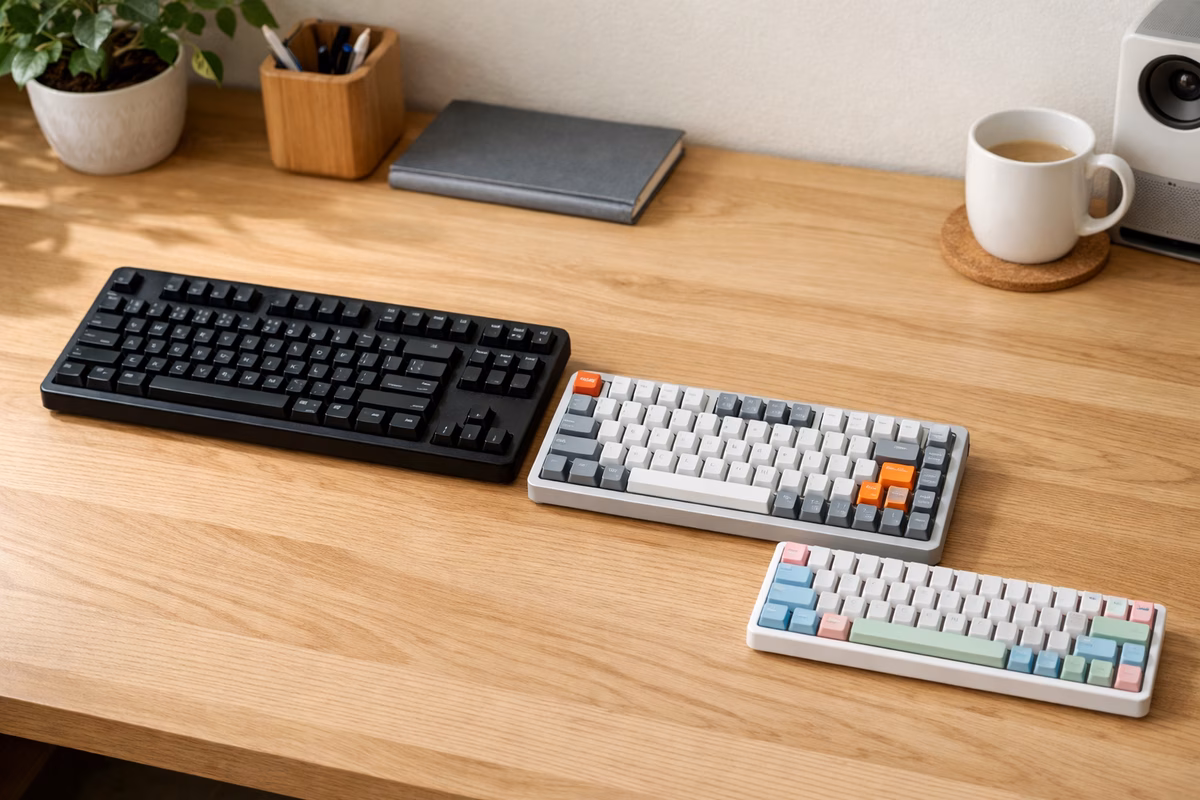
Tenkeyless / TKL (80%)
~87 keys. Full-size minus the number pad. Keeps the function row and navigation cluster.
Choose if: You want all the common keys but not the numpad. This is the most popular enthusiast size—familiar enough to use without adjustment, compact enough to free up desk space.
Trade-off: No dedicated numpad. If you enter numbers frequently, you’ll miss it (or you can buy a separate numpad later).
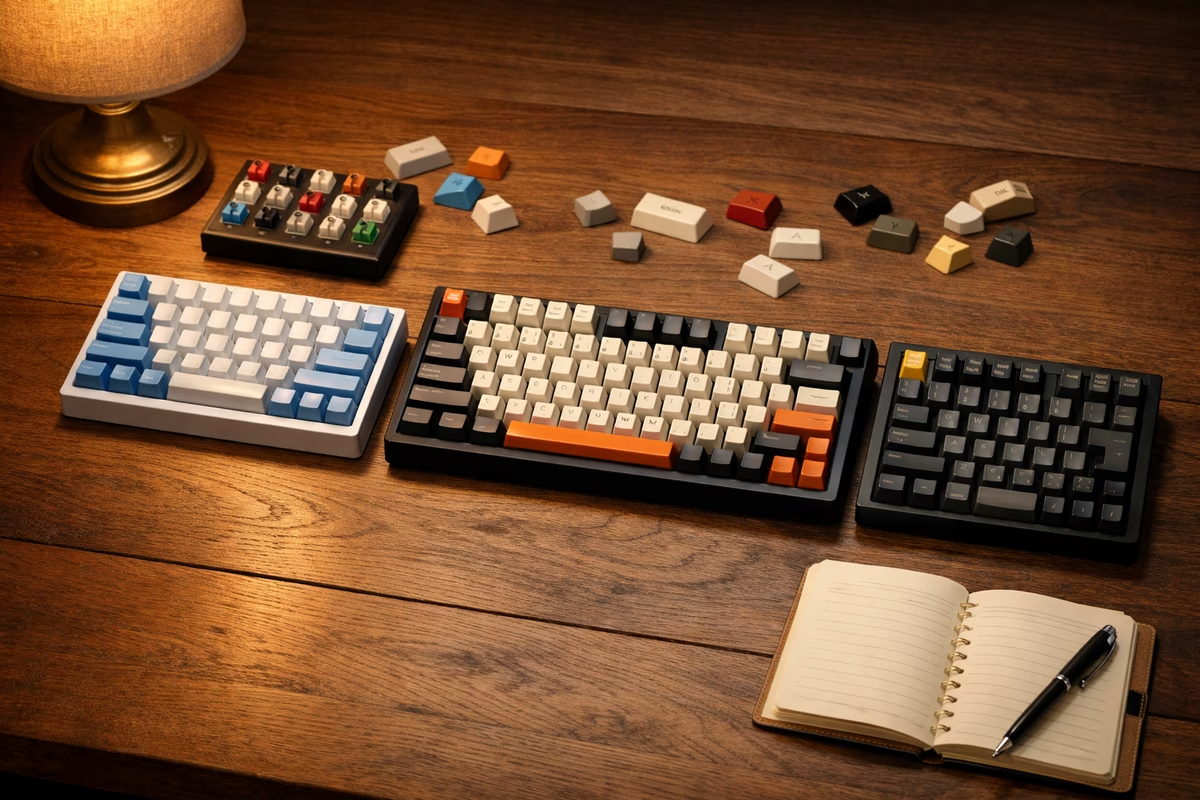
75%
~84 keys. Like a TKL but compressed—the navigation keys (Page Up, Page Down, Home, End, Delete) are pushed right against the main key block, eliminating the gap.
Choose if: You want TKL functionality in a more compact form factor. Very popular for its balance of compactness and usability.
Trade-off: Keys are packed tighter, which can feel cramped if you have large hands. Some navigation keys may be slightly repositioned.
65%
~68 keys. Removes the function row but keeps arrow keys and a few navigation keys on the right column.
Choose if: You value compactness, use arrow keys regularly, and are comfortable accessing F1–F12 through a function layer.
Trade-off: No dedicated function row. You’ll use Fn+number for F-keys. This is a problem for some workflows (gaming, spreadsheets) and irrelevant for others.
60%
~61 keys. The minimalist standard: alphanumeric keys, modifiers, and nothing else. No arrow keys, no function row, no navigation cluster.
Choose if: You prioritize maximum desk space and aesthetics, and you’re willing to learn layers. The 60% is the hobby’s iconic layout—compact, clean, and deeply customizable.
Trade-off: Everything beyond basic typing requires key combinations. Steep learning curve if you rely on arrow keys or function keys.
For detailed layout comparison, see the Layouts guide.
Decision 2: Switches (What Should Typing Feel Like?)
Switches are the mechanism under each key. They determine the feel, sound, and force of every keystroke. There are three families:
Linear
Feel: Smooth press from top to bottom. No bump, no click. Consistent resistance throughout.
Sound: Quiet (relatively). A soft thock or thud depending on the switch and board.
Best for: Gaming (fast, uninterrupted keypresses), people who prefer a smooth, quiet typing feel, office environments.
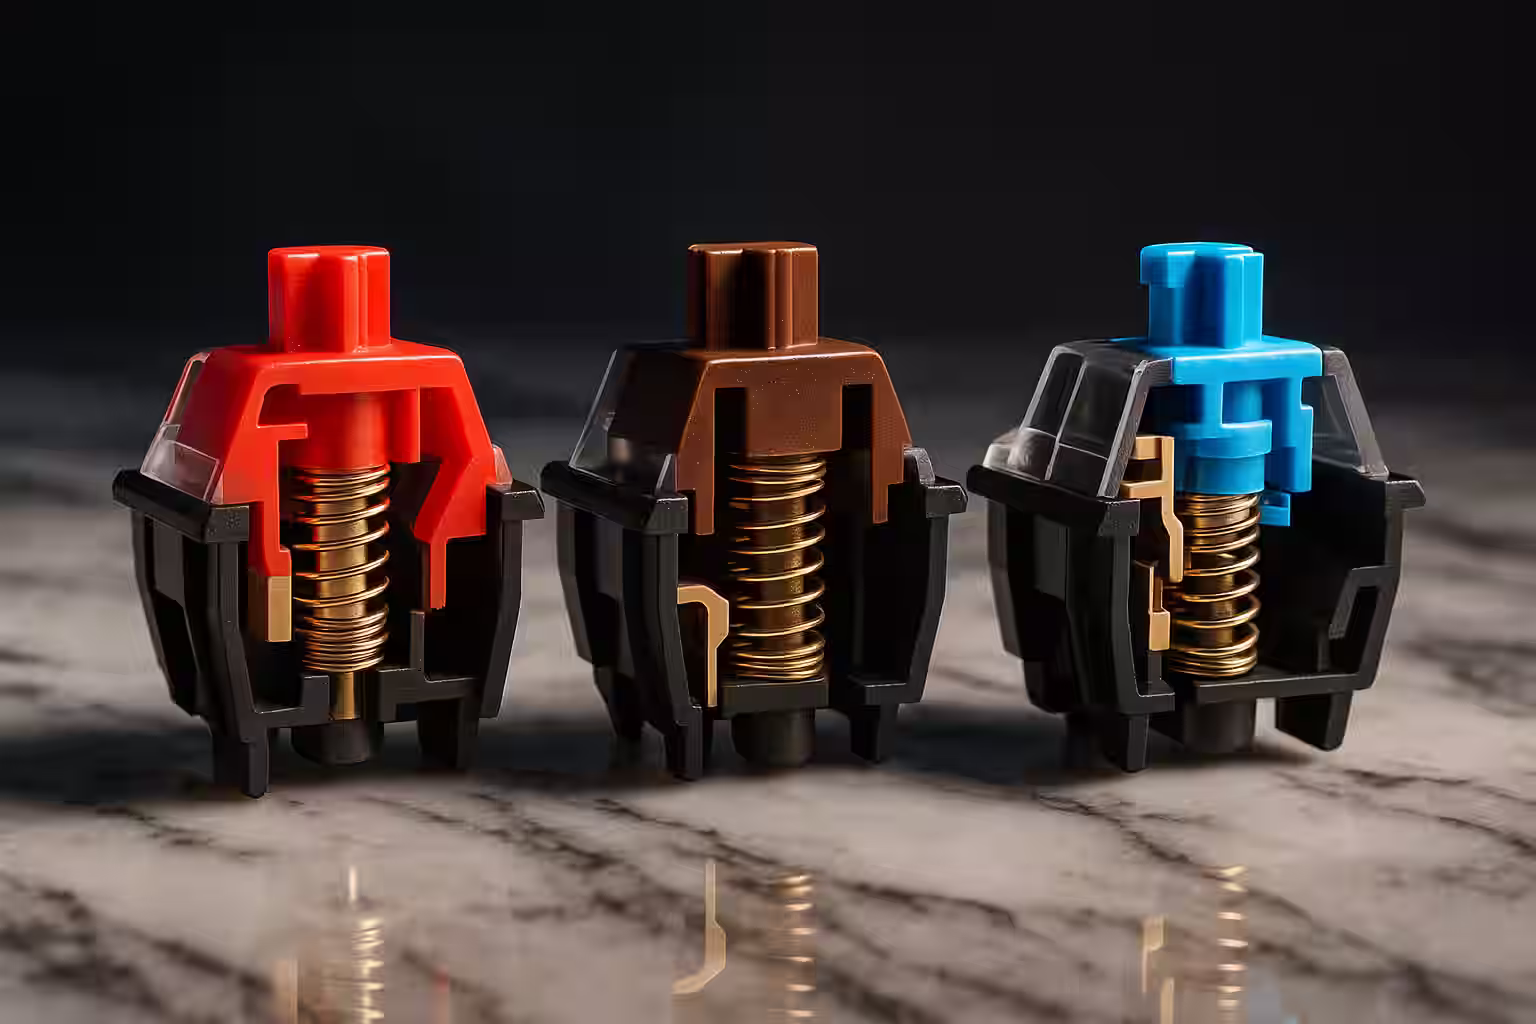
Popular examples: Cherry MX Red, Gateron Yellow, Gateron Oil King
Tactile
Feel: A noticeable bump partway through the keypress—a small “speed bump” that tells your finger the key has registered. After the bump, the key continues smoothly to the bottom.
Sound: Moderate. A muted bump sound, louder than linears, quieter than clickies.
Best for: Typing-heavy work (the bump provides feedback that helps accuracy), people who want to feel each keypress without hearing a click.
Popular examples: Cherry MX Brown, Gateron Brown, Boba U4T
Clicky
Feel: Similar to tactile (bump partway through), but with an added audible click mechanism that produces a sharp, distinct sound.
Sound: Loud. The signature mechanical keyboard sound. Very satisfying to some. Very annoying to office neighbors.
Best for: People who want the sound, solo work environments, anyone who finds the click satisfying.
Popular examples: Cherry MX Blue, Kailh Box White, Kailh Box Jade
How to Choose
| You want… | Choose |
|---|---|
| Smooth, quiet, gaming-friendly | Linear |
| Typing feedback without noise | Tactile |
| Maximum typing satisfaction, noise be damned | Clicky |
| A safe first choice | Tactile (most people find the bump pleasant and the sound acceptable) |
You cannot fully know your preference without trying switches. If possible, visit a store with a switch tester or attend a keyboard meetup. If you’re buying blind, tactile is the safest starting point. Linears are the second-safest.
For the deep dive on switch mechanics, see the Switches guide.
Decision 3: Budget (What Should You Spend?)
Mechanical keyboards range from $30 to $500+. Here’s what each tier gets you:
Entry-level: $40–$80
What you get: A solid mechanical keyboard with branded switches (Cherry, Gateron, or house-brand), decent keycaps, and standard features. Often wired-only at this price.
Limitations: Keycaps are usually ABS (shinier, thinner). Sound profile is functional but not refined. Build quality is plastic.
Good for: Testing whether you like mechanical keyboards at all. If you’ve never used one, start here. You’ll know within a week whether you want to invest more.
Mid-range: $80–$150
What you get: Better build quality (aluminum case or high-quality plastic), PBT keycaps (more durable, better texture), hot-swap sockets, wireless options, and more refined sound profiles. This is where quality jumps significantly.
Good for: Most people. A $100–$130 board from a reputable brand is a genuinely excellent keyboard that will last years and satisfy most users permanently.
Enthusiast: $150–$300
What you get: Premium materials (full aluminum or polycarbonate cases), gasket-mount designs (softer, more cushioned typing feel), premium switches, and refined acoustics. These boards are designed to feel and sound exceptional.
Good for: People who already know they love mechanical keyboards and want a significant upgrade.
Custom / High-end: $300+
What you get: Group-buy or limited-run cases, boutique switches, artisan keycaps, and the satisfaction of building something entirely personal. This is the hobby’s deep end.
Good for: Enthusiasts who enjoy the process of customization as much as the result.
What Else Matters (But Less Than You Think)
Keycaps
Keycaps are the plastic caps that sit on top of the switches. Two main materials:
- ABS: Cheaper, smoother, develops shine over time. Fine for starting out.
- PBT: More textured, more durable, resists shine. Preferred by enthusiasts.
Most mid-range boards include decent PBT caps. You can always upgrade keycaps later—it’s one of the easiest and most impactful modifications.
For keycap details, see the Keycaps guide.
Connectivity
- Wired (USB-C): Simplest, no latency, no battery concerns. Fine for desk use.
- Wireless (Bluetooth): Convenient, cleaner desk. Slight latency (usually imperceptible for typing; potentially noticeable for competitive gaming).
- Wireless (2.4GHz dongle): Low latency wireless. Best of both worlds for gaming.
Build material
- Plastic: Lighter, lower cost. Sounds higher-pitched.
- Aluminum: Heavier, more premium feel. Sounds deeper and more solid.
Software
Boards with QMK/VIA support offer the most customization (remap any key, create macros, adjust lighting). Boards with proprietary software vary in quality. For a first board, this matters less than size and switches.
A Buying Checklist
Before you click “buy,” confirm:
- Size matches your workflow needs
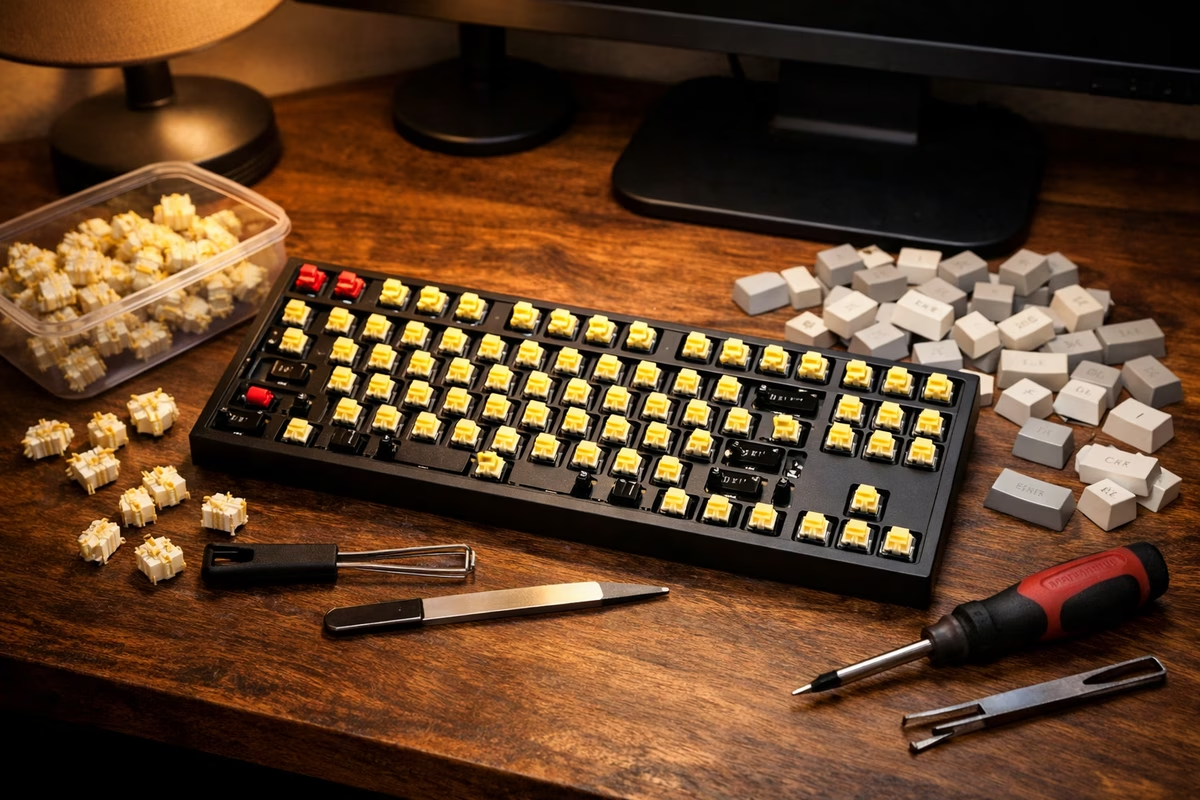
- Switch type matches your preference (or the board is hot-swap so you can change later)
- Budget is in a range you’re comfortable with
- Hot-swap sockets (strongly recommended for first board)
- Connectivity matches your setup (wired vs. wireless)
- Reviews exist from keyboard communities (Reddit r/MechanicalKeyboards, YouTube reviewers, enthusiast forums)
The First-Keyboard Recommendation
If you’ve read this entire guide and still can’t decide, here’s a safe default:
Buy a 75% or TKL, hot-swap board with tactile switches, in the $80–$130 range.
This gives you: familiar layout, good typing feel, the ability to experiment with switches later, and quality that will satisfy you for a long time—possibly permanently.
Use it for a month. If you’re happy, stop. If you’re curious, the Building guide, Modding guide, and Switch guide are waiting.
Next Steps
- Read Switches: The Complete Guide for the full switch breakdown
- See Layouts Explained for detailed size comparisons
- Explore Keycaps for understanding what sits under your fingers
- Try Your First Custom Build for the story of going deeper
- Check The Meetup That Changed My Keycaps for why the community is half the hobby