Gasket mount is often described as soft, premium, or isolated, but the real behavior depends on compression. The gasket material is only one part of the system. How tightly the case closes, where the gaskets sit, how much foam fills the cavity, how stiff the plate is, and how evenly the screws are tightened all decide whether the keyboard feels suspended, firm, muted, lively, even, or strangely inconsistent.
That is why two gasket keyboards can feel nothing alike. One may have a soft center, gentle sound, and clear rebound. Another may feel like a tray mount wrapped in marketing because the assembly is clamped hard between case halves. A third may sound pleasant but feel uneven because one side is compressed more than the other. Gaskets do not guarantee a result. They create a tuning range.
The broader Keyboard Mounting Styles and Plate Materials guide explains where gasket mount sits among tray, top, sandwich, and other designs. This guide focuses on the small adjustments after a gasket board is already on the desk or workbench.
What compression actually changes
In a gasket-mounted keyboard, the plate and PCB assembly usually rests against soft strips, tabs, socks, or pads that separate it from direct case contact. When the case closes, those gaskets compress. Light compression can let the assembly move slightly and reduce harsh contact with the case. Heavy compression can remove much of that movement and make the board feel firmer.
Compression changes sound because it changes how vibration moves into the case. If the assembly barely touches the case through soft gaskets, less energy transfers directly into the shell. The sound may become softer or less metallic. If the gaskets are squeezed hard, the assembly couples more strongly to the case and can sound sharper or denser. Neither result is automatically better. A heavy aluminum case may benefit from more isolation. A plastic case may need enough contact to avoid sounding hollow.
Compression also changes feel. A lightly supported plate can flex or rebound under typing force, especially with a softer plate material. A tightly compressed build can feel more immediate and controlled. The mistake is assuming more softness is always more comfortable. Too little support can make the board feel vague. Too much clamp can make the gasket design irrelevant.
Screw tension is a tuning tool
Case screws are not only fasteners. In many gasket boards, they control how much pressure the case halves apply to the internal assembly. Tightening every screw as hard as possible may make the case feel secure, but it can also over-compress the gaskets. Leaving screws too loose can create case creak, uneven sound, or visible gaps. The useful middle is firm enough to hold the case evenly without crushing the mount.
Work gradually. Seat all screws lightly first, then tighten in small passes around the case. This helps the pressure distribute evenly. If one corner is tightened fully before the others are seated, the assembly can shift or compress unevenly. That unevenness may show up as one side of the board sounding higher, one corner feeling dead, or the case seam looking slightly off.
After tightening, type across the board before replacing every decorative piece. Press the corners, center, stabilized keys, and spacebar. Listen for case buzz, sharp contact, or a section that feels firmer than the rest. If one area seems over-compressed, loosening nearby screws a small amount may reveal whether tension is the cause. Do not treat screw tension as a mystical sound mod. Treat it as mechanical fit.
Foam can defeat the gasket
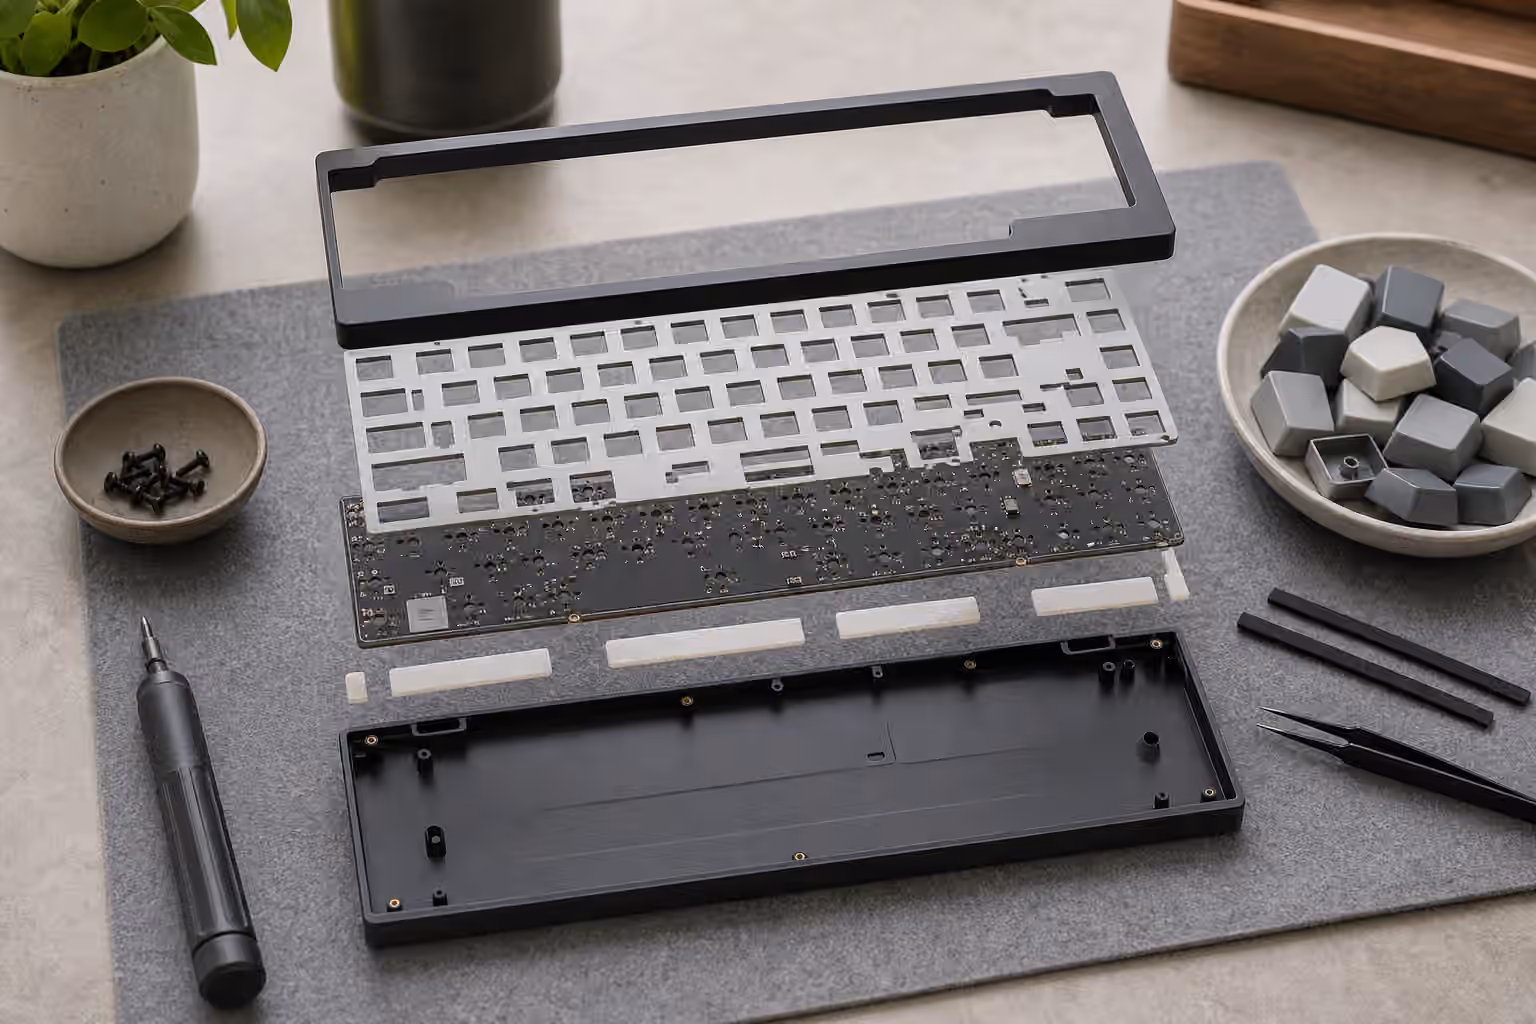
Foam and gaskets interact constantly. Case foam below the PCB can support the internal assembly from underneath. That may reduce hollow sound, but it can also remove the suspended feel by giving the PCB a floor to press against. Plate foam can reduce sharpness around the switches, but it can also flatten the response so the gasket movement becomes harder to feel. PE foam and tape can add their own sound color, sometimes masking what the mount is doing.
The Keyboard Foam and Dampening guide covers each layer in more detail. For gasket tuning, the simple question is whether the foam is floating with the assembly or wedging it into place. If foam is thick enough to press the PCB upward before the case is closed, the gasket is no longer the only support. If a battery, daughterboard cable, or foam stack is crowded under the PCB, the board may feel firm because it is internally packed, not because the gasket is well chosen.
A useful test is to remove one layer at a time if the board feels lifeless. Try the build with no case foam, then with a thin layer, then with the full stack. The difference may be obvious. Some boards need foam to sound coherent. Others were designed to breathe and lose character when every gap is filled. The best gasket tuning often uses less material than expected.
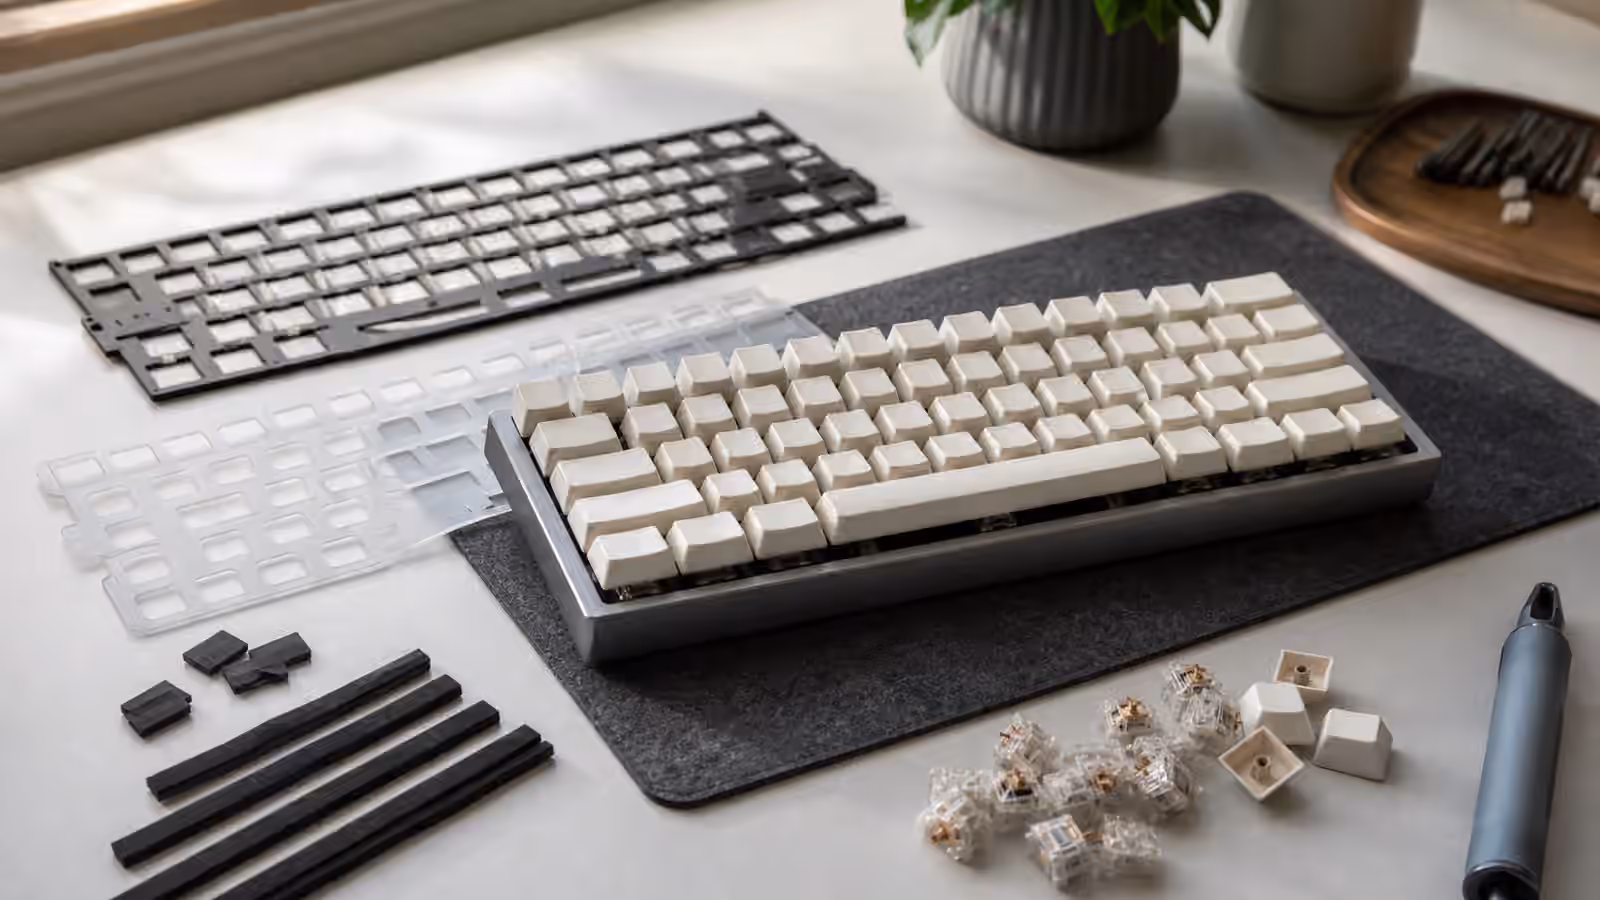
Gasket material and placement
Gaskets vary in softness, thickness, shape, and contact area. Poron strips, silicone socks, rubber tabs, foam pads, and molded pieces all compress differently. A soft gasket with a large contact area may still feel firm because so much material is touching the plate. A firmer gasket with small contact points may feel more active because the assembly has room to move. Material names help, but geometry matters just as much.
Placement decides which keys feel supported. If gaskets sit mainly near the edges, the center may flex more. If there are support points near the spacebar, the bottom row may feel firmer. If one strip is folded, missing, or misaligned, that side can buzz or sit low. Before changing switches or plates, inspect whether every gasket is actually where it belongs.
Adhesive-backed gaskets deserve patience. Once compressed, some materials take a set and do not rebound fully. Pulling them off repeatedly can stretch or tear them. If the kit includes spare gaskets, keep them organized. If it does not, measure before improvising replacements. A random craft foam strip may work as an experiment, but it may also change the case fit enough to create new problems.
Plate choice changes the gasket’s voice
A gasket mount with a stiff plate can still feel relatively firm. A gasket mount with a soft plate can feel much more cushioned. Aluminum, FR4, polycarbonate, POM, and brass each bring their own stiffness and sound. The gasket does not erase those differences. It frames them.
This matters when diagnosing a board. If you expected a floating feel but chose a brass plate, heavy keycaps, firm switches, thick foam, and tight case screws, the gasket may be doing less than you imagined. If you expected crisp response but chose a very soft plate with loose gaskets and silent switches, the board may feel too padded. Neither outcome means the mount is fake. It means the parts are pulling in the same or opposite directions.
The Keyboard Plate Flex and Typing Feel guide is useful when you are deciding whether the plate, not the gasket, is the part to change. A gasket board can be tuned through screws and foam, but plate material is a deeper character choice.
Stabilizers and large keys
Large keys reveal gasket tuning because they spread force across a wider area. A spacebar that sounds clean with the case open may change once the case compresses the assembly. If the bottom row sits near thick foam or a tight case lip, the spacebar can lose depth or develop a hard tick. If the plate moves too freely, a large key may feel less stable than the alphas.
Do not blame the gasket before tuning the stabilizer. A ticking wire, uneven lube, warped spacebar, or loose stabilizer housing can dominate the sound no matter how the mount behaves. The Spacebar Tuning and Complete Stabilizer Guide cover that work. Once the stabilizer itself is reliable, gasket compression becomes easier to hear.
The case can also create contact points near the spacebar. A long key sits low, moves more visibly, and can reveal interference between keycap, plate, foam, and case. If a spacebar feels oddly stiff only after assembly, open the case and look for pressure under that area. A small foam shift can feel like a mount problem.
A practical tuning sequence
Start from the stock build if possible. Assemble the board as the maker intended, test it, and write down what bothers you. If the sound is hollow, test case foam. If the feel is too firm, check screw tension and foam compression before replacing switches. If one side feels different, inspect gasket placement and case closure. If the board is too muted, remove dampening before adding more.
Change one variable at a time. Gasket boards invite experimentation because the effects are physical and immediate, but stacking changes makes the result hard to understand. A new plate, new foam, looser screws, and different gaskets may produce a better board, but you will not know which change mattered. Careful tuning is slower and more useful.
The goal is not maximum flex or minimum sound. The goal is a keyboard that feels even, sounds controlled, and supports your typing without drawing attention to its mechanics. Good gasket tuning often disappears. The case closes cleanly, the keys respond consistently, the spacebar does not fight the rest of the board, and the mount adds a little softness without making the keyboard feel asleep. When that happens, the gasket is no longer a buzzword. It is doing quiet mechanical work.