The sound came first.
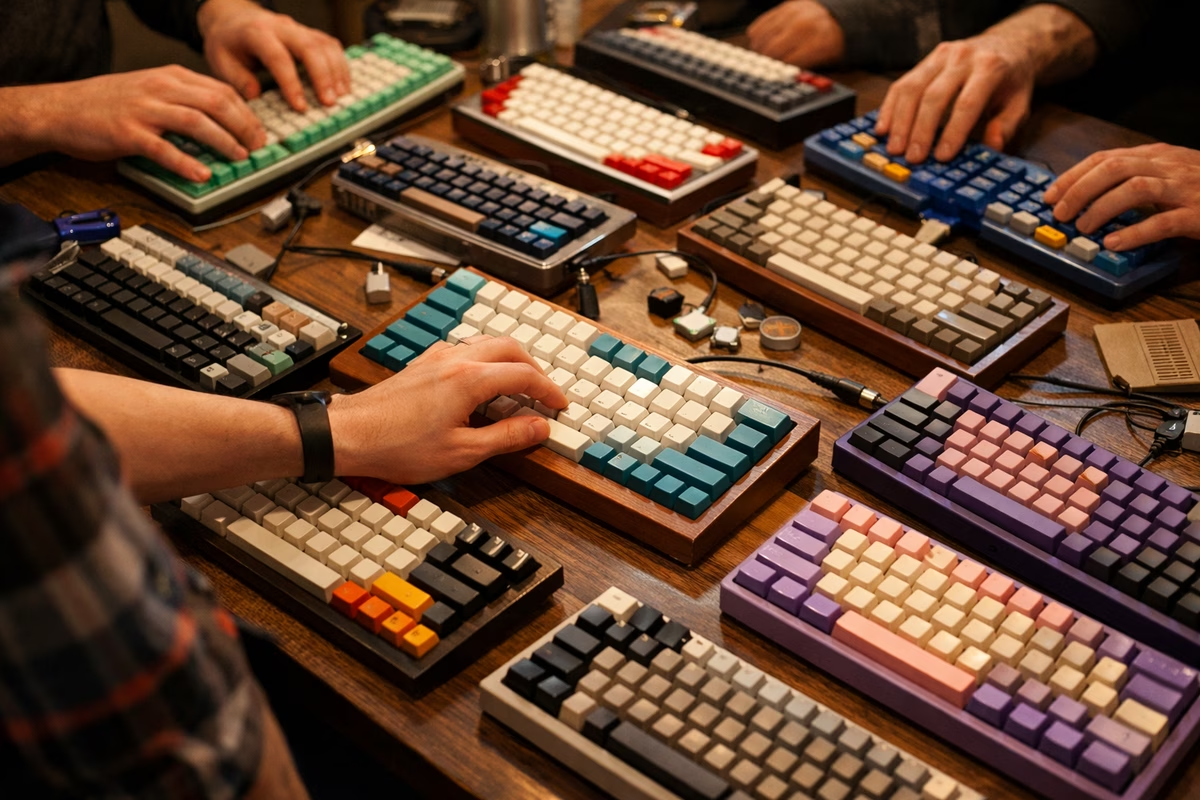
I was at a meetup—my first—in a community center basement that smelled like floor wax and someone’s leftover lunch. Twenty people, forty keyboards, and a noise I’d never heard before: a soft, deep, even rhythm. Not the clacking of a keyboard in a movie. Not the mushy press of my office membrane board. Something between rain on a window and a distant drum.
I followed the sound to a board at the far table. It was compact—65%, I’d later learn—in a dark aluminum case with pale blue keycaps. The builder, a quiet person named Kit, said I could try it.
I typed a sentence. Then another. Then I sat there for five minutes, typing nothing in particular, just feeling each keypress travel smoothly to the bottom and bounce back, hearing that soft, satisfying thock with every stroke.
“What is this?” I asked.
“It’s just switches, a plate, some foam, and a case,” Kit said. “But those switches are lubed, and the stabilizers are tuned. That’s most of the magic.”
Three months later, I had built my own. It sounded different from Kit’s board—more of a crisp clack than a deep thock—but it was mine, and the feeling of typing on something I assembled with my own hands was unlike anything I expected.
This is the story of that build, and the practical lessons that will help you do the same.
Part 1: Deciding what you actually want
The biggest mistake new builders make is starting with a parts list. The right starting point is a question: What do you want this keyboard to feel and sound like?
Everything else follows from that answer.
The feel spectrum
Keyboard feel comes primarily from the switch—the mechanism under each key.
Linear switches press straight down with no bump and no click. They feel smooth and fast, and people often describe them as “buttery” when lubed. Tactile switches add a small bump partway through the press, giving your fingers feedback without adding a click. Clicky switches add both a bump and an audible click; they can be satisfying at home and miserable in a shared office.
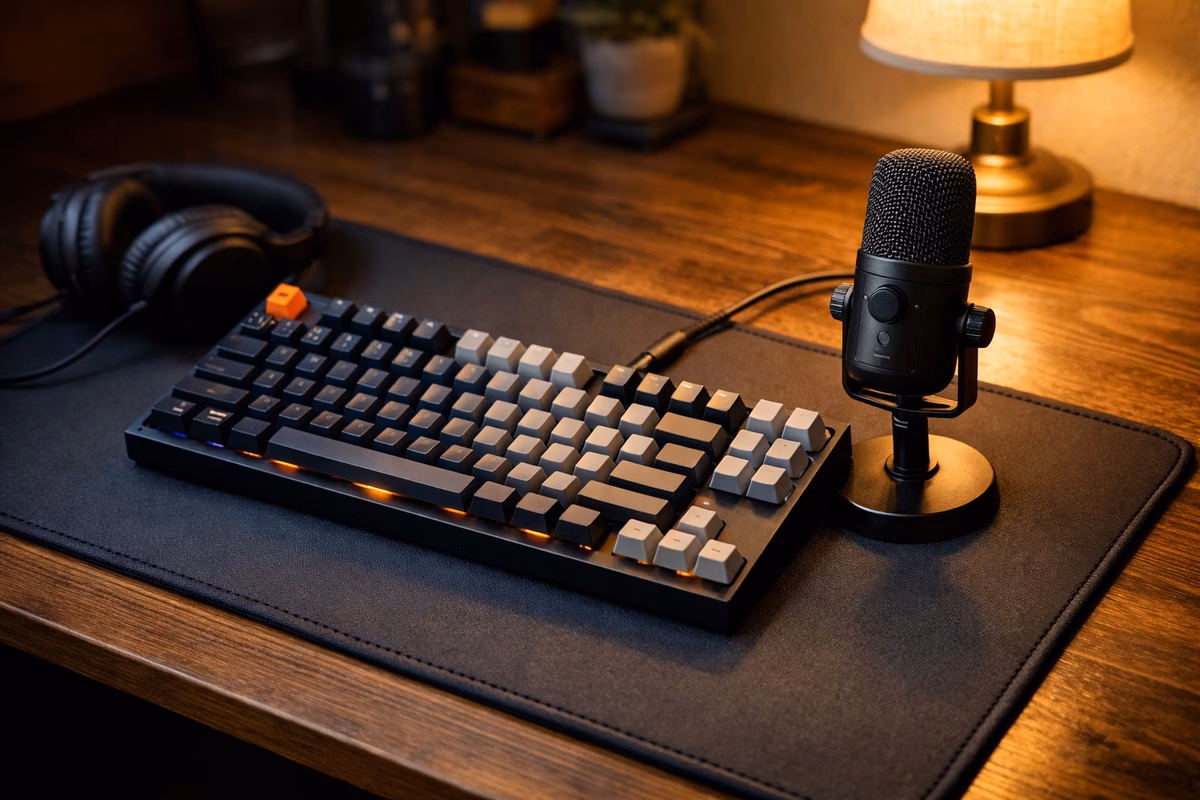
The sound spectrum
Sound is where custom keyboards become emotional. It’s the thing that draws people in at meetups and the reason builders spend hours with foam and tape. The two poles are usually called thocky and clacky: thocky is deeper, more muted, almost hollow; clacky is higher-pitched, crisper, and more present. Heavier switches, gasket mounts, and dampening materials push a board deeper. Lighter switches, stiffer mounting, and less dampening keep it brighter. Neither is better. They’re moods.
Most first-time builders aim for something in between: a clean, even sound without excessive ping or rattle.
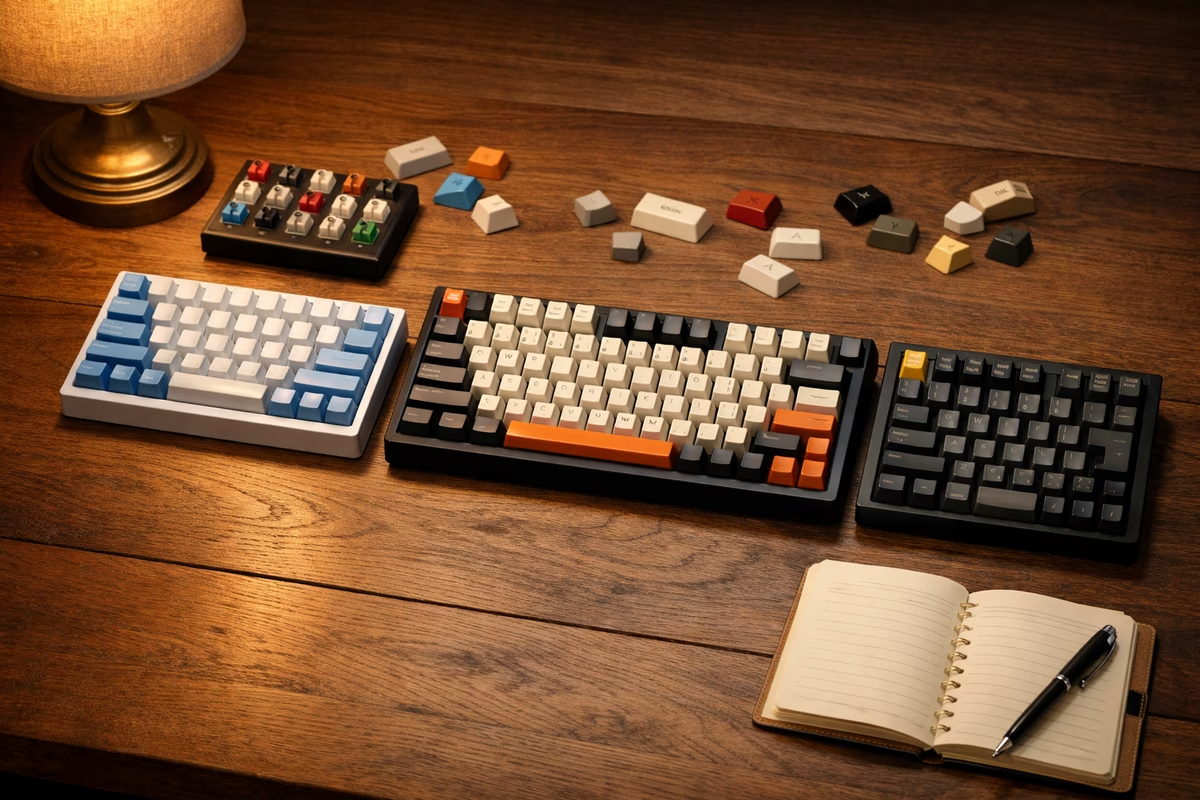
Part 2: Choosing your components
A custom keyboard has five main components. Let’s walk through each one.
1. The case
The case is the body. It determines the look, the weight, and a surprising amount of the sound.
Aluminum is the most popular enthusiast material because it feels heavy, looks clean, and gives the board a clear, resonant sound. Polycarbonate is lighter, often translucent, and usually pushes the sound deeper. Acrylic can give a similar see-through look, though it can be more brittle.
Mounting style matters just as much as material. Tray mount boards screw the PCB directly to standoffs in the case; they are simple and common in budget kits, but they can feel stiff. Gasket mount boards cushion the plate between the top and bottom case with rubber or silicone, which usually makes the feel softer and the sound more damped. Top mount attaches the plate to the top case, landing somewhere firm but less harsh than many tray mounts.
For a first build, I’d recommend a gasket-mount aluminum or polycarbonate case in 65% or 75% layout. It’s the sweet spot of build quality, typing feel, and value.
2. The PCB (Printed Circuit Board)
The PCB is the brain. It registers your keypresses and sends them to your computer.
The key decision: hot-swap vs. soldered.
Hot-swap PCBs let you insert and remove switches without soldering, which means you can experiment without committing. This is what you want for a first build. Soldered PCBs require each switch to be soldered in place; they feel more permanent, but they can support more exotic layouts and are still common in some enthusiast kits.
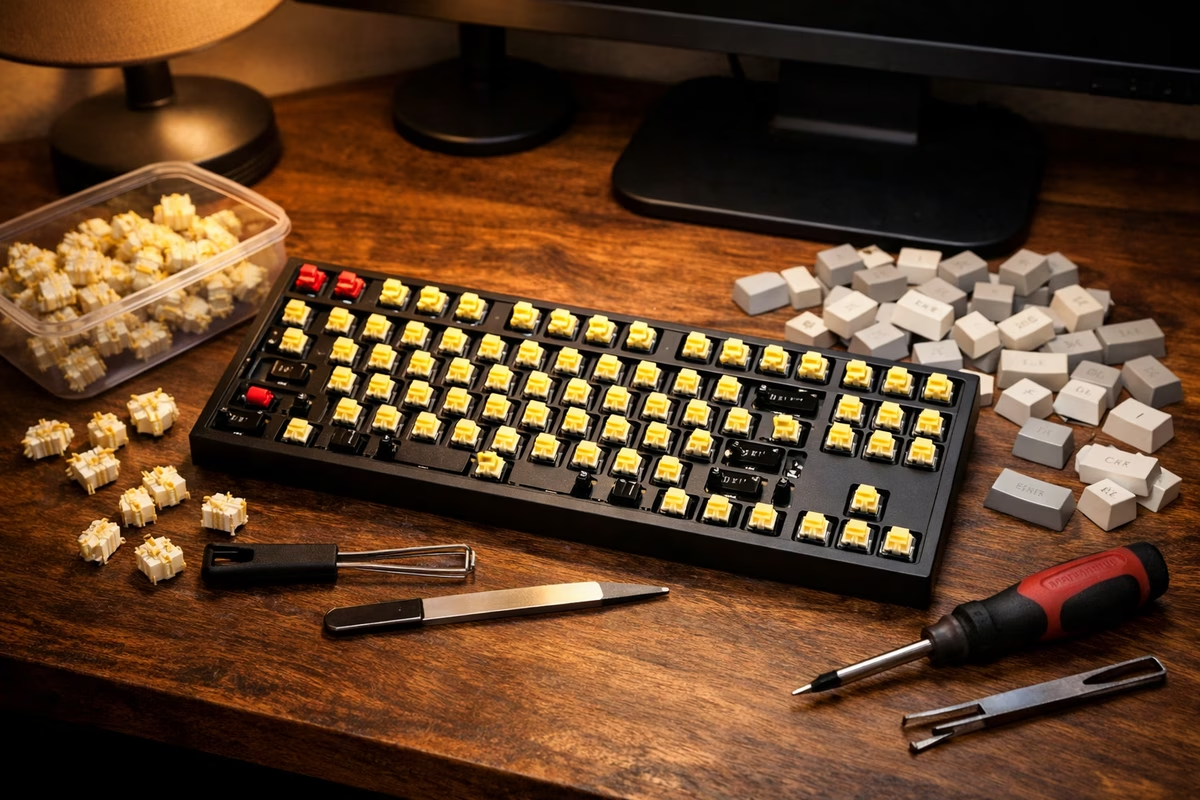
3. Switches
You already know the three types (linear, tactile, clicky). Here are specific recommendations for a first build:
For linears, Gateron Yellow is the practical baseline: smooth, affordable, and surprisingly good stock. Gateron Oil King is the easier premium-feeling choice if you want a pre-lubed switch with a deeper sound. For tactiles, Akko CS Lavender Purple gives a crisp, affordable bump out of the box, while Boba U4T is the community-favorite version of a pronounced tactile bump with a deep sound and no click.
Buy 5–10 extra switches beyond what you need. You’ll appreciate the spares.
4. Stabilizers
Stabilizers (stabs) support the longer keys: spacebar, shift, enter, backspace. They are, without exaggeration, the single component that most affects whether a keyboard sounds professional or amateurish.
Stock stabilizers often rattle and tick. The fix:
Clip the extra legs on plate-mount stabs, or buy pre-clipped screw-in stabs. Lube the wires and housing with dielectric grease. If you want to go further, the band-aid mod adds a small piece of fabric bandage on the PCB where the stabilizer wire hits, reducing bottom-out noise.
This takes 30 minutes and transforms the sound. Don’t skip it.
5. Keycaps
Keycaps are the part you touch and see. They affect feel, sound, and aesthetics.
PBT keycaps are textured, durable, and resistant to shine; they often make a board sound a little deeper. ABS keycaps feel smoother and can develop shine over time, but they allow sharper legends and brighter colors. Profile is the keycap shape: Cherry profile is low, sculpted, comfortable, and familiar; SA is tall and retro with a deeper sound; DSA and XDA are uniform-height profiles that are easy to rearrange.
For a first build, PBT Cherry-profile keycaps are the safe, excellent choice.
Part 3: The build (it’s easier than you think)
Building a hot-swap keyboard takes about 60–90 minutes. Here’s the process.
Before you start
Lay everything out on a clean, well-lit surface. A small Phillips screwdriver, tweezers for stabilizer work, dielectric grease, and a small brush will cover the basic build. Switch-lubing supplies such as Krytox 205g0 are optional; for a first build, stabilizer tuning matters more.
Step 1: Prepare the stabilizers (30 minutes)
This is the most important step.
- Disassemble each stabilizer into its housing and wire
- Apply a thin layer of dielectric grease to the wire ends and the inside of the housing where the wire contacts it
- Reassemble carefully—the wire should snap in and move smoothly
- Install screw-in stabs on the PCB (if applicable)
- Test each one by pressing down on the housing. It should be smooth and quiet. If it rattles, disassemble and re-lube
Step 2: Install switches (15 minutes)
With a hot-swap PCB, this is gloriously simple:
- Place the plate on top of the PCB (align the mounting points)
- Insert switches into the plate holes, pressing firmly until they click into the hot-swap sockets
- Make sure the switch pins are straight before inserting—bent pins are the #1 cause of switches not working
- Test with tweezers or by plugging in and pressing each switch. Fix any non-responsive keys (usually a bent pin)
Step 3: Add foam and dampening (optional, 10 minutes)
Most kits come with case foam or you can cut your own from shelf liner.
Foam between the PCB and case reduces hollow case ping. Foam between the plate and PCB cuts some high-frequency noise. Material inside the case bottom adds mass and absorbs resonance.
Start with the foam that comes with your kit. You can experiment later.
Step 4: Assemble the case (10 minutes)
Place the PCB/plate assembly into the case. If it’s gasket mount, align the gaskets. Screw the case together gently—over-tightening can affect feel and sound.
Step 5: Install keycaps (10 minutes)
Press each keycap onto its switch stem. Start with the stabilized keys (spacebar, shifts, enter) to make sure the stabs are working correctly. If the spacebar sounds rattly, remove it and re-tune the stabs.
Step 6: Test and enjoy
Plug in, open a typing test site, and type.
The first few words on a keyboard you built yourself feel different from anything you’ve typed before. Not because it’s technically superior—but because it’s yours. Every keypress passes through decisions you made: the switch you chose, the stab you lubed, the keycap you picked.
The ending: the sound that belongs to you
My first build didn’t sound like Kit’s board. It didn’t thock the same way. It was higher-pitched, a little brighter, with a crispness that came from the aluminum case and the slightly lighter switches I’d chosen.
But when I settled into a rhythm—writing an email, then a paragraph, then losing myself in a long document—I heard something familiar underneath the sound. Not rain on a window this time. More like a stream over pebbles. Steady. Even. Mine.
That’s the secret nobody tells you about custom keyboards: the point isn’t to build the best keyboard. The point is to build your keyboard. To make the tool you use every day feel intentional, personal, and just a little bit alive.
Every build after the first is an iteration. A different switch. A new foam technique. A layout you hadn’t considered. The hobby keeps giving because the instrument keeps evolving.
But the first build? That’s the one that changes everything.
Next steps
For the full switch breakdown, read the Switches Guide . To shape the voice of a board, continue with Sound Profiles . For the part of the build most likely to affect rattle, use the Stabilizers guide. The Keycaps guide covers materials, profiles, and group buys, and the Modding Guide is the next stop once you’re ready to experiment further.