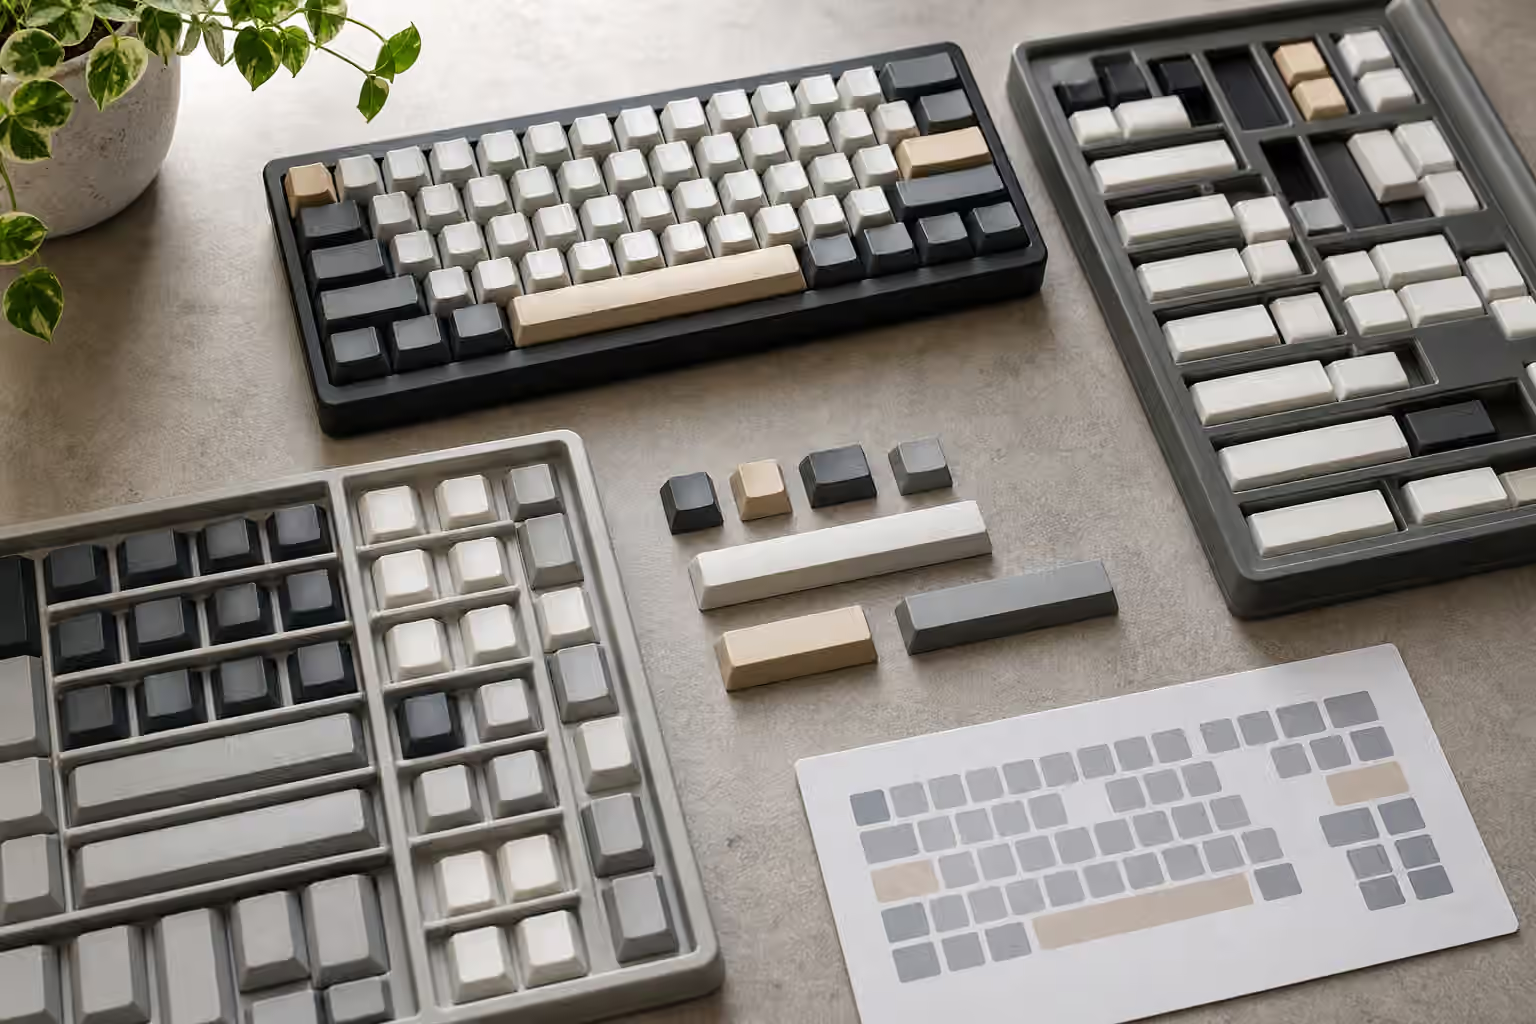
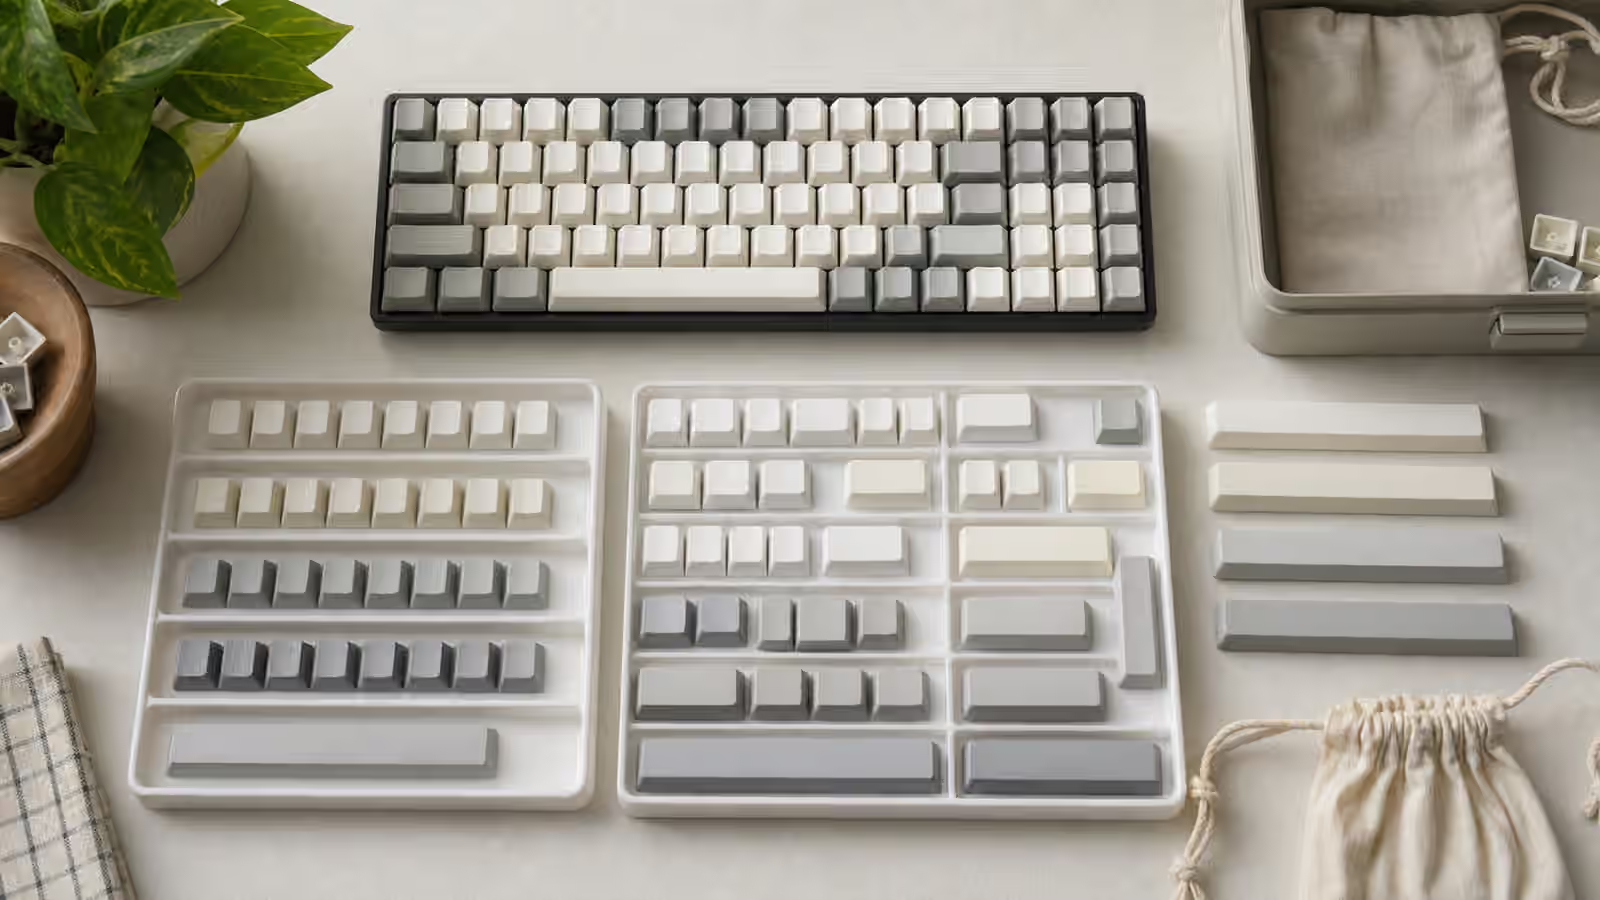
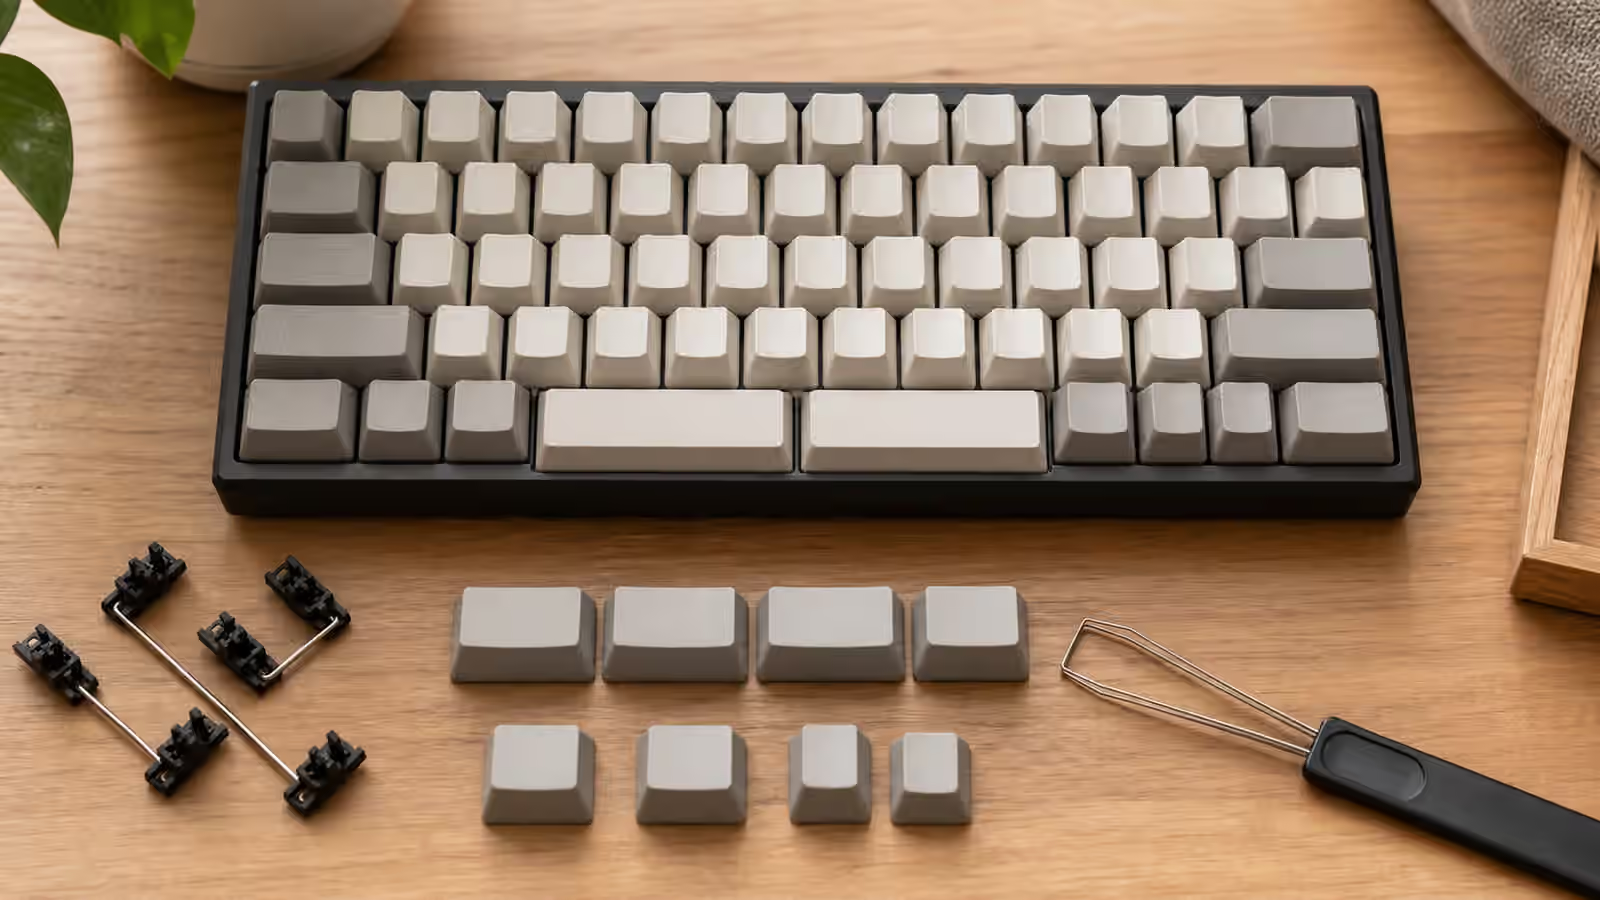
Artisan keycaps sit in an odd place between keyboard part, desk object, and tiny piece of sculpture. They can make a keyboard feel personal in a way a full keycap set cannot, but they can also make a board less comfortable if they are placed carelessly. The best artisan cap is not only the one that looks interesting in a tray. It is the one that fits the switch, clears the surrounding keys, survives normal handling, and lands on a key where its height and shape do not fight your fingers.
That practical side is easy to miss because artisan keycaps are often photographed alone. A resin mountain, a sculpted flower, or a translucent color swirl can look perfect in a close-up, then feel strange when installed on Escape, Enter, or a layer key. The cap may be taller than the surrounding row. It may have sharp sculpted edges. It may be heavier than a normal keycap. It may use an MX-style stem but still sit slightly loose or slightly tight. None of those issues mean artisan caps are a bad idea. They mean they deserve the same compatibility check you would give any other keycap.
If you are still learning the basic language of rows, stems, profiles, and kit coverage, start with the Keycap Compatibility guide before buying expensive single caps. If you want the broader material and profile context, the Keycaps Guide explains why shape and plastic change the way a board feels. This guide is narrower. It is about turning one decorative cap into something you can actually live with.
Treat placement as a typing decision
The safest artisan keycap position is usually a key you do not press constantly. Escape is popular because it is visible, separated from the main typing area on many layouts, and easy to find by touch. A function-row key can work for the same reason. On compact boards, a top-corner layer key or a rarely used navigation key may be a better home than a letter key. The goal is not to hide the artisan. The goal is to give it a role that matches its shape.
The home row is a difficult place for most sculpted caps. Your fingers return there often, and even a small change in height can interrupt rhythm. A tall artisan on J or F may look dramatic, but it can also make touch typing feel like stepping over a raised stone in the middle of a path. The same is true for common modifiers. If you use Control, Command, Alt, or Fn hundreds of times a day, a rough sculpted cap there can become annoying quickly.
Large keys need extra caution. Spacebar artisans exist, but they are specialty pieces, not casual swaps. Enter, Backspace, and Shift already depend on stabilizers, wire balance, and clean return. A heavy or uneven artisan cap can expose a stabilizer problem that a normal cap hid, or it can make a tuned stabilizer feel worse. If the large key rattles after the swap, do not blame the whole keyboard immediately. Read the Complete Stabilizer Guide and test the same key with a normal cap before deciding what changed.
Check stem fit before forcing anything
Most modern artisan keycaps are made for MX-style stems, but “MX-compatible” is not a guarantee of perfect fit. Resin casting, hand finishing, and small-batch production can leave tiny differences around the stem. A cap may feel snug the first time it goes onto a switch. A little resistance is normal. A cap that needs force is not. The switch stem is small plastic, and damaging it for a decorative cap is a poor trade.
Press the cap straight down with even pressure. If it stops early, remove it and look at the underside. A bit of debris, extra resin, or an imperfect stem wall can create a tight fit. Do not twist the cap aggressively on the switch. Twisting stresses the stem, and on some sculpted caps it also gives you less control because the top shape is not flat. If the cap is very tight, test it on a spare switch before installing it on the keyboard. A loose switch in your hand is easier to inspect than a mounted switch inside a plate.
Loose fit is the opposite problem. A cap that wobbles on the stem can sound odd, feel insecure, or pop off when brushed from the side. Some collectors use small plastic film tricks to tighten a loose cap, but those fixes should be gentle and reversible. If a cap is valuable or sentimental, do not make permanent changes unless you are comfortable with the risk. It is better to display a loose cap in a tray than to keep reinstalling it on a daily key where it never feels right.
Height and profile matter more than the theme
An artisan cap has to sit among other caps. That makes profile important even when the sculpt looks independent from normal keycap rows. A tall cap in the Escape position may be pleasant because it gives the corner of the board a clear landmark. The same cap in the middle of a compact right column may make Delete or Page Up feel harder to reach. A low, flat artisan may blend neatly into Cherry-profile caps, while a high-domed one may suit a taller SA or MT3 setup better.
Row shape matters too. Sculpted keycap profiles angle each row differently. If an artisan is designed for a top-row position, moving it to a lower row may make the face lean in a way that looks or feels wrong. Some artisans use a mostly neutral underside and sculpted top, so they can move around more freely. Others clearly expect a specific row. When a maker states a row or profile expectation, treat it as build information rather than sales copy.
This is also where keyboard layout enters the decision. A 60 percent board may make Escape and layer keys central to daily use. A 75 percent board may offer more decorative space in the function row. A split keyboard may place corner keys at unusual angles, which can make tall artisans look interesting but feel awkward. If the board already requires careful layer habits, the Compact Keyboard Layers guide can help you decide which keys should stay ordinary and easy to hit.
Sound changes are real but small
An artisan keycap can change the sound of a key because it changes mass, material, shape, and contact with your finger. A thick resin cap may make a key sound deeper or more muted. A hollow sculpt can add a tiny plastic echo. A tall cap can make bottom-out feel more dramatic because your finger lands higher and travels through a different angle. These changes are usually local. They affect the one key more than the whole keyboard.
That local character can be useful. An artisan on Escape can become a little sound marker at the edge of the board. On a layer key, it can make the key easier to locate without looking. But if you are trying to tune the entire board’s sound, artisan caps are not the main tool. Switches, stabilizers, plate material, foam, case design, desk surface, and typing force do much more. The Keyboard Sound Profiles guide gives a better framework for whole-board tone.
It is worth testing the cap in normal typing rather than only tapping it once. A cap can sound charming alone and distracting in rhythm. Use the board for a real paragraph, then for shortcuts, then for whatever game, editor, or application uses that key often. A cap that makes you smile once but irritates you every time you reach for Escape is not failing as art. It is simply better as a display piece.
Storage protects the part and the memory
Artisan keycaps are small enough to lose and detailed enough to damage. Keep the original case if the maker provides one. It protects the sculpt, keeps dust away, and gives you a known place to put the cap when you rotate sets. If the cap came in a simple bag, move it to a small box or tray where it cannot scrape against metal tools, switch springs, or other caps.
Avoid leaving resin caps in harsh sunlight for long periods. Many materials tolerate ordinary desk light, but color shifts and yellowing can happen over time. Heat is also worth avoiding. A display shelf near a sunny window, a hot car, or a laptop exhaust is not a kind storage place. Treat artisan caps more like small collectibles than like bulk keycaps. They can handle normal use, but they do not benefit from careless storage.
Cleaning should be gentle. A soft brush or microfiber cloth handles dust. If a cap needs more, use the mildest approach first and avoid soaking unless the maker explicitly says the material can handle it. Paint fills, embedded details, multi-shot resin, and surface finishes may react differently from ordinary PBT or ABS. The Keyboard Maintenance guide is useful for the rest of the board, but artisan caps deserve a lighter hand.
Buying without turning every cap into a chase
The artisan market can make scarcity feel like quality. Limited drops, raffles, small runs, and fast sellouts are part of the culture, but they are not proof that a cap belongs on your keyboard. Before buying, imagine the actual position where the cap will live. Think about the board color, the surrounding profile, the key’s frequency of use, and whether you would still like the object if it were easy to buy.
Group buys and raffles also need patience. Small makers may communicate differently from large vendors, and handmade work can vary. That does not make every artisan purchase risky, but it does reward calm expectations. The Keyboard Group Buys and Preorders guide is useful here because the same habits apply: understand the maker’s evidence, the wait, the material, and your own reason for buying.
The healthiest way to use artisan keycaps is to let them stay specific. One cap can mark a favorite board, a finished build, a meetup memory, or a color theme you enjoy. It does not need to justify itself as an upgrade. A keyboard still has to type well. If the artisan makes the board easier to recognize, nicer to look at, and no worse to use, it has done enough.