
Fondsites Labs
Methodology
Repair Patch Test Method
A low-risk patch-test workflow for materials, adhesives, stitching, cleaning, and surface prep.
Method goal
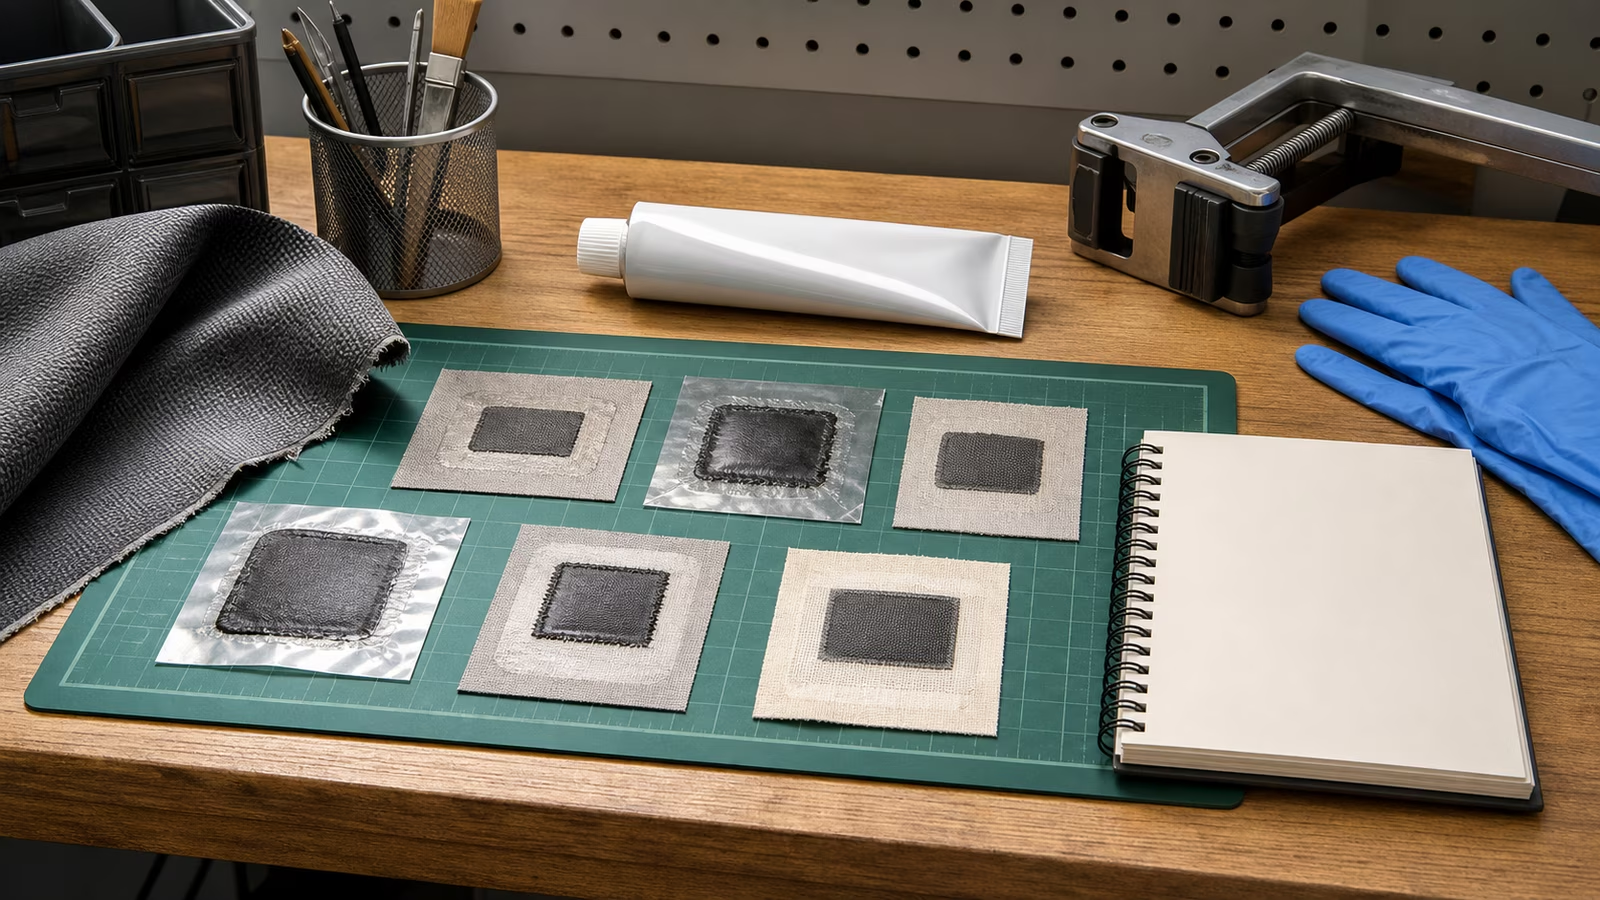
Test a repair approach on a hidden or sacrificial area before committing to the visible or load-bearing repair.
This page describes a method. It does not claim test results unless results are actually present.
Why this method matters
Most repair regrets are not about skill — they are about commitment. An adhesive that discolors leather, a stitch that puckers a technical fabric, a cleaner that strips a finish: each is cheap to discover on a hidden seam and expensive to discover on the visible panel of something you care about. The patch test converts an irreversible decision into a reversible one.
It also builds a personal materials library. After a handful of tests you know which glue your boots tolerate, which thread matches your coat, and which products overpromise, and every future repair starts from evidence instead of a forum thread.
What to measure or document
- Material, cleaner, adhesive or stitch type, cure time, and clamp method.
- Hidden-test location and whether color, texture, flexibility, or smell changed.
- Any safety warnings from product labels or manuals.
Equipment needed
- Scrap or hidden test area.
- Cleaner, cloth, brush, or surface prep tool.
- Repair candidate such as adhesive, thread, patch, or finish.
- Gloves, ventilation, and product instructions when relevant.
Step-by-step method
- Screen the repair for electrical, heat, pressure, battery, chemical, and structural risk first.
- Choose a hidden test area or scrap material.
- Prepare the surface the same way planned for the real repair.
- Apply a small patch, clamp or cure as directed, then wait.
- Compare strength, color, texture, odor, and reversibility before committing.
Data table template
| Object | Material | Patch method | Prep | Cure time | Color change | Strength note | Decision |
|---|---|---|---|---|---|---|---|
Reading your results
Judge the patch after the full cure time, not when it first looks done — adhesives that grab fast often keep shrinking or hardening for days. Check five things in order: did the color or texture change, does the bond hold under the real stress direction, does it stay flexible if the material flexes, does any odor persist, and can you undo it if you need to. A patch that passes four of five may still be the wrong method if the failed one is the property the repair depends on.
If the test fails, the result is still useful: record what happened and why you think it happened before trying the next candidate, or the same failure will find you again on a different object.
Common mistakes
- Skipping product safety labels.
- Testing on a visible area first.
- Assuming a patch that works flat will survive load, heat, washing, or flex.
Limitations
Patch tests reduce uncertainty but do not make high-risk repairs safe.
Load-bearing, electrical, gas, pressure, heat, and valuable objects may need professional repair.
This page describes a method. It does not claim test results unless results are actually present.