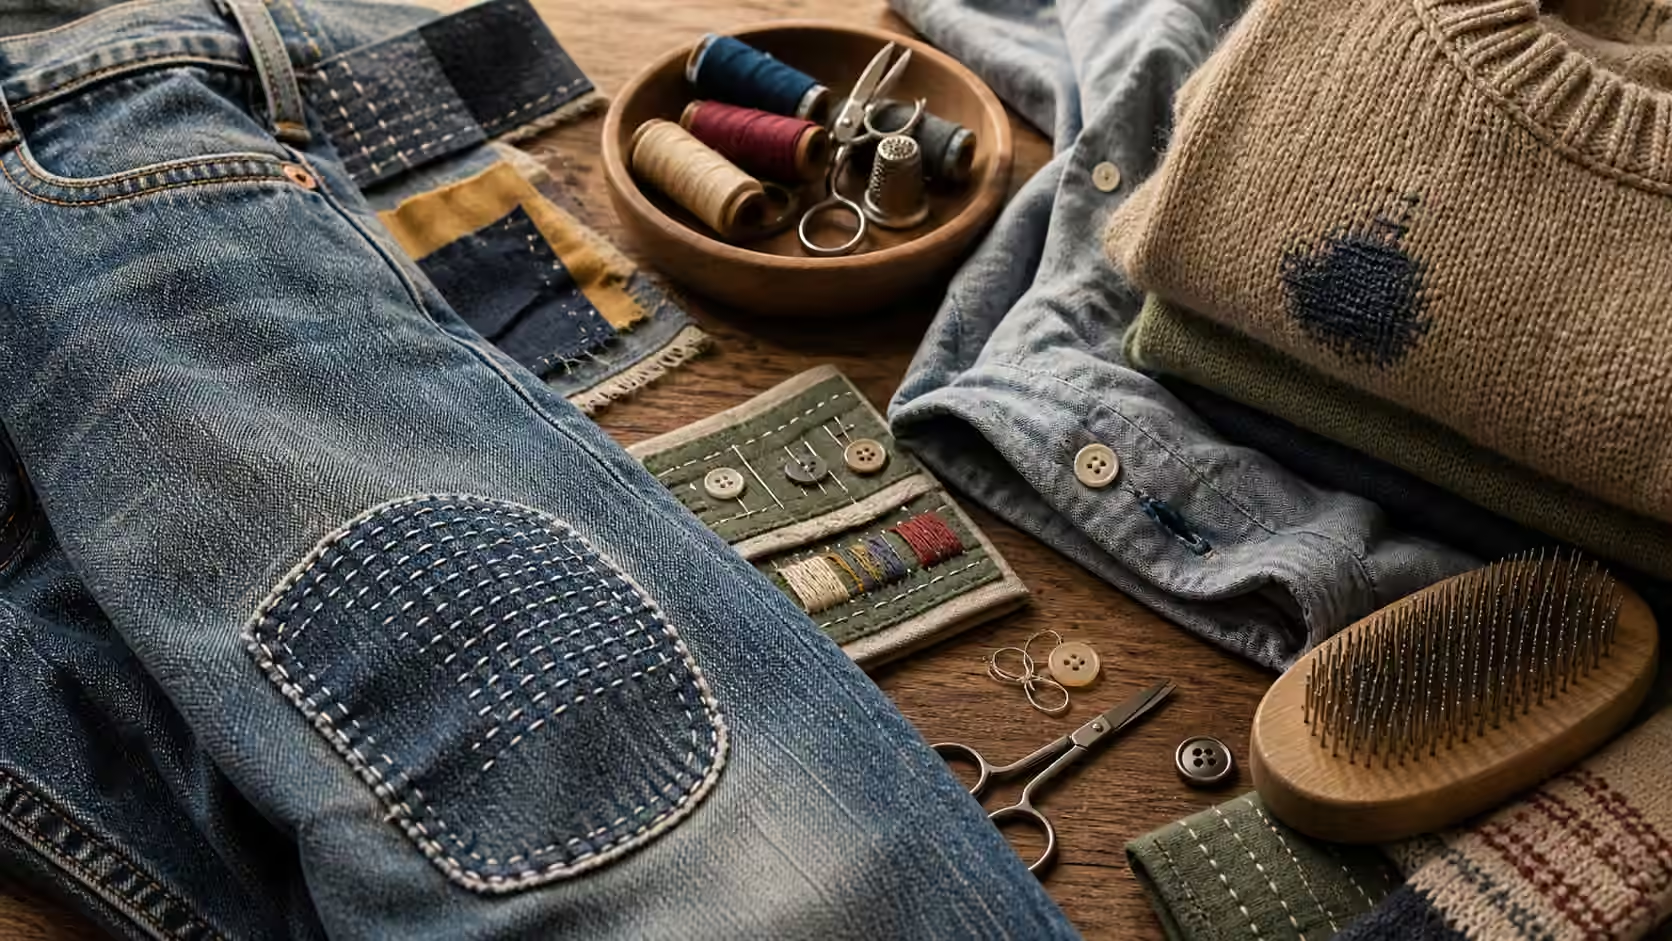
There is a moment with a torn favorite garment when you have to make a choice that has nothing to do with sewing skill: do you try to make the repair disappear, or do you make it part of the story? Visible mending is the tradition of choosing the second path on purpose, closing a hole with contrasting thread and a bold patch so the fix reads as intention rather than accident. It is a good answer for a lot of clothes, but not all of them, and knowing when to hide the mend and when to celebrate it is the real skill here.

Structure first, style second, always
Before you decide whether a mend should show, you have to decide how it will hold, and those are two different questions that people tend to blur. Every mend has a structural job, keeping the hole from spreading and letting the fabric flex without tearing further, and only after that job is done does its appearance matter. A stunning row of decorative stitches over a weak backing is a repair that looks wonderful for one wash and then opens up again. So the honest sequence is always the same regardless of the look you want: stabilize the damaged area, back it with enough strong fabric to carry the load, and only then decide whether the visible stitching will match quietly or contrast proudly. Style is the last layer, laid over sound structure, never a substitute for it.
When discretion is the better choice
Visible mending is a genuine aesthetic, but it is not universally appropriate, and forcing it onto the wrong garment is its own kind of overreach. A formal jacket, a work uniform, a dress shirt, or anything a person needs to look conventional in calls for a discreet repair that matches thread, weave, and color as closely as possible so the eye slides past it. The same is true when the wearer simply feels better having a beloved item restored quietly rather than turned into a conversation piece; that preference is theirs to make, not yours, and turning every repair decorative without asking is a common way to ruin a garment for the person who owns it. Discretion also wins on tightly woven, drapey, or delicate fabrics, where a heavy contrasting patch would stiffen the cloth and disrupt how it hangs. The most invisible mends are patched from behind and stitched with matching thread in the direction of the weave, doing their work unseen.
When to let the mend show
The case for celebrating a mend is strongest on sturdy, casual, hard-wearing fabrics that already carry visual texture, denim, canvas, heavy cotton, wool. On these, a contrasting patch or a field of sashiko-style running stitches looks deliberate and, crucially, adds strength exactly where the garment keeps failing. A knee blowout on jeans, a worn jacket elbow, a frayed pocket edge, or a bag corner are perfect candidates: the area is under repeated stress, so extra visible reinforcement is doing real structural work while also looking intentional. Visible mending shines where the alternative, an almost-perfect invisible match, would only draw the eye to a slightly-off patch. A confident contrast reads better than a timid near-match, because the mind accepts obvious intention far more readily than it forgives a repair that was trying and failing to hide.
Reading the damage and the fabric
The decision usually makes itself once you look honestly at four things. First, location: is the tear on a high-visibility panel where a bold patch becomes a design feature, or on a hidden stress point where nobody will see it either way? Second, whether a true match is even possible; if the fabric is faded, discontinued, or one-of-a-kind, chasing an invisible repair is often futile and visible mending is the graceful escape. Third, movement: will the fabric keep flexing hard at the repair, as at a knee or elbow, which argues for a generous, flexible patch rather than a small stiff one. Fourth, the wearer’s taste, whether they want subtle, practical, decorative, or story-rich, since the garment is theirs to wear. Write the answers down in a plain sentence and the right approach will usually be obvious before you thread a needle.
Doing it so it lasts
Wash and dry the garment before you patch it, because dirty or unshrunk fabric will pull away from a patch or pucker after the first laundering. Choose a backing patch that is larger than the damage in every direction, so the stitches anchor into healthy fabric rather than the weakened edges of the hole, and match the patch’s weight and stretch to the garment so a rigid patch never sits where the cloth needs to drape or a stiff square never lands over a stretchy knit. Pin or baste it in place, then stitch through both layers with a needle and either matching thread for discretion or embroidery thread for contrast, keeping the stitches close enough to distribute the load. The common failures are all avoidable: pretty thread over weak backing, a patch made too small out of caution, and ignoring the fabric’s stretch. A denim or canvas practice scrap is the ideal place to build the habit before you touch the garment you care about.
Know the limits and keep the record
Some repairs belong with a tailor rather than at the kitchen table: formal garments, complicated linings, structural seams on tailored pieces, and waterproof or technical gear whose sealed construction a hand stitch would compromise. A visible mend must never be used to paper over damage that actually needs professional structural reinforcement, and hiding a failing seam under a decorative patch just relocates the problem. For the clothes that do suit home mending, the cost is close to nothing with scrap fabric, or ten to twenty-five dollars for good thread and backing, and a relaxed half hour of stitching is a pleasure rather than a chore. Check the repaired area after its first wash and reinforce early if any stitches loosen, since catching a loose thread beats redoing the whole patch.
Whenever you mend, note the garment, the fabric type, the thread and patch you used, and whether the repair held, so the next tear on the next favorite piece starts from experience rather than guesswork. For the neighboring skills, Basic Hand-Stitching for People Who Don’t Sew covers the stitches themselves, Denim Repair goes deep on jeans, Pilling, Snags, Holes, and Fraying helps you name the damage, and Button Repair handles the fastener that fails most often.