A stripped screw is a small failure with a way of getting larger. One impatient twist can turn a worn cross into a polished crater, chew the surrounding wood, crack a plastic boss, scar a hinge leaf, or leave an appliance panel half-open and harder to document. The Keepers Guild answer is not to attack the screw with the biggest tool in the drawer. It is to stop while the head still contains information, improve the fit between tool and fastener, and decide whether the next move protects the object or only proves frustration.
Start before the screw is ruined
The best moment to rescue a stripped screw is usually before it is fully stripped. A driver that cams out once is warning you that the shape, pressure, angle, or screw condition is wrong. Continuing with the same motion rarely improves the situation. It polishes the recess, rounds the driver, and teaches your hand to press harder just when precision matters more.
Begin the same way you would in The 10-Minute Triage : name what changed and what is still safe. Is the screw stuck because of paint, rust, threadlocker, swollen wood, over-tightening, or a mismatched driver? Is the head proud enough to grip with pliers, or is it countersunk flush? Does the screw hold a decorative cover, a hinge, a bracket, or something that carries weight? A stripped screw in a drawer pull is annoying. A stripped screw in a chair rail, wall-mounted shelf, or appliance case can change the risk category.
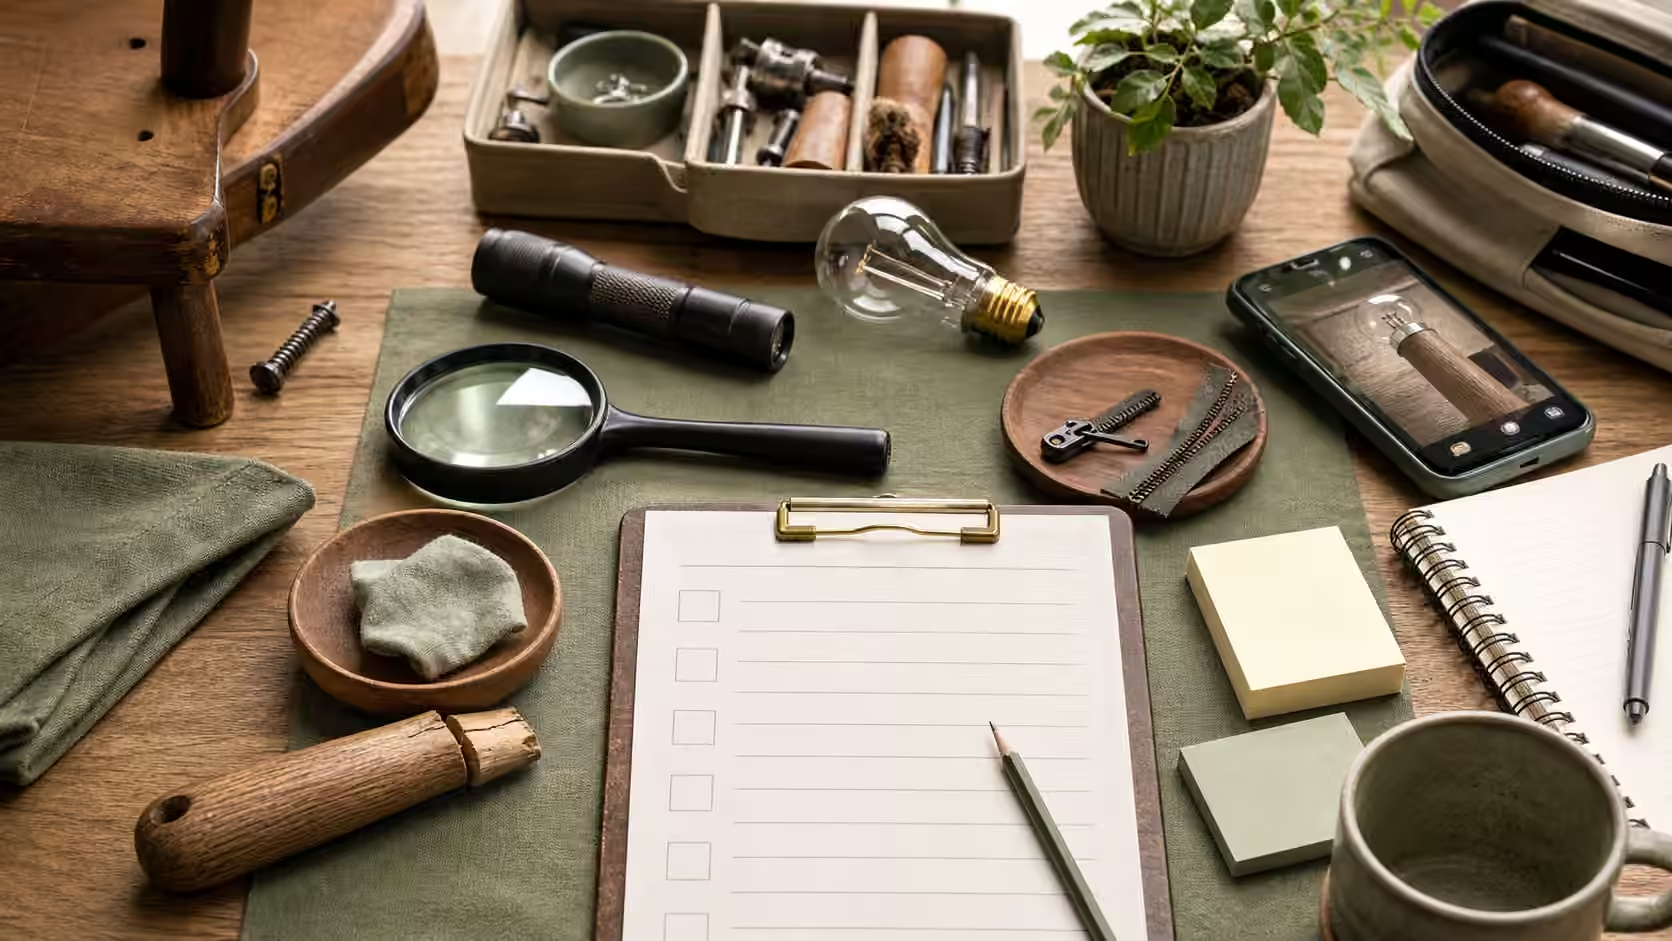
Good light matters more than force. Wipe grime out of the recess with a dry brush, the corner of a cloth, or a wooden toothpick. Photograph the head before you make it worse, especially if the fastener sits in a pattern or holds a part with a specific orientation. How to Photograph a Problem Before You Take It Apart is useful here because the problem may become less recognizable after the first rescue attempt. A clear before photo can also help a repairer understand what was original and what happened later.
Match the driver before adding force
Many stripped screws begin as mismatched screws. A Phillips bit that is slightly too small, a worn driver with rounded wings, a Pozidriv screw treated like Phillips, or a metric hex key forced into an imperial socket can remove the useful edges from the fastener. Before reaching for rescue tricks, try to identify the drive shape and use the largest driver that seats fully without wobble. Press straight into the screw, keep the driver aligned with the fastener axis, and turn slowly enough that you can feel the bit begin to climb.
This is where the Keepers Guild habit from Tighten, Lubricate, Patch, Glue, Replace becomes important: tightening and loosening are both small moves until they change the object. If the bit slips twice, stop. The second slip is enough evidence that more of the same will cost you the remaining shape. Change something real before trying again. Change the driver size, clean the recess, support the object better, switch to a hand driver for more feel, or remove nearby tension from the part if that is safe.
A power driver is convenient when everything is healthy and correctly aligned. It is a poor first rescue tool because it hides feedback and can make damage happen quickly. A manual screwdriver lets you press inward, hold the angle, and feel whether the screw is moving or only the tool is skating across the recess. If the object is small, clamp or brace it so your other hand is not trying to steady, press, and turn at once. The repair should not depend on a heroic grip.
Use grip tricks as evidence steps
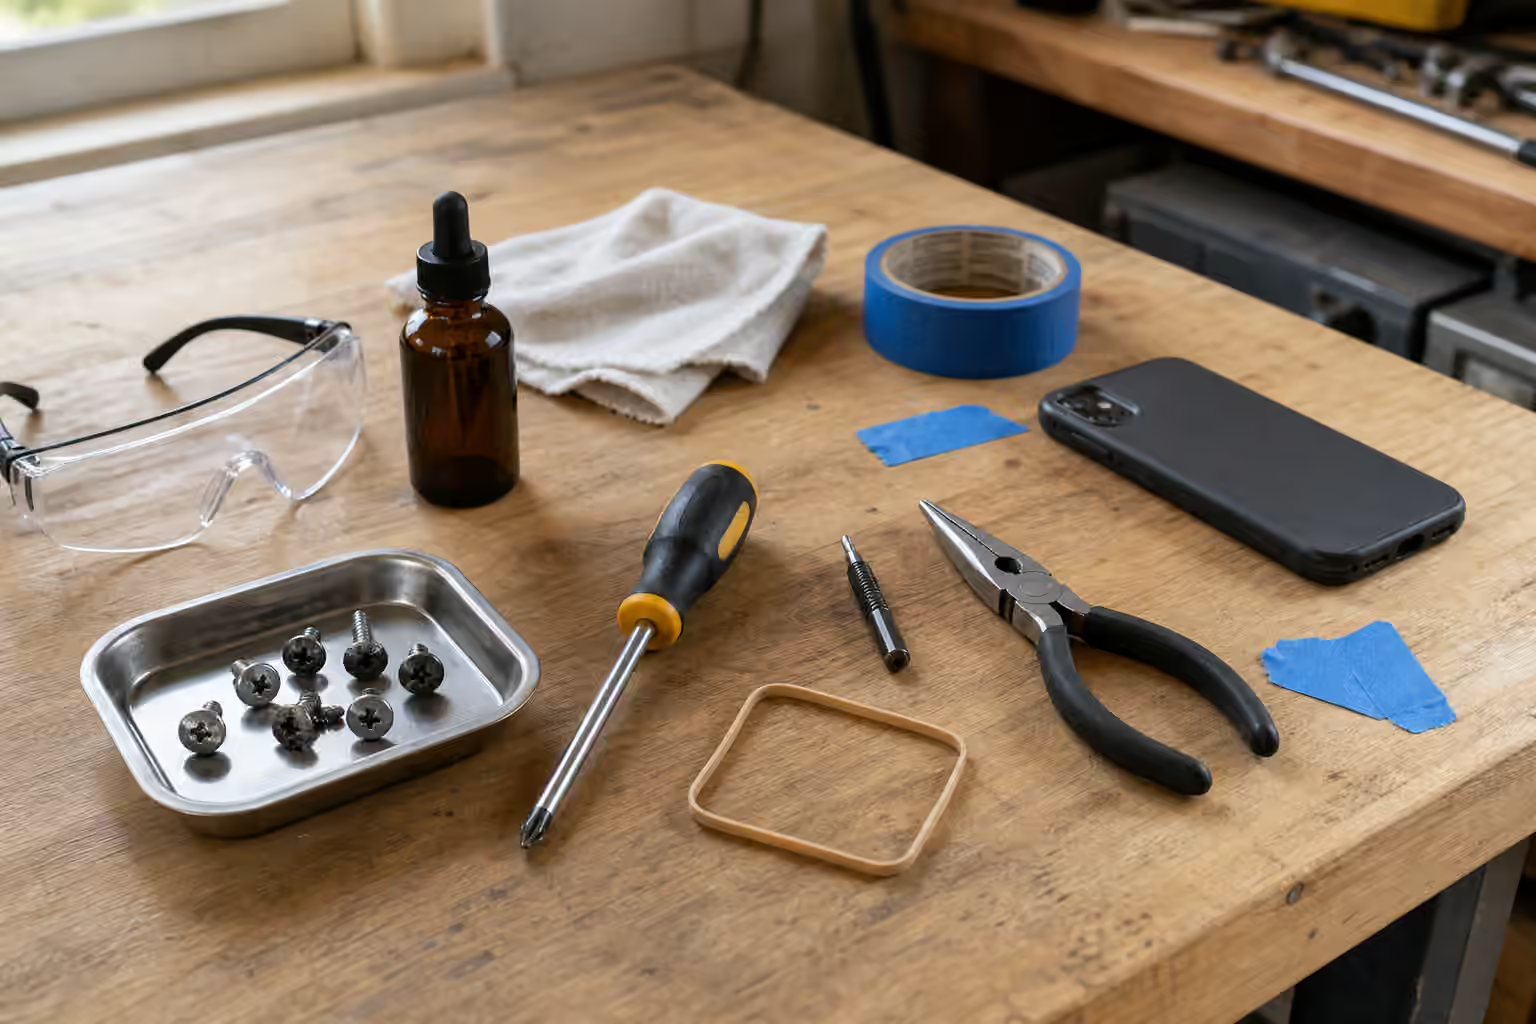
Grip tricks are useful when they are treated as small experiments. A thin rubber band, a square of disposable glove, or a bit of fine abrasive material between the driver and the screw can sometimes give a worn recess enough bite for one clean turn. The point is not magic friction. The point is filling tiny gaps while you keep pressure straight and motion slow. If the screw begins to move, back it out gradually and keep the driver seated. If it slips again, stop before the recess becomes smooth.
For paint-bridged screws, score the paint line around the head before turning. Paint can glue the screw head to the surface while the threads are otherwise free. Breaking that seal with a sharp utility knife can reduce the force required, but it also introduces a blade, so the work surface needs to be stable and your hand should not be in the path. For screws in metal that may have light corrosion, a small amount of penetrating oil can help if the surrounding material tolerates it. It needs time to work, and excess oil can stain wood, soften finishes, or contaminate surfaces that later need glue or paint.
Heat, impact, and aggressive solvents are not casual beginner moves. They can damage finishes, soften plastic, expand parts unevenly, or create fumes. If the screw belongs to electronics, appliances, plumbing fixtures, or anything with seals, adhesives, batteries, or hidden wiring, pause before introducing heat or liquid. The boundary is the same one described in When Not to DIY : if the next move can create injury, fire, hidden water damage, or a worse failure, the repair has left the casual lane.
When the head is partly exposed
A proud screw head gives you more options than a buried one. If the head rises above the surface and the surrounding material can tolerate careful contact, small locking pliers or needle-nose pliers may be able to grip the outside edge. The motion should be controlled and shallow, with padding nearby if the finish matters. Rocking the pliers side to side can tear the surrounding material or snap the head, so treat the first quarter turn as the whole goal. Once the screw breaks free, switch back to the correct driver if the recess still holds enough shape.
Sometimes a single straight slot can be cut into a damaged head so a flat driver can turn it. That can work on a screw with enough head thickness and safe access, but it is not a universal fix. Cutting a slot can scatter metal dust, scar the object, weaken the head, and put a rotary tool close to surfaces you may care about. If you are working on an heirloom, a visible hinge, a thin appliance panel, or a screw near glass, the neatest repair may be to stop and ask someone with steadier tools.
Extraction bits also deserve respect. A small extractor can bite into a damaged screw and walk it out, but it depends on drilling or cutting into the screw with the right size and angle. A broken extractor is harder than the screw and much harder to remove. In soft wood or thin plastic, the extractor can damage the object faster than it saves the fastener. Use extraction as a planned step, not as a mood. If you do not have a stable work surface, eye protection, the correct bit, and a replacement screw ready, the setup is not complete.
Protect the material around the screw
The screw is rarely the only thing being repaired. A cabinet hinge screw threads into wood fibers. A drawer slide screw aligns a moving rail. A plastic appliance screw may bite into a molded post that can crack if the screw is overworked. Every rescue attempt should protect the surrounding material because a successfully removed screw can still leave a ruined hole.
Look for swelling, cracks, crushed wood, stripped threads in the hole, or plastic whitening around the fastener. If the screw spins without rising, the head may be fine while the hole has failed. Pulling harder can enlarge the damage. In wood, a proper repair may involve filling and re-drilling the hole, moving up only to an appropriate screw, or using a plug where a stronger repair is needed. In plastic, larger screws can split the boss, so replacement parts or professional service may be the better route.
This is also where Replacement Parts: OEM, Aftermarket, Salvage, and Red Flags helps. Do not buy replacement screws by memory if the old screw still exists. Photograph it beside a ruler, note the head style, thread type, length, diameter, and where it came from. Keep similar screws separated with tape labels or small cups. A screw that is two millimeters too long can poke through a finished surface, bind a moving part, or bottom out before clamping anything.
Decide when to stop
Stopping is a repair skill, not an admission of defeat. Stop when the screw head is nearly smooth, when the surrounding material starts to crush, when the fastener holds something structural, when the part is under spring tension, when the screw sits near wiring or plumbing, or when you cannot name what the screw does. Stop when your plan has become “try harder.” That phrase is often the last step before a small repair becomes a broken part search.
If the object has real value, take photos from several angles and ask for a repair quote before creating a harder job. A cobbler, furniture repairer, appliance technician, machinist, or careful maker-space volunteer may have better extraction tools and a calmer setup. The guide How to Ask for a Repair Quote is a good companion because it helps turn a vague stuck-screw problem into a clear request with photos, material, access, and the result you want.
When the screw does come out, do not immediately reinstall it. A stripped screw head is already a failed part. Replace it with the correct drive, length, diameter, and material for the job, and check why it fought you in the first place. Misalignment, paint buildup, dirt, corrosion, swollen wood, missing pilot holes, or cross-threading will punish the next screw too. The save is not only removing the old fastener. The save is leaving the object easier to open, tighten, or service next time.
Add it to the Save Log
Record the object, screw location, suspected reason it stuck, driver used, rescue step that worked, and the replacement screw details. If the screw held a hinge, drawer slide, bracket, or chair part, check the repair again after normal use rather than trusting the first quiet turn. A short note prevents the same fastener from becoming a mystery later.
A good stripped-screw rescue is quiet. The screw backs out, the surrounding material stays intact, the right replacement goes in, and the next person can service the object without guessing what happened. That is the Keepers Guild standard: not a dramatic extraction, but a small failure slowed down early enough that the object survives the repair.
Related Keepers Guild guidebooks
Use The 10-Minute Triage before choosing a rescue move, How to Photograph a Problem Before You Take It Apart before changing the evidence, Tighten, Lubricate, Patch, Glue, Replace when the fastener is part of a broader beginner repair, Replacement Parts before reinstalling a questionable screw, and When Not to DIY when the fastener guards a system that should not be improvised on.