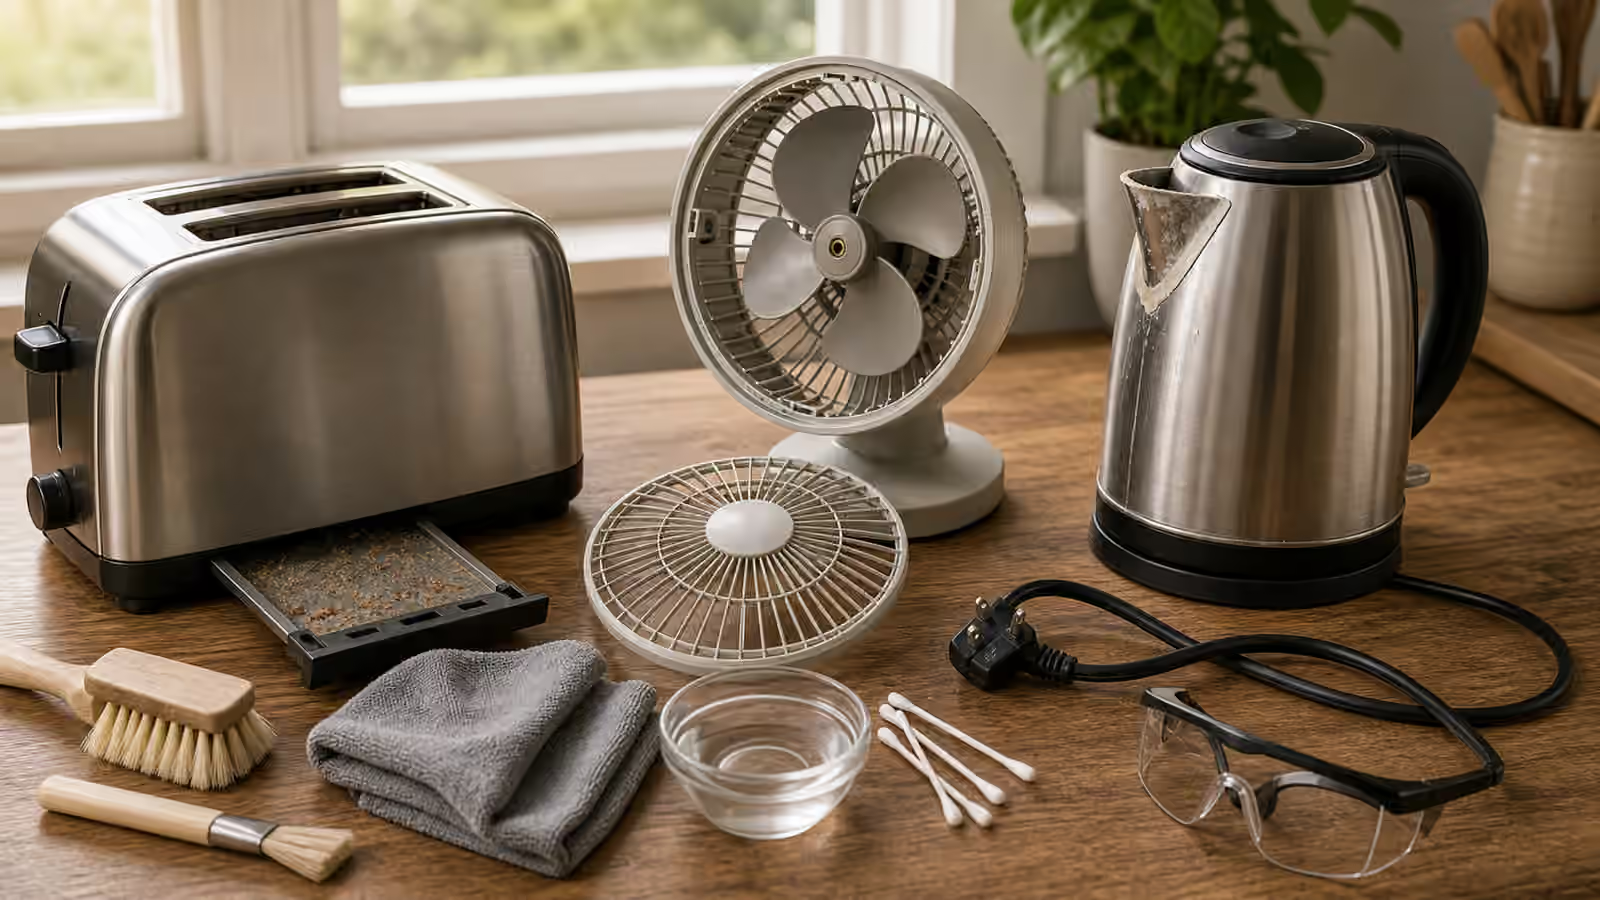
Small appliances often fail slowly in plain sight. A toaster smells smoky because crumbs have been baking in the tray. A kettle takes longer to heat because mineral scale has built up around the spout and base. A desk fan pushes less air because dust has matted across the grille. A blender jar leaks because the gasket was put away wet or pinched during reassembly. None of those problems require opening an electrical case. They require patient exterior care, good documentation, and a firm boundary around parts that protect people from electricity, heat, blades, and stored energy.
Start unplugged, cool, and observable
The first maintenance step is not a cleaner. It is making the appliance safe to inspect. Unplug it from the wall, not only from a switch on the appliance. Let heat-producing appliances cool fully. Move the object to a stable surface with good light. Keep water away from plugs, switches, motors, and vents unless the manual specifically says a removable part can be washed separately. This is the same safety-first posture as Lamp Won’t Turn On : beginners can solve many simple problems, but mains electrical repair is not a casual skill.
Look before cleaning. Is the problem dirt, scale, a clogged filter, a blocked vent, a worn gasket, a missing foot, a cracked jar, a frayed cord, or a heat smell? Does the appliance still operate normally after it cools, or is there a pattern of overheating, sparking, buzzing, burning odor, or tripped protection? The first group may be a care issue. The second group is a stop signal. When Not to DIY exists for this line: an appliance that is electrically unsafe should not be made prettier and returned to service.
Take a quick photo before disassembly of any removable user parts. Toaster trays, fan grilles, blender gaskets, coffee gear seals, and vacuum filters all have orientations that feel obvious until they are drying on a towel. The photo habit from How to Photograph a Problem Before You Take It Apart keeps small parts from becoming a puzzle. It also helps you notice whether a crack or scorch mark was present before cleaning.
Remove the debris the appliance was designed to shed
Many appliances include a user-cleanable path for the mess they create. Toasters have crumb trays because crumbs are expected. Fans have grilles because dust is expected. Kettles and coffee gear encounter minerals because water leaves deposits behind. Vacuums have filters and rollers because lint, hair, and dust are part of their job. Maintenance works best when you follow that designed path instead of forcing access where the appliance was not meant to open.
For a toaster, the crumb tray is a maintenance part, not a decorative slot. Empty it over a bin, brush it dry, and clean only according to the manual. Do not shake an appliance violently or insert metal tools into heating areas. For a fan, remove only the grille or blades if the design clearly allows it and the appliance is unplugged. Dust can be loosened with a soft brush and wiped from accessible plastic surfaces. For a kettle, mineral scale at the spout or interior may respond to a gentle descaling routine appropriate to the material, followed by thorough rinsing. If the manual gives a care method, prefer it over folk chemistry.
Exterior care is different from internal repair. A soft brush into an accessible vent is maintenance. Removing hidden screws to reach a motor is a different risk category. A removable washable filter is maintenance. Washing a motor housing is damage. A user-removable gasket is maintenance. Prying apart a sealed base is not. When the path stops being obvious, stop and find the manual. How to Find a Manual Without Downloading Malware is a useful companion because small appliances often have model-specific care instructions hiding behind unhelpful search results.
Treat cords and plugs as inspection points, not repair projects
The cord is part of the appliance’s safety system. Lay it out gently and look for cracks, cuts, flattened sections, exposed conductors, heat damage, loose strain relief, bent plug blades, or discoloration near the plug. Do not wrap a damaged cord in tape and call it repaired. Tape can hide a hazard while the underlying failure remains. If the cord is damaged, the beginner repair is to stop using the appliance and pursue manufacturer service, qualified repair, or replacement.
Cord habits still matter. Wrapping a cord tightly around a hot appliance can stress insulation and trap heat. Yanking from the cord rather than the plug strains the connection. Storing a countertop appliance with the cord pinched under a heavy object can create a weak spot. These are small ownership habits, but they often decide whether an appliance ages quietly or becomes a safety question.
Plugs deserve the same respect. A plug that fits loosely in multiple outlets, gets hot, sparks, smells burnt, or shows melted plastic is not an invitation to clean harder. It is a stop signal. If the problem follows the appliance from outlet to outlet, retire it from use until it can be evaluated. If the problem appears at the outlet with multiple devices, stop using that outlet and use qualified electrical help.
Gaskets, seals, jars, and removable parts
Blenders, food processors, coffee makers, kettles, and small washers of various kinds depend on seals. A gasket that is dirty, twisted, dried, cracked, or installed in the wrong order can leak even when the appliance itself is sound. Remove only parts meant to be removed by the user, clean them gently, dry them fully, and reinstall them in the documented orientation. If a gasket has become sticky, flattened, cracked, or permanently misshapen, replacement may be better than cleaning.
This is where Replacement Parts helps. Small appliance parts are often model-specific. A gasket that looks close may not seal correctly. A blade assembly, lid, carafe, basket, or filter can differ by small revisions. Photograph the model number and the old part beside a ruler before shopping. Keep receipts until the appliance has been tested under normal use.
For coffee gear, mineral scale and oils need different care. Coffee Gear Care goes deeper into that split, but the general principle applies across appliances: identify the deposit before choosing the cleaner. White mineral buildup, sticky oils, burnt sugar, dust, and lint are not the same mess. A harsh cleaner used in the wrong place can cloud plastic, damage seals, leave odor, or create residue that should not touch food.
When cleaning changes the diagnosis
Good exterior care often reveals the real problem. A fan that seemed weak may recover after dust is removed. A toaster smell may disappear after the tray is cleaned and loose crumbs are gone. A kettle may pour better after scale is cleared. A vacuum may regain airflow after filters and rollers are addressed, as described in Vacuum Lost Suction . In those cases, maintenance solved the cause rather than disguising it.
Sometimes cleaning reveals a stop condition. A cracked plastic hinge, heat-warped housing, crumbling gasket, damaged cord, rusted heating area, loose blade, or repeated leak should change the plan. Do not let the effort already spent cleaning push the appliance back into use. Sunk time is not a safety argument. If the object is still within support life, manufacturer parts or service may be appropriate. If not, responsible replacement may be the cleaner decision.
After care, reassemble only when parts are dry and correctly seated. Test gently in ordinary conditions. Stay nearby during the first use after maintenance, especially for heat-producing appliances. Watch for odor, leaks, vibration, unusual noise, heat at the plug, or repeated performance problems. If something feels wrong, unplug it and stop.
Add it to the Save Log
Record the appliance, model number, symptoms, what you cleaned, which removable parts came out, whether any parts need replacement, and how it behaved after maintenance. Note the next care interval in plain language: after heavy use, monthly during dusty season, when airflow drops, when pouring slows, or when the crumb tray looks full. Maintenance works best when it is tied to observable conditions, not guilt.
Small appliance care is a useful keeper skill because it preserves convenience without pretending every device is repairable at home. Clean the parts meant to be cleaned, inspect the parts that warn you early, and stop before curiosity opens a housing that was built to keep danger contained.
Related Keepers Guild guidebooks
Pair this with Lamp Won’t Turn On for electrical boundaries, When Not to DIY for stop conditions, How to Find a Manual Without Downloading Malware for model-specific care, Coffee Gear Care for scale and oils, Vacuum Lost Suction for filters and airflow, and Replacement Parts before ordering gaskets, trays, jars, or filters.