A shower can lose its clean spray gradually enough that nobody notices until the water starts needling sideways, pulsing, or falling in a tired sheet. The first guess is often low pressure, but many weak shower problems begin at the fixture face. Mineral scale narrows nozzle holes, grit collects behind screens, rubber nozzles stiffen, and a showerhead that was once easy to adjust becomes an uneven little sprinkler. The useful keeper move is to decide whether the problem belongs to the showerhead you can see or to plumbing you should not casually disturb.
Decide whether the problem is local
Before removing anything, compare the symptom. Does the sink in the same bathroom run normally? Did both hot and cold feel weak at the shower, or does the problem appear only after the water warms? Did the change happen after plumbing work nearby, after a water shutoff, after a filter change, or over many months of ordinary use? A showerhead clogged by scale is a local problem. A whole-home pressure change, valve issue, supply restriction, or leak behind the wall is not.
This is the same scale-of-problem thinking used in Faucet Aerator Low Flow, Grit, and Mineral Scale . A faucet aerator and a showerhead are different fixtures, but the diagnostic order is similar: first ask where the weak flow appears, then ask whether a removable end part could explain it. If every fixture is affected, the visible nozzle is only a witness. If one shower spray has become ragged while nearby fixtures behave normally, cleaning the showerhead becomes a reasonable first step.
Watch the spray pattern as evidence rather than annoyance. Side jets often point toward blocked nozzle holes. A strong stream from a few holes with silence from others suggests localized scale. A shower that runs well for a moment and then fades may be telling a different story about supply, valve behavior, or debris moving inside the head. Write a plain note before you begin. If the repair goes badly or needs a plumber, the note will be more useful than a vague memory that the shower was “bad.”
Clean without attacking the finish
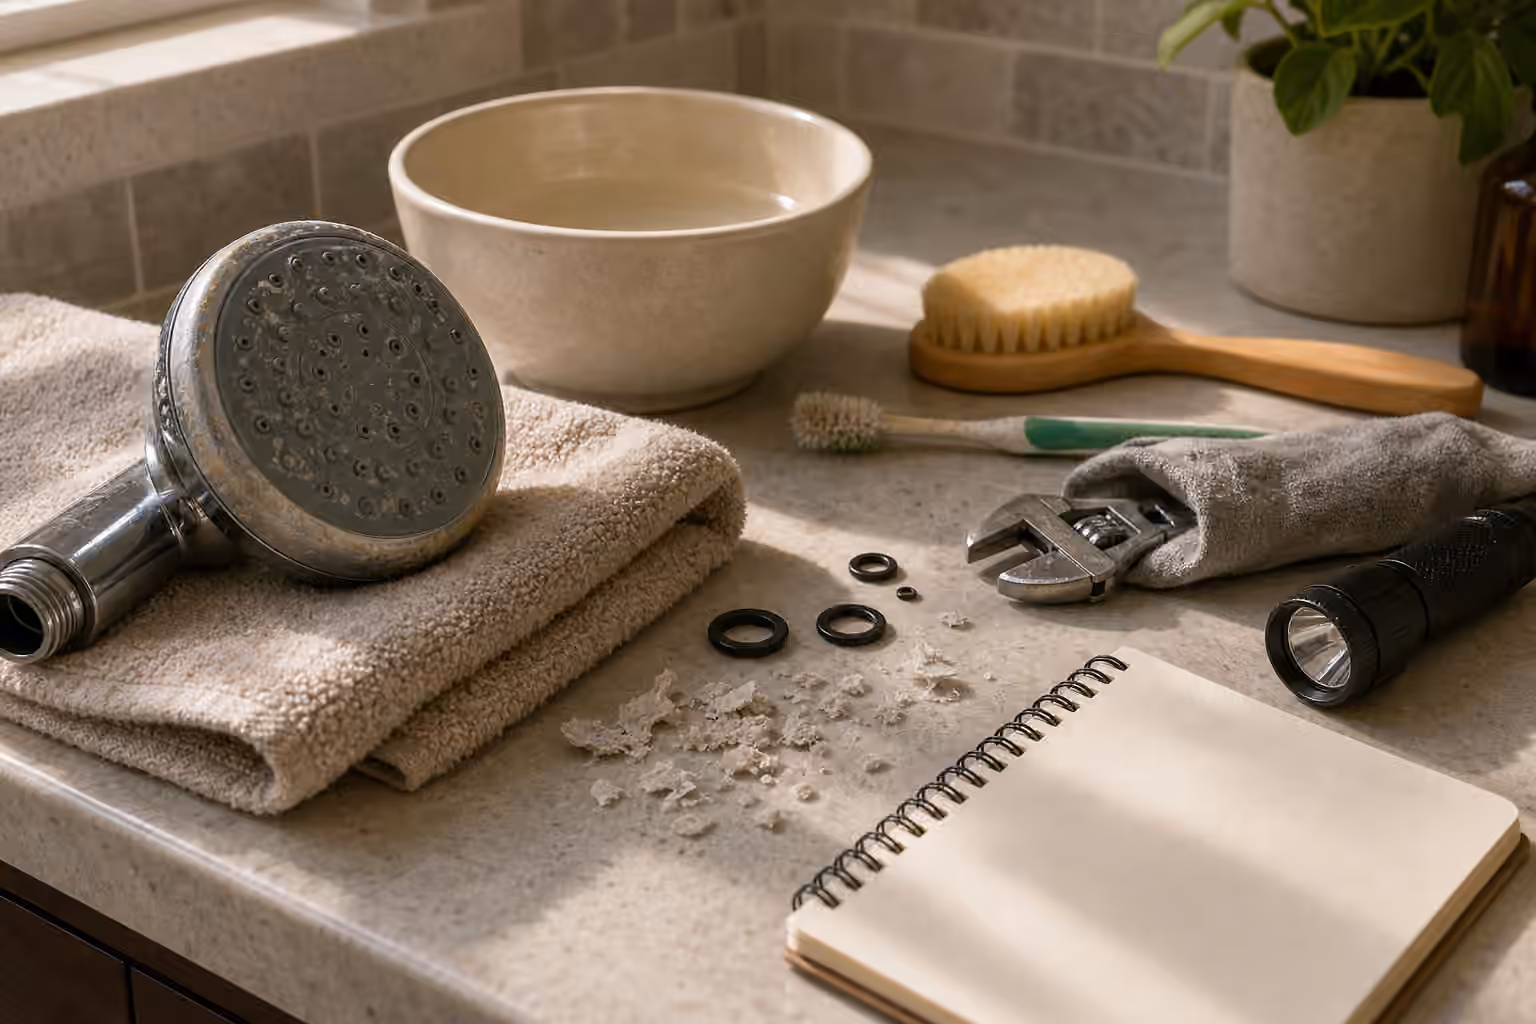
Many showerheads can be wiped, brushed, and descaled without being removed. Start with the least dramatic version. Wipe the face with a damp cloth. Flex rubber nozzles gently with a fingertip if the maker allows it. Use a soft brush to loosen visible scale. Do not scrape plated finishes with metal tools, abrasive pads, knives, or hard picks. The shiny surface is thin, and a scratched finish becomes harder to clean later.
If the showerhead needs soaking, keep the material in mind. Mild descaling can help mineral deposits, but the same liquid that loosens scale can also bother finishes, gaskets, colored trim, adhesives, and nearby stone or grout if used carelessly. Avoid tying a leaking bag of liquid around a fixture and walking away. Protect the wall, rinse thoroughly, and keep soak time controlled. The habit from Clean First applies here: cleaning is a repair skill only when it respects the material.
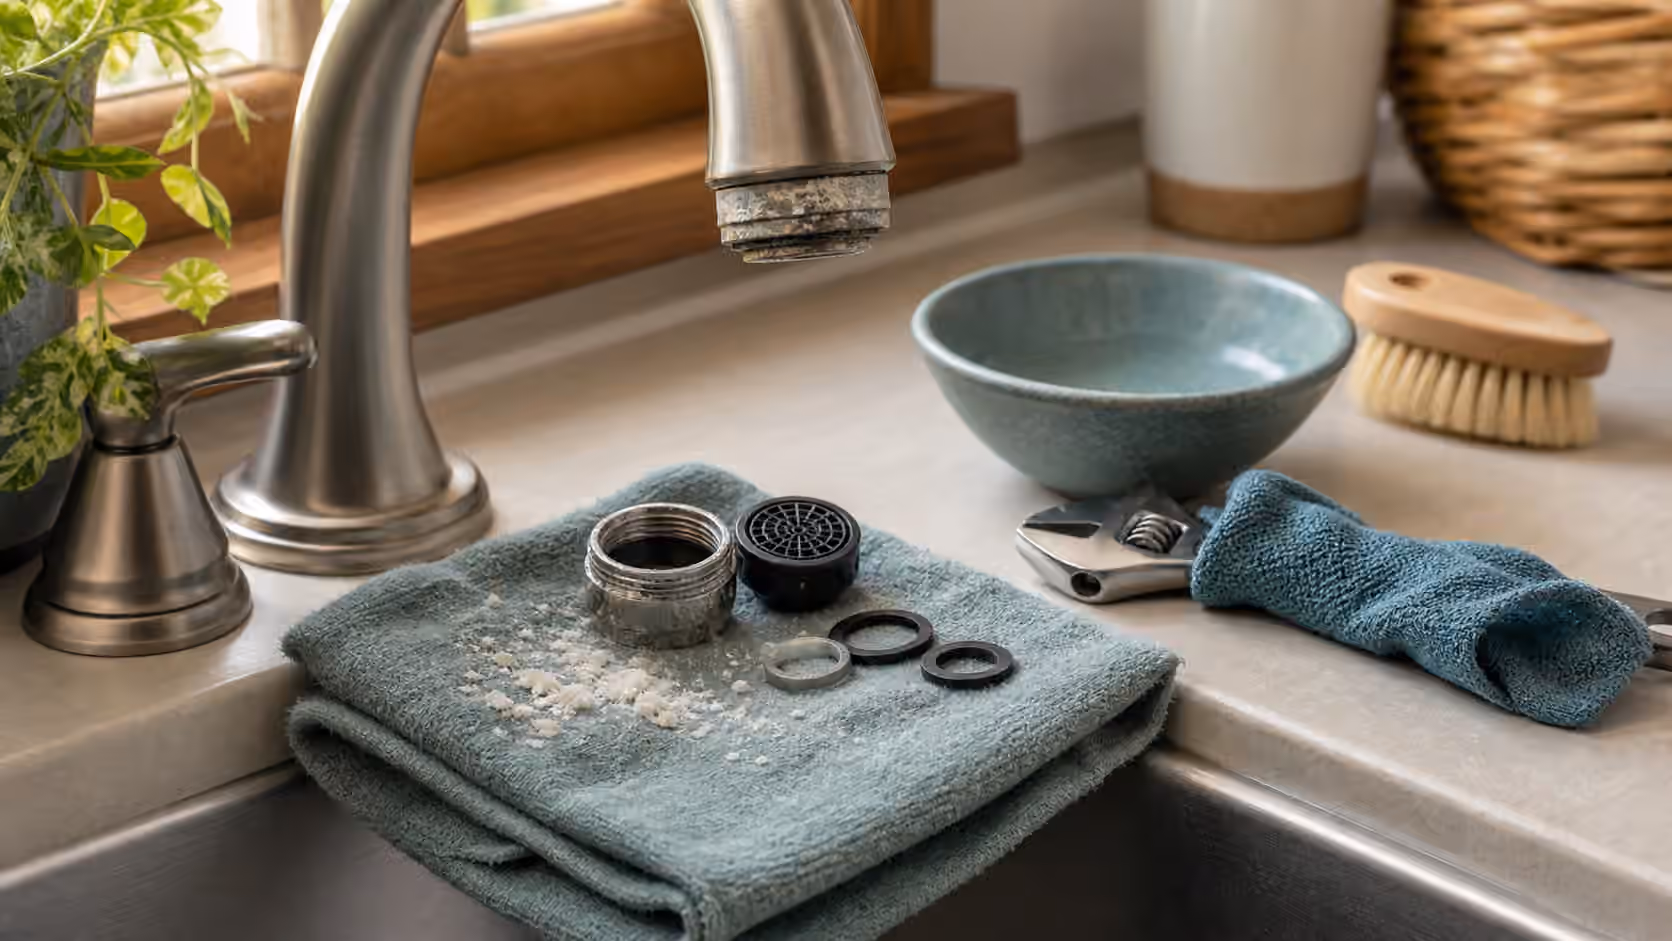
If the head must be removed, protect the shower arm. Wrap jaws or use a strap-style grip when possible, turn slowly, and stop if the pipe in the wall flexes. The part you can see may be cheap. The hidden connection behind tile is not. Once removed, cover the drain and lay parts in order on a towel. Screens, flow inserts, washers, and restrictors can fall out together. A quick photo preserves the stack before it becomes a puzzle.
Read the washers, screen, and threads
The inside of the connection often explains the outside spray. A mesh screen packed with grit can starve the head even when the nozzle face looks clean. A flattened washer can leak at the joint. Crossed threads can make a new drip after cleaning. A cracked plastic insert may rattle or block flow unpredictably. Cleaning is useful because it reveals whether the part is dirty, damaged, or simply not worth more effort.
Rinse grit from the back side when possible. Use a soft brush or toothpick to clear holes without enlarging them. Keep rubber pieces out of harsh or long soaks unless the maker instructions support it. Do not drill nozzle holes larger to get more water. That changes the fixture and can make the spray worse, waste water, or hide the real problem. More force is not better maintenance.
When reinstalling, start the threads by hand. The connection should feel smooth before any tool appears. If it binds immediately, back off. Replace a suspect washer before tightening harder. After the head is seated, test gently and watch the joint for beads of water. A leak at the shower arm is not the same as a drip from the nozzle face after shutoff. One is a connection problem. The other may be residual water draining from the head.
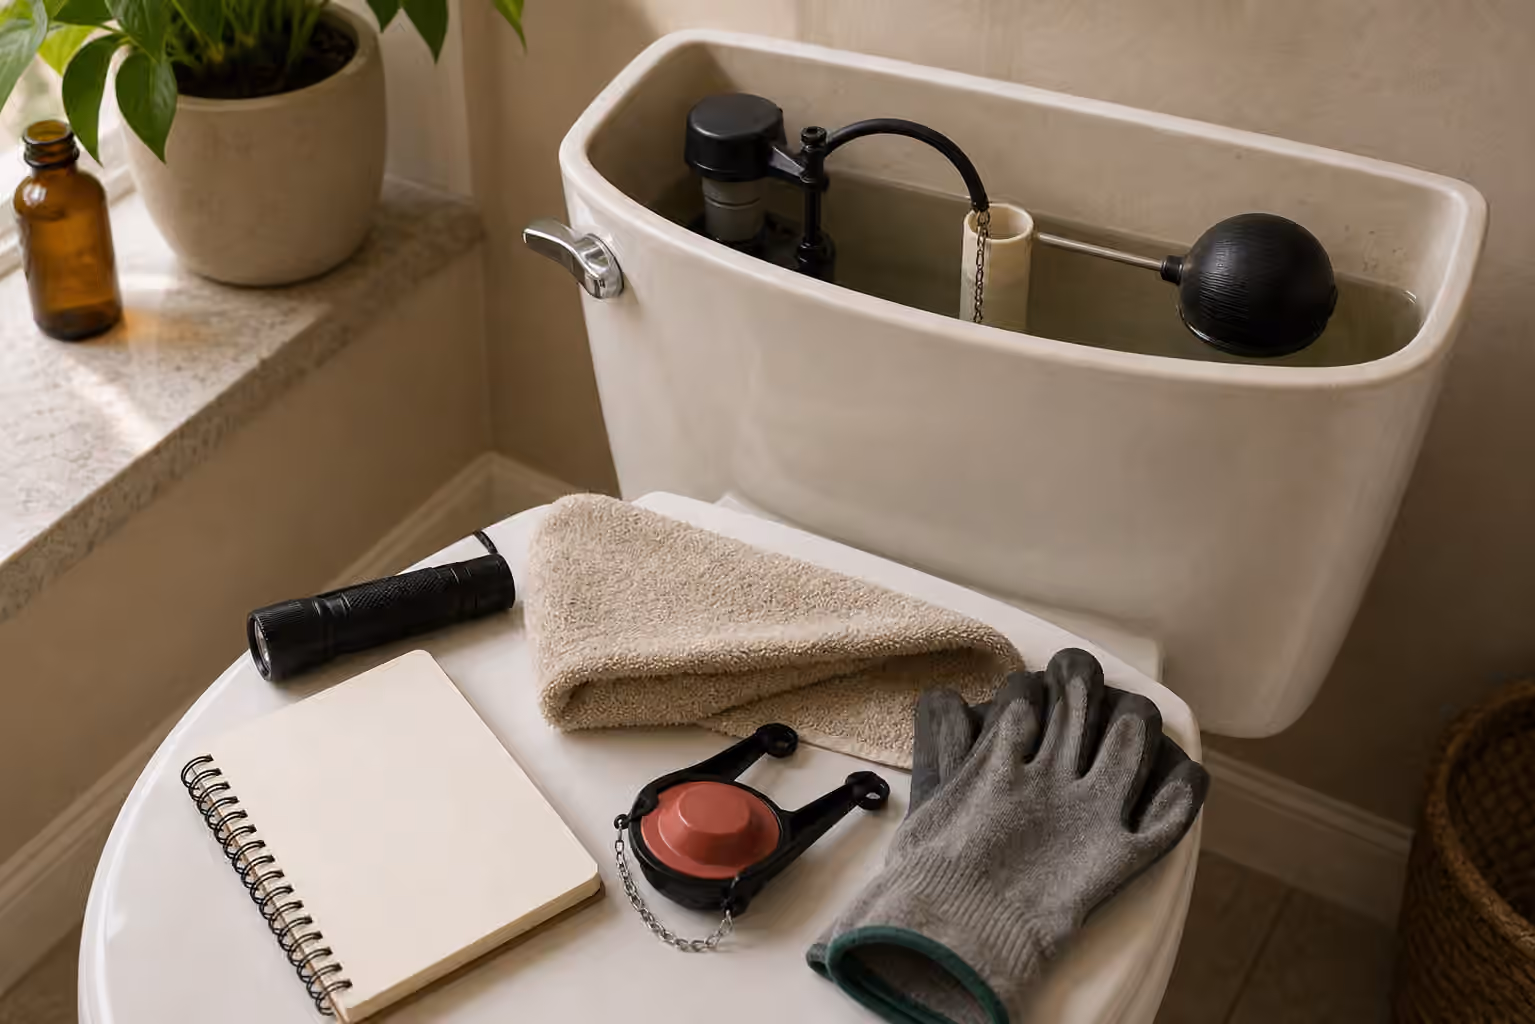
Know when replacement is calmer
A showerhead does not deserve unlimited rescue. If the face is cracked, the ball joint leaks, the finish flakes into sharp edges, the nozzles have hardened beyond cleaning, or the internal parts are corroded and loose, replacement may be the cleaner keeper decision. Use Replacement Parts: OEM, Aftermarket, Salvage, and Red Flags before buying, especially when the shower is handheld, filtered, low-clearance, or attached to a slide bar.
Keep the old washer, photograph the connection, and note whether the shower arm is standard for your area and fixture. Avoid stacking adapters without understanding what each one does. A slightly wrong fit can leak, point awkwardly, stress the arm, or make the head hard to remove later. If the shower is in a rental, shared building, or newly renovated bathroom, check the appropriate permission path before changing hardware.
Replacement is also a chance to buy for maintenance rather than novelty. A plain fixture with accessible nozzles, standard washers, clear instructions, and no decorative crevices may serve better than a complicated head that looks impressive and becomes uncleanable. That buying judgment connects directly to The Repairability Checklist Before Buying Anything Durable .
Add it to the Save Log
Record the bathroom, symptom, whether other fixtures were affected, what came out of the screen, what cleaner or method you used, and whether the spray improved. If scale returns quickly, the note may point toward local water conditions, cleaning rhythm, or a fixture that is hard to maintain. If the spray did not improve, the note prevents repeating the same showerhead job when the problem belongs elsewhere.
Pair this guide with Faucet Aerator Low Flow, Grit, and Mineral Scale for similar fixture-end logic, Under-Sink Leak Triage when water damage enters the picture, Clean First for surface-safe cleaning, and When Not to DIY whenever water, walls, valves, or hidden damage change the risk.