Dull scissors are not always dull. They may be dirty, gummy, loose at the pivot, nicked, misused, or simply the wrong tool for the material. A pair that folds paper instead of cutting it might need cleaning. Fabric shears that chew cloth may have lost their edge or their alignment. Kitchen shears may feel gritty because food residue dried near the pivot. The first skill is separating blade sharpness from the rest of the mechanism.
Identify the scissors before choosing the fix
Paper scissors, fabric shears, kitchen shears, embroidery scissors, hair shears, pruning shears, and heavy shop snips are not the same object. They differ in edge angle, pivot tension, blade thickness, handle ergonomics, and what they are expected to cut. A repair that improves cheap paper scissors can ruin good fabric shears. A sharpener meant for a kitchen knife is not automatically right for a scissor edge.
Start by naming the pair and its job. If fabric shears have been used on cardboard, wire, tape, and plastic packaging, the problem may be misuse rather than mysterious dullness. If kitchen shears were washed and closed while wet, the pivot may be dirty or lightly corroded. If craft scissors cut adhesive labels, the blades may be sharp under a layer of glue. The 10-Minute Triage applies neatly here: what changed, what still works, and what would make a wrong fix worse?
Look along the blades in good light. Do you see tape residue, rust spots, chips, bent tips, a loose screw, a gap between blades, or one blade crossing unevenly? Open and close slowly. Good scissors do not cut because each blade is a tiny saw. They cut because two edges meet with the right tension. If the pivot is loose, sharp blades can still fold material.
Clean before sharpening
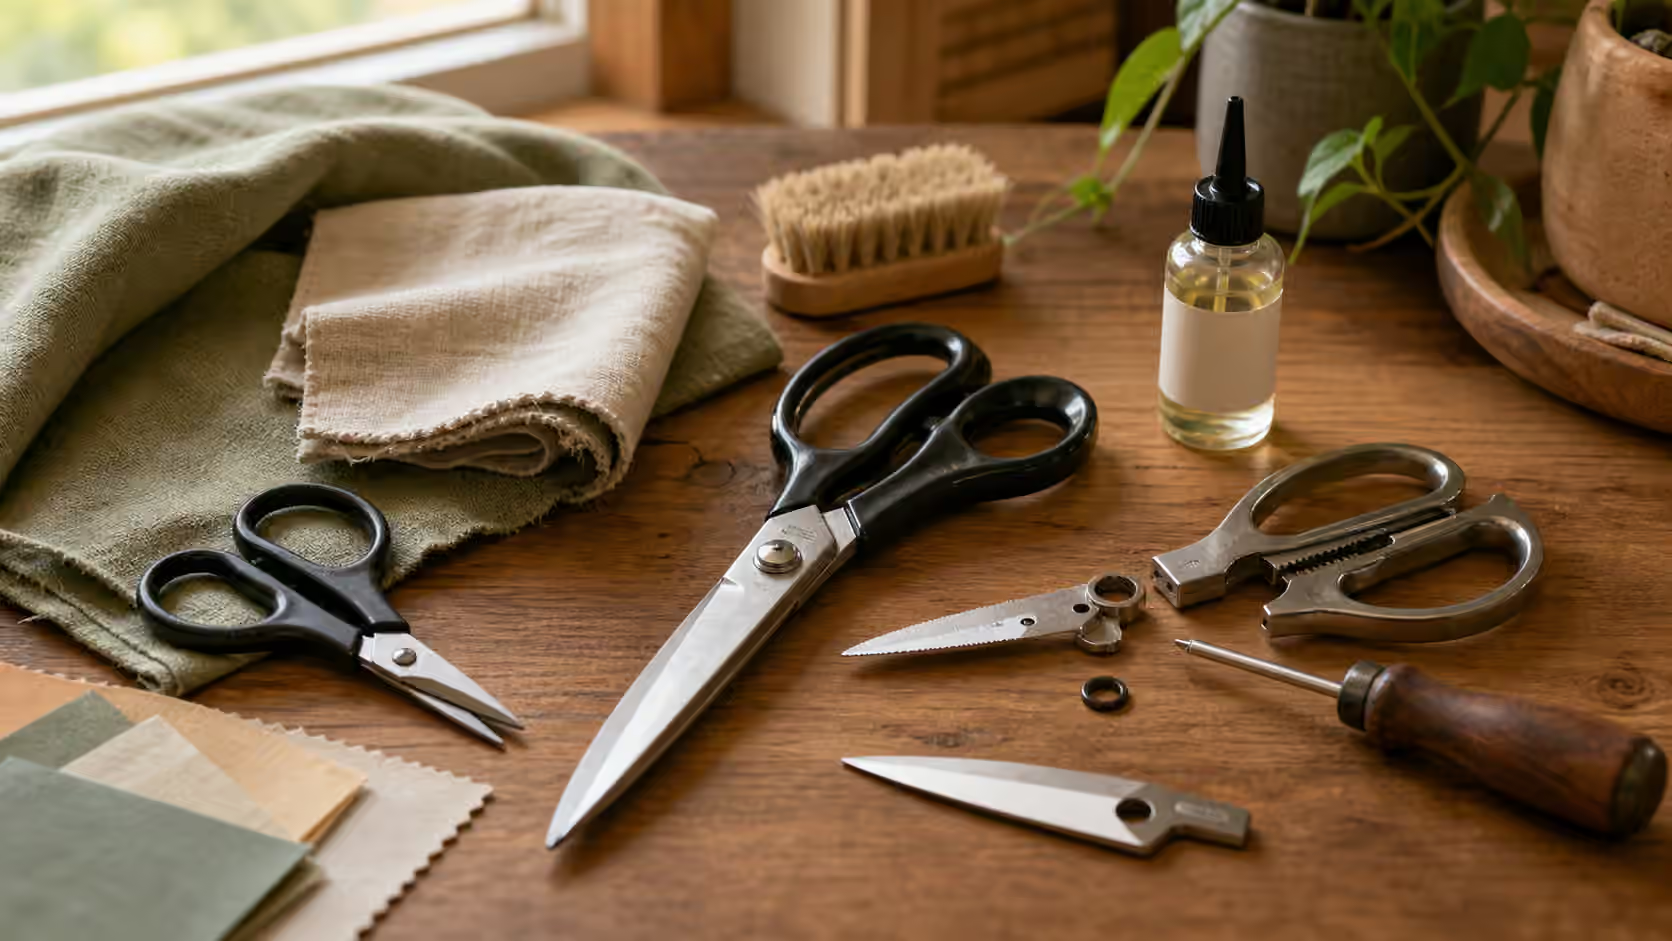
Cleaning is the safest first repair. Wipe the blades with a soft cloth and remove adhesive residue with a method safe for the blade and handle material. Keep liquids away from decorative handles, wood, painted grips, and pivots unless you can dry them fully. For kitchen shears that separate for cleaning, follow the designed separation method and dry every surface before reassembly. For shears that do not separate, do not pry them apart.
Use a brush or wooden toothpick for lint at the pivot. Fabric fibers, thread, flour paste, tape adhesive, food residue, and paper dust can all make scissors feel dull. This is the Clean First lesson with sharper edges. Remove the mess before deciding the metal has failed.
Dry the blades carefully. A tiny amount of appropriate oil at the pivot can help some scissors move smoothly, but oil does not belong on every tool or every material. Too much oil migrates to fabric, paper, or food surfaces. If you oil the pivot, wipe off the excess and test on scrap material that does not matter.
Pivot tension is part of the cut
If scissors have a screw pivot, tension may be adjustable. Tighten in tiny increments and test. Too loose, and the blades spread apart. Too tight, and the scissors bind, tire your hand, and wear unevenly. Some pivots are riveted and not meant for casual adjustment. Hammering a rivet because the scissors feel loose can bend the blades or crack a handle.
Test with the material the scissors are meant to cut. Paper scissors should cut paper cleanly from heel to tip. Fabric shears should cut a scrap of fabric without pushing it forward or chewing the edge. Kitchen shears should cut appropriate food packaging or herbs only after cleaning and drying. Do not judge fabric shears by cutting cardboard, and do not judge kitchen shears by forcing them through bone unless the tool is designed for that job.
Bent tips and blade gaps are different from tension. If one tip no longer meets the other, sharpening will not fix alignment. If a blade is twisted, if the handle is cracked, or if the pivot screw cannot hold, the pair may need professional repair or retirement. The keeper move is not to keep grinding metal away from a geometry problem.
Sharpening has limits
Sharpening scissors is not the same as sharpening a knife. The bevel must stay consistent, and the flat inner faces should not be casually rounded. Pull-through gadgets, improvised abrasives, and dramatic online tricks can remove metal in the wrong place. Cheap scissors may not justify careful professional sharpening. Good fabric shears often do.
Before sharpening, ask what the pair is worth in use. A household pair used for opening mail may be replaceable. A comfortable pair of fabric shears that fits your hand and cuts straight may be worth a professional service. Hair shears and specialty shears belong with people who understand them. Knife Care shares the respect for edges, but scissors add the pivot relationship. Two edges must meet, not merely become sharp alone.
Small nicks matter. A nick near the tip can snag every cut. A deep nick near the heel may require enough metal removal that the blade shape changes. Rust that is only staining may clean up; pitting at the cutting edge may keep catching. Light Rust Tool Care helps when the issue is surface corrosion rather than edge geometry.
Retire or reassign with honesty
Some scissors are no longer good at their original job but still useful elsewhere. Fabric shears that have been mistreated may become paper scissors. Kitchen shears with stained handles but sound blades may remain in a utility drawer if they are cleanable and safe. A pair with cracked handles, loose blades, sharp burrs, or a pivot that will not hold should not stay in daily use.
Marking roles helps. Keep fabric shears away from packaging. Keep kitchen shears where they will be washed and dried. Keep utility scissors for cardboard, tape, zip ties, and rough jobs. The repair is not only restoring the edge. It is preventing the next misuse.
Store scissors closed, dry, and protected from heavy drawer chaos. A blade bouncing against screwdrivers and keys will not stay pleasant. If a pair has a sheath, use it. If not, choose a drawer section where tips are not exposed to reaching hands.
Add it to the Save Log
Record the pair, its intended job, what you cleaned, whether pivot adjustment helped, and whether sharpening is due. If a pair moves from fabric to utility duty, write that down and keep it out of the sewing kit. A clear role saves both the object and the next project.
Pair this with Clean First before judging dullness, Knife Care for edge respect, Light Rust Tool Care for surface corrosion, The Beginner Keeper Kit for tool storage habits, and When Not to DIY when a cutting tool becomes unsafe to handle.