A running toilet is easy to ignore because the fixture still flushes, the water is mostly hidden, and the sound can fade into the background. It is also easy to overreact and start replacing parts before naming the symptom. The tank is a small system. Water enters through the fill valve, stops at a set level, waits behind a flapper or seal, and leaves when the flush handle lifts a chain. If one part does not return to its resting position, water keeps moving.
Listen before touching anything
A toilet can run in several patterns. It may hiss constantly after a flush. It may refill for a few seconds every so often. It may trickle into the bowl quietly. It may flush normally but leave the handle loose. Those differences matter. A constant hiss often points toward fill behavior. A periodic refill can mean water is escaping slowly from the tank into the bowl. A handle that stays down may involve the chain, lever, or flapper position. Guessing a part before hearing the pattern turns a small tank into a parts-store errand.
Use the same starting discipline as The 10-Minute Triage . Name what changed, when it changed, and what still works. Did the toilet start running after someone replaced a flapper? After a child held the handle down? After cleaning tablets sat in the tank? After the water was shut off? Did the handle feel different? Did the tank lid get bumped? The answer does not solve the repair by itself, but it points your eyes toward the right part.
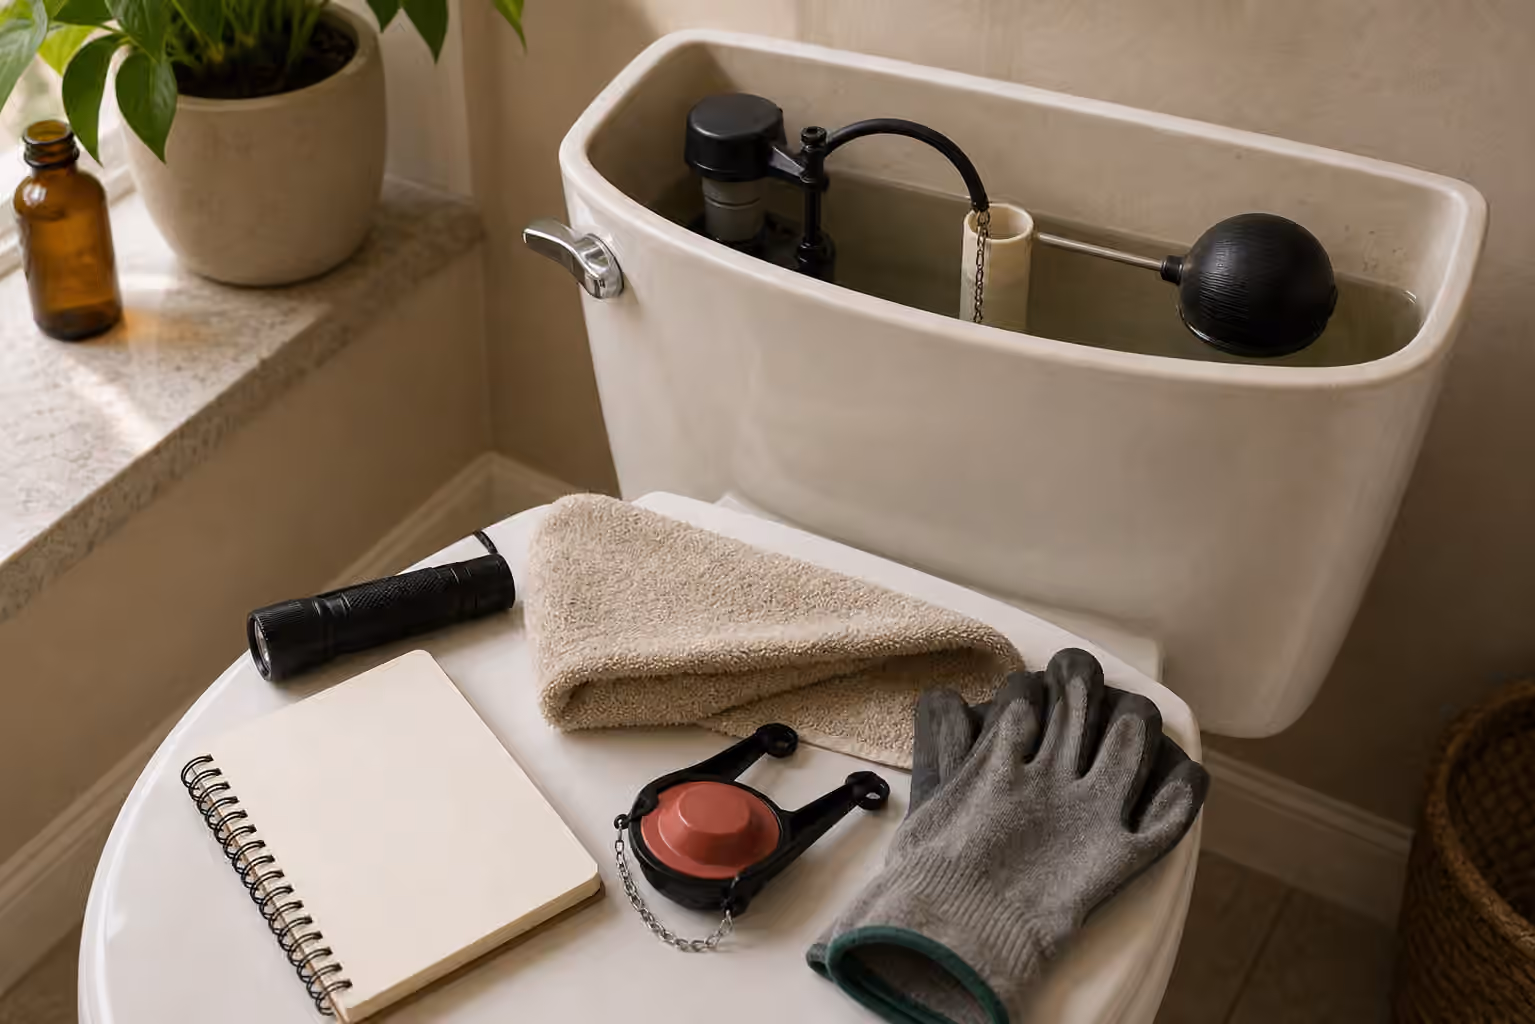
Remove the tank lid carefully and set it flat on a towel where it cannot slide. Tank lids chip easily and are awkward to replace. Do not lean it against a wall or perch it on the bowl. With the lid off, flush once and watch the sequence. Watch the handle lever lift the chain, the flapper rise, the tank empty, the flapper fall, and the fill valve refill. That short observation often explains more than ten minutes of poking.
Separate chain trouble from seal trouble
The chain is a small part with a large effect. If it is too tight, it may hold the flapper slightly open. If it is too loose, the handle may not lift the flapper fully. If it tangles, snags, or falls under the flapper, the seal may never close. A chain problem can feel like a mysterious internal leak when it is really a mechanical alignment problem.
Do not bend metal parts aggressively or force plastic levers. Move slowly and take a photo before changing the chain position. If the toilet worked for years and suddenly started running, ask what shifted. A loose clip, stretched chain, or handle nut may explain the change. If the lever is cracked, corroded, or rubbing the tank wall, the flapper may not be the only suspect.
The flapper or seal deserves its own inspection. Look for warping, mineral buildup, slime, swelling, cracks, or a seat that is dirty where the seal lands. Some tanks use canister-style seals instead of familiar rubber flappers. The visual logic is the same: a part must close evenly over an opening. Cleaning the seat gently may help, but rough scraping can damage the surface that needs to seal. If the rubber leaves residue on your fingers, feels stiff, or no longer sits flat, replacement may be more sensible than cleaning.
Watch the water level and overflow
Inside many tanks, a vertical overflow tube sets a safety path for excess water. If the water level rises into that tube, the toilet can run even when the flapper is fine. The cause may be a float set too high, a fill valve that does not shut off cleanly, or a part that sticks. Do not treat every running toilet as a flapper problem. Watch where the water is going.
Some float adjustments are simple and described clearly by the maker. Others are brittle, old, cramped, or not worth improvising on. If the fill valve is noisy, inconsistent, or does not stop water reliably, pause. Replacing a fill valve can be a normal repair for someone comfortable with shutoff valves and supply connections, but it is outside the safest beginner observation path if the valve below the toilet is old or questionable. A small tank repair should not become a floor leak.
This is where When Not to DIY matters. Water under pressure, stuck shutoff valves, corroded supply lines, cracked porcelain, and soft flooring move the situation beyond a flapper discussion. The keeper choice may be to document, turn off water if that can be done safely, protect the floor, and call a plumber.
Parts are similar, not identical
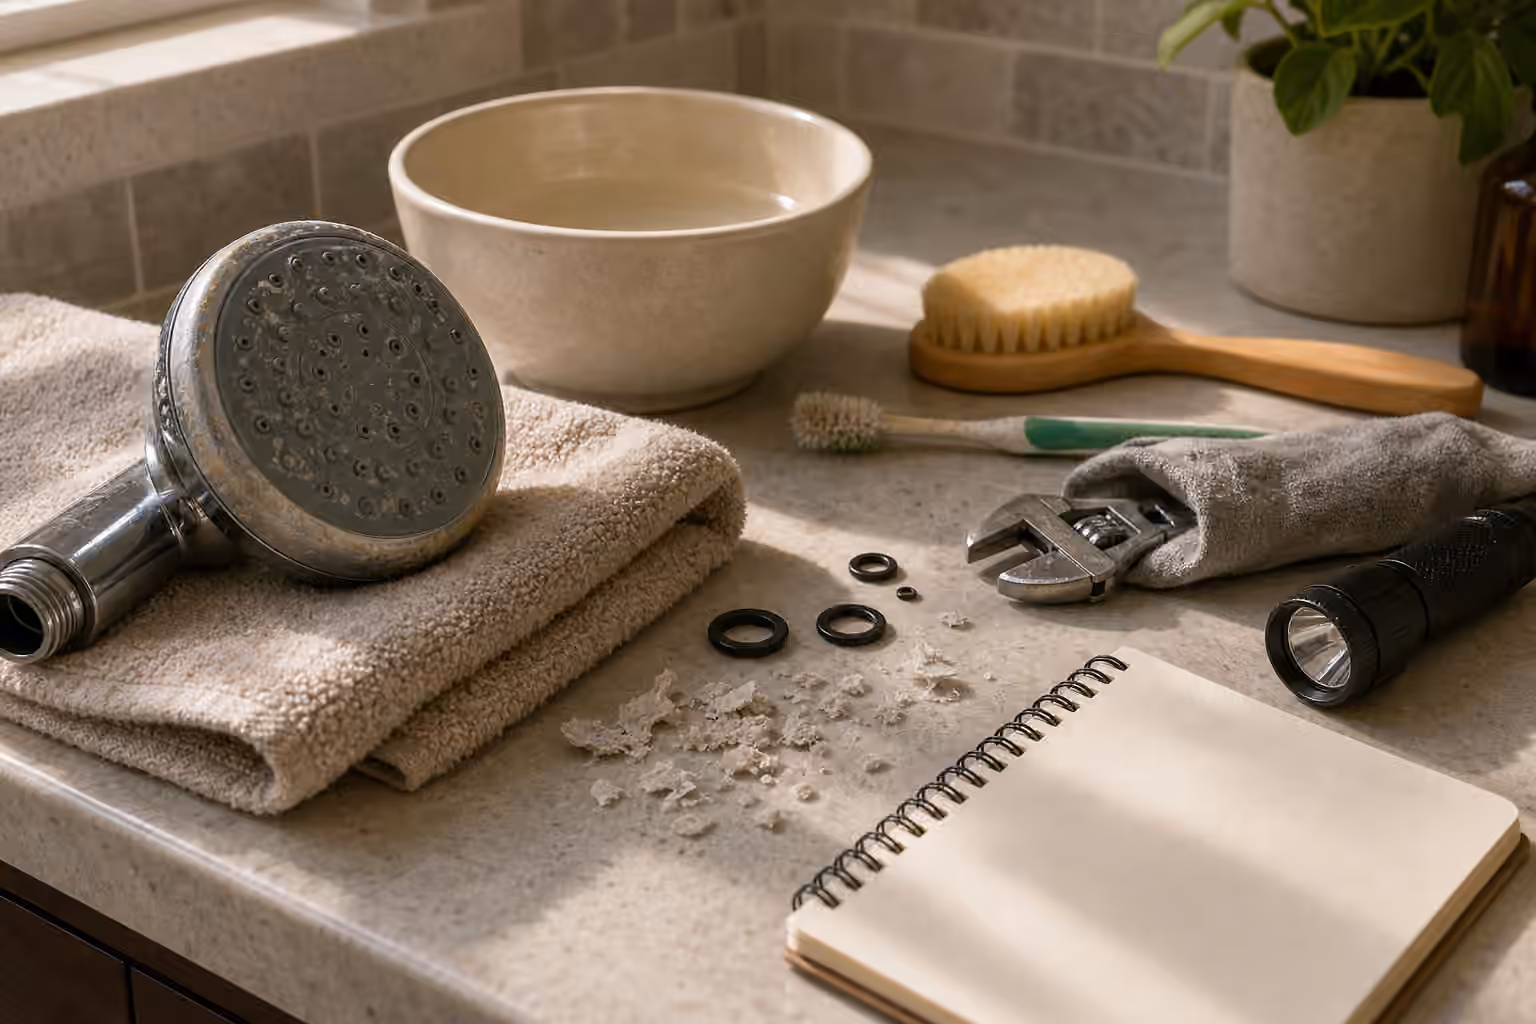
Toilet tank parts look interchangeable until they are not. Flapper size, hinge style, chain attachment, flush valve shape, canister seal design, and overflow height all affect fit. Universal parts can work in many tanks, but “many” does not mean “all.” Photograph the inside of the tank, the old part, and any model markings before buying. The habits in Replacement Parts: OEM, Aftermarket, Salvage, and Red Flags are especially useful because a wrong toilet part can waste water or create a new leak.
Avoid chemical tank cleaners that sit in the water unless the fixture maker supports them. Some products can damage rubber and plastic parts, making flappers swell or seals fail early. If a toilet started running after a colored tablet or harsh cleaner was used, include that in the Save Log. The product may not be the only cause, but the timing is evidence.
If you do replace a simple part, test patiently. Flush several times, wait between flushes, and listen after the tank stops. Check that the chain has a little slack without falling under the seal. Watch the water line. Put the lid back only after the tank behaves normally. A repair is not finished when the part clicks into place. It is finished after the toilet rests quietly and the floor stays dry.
Add it to the Save Log
Record the toilet location, the running pattern, the water level, the chain condition, the flapper or seal style, and any part number if you replace something. Note whether the shutoff valve was tested or left alone. If the tank needs a plumber, the note gives that person a better start. If the problem returns in a few months, the note tells you whether the same part failed again or a new symptom appeared.
Read this beside Under-Sink Leak Triage for water-boundary thinking, Replacement Parts before buying tank parts, The Warranty Folder for model details, and When Not to DIY when porcelain, shutoff valves, flooring, or supply lines raise the stakes.