Plush toys are often repaired late, after the seam has opened, stuffing has migrated, and the object has already been hugged, dragged, washed, slept beside, and carried through ordinary life. That history is the reason to repair carefully. A rushed stitch can trap grime, distort the shape, or hide a loose feature that should be secured before the toy returns to use. A careful repair respects both the material and the role the object plays.
Decide whether the toy is for play, comfort, or display
The same open seam can need different repairs depending on how the toy will be used. A display piece can be stabilized gently and kept away from strain. A bedtime comfort object needs soft, secure stitching with no scratchy knots or hard patches. A toy used by a young child needs a stricter check for loose eyes, buttons, beads, pellets, and small accessories. Naming the role first keeps the repair honest.
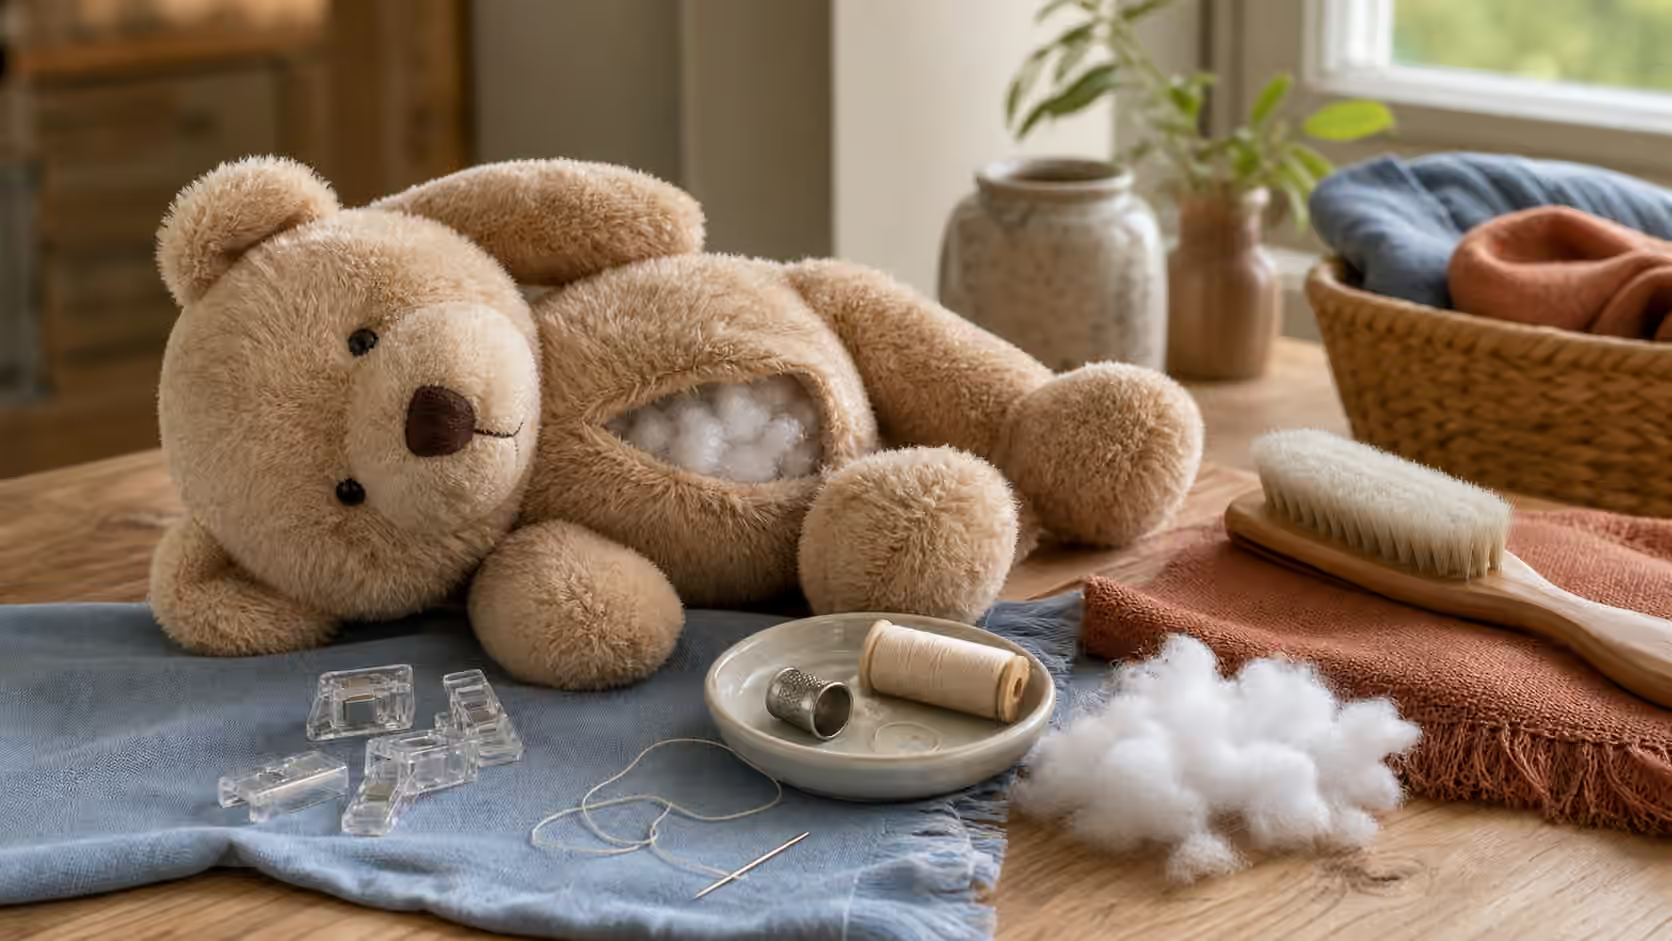
Photograph the seam before pushing stuffing back in. Look for the original stitch line, fabric direction, nap, and any weak spots beside the opening. A seam that opened cleanly at the thread is easier to repair than fabric that tore away from the seam allowance. The habit from How to Photograph a Problem Before You Take It Apart helps because plush fabric hides edges and makes openings look smaller than they are.
Do not start by adding new stuffing. Many plush toys look underfilled near an open seam because the existing fill shifted. If you add more before redistributing what is already inside, the repaired area may bulge while another part stays hollow.
Clean gently before closing dirt inside
Surface grime should be addressed before sewing when the material can tolerate it. Brush loose lint and dust away. Spot clean only with a method safe for the fabric, dye, stuffing, and any features. Avoid soaking unless the care label and construction make that reasonable. A wet plush toy can dry slowly inside, and trapped moisture can create odor or worse problems.
This is a soft-goods version of Clean First . Cleaning is not punishment, and it is not a promise that every stain will disappear. It is a way to keep the repair from sealing dirt into the seam. If the toy smells musty, has visible mold, was exposed to unsafe fluids, or has stuffing that feels damp or clumped from unknown history, stop and reassess. A beloved object can be preserved without being returned to regular use.
If washing is appropriate, repair large openings enough to prevent stuffing loss before a gentle wash, then reopen only if needed for a better final repair after drying. Let the toy dry fully. Stitching damp fabric can trap moisture and make thread tension unreliable.
Read the seam structure
Many plush seams are sewn from the inside, then turned right-side out and closed through a small final opening. A repair usually has to imitate that closing seam from the outside. Find sound fabric on both sides of the opening. If the fabric edge has frayed, you may need to stitch slightly farther from the edge so the thread has something to hold. If the seam allowance has vanished, a patch or professional repair may be better than pulling weak fabric together under strain.
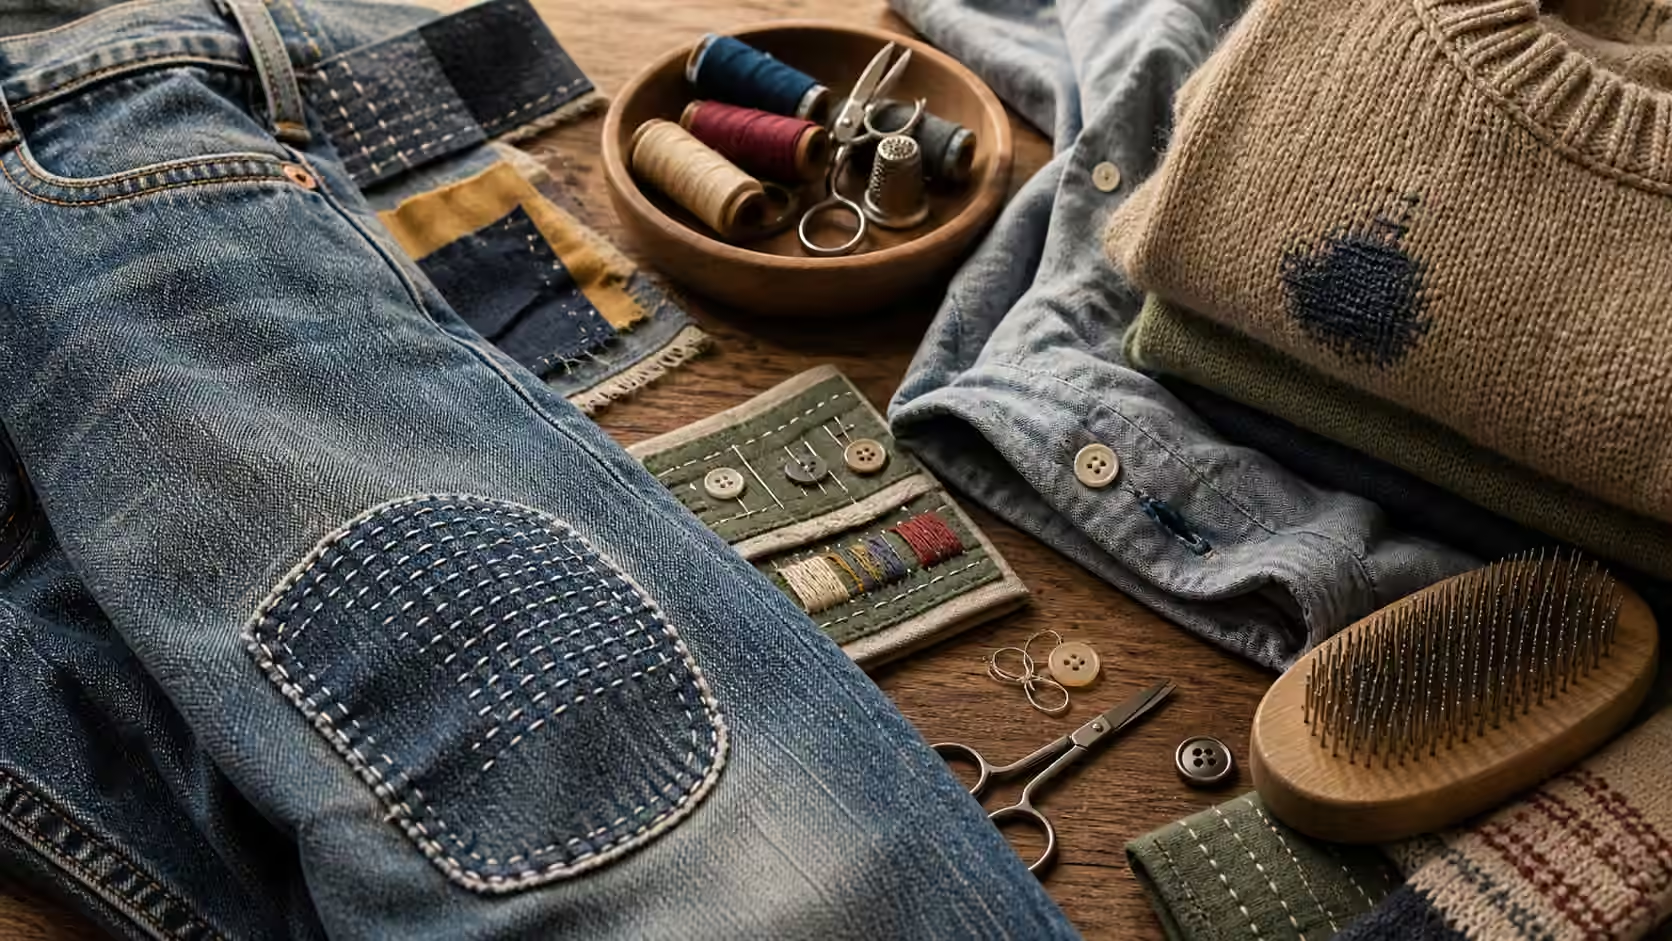
Thread choice matters. Too thick, and the repair becomes a hard ridge. Too weak, and it pops open again. Match color when you want the repair to disappear, or choose an intentional visible repair only when that suits the toy and the owner. Visible Mending can be beautiful on clothing, but a comfort toy may need a softer, quieter repair.
Use small, even stitches and gentle tension. Pulling hard can pucker plush fabric and make the seam look pinched. Clips can hold the opening closed without stabbing extra holes, though pins may be useful when handled carefully. Keep track of the needle at all times. A lost needle in a plush object is a serious failure, not an inconvenience.
Stuffing needs shape, not pressure
Before closing the last section, massage the existing stuffing back into place. Add clean compatible stuffing only if the toy truly lost fill or has a hollow that cannot be corrected by redistribution. Add less than you think. Overstuffing strains old seams, changes the feel, and can make the repaired area look swollen. Understuffing may be acceptable if the toy’s soft collapsed shape is part of its history.
If the toy contains pellets, weighted material, crinkle film, squeakers, or other inserts, do not assume ordinary stuffing rules apply. Loose pellets can escape through tiny gaps. Sound inserts may not tolerate washing. Battery compartments move the object into another category entirely, especially if corrosion is present. Battery Compartment Corrosion is the better companion when a soft toy includes removable batteries.
Loose features deserve their own check. Eyes, noses, buttons, ribbons, and small accessories can become hazards when they loosen. If the toy is used by a very young child, do not return it to service with questionable attachments. A display-only decision may be kinder than a repair that looks cute but fails under use.
Finish for touch and future care
After stitching, feel the repair with your fingers. Look for scratchy knots, thread loops, stiff glue, or puckers that will catch. Trim thread ends securely, then brush the fabric lightly to blend the nap. Do not use adhesive over the seam unless the material and use make sense; glue can harden, stain, and complicate later stitching. Adhesive Repairs is useful mainly as a warning that not every gap wants glue.
Let the repaired toy rest before rough use. If the seam reopens immediately, do not keep stitching closer and closer to the torn edge. The fabric may need a patch, a backing, or retirement from play. Sentimental value can justify careful repair, but it cannot make weak fabric strong by wish.
Add it to the Save Log
Record where the seam opened, whether stuffing was added, how it was cleaned, and whether any features were loose. If the toy is now display-only, write that plainly. A note prevents future confusion when someone finds it in a bin and assumes it is ready for hard use.
Pair this guide with Basic Hand Stitching for stitch control, Clean First before closing a seam, Visible Mending when an intentional repair suits the object, Battery Compartment Corrosion for soft toys with removable batteries, and When Not to DIY when contamination, electronics, or safety-critical use changes the repair.