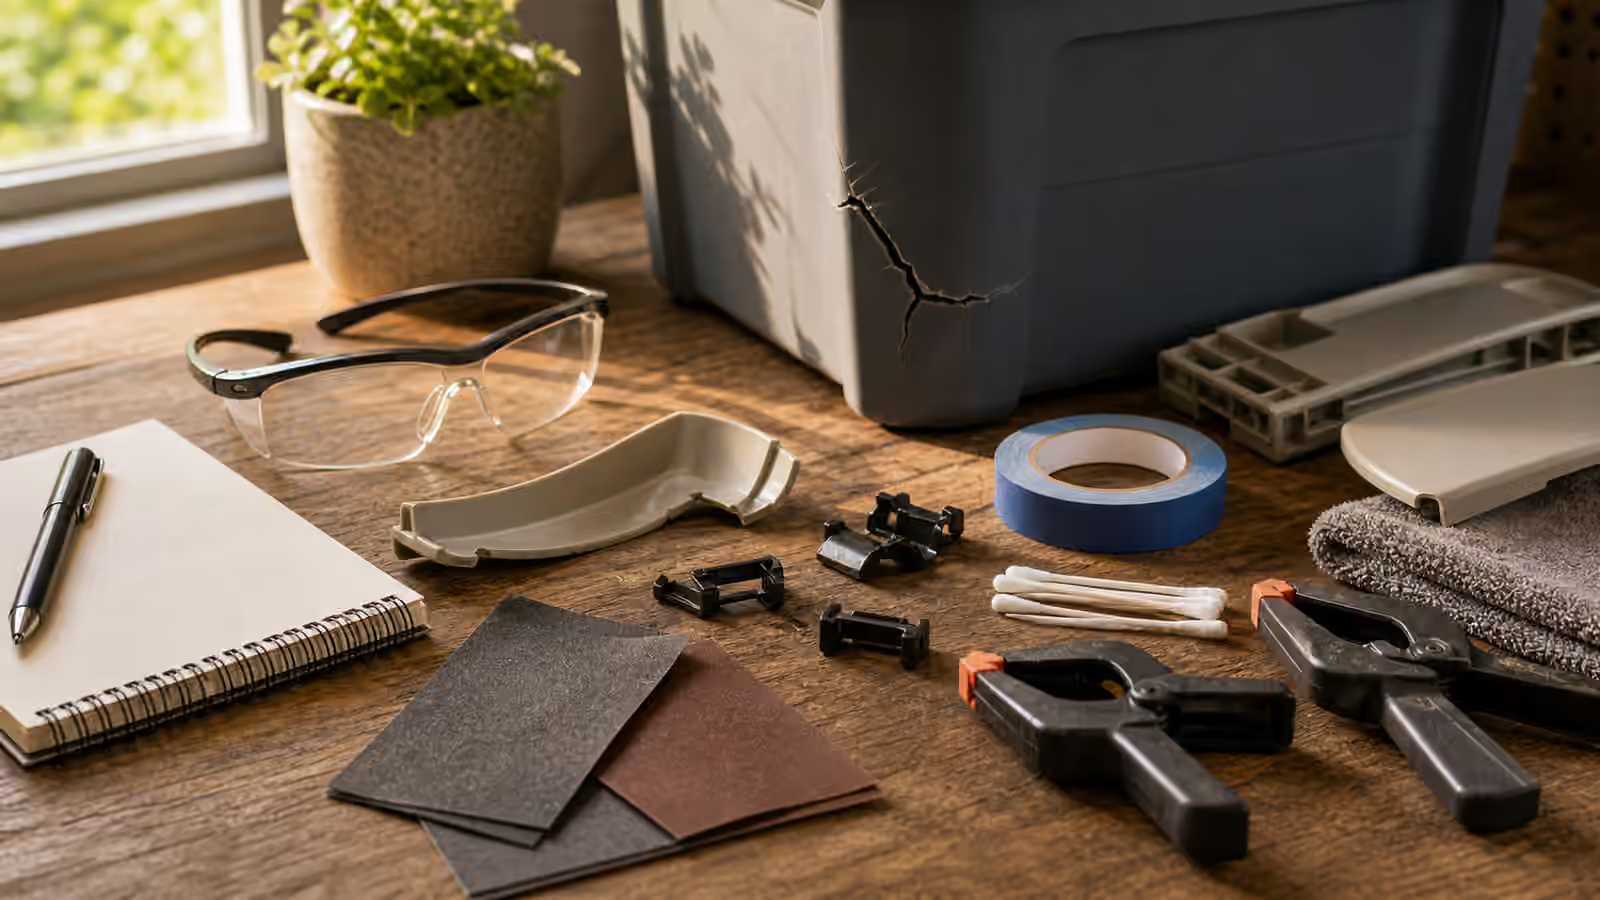
Plastic breaks in ways that make people overconfident. A snapped storage-bin corner, white line around a stressed latch, cracked appliance knob, or broken battery door looks small enough for any glue drawer. The mistake is treating plastic as one material. Some plastics bond well after cleaning and clamping. Some resist common adhesives. Some flex so much that a brittle glue joint fails the first time the object is used. Some parts are safety housings, heat shields, food-contact surfaces, or load-bearing clips that should not be improvised back into service.
Read The Break Before Reaching For Glue
The first useful question is not which adhesive is strongest. It is what the broken plastic was doing before it failed. A cosmetic trim piece that no longer sits flush is different from a latch that keeps a lid closed during transport. A cracked corner on a drawer organizer may only need a smooth edge and a reminder not to overload it. A snapped clip on an appliance cover may control airflow, vibration, or user access to moving parts. The same visible crack can mean annoyance, reduced function, or a boundary you should not cross.
Look closely at the break under good light. Fresh breaks are usually clean and sharp. Old cracks often collect dust, oil, or grime, which makes bonding harder. Stress whitening appears as pale lines where plastic has bent near its limit. It matters because it marks a wider zone of damage than the actual crack. If a tab snapped at the narrow neck, the tab may have been too small for the load or may have become brittle with age. Gluing only the face of the break may recreate the same weak shape.
Identify The Plastic Only As Far As You Need
You do not need to become a polymer specialist to make a better decision, but you do need to accept uncertainty. Many household plastics are unlabeled or marked in places that are hard to see. A recycling symbol can hint at the family, but it is not a full repair instruction. Flexible lids, slick storage containers, brittle clear covers, black appliance trims, and reinforced tool cases may all behave differently under the same adhesive.
If the part has a molded material code, photograph it and add it to the Save Log. If there is no code, use behavior as evidence. Does the surface feel waxy and resist tape? Does it bend and spring back? Does sanding make powder, curls, or gummy smears? Does the broken area sit under constant flex? These observations help you decide whether to clean and stabilize, glue and clamp, reinforce mechanically, order a replacement, or retire the object. The broader adhesive habits from Adhesive Repairs: Match the Glue, Clamp the Joint, Respect the Cure apply here, but plastic often punishes casual product choice more quickly than wood, paper, or fabric.
Cleanliness And Fit Matter More Than A Thick Bead
A successful plastic repair starts with fit. Dry-fit the pieces before adding anything wet. The broken edges should meet without force, and the part should sit in its real working position. If you have to bend the object hard to close the gap, the repaired joint will live under tension. That tension may peel the bond apart as soon as the clamp comes off.
Clean the surfaces gently. Dust, skin oil, kitchen grease, polish, and old adhesive can turn a promising repair into a weak film. Use a cleaner that is safe for the object, and let it dry fully. Aggressive solvents can craze, cloud, soften, or melt plastics. This is one reason to test on a hidden area when the object is low risk and replaceable. Roughening can help some bonds, but sanding a thin tab can also remove the little material it had left. The keeper move is restraint: enough surface preparation to help adhesion, not so much that the repair becomes a new kind of damage.
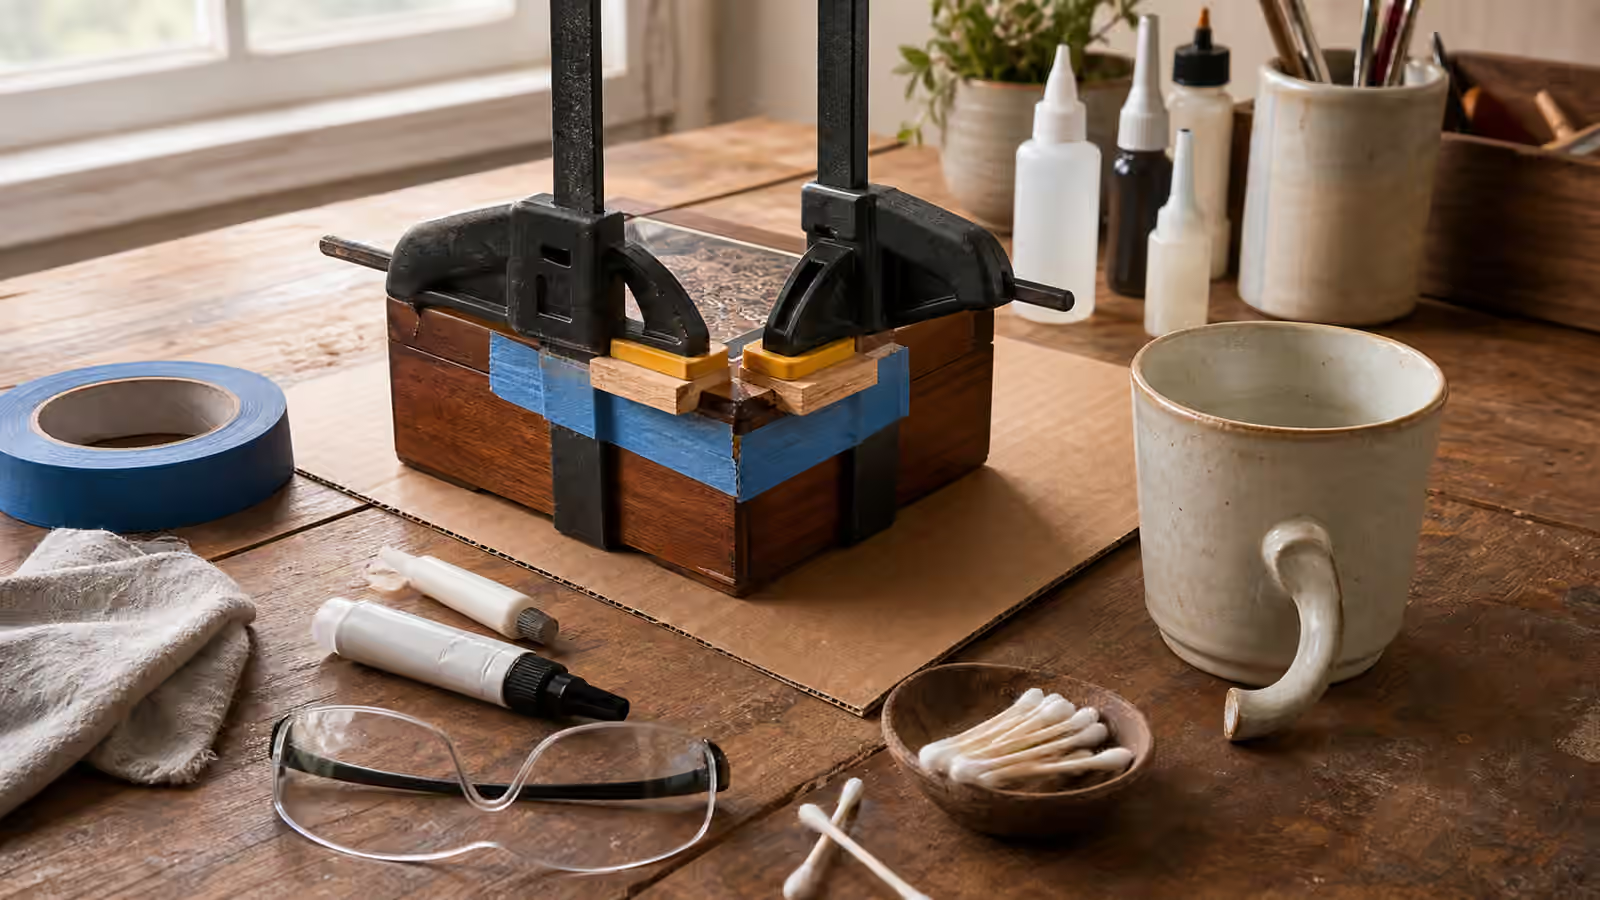
Clamping also deserves more thought than it usually gets. Plastic parts can deform under uneven pressure. A clamp that is too strong may close one side while opening another. Painter’s tape, rubber bands, soft padding, or light spring clamps can sometimes hold shape better than a heavy clamp. The joint needs contact, alignment, and time. It does not need a dramatic squeeze-out that sends adhesive into hinges, sliding tracks, buttons, or screw holes.
Reinforcement Can Be Smarter Than Recreating The Original
Some breaks fail because the original shape was asked to do too much. A storage bin corner that carries weight, a drawer stop that gets slammed, or a thin clip opened every week may need reinforcement rather than a simple face-to-face glue line. Reinforcement might mean backing the crack with a small patch on a non-visible side, spreading load with a washer under a screw, adding a replaceable strap, or deciding that the broken plastic insert is no longer worth trusting.
Reinforcement should not interfere with the object’s real motion. A patch that blocks a latch, changes a vent opening, traps water, or makes a part harder to clean can create the next failure. On food-contact or heat-adjacent items, reinforcing with mystery adhesives is usually the wrong move. For objects with available parts, How to Find Replacement Parts Without Buying the Wrong Thing is often a better guide than the glue shelf.
When Replacement Is The Keeper Choice
Plastic repair can feel virtuous even when replacement is the more responsible decision. A cracked microwave door trim, brittle power-tool guard, damaged blender jar, broken child-seat clip, or compromised helmet shell is not a craft opportunity. The object may still look mostly intact, but its safety role has changed. If the plastic contains heat, electricity, pressure, blades, chemical exposure, or impact protection, retire it or replace the correct part.
Replacement is also sensible when the crack reveals age-related brittleness across the whole object. If one tab snaps and nearby tabs whiten when touched, the material may be aging out. A repair that saves one corner does not restore the rest of the housing. The Repair Cost Rule helps here because the cost is not only money. It includes time, frustration, confidence, repeated failure, and the risk of trusting a part that has stopped being trustworthy.
Document The Part For Next Time
Before and after photos are unusually helpful with plastic. Photograph the crack, the material mark if present, the mating surface, the screw pattern, and the way the part fits into the larger object. If you order a replacement, save the part number and supplier. If you repair it, record the adhesive, clamp method, cure time, and the first day it returned to service. The next failure will be easier to judge when you know whether the joint failed, the surrounding plastic cracked, or the object was overloaded again.
Plastic repair rewards patience, but it also rewards humility. A clean, low-risk repair can keep a useful object out of the bin. A forced repair can hide a failure until the object is carrying a load, protecting a user, or containing something messy. The keeper habit is to name that difference before the tube opens.
Related Keepers Guild Guidebooks
Read this with Adhesive Repairs: Match the Glue, Clamp the Joint, Respect the Cure for bonding judgment, The 10-Minute Triage for slowing down around unclear failures, How to Find Replacement Parts Without Buying the Wrong Thing when a molded part is available, and When Not to DIY when the plastic has a safety role.