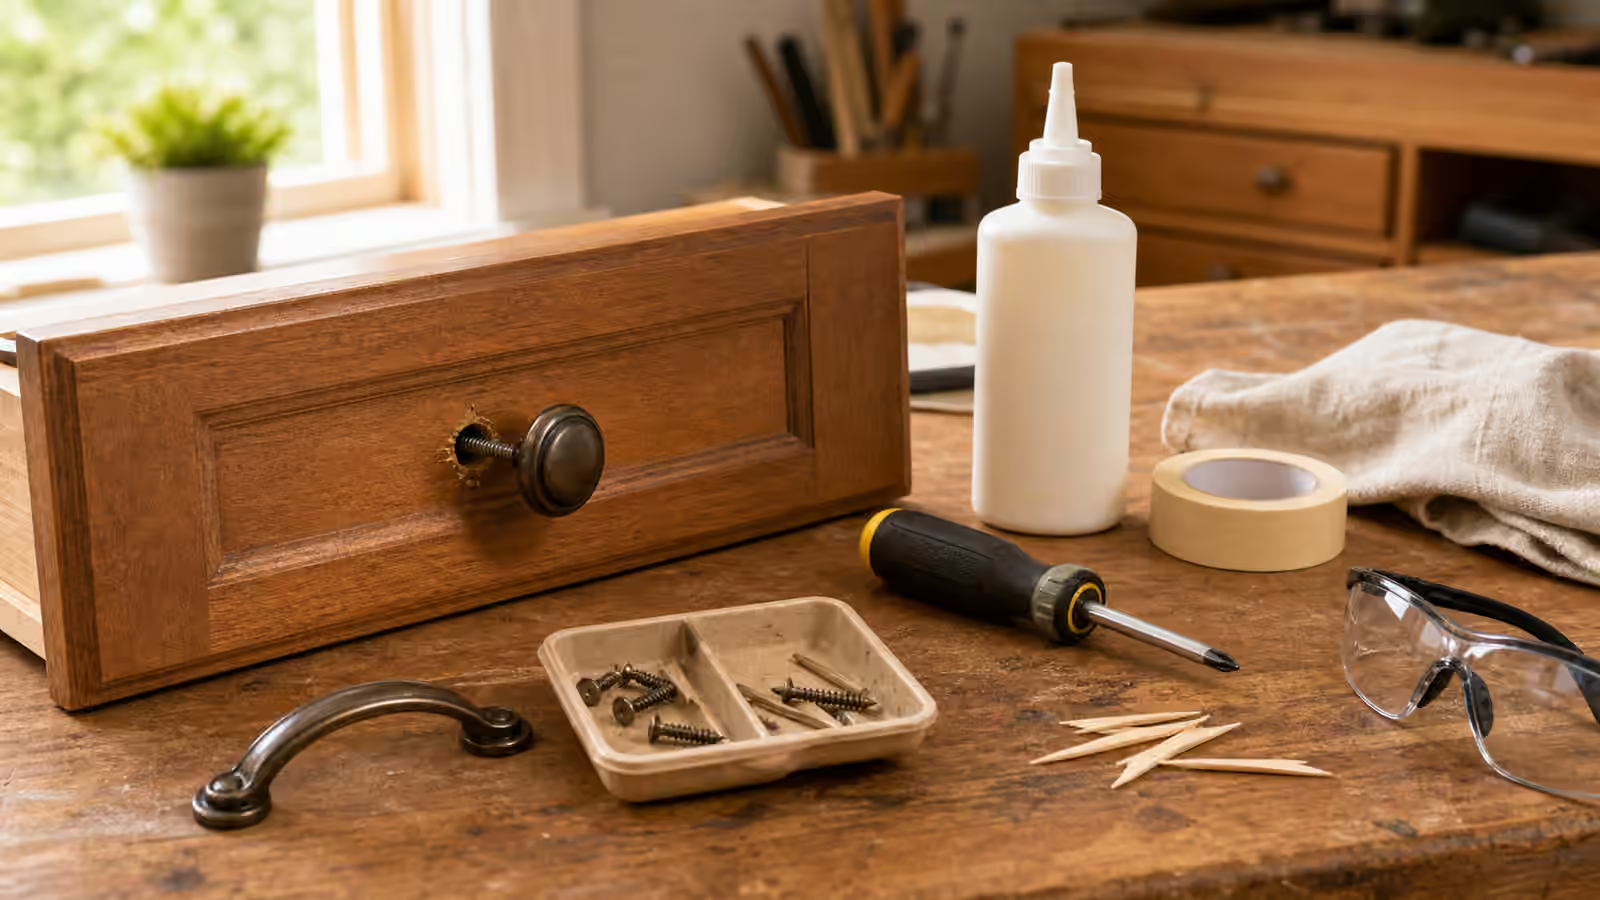
Loose handles rarely fail all at once. A cabinet knob begins to turn a little farther than usual. A drawer pull rattles when the drawer closes. A door lever sags, then one day feels as if it is being held in place by habit rather than hardware. The tempting response is to grab a screwdriver, tighten until the movement stops, and move on. Sometimes that is all the object needs. Other times the extra turn only crushes weak wood fibers, strips a machine screw, cracks a plastic boss, or hides an alignment problem that will come back worse.
Read the wobble before tightening
A loose handle is evidence. It tells you that something moved, wore down, compressed, dried out, or was never seated well in the first place. Treat it the same way you would treat any small repair in The 10-Minute Triage : pause long enough to identify what is moving and what is still sound. Hold the object steady with one hand and move only the handle with the other. Watch the screw head, the washer, the escutcheon, the wood around the hole, and the back side if you can see it. The useful question is not only whether the handle moves. It is where the movement begins.
If the screw head turns with the handle, the screw may simply be loose. If the screw stays still while the knob spins, the threads inside the knob may be worn or the set screw may be missing. If the screw tightens but never firms up, the material behind it may be stripped. If the handle is firm when pulled gently but shifts under sideways pressure, the holes may be wallowed out or the hardware may be installed at a slight angle. Those differences matter because they lead to different repairs.
Clean the area before deciding. Dirt under a handle can make hardware sit crooked, and old wax or grease can trick you into tightening against a soft layer rather than against the object. The habit from Clean First applies here even when the repair looks mechanical. A dry cloth, a soft brush, and a moment of inspection are safer than forcing a screwdriver into a dirty screw recess.
Use the right driver and the right pressure
Loose hardware often arrives with damaged screw heads because someone tightened it with the wrong driver. A driver that is too small rounds the recess. A power driver can overrun the moment when the screw seats. A worn bit can turn a simple fix into the kind of stuck-fastener problem covered in the stripped-screw guide already sitting nearby in this section. Use a hand driver first, seat it fully, press straight into the screw, and stop when the hardware is snug rather than when your wrist has proved a point.
Snug is a practical word, not a vague one. The handle should stop moving under normal use, but the surface around it should not dent, pucker, squeak, or crack. On wood furniture, over-tightening can crush fibers and make the next repair harder. On thin cabinet fronts, the screw can pull the knob into the surface and leave a permanent ring. On plastic parts, extra torque can crack the boss that holds the screw. On metal handles with machine screws, the screw can strip the receiving threads or bind so tightly that future removal becomes difficult.
If you feel the screw suddenly lose resistance, stop. That feeling usually means the threads in the hole have failed or the screw has started to chew its own path. Continuing will not restore grip. It will only create a larger void. Photograph the hardware, remove the screw if it comes out cleanly, and examine the screw length, diameter, head style, washer, and any spacer. That photograph becomes useful if you need to match a replacement later, as described in Replacement Parts .
When the hole is the problem
Many loose handles are not screw problems. They are hole problems. A drawer pull that has been yanked from one side for years can elongate the hole. A cabinet knob on soft wood can compress the fibers around the screw. A handle mounted on particleboard can lose grip if the hole has been over-tightened or if moisture has swollen and softened the material. Tightening a screw into a failed hole is like tightening a knot in torn fabric. It may look better for a day, but the structure has already changed.
For low-risk wood furniture and cabinet fronts, a small stripped pilot hole can often be repaired by restoring the wood fibers the screw bites into. A common keeper-level repair uses a sliver of wood, a toothpick, or a properly fitted plug with wood glue, followed by enough cure time before the screw returns. The point is not to stuff the hole randomly. The point is to give the screw clean material to cut against again without splitting the surrounding wood or pushing the hardware out of alignment. If the piece is valuable, veneered, antique, or visible in a way that matters to you, this is a good moment to ask a furniture repairer rather than improvising.
Machine screws need a different mindset. A knob that fastens with a machine screw through the drawer front may need the correct length screw, a washer, or a thread repair in the knob, not a filled wood hole. A screw that is too short may engage only a few threads and loosen quickly. A screw that is too long can bottom out inside the knob before clamping the drawer front, leaving the knob loose even though the screw feels tight. If a washer was present, keep it. If one side had a spacer or cup, keep that orientation documented before parts scatter.
Alignment matters more than force
Handles are small levers. When they sit crooked, every pull applies uneven pressure to the fasteners. A drawer pull mounted with two screws needs both holes to share load. If one screw is tight and the other is angled, the handle will twist against the weaker side. A cabinet door pull placed where users naturally yank sideways may need gentler habits, better hardware, or a repair to the door, not just another round of tightening.
Before reinstalling, close and open the drawer or door slowly. Look for rubbing, sagging, swollen edges, or a drawer slide that binds. The handle may be absorbing a problem that begins somewhere else. Drawer Slides: Sticky, Sagging, Crooked, or Broken is a useful companion when a pull keeps loosening because the drawer takes too much force to open. If the drawer slides smoothly after cleaning and adjustment, the handle repair will last longer. If the drawer still fights you, the handle is being asked to compensate for the slide.
Door hardware has its own boundary. A decorative closet knob is one thing. An exterior lockset, fire-rated door, keyed entry, bathroom privacy latch, or child-safety hardware is another. If loosening affects latching, egress, security, or emergency access, stop treating it as a casual handle repair. The keeper move is to keep the door usable and safe, document the problem, and use the right repairer or manufacturer support.
Keep the repair reversible and documented
A good handle repair leaves the next person with options. Avoid mystery adhesives on hardware that should be serviceable. Avoid oversized screws unless the material and hardware call for them. Avoid driving a longer screw without checking what sits behind the surface. On a cabinet door, a screw that is only a little too long can break through the front. On a hollow-core door or thin drawer face, the wrong fastener can create a visible bump or split.
When you remove hardware, place parts in order and take one photo before cleaning, one photo of the back side, and one photo beside a ruler if replacement is likely. This is the same evidence habit taught in How to Photograph a Problem Before You Take It Apart . The camera is not for drama. It is for protecting orientation, washer order, screw length, and the difference between the original failure and anything you changed during repair.
After reassembly, test with normal use rather than a theatrical yank. Open the drawer the way it is normally opened. Close the cabinet and listen for rattles. Press gently around the hardware and watch whether the surface moves. If the handle serves a high-use drawer, check again after a week. Early loosening means the repair did not solve the cause. That is information, not a reason to tighten harder.
Add it to the Save Log
Record the object, hardware type, screw length, whether the problem was a loose screw or failed hole, and what changed during repair. If you used glue, record the cure time and when the object returned to use. If you replaced a screw, note the diameter, length, head type, and where it came from. A handle that loosens twice deserves a better note than “tightened again.”
The quiet success is boring in the best way. The knob stops spinning, the pull no longer rattles, the surface is not crushed, and the next repair will be easier because the hardware was treated as part of a system. Keepers Guild is built around that kind of small save: not rescuing an object at the last possible second, but noticing the early wobble and fixing it before the hole fails.
Related Keepers Guild guidebooks
Read this with The 10-Minute Triage when the handle is only one symptom, Clean First before tightening through grime, Drawer Slides when a drawer pull keeps loosening because the drawer binds, Replacement Parts when screws or knobs need matching, and When Not to DIY when the hardware affects safety, security, or emergency access.