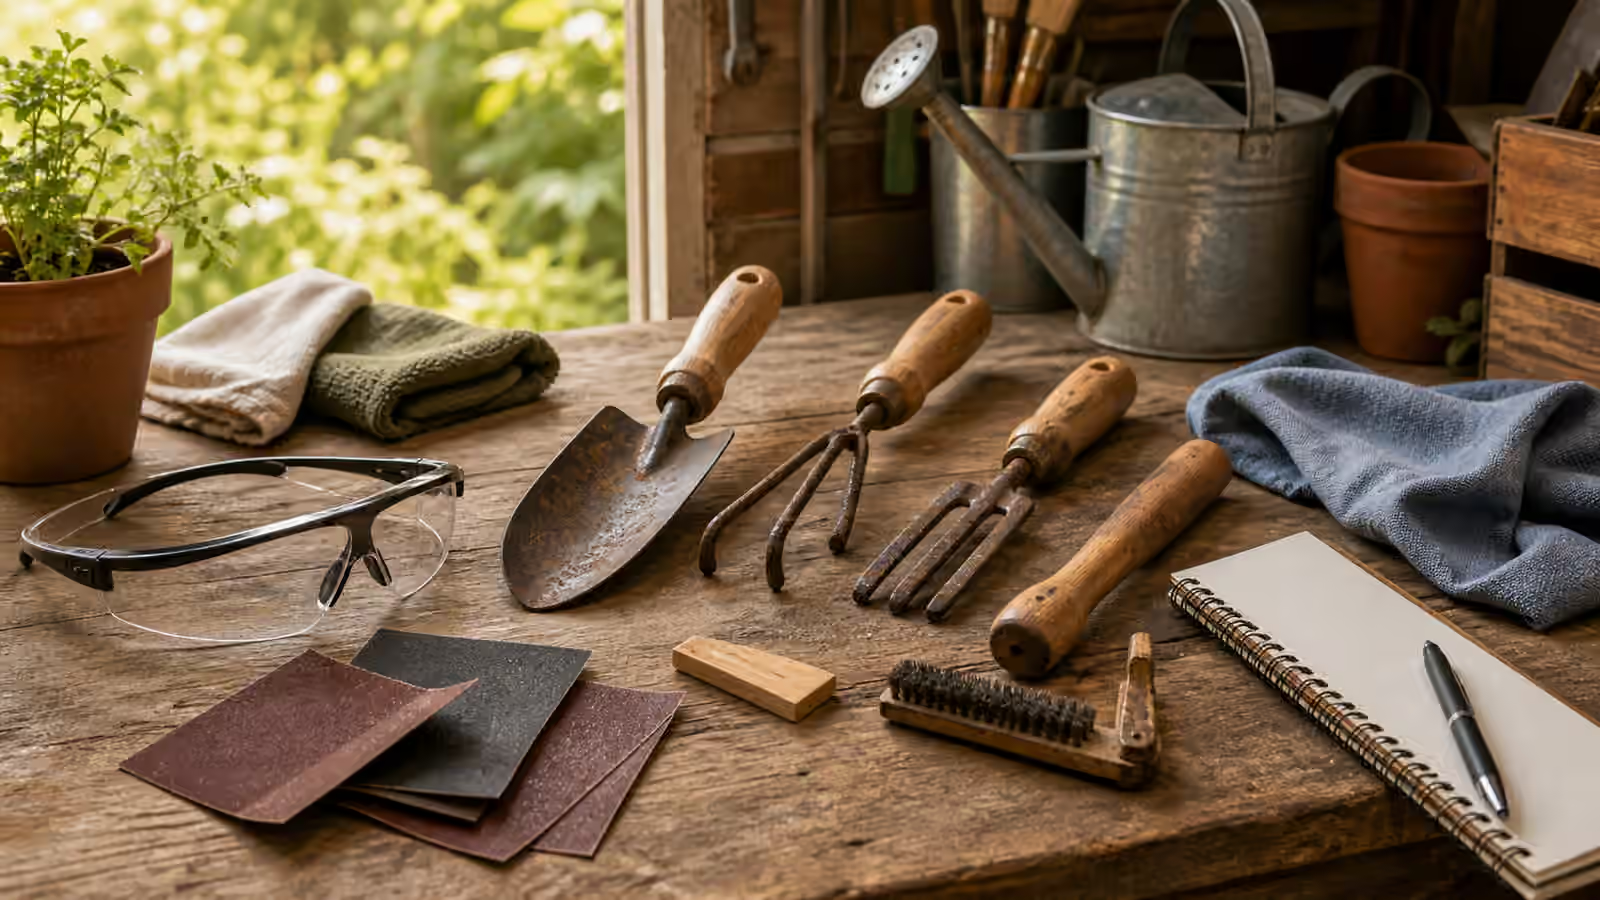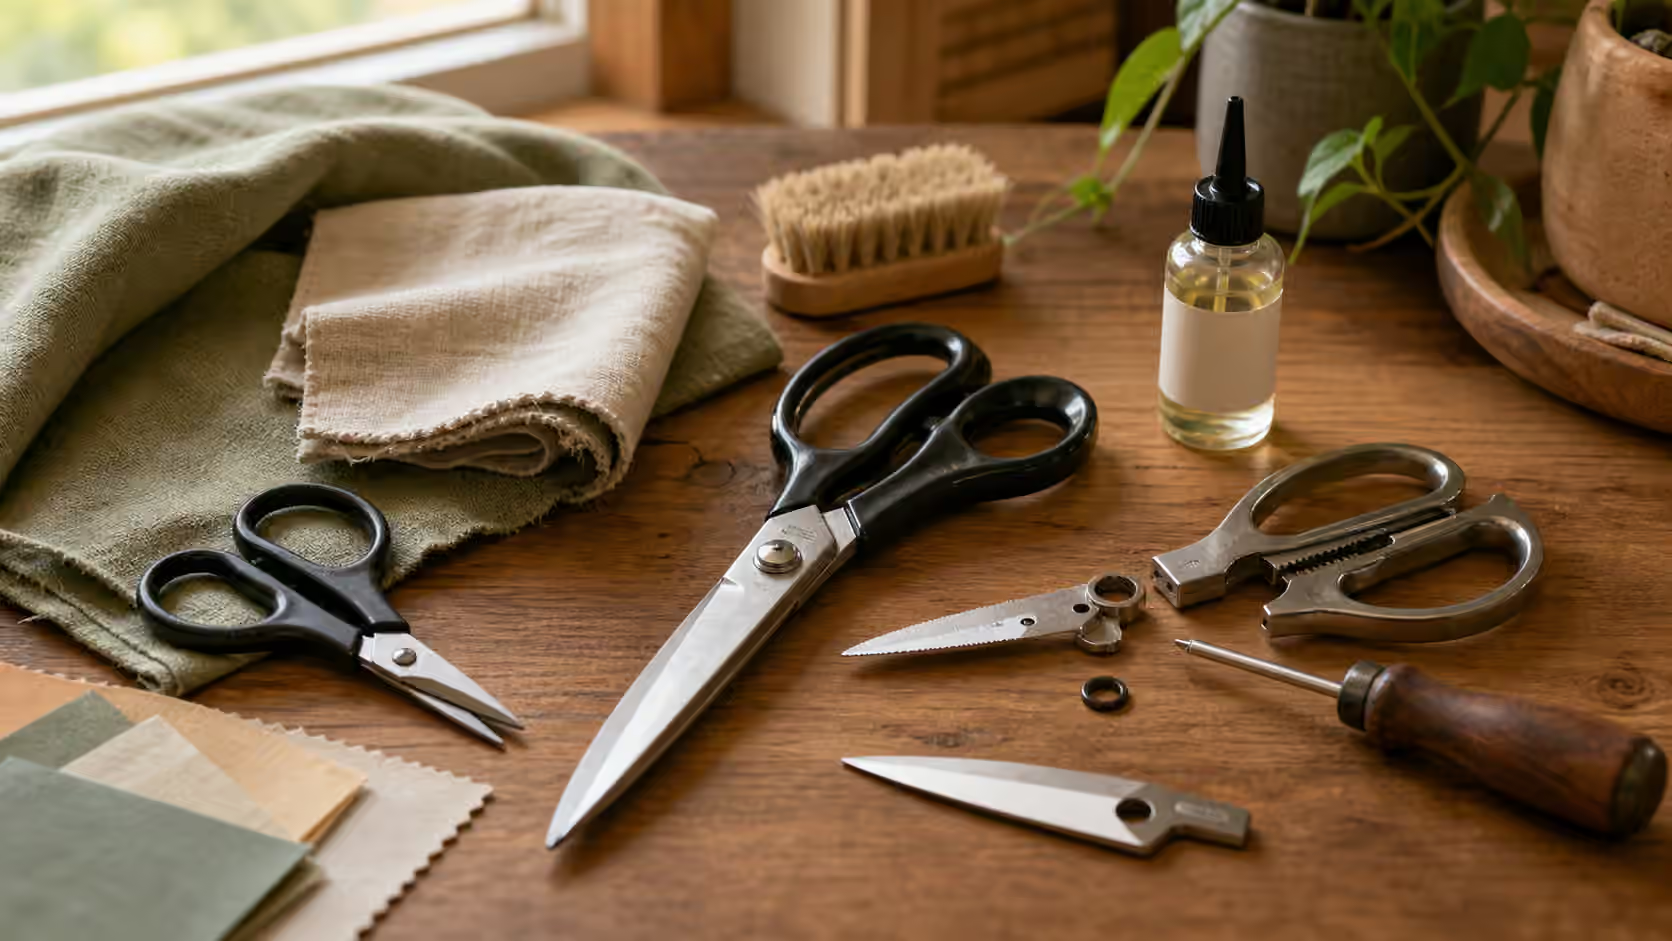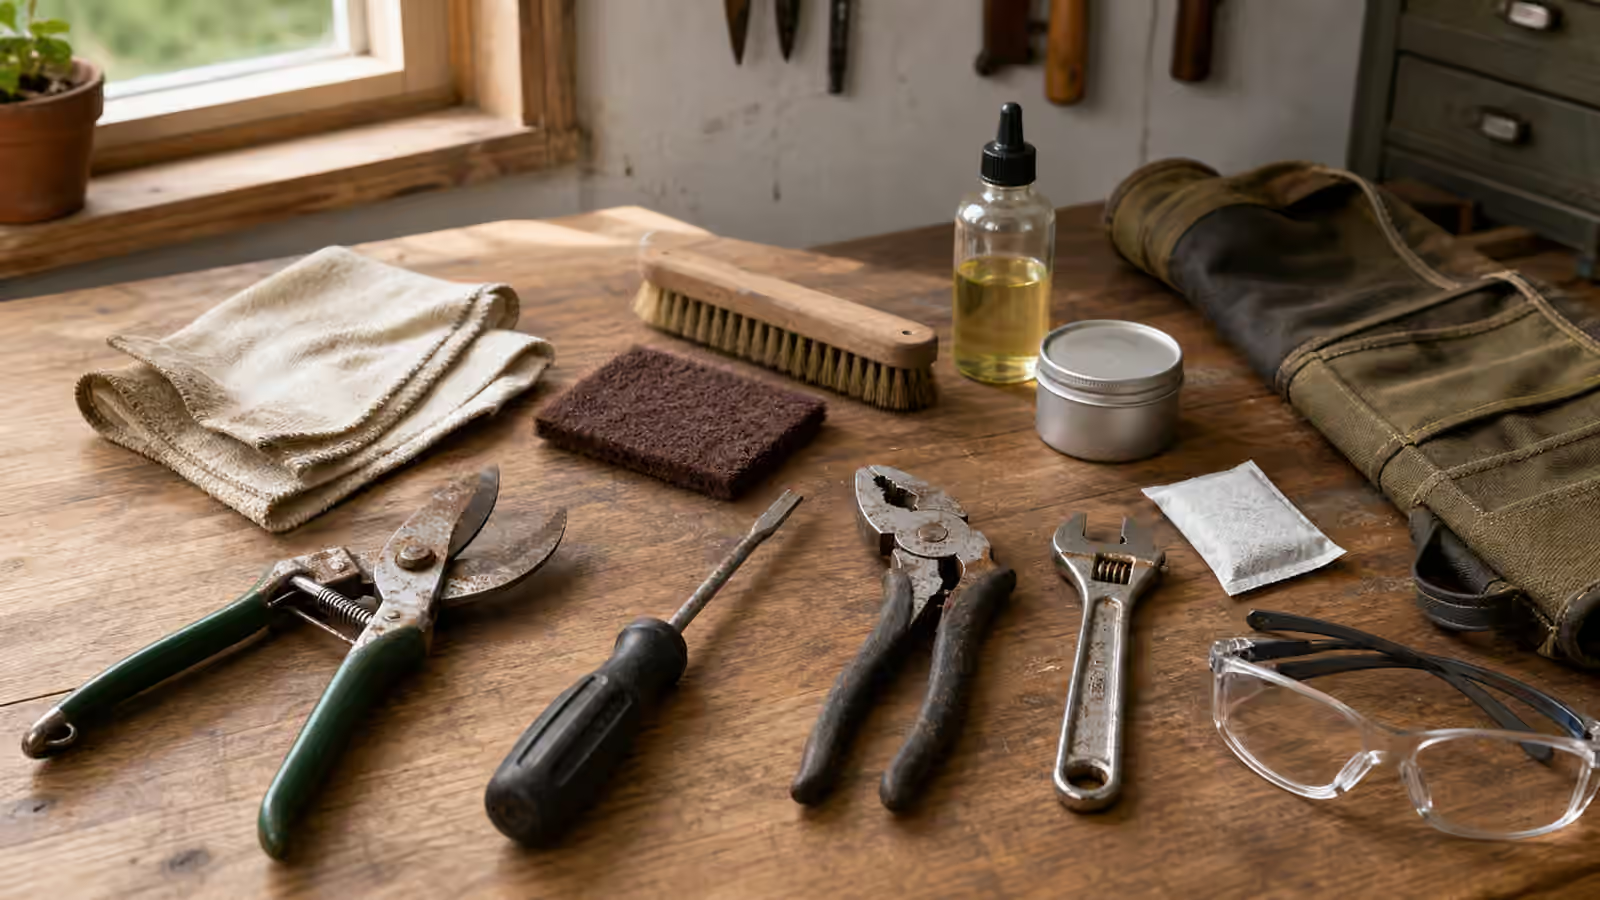
Rust on a tool can feel like a verdict. A screwdriver from a damp drawer, pruners left in a shed, pliers that rode in a wet toolbox, or a wrench found under the sink all seem to ask the same question: is this still a tool, or has it become clutter? The answer depends on where the rust is, how deep it goes, what the tool does, and whether cleaning would restore function or only make a dangerous object look respectable.
Tell surface rust from tool failure
Light rust is often a storage problem, not a death sentence. A thin orange film on a wrench, screwdriver shaft, plier hinge, or garden pruner blade may come off with gentle cleaning and leave the tool fully useful. Deep rust is different. Pitting, flaking metal, seized pivots, swollen laminated handles, cracked grips, or rust around a joint that needs precise movement can mean the tool has lost more than appearance. A tool that slips, binds, flexes, or sheds metal under normal use should not be trusted just because the color improved.
Begin with observation, as in The 10-Minute Triage . Wipe dry dirt away and look at the working surfaces. On a screwdriver, the tip matters more than the shaft. A rusty shaft may clean up, but a rounded or chipped tip can damage screws and cause hand slips. On pliers, the hinge, jaws, cutters, and grip matter. On pruners, the blade edge, spring, lock, and pivot matter. On a wrench, the jaws and box end need crisp enough geometry to grip without rounding fasteners. Rust in decorative or non-contact areas is less serious than rust where force is transferred.
Use normal motion as a test, not force. Open and close pliers slowly. Work a pruner lock with the blade pointed safely away. Place a wrench on a known good nut without applying full torque and feel whether it sits cleanly. If a tool requires a heroic squeeze to move, do not clamp it in a vise and force it free as a first move. The pivot may need cleaning and oil, or the tool may have corrosion inside the joint that makes it unreliable.
Clean gently before removing metal
The goal is to remove rust while preserving the shape that makes the tool useful. Aggressive grinding can turn a salvageable tool into a shiny but inaccurate one. Start dry when possible. A cloth, soft brush, and gentle abrasive pad can remove loose rust and dirt without changing geometry much. Work slowly and keep abrasive attention away from precision edges unless you know how that edge should be restored.
For small hand tools, a light oil can help loosen surface rust and leave a protective film, but oil is not a cleaner for every object. It can stain wood, soften some materials, attract dust, and make handles slippery if used carelessly. Apply sparingly, wipe thoroughly, and keep it away from grip areas where slip would matter. On tools used around food, plants, children, pets, or finished surfaces, think about where residue might transfer. The keepers’ habit is not to saturate; it is to clean, protect, and leave the tool pleasant to use.
Soaking has a place, but it is easy to overuse. Vinegar and other acidic approaches can remove rust while also attacking good metal, darkening surfaces, or creeping into handles and pivots. Commercial rust removers have instructions, disposal concerns, and material limits. If you use a liquid method, remove parts that should not soak, monitor the tool, neutralize or rinse as directed, dry thoroughly, and oil immediately if the metal needs protection. The tool should not be left wet because the next rust cycle can begin before the repair is finished.
Edges, pivots, and insulated tools need special judgment
Cutting tools are not merely metal shapes. A pruner blade, utility knife, chisel, kitchen knife, or scissors depends on edge geometry. Removing rust from the flat side of a blade is different from reshaping the cutting bevel. If the edge is nicked, deeply pitted, loose, or misaligned, sharpening may not be enough. For kitchen knives, Knife Care gives a better boundary because food prep, edge angle, and safe storage all matter. For pruners and utility tools, the same idea applies: a tool that cuts unpredictably is less safe than one that looks dull but behaves consistently.
Pivots should move smoothly without wobble. Oil can improve a stiff hinge after dirt and rust are cleaned, but oil will not replace missing metal or restore a loose rivet. If pliers or pruners wobble side to side, pinch skin, fail to lock, or spring open unpredictably, retire them from risky work. A cheap tool that fails while cutting wire, trimming a branch, or gripping a stuck fastener can create a hand injury out of proportion to the tool’s value.
Insulated tools are a hard stop for beginners. A screwdriver with a damaged insulated handle, a meter lead with cracked insulation, or any tool used near electricity should not be casually restored for electrical work. Surface cleaning may make it look better while the protective function remains compromised. The guide When Not to DIY is clear about this kind of boundary. If safety depends on certification or insulation, visual cleanup is not proof.
Fix storage so rust does not return
Rust repair without storage repair is a loop. Tools rust because moisture, dirt, salts, acids, wet plant sap, damp basements, outdoor sheds, leaky cabinets, or wet tool rolls keep metal in the wrong environment. After cleaning, ask why the tool rusted. Did it go away wet? Was it stored under the sink near a leak? Did a toolbox sit directly on a concrete floor? Did garden tools keep soil on the blades? Did a cloth roll trap moisture after rain?
Dry storage does not need to be elaborate. Wipe tools after use. Let damp tools dry before closing them into a box. Keep tools away from known leak zones. Use a thin protective film where appropriate, then wipe off excess. Store cutting edges so they are protected without trapping moisture. If a tool roll smells musty, clean and dry the roll rather than putting clean tools back into a damp home. The same maintenance rhythm behind The Warranty Folder applies here in a more physical way: the system around the object matters.
Garden tools often need more cleaning than indoor tools because soil and plant sap hold moisture. Pruners benefit from a wipe after use, attention to the pivot, and safe storage with the lock engaged if the design includes one. Kitchen and food-adjacent tools should not inherit oily shop habits. Household screwdrivers and pliers should be easy to grab with clean hands, not tacky with excess product. Match the protection to the tool’s use.
Retire tools honestly
The hardest part of tool care is admitting that a tool has crossed from repairable to unreliable. Retire a tool when the handle is cracked in a way that can pinch or break, when jaws no longer align, when a screwdriver tip damages screws, when a wrench slips on undamaged fasteners, when a blade is deeply pitted at the edge, when a hammer face is mushroomed, or when a pivot is loose and cannot be corrected. A dangerous tool is not more sustainable because it stayed in the drawer.
Sentimental tools can retire into a different role. A grandparent’s screwdriver with a worn tip may become a keepsake, a display piece, or a light-duty non-critical tool clearly marked in your own system. It should not be the tool you reach for when a stripped screw would make the repair worse. Keepers Guild values objects, but it values the user too.
If the tool is still useful after cleaning, test it gently in a low-risk task. A cleaned wrench should grip a normal fastener without slipping. Pliers should open, close, and hold without binding. Pruners should cut a small appropriate stem cleanly without twisting. If the tool passes normal use, store it properly and check it after a few weeks. Returning rust means the storage problem remains.
Add it to the Save Log
Record the tool, where rust appeared, cleaning method, oil or protection used, and storage change. If the tool was retired, record why. That note prevents the same unsafe tool from being rediscovered later as if the question were new. If you replaced it, keep the purchase note and any model details that matter.
The quiet goal is not a mirror finish. It is a tool that moves correctly, grips or cuts as designed, stays dry in storage, and does not create new damage during the next repair. Light rust can be a small maintenance job. Deep damage, compromised safety, or bad storage habits require a bigger decision.
Related Keepers Guild guidebooks
Use The 10-Minute Triage before deciding whether rust is cosmetic or functional, Clean First for the habit of gentle prep, Knife Care when cutting edges matter, Replacement Parts when a tool has serviceable blades or springs, and When Not to DIY for insulated, load-bearing, vehicle, medical, or safety-critical tools.