Garden tools often fail slowly. A trowel handle dries and raises splinters. A cultivator head wiggles, then clicks, then twists. A pruner gets sticky, so someone squeezes harder. A hoe or rake sits with wet soil on the metal until rust feels normal. Because these tools live in sheds, balconies, garages, and damp corners, their damage can seem like part of gardening rather than a maintenance signal. The keeper view is simpler: a tool that touches soil still deserves the same observation, cleaning, and stop points as anything else you rely on.
Soil Is Not Harmless Storage
Soil holds moisture, grit, salts, and organic matter against metal and wood. Leaving it on a tool can dull edges, trap dampness, stain handles, and invite rust. The first repair is usually a better end-of-session habit. Knock off loose soil, brush stubborn areas, wipe handles dry, and let the tool air before storage. A minute at the end of gardening can prevent a much longer rescue later.
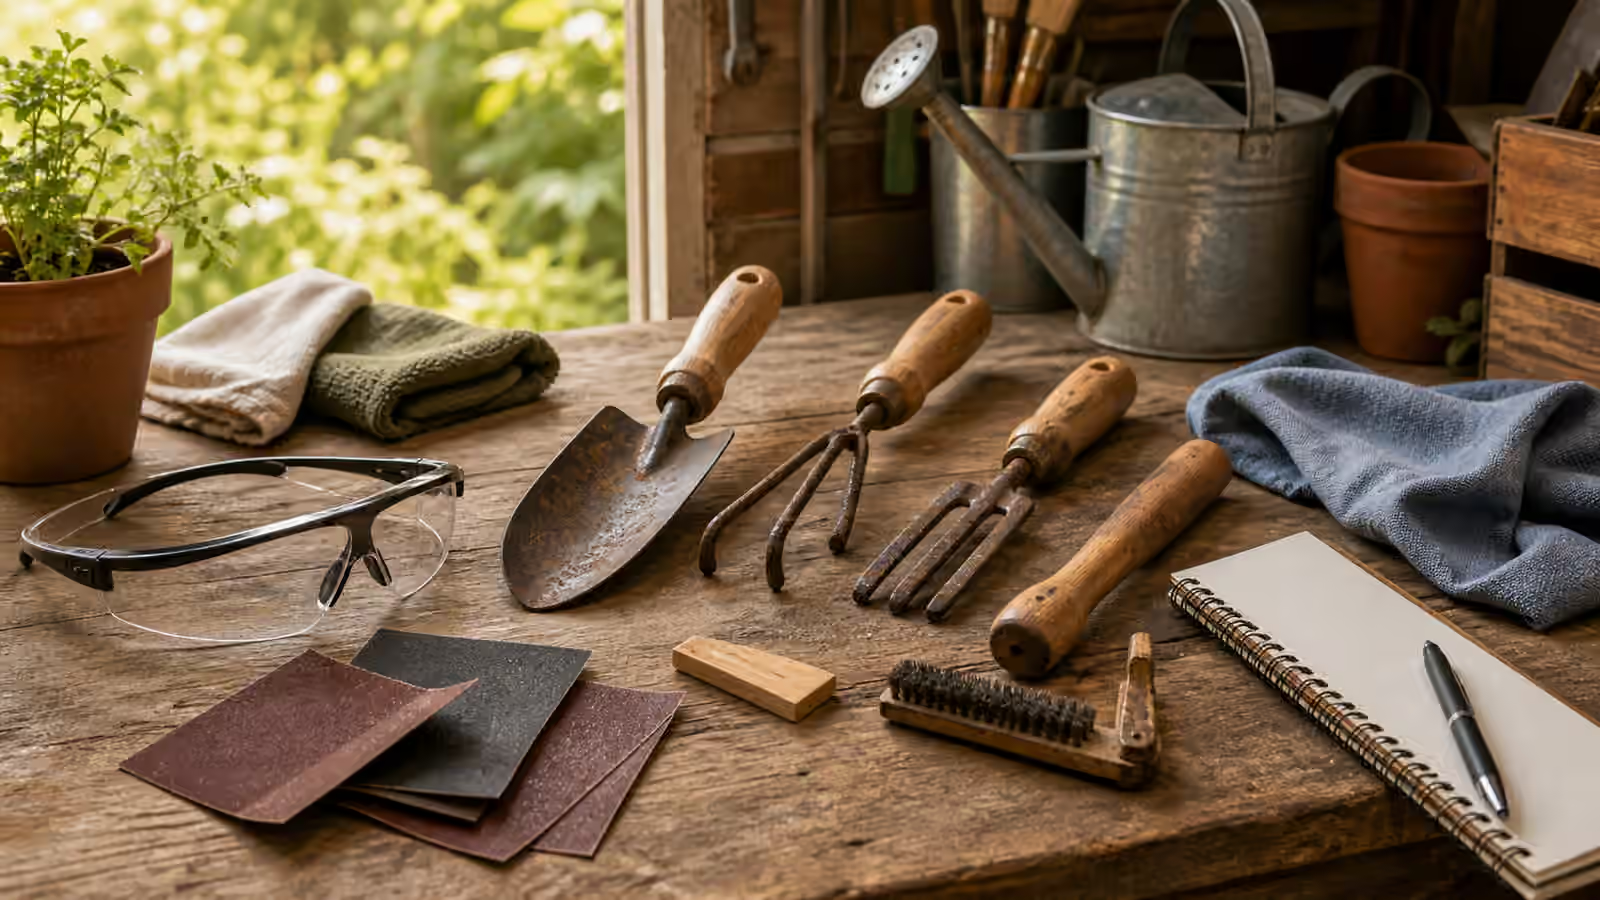
Cleaning is also inspection. As the dirt comes off, look for cracks, bent tines, loose rivets, mushroomed wood, missing wedges, and shiny wear where metal has been moving against the handle. A tool that looks clean but wiggles under hand pressure is not finished. It has only become easier to diagnose.
Wooden Handles Need Smoothness And Security
A dry wooden handle can raise fibers that become splinters. Light sanding with the grain can smooth the surface, but sanding is not a cure for a cracked or rotten handle. After smoothing, a suitable handle finish or oil may help the wood shed moisture and feel better in the hand. Use restraint. A handle should not become slippery, sticky, or sealed with a mystery coating that hides cracks.
The joint between handle and head matters more than appearance. If a small hand tool has a tang set into a handle, look for gaps, rotation, or splitting around the entry point. If a larger tool uses a wedge, rivet, or collar, inspect whether the head moves when the handle is held still. Do not keep swinging, chopping, or levering with a loose head. Even a modest garden tool can injure someone or damage nearby surfaces when metal separates from wood.
Some loose handles can be repaired with proper wedges, replacement handles, or professional help from someone familiar with tool fitting. Others are not worth forcing. The distinction depends on the tool’s use, the quality of the head, the availability of parts, and how much risk the tool carries. The repair path thinking from Repair Cafe, Cobbler, Tailor, Maker Space, or Manufacturer? applies beyond household interiors.
Rust Has Stages
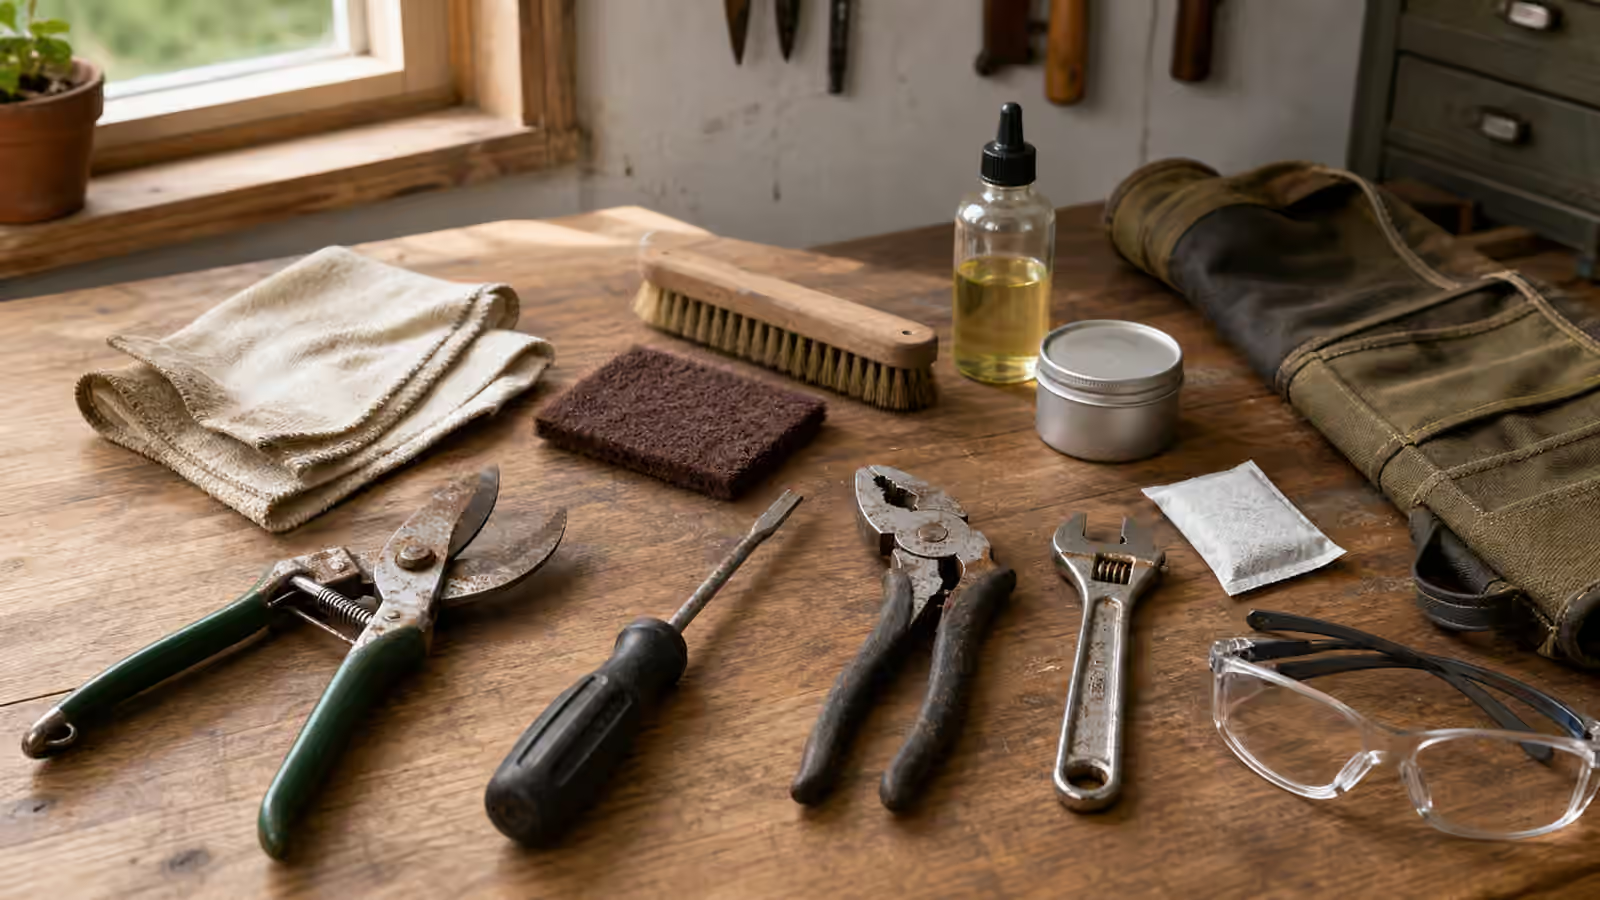
Light surface rust is usually a maintenance issue. It can often be reduced with brushing, careful abrasion, drying, and a protective film appropriate for the tool and its use. Pitted rust, thin metal, cracked sockets, frozen joints, and deeply corroded fasteners are different. Removing orange color does not restore missing metal. A trowel with a little rust can keep working for years; a pruner pivot eaten by corrosion may never cut safely or cleanly again.
Avoid the common mistake of turning every rusty tool into a polishing project. Garden tools need clean working surfaces and safe handling, not showroom shine. Aggressive grinding can remove temper, change edges, thin parts, or create heat damage. If an edge needs sharpening, learn the tool’s bevel and intended use before reshaping it. A shovel, hoe, pruner, and hand trowel do not want the same edge.
The habits in Light Rust, Tool Care, and When Metal Is Too Far Gone are the natural companion to this guide. The garden-tool version adds soil, moisture, and handle security to the same basic question: are you preserving function, or only improving the look?
Sticky Pivots And Springs Need Cleaning Before Force
Pruners, shears, and small snips fail when sap, dirt, and rust collect around the pivot. People often respond by squeezing harder. That can bend blades, strain hands, or hide a dull edge behind force. Start by cleaning the outside, checking for visible debris, and confirming whether the tool is designed for user disassembly. Some tools invite careful cleaning around the pivot. Others are riveted or spring-loaded in ways that make casual disassembly frustrating.
If you remove a screw or nut from a low-risk tool, photograph the order first and keep parts contained. Tightening a pivot too much can make the tool bind; leaving it too loose can make blades pass poorly. After cleaning, test on appropriate plant material, not on wire, plastic, or wood that the tool was not meant to cut. Tool misuse is a maintenance problem disguised as toughness.
Pay attention to handles after the first real use, not only at the bench. A handle that felt smooth indoors may raise fibers after sweat, damp soil, or rain reaches it. A head that seemed tight during a gentle wiggle may click once the tool is levering weeds or chopping compacted soil. That second look is not fussiness. It is how you catch a marginal repair before the tool returns to the shed and the warning disappears under dirt.
Storage Is Part Of The Repair
The best handle work will not last if the tool returns to wet concrete, a bucket of soil, or an outdoor corner where rain reaches the head. Hang tools where air can move. Keep edges from banging into each other. Store sharp tools where they will not cut a hand reaching into a bin. If a small balcony or shared storage area limits your options, even a dry tray, wall hook, or ventilated tote can improve the rhythm.
Add seasonal notes to the Save Log. Record which handles were sanded, which heads were loose, which tool needed a new spring, and where rust returned fastest. Those notes can change what you buy next. A tool with a replaceable handle, standard fastener, and simple head shape may serve longer than a prettier sealed design. That is the buying side of keepercraft, and it connects directly to The Repairability Checklist Before Buying Anything Durable .
Related Keepers Guild Guidebooks
Read this with Light Rust, Tool Care, and When Metal Is Too Far Gone for corrosion judgment, The Repairability Checklist Before Buying Anything Durable before replacing a tool, The Beginner Keeper Kit for restrained maintenance supplies, and When Not to DIY when a tool carries serious injury risk.