A weak faucet stream can make a sink feel broken even when the fix is sitting at the very tip of the spout. Aerators collect grit, mineral scale, bits of old washer, and tiny flakes disturbed by plumbing work elsewhere in the building. They also shape the stream, so a clogged or damaged aerator can turn ordinary pressure into spraying, sputtering, side jets, or a thin uneven trickle. The useful beginner move is to decide whether the problem belongs to one faucet end or to the plumbing behind it.
First decide how local the problem is
Open the cold side and then the hot side at the same sink. Notice whether both are weak, whether one temperature sputters, and whether other nearby fixtures behave normally. If every faucet in the home has changed, the aerator is not the main story. If only one sink has a ragged stream while the shower, tub, and other sinks feel normal, the aerator becomes a credible first suspect. If a faucet changed right after nearby plumbing work, sediment may have reached the screen and lodged there.
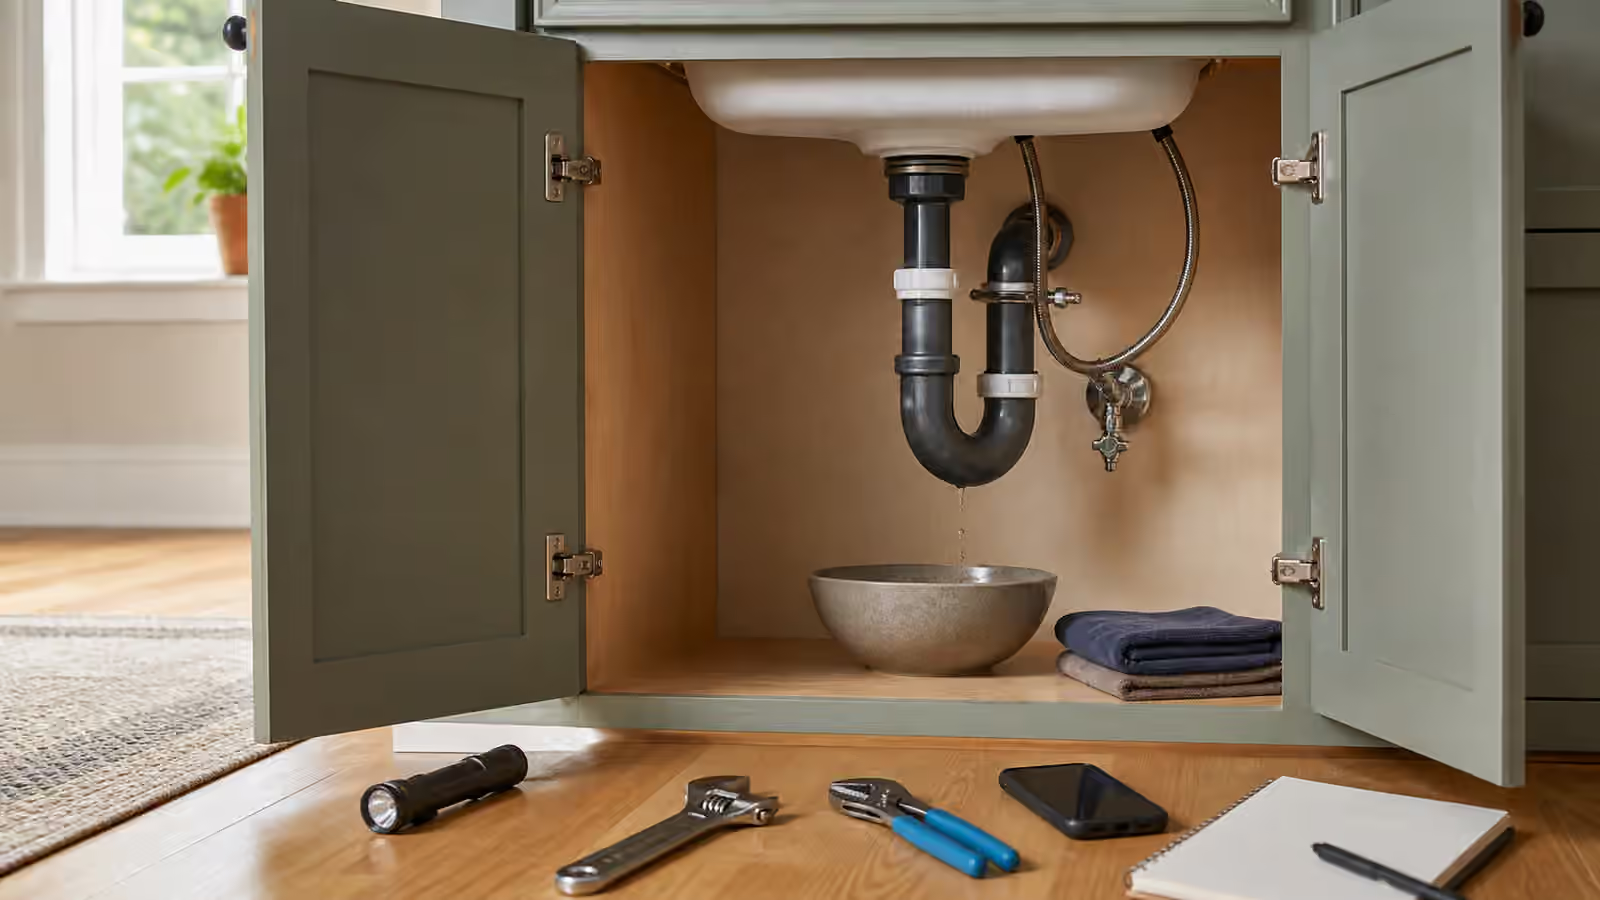
This is the same habit as The 10-Minute Triage : name the scale of the symptom before naming the fix. A clogged aerator is a local problem. A supply issue, failed valve, whole-home pressure change, or leak behind a cabinet is not. If you see water under the sink, swelling cabinet floor, musty smell, or staining around supply lines, shift to Under-Sink Leak Triage instead of continuing at the faucet tip.
Protect the finish before using force
Many aerators unscrew by hand. Some have flats for a small wrench. Some are recessed and need a specific key. The mistake is to grab shiny metal with bare pliers and crush or scar it. Wrap the aerator with a cloth or use padded jaws if you need gentle grip. Turn slowly, keeping the faucet body steady with your other hand so you are not twisting the whole spout. If the aerator refuses to move, stop before the faucet itself starts flexing.
Hard water scale can make threads feel glued. A damp cloth held around the faucet tip may soften exterior deposits enough to try again later. Avoid harsh acids, abrasive pads, and mystery cleaners on plated finishes. The Clean First principle still applies: remove loose dirt, identify the material, test gently, and do not turn a small cleaning job into a finish repair.
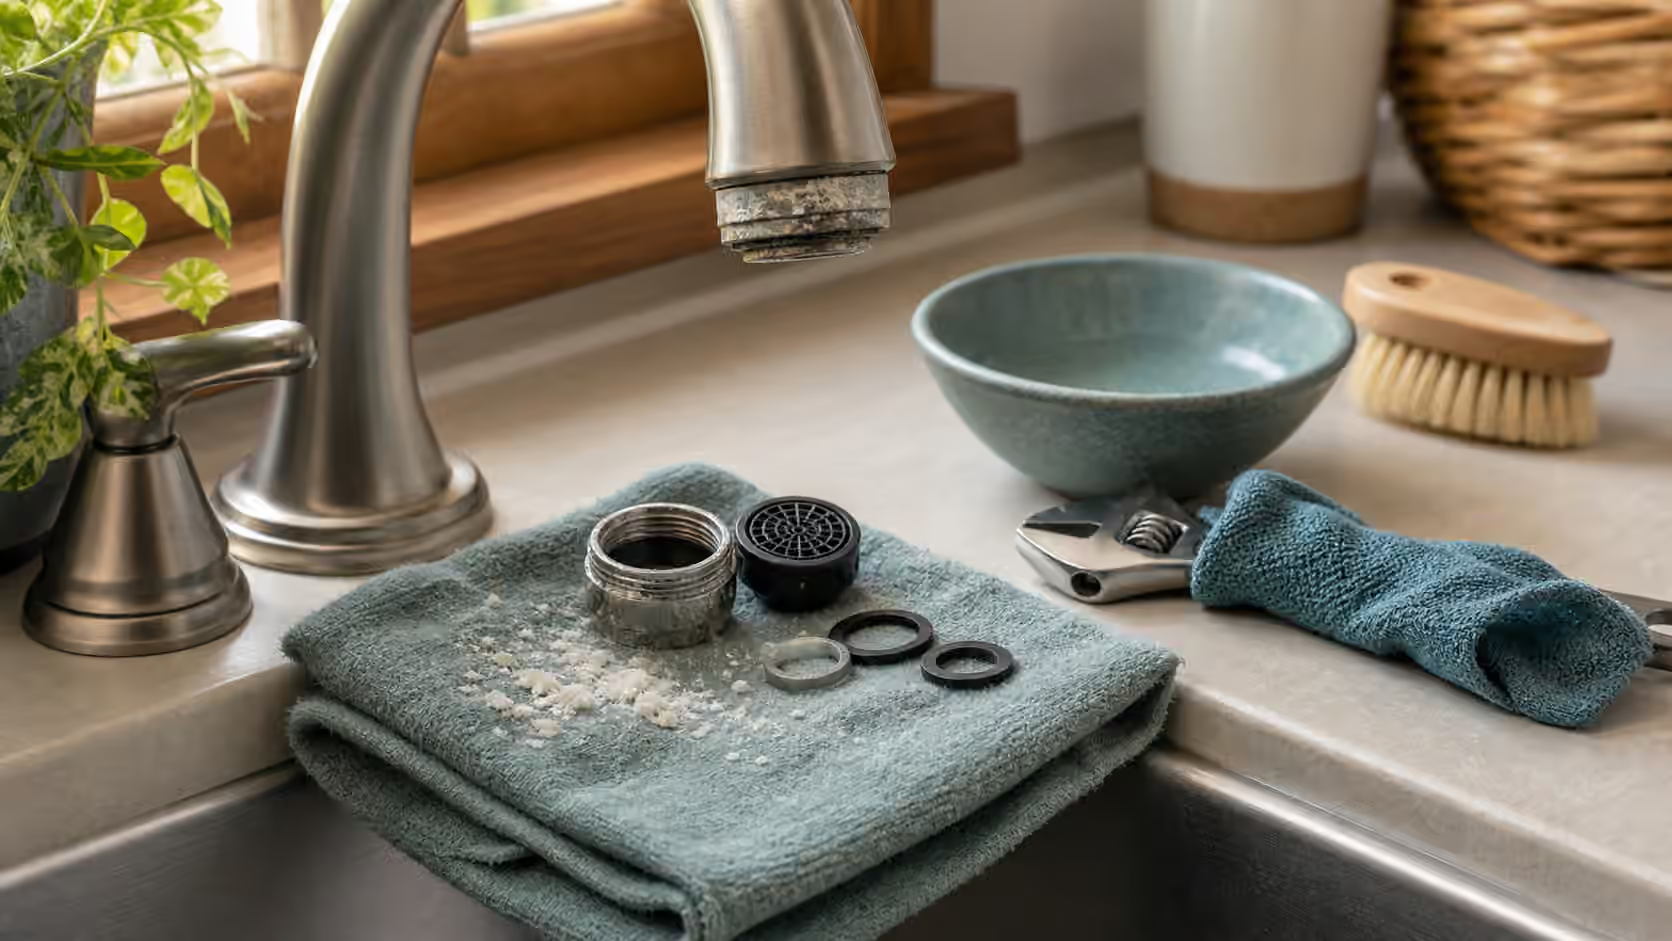
When the aerator comes off, close or cover the drain before separating parts. A washer, screen, or tiny insert can disappear instantly. Lay the parts in order on a towel and take a quick photo if the stack has more than one layer. Many aerators look obvious until a cone, flow restrictor, washer, and screen are scattered beside the sink.
Clean the parts without losing the shape
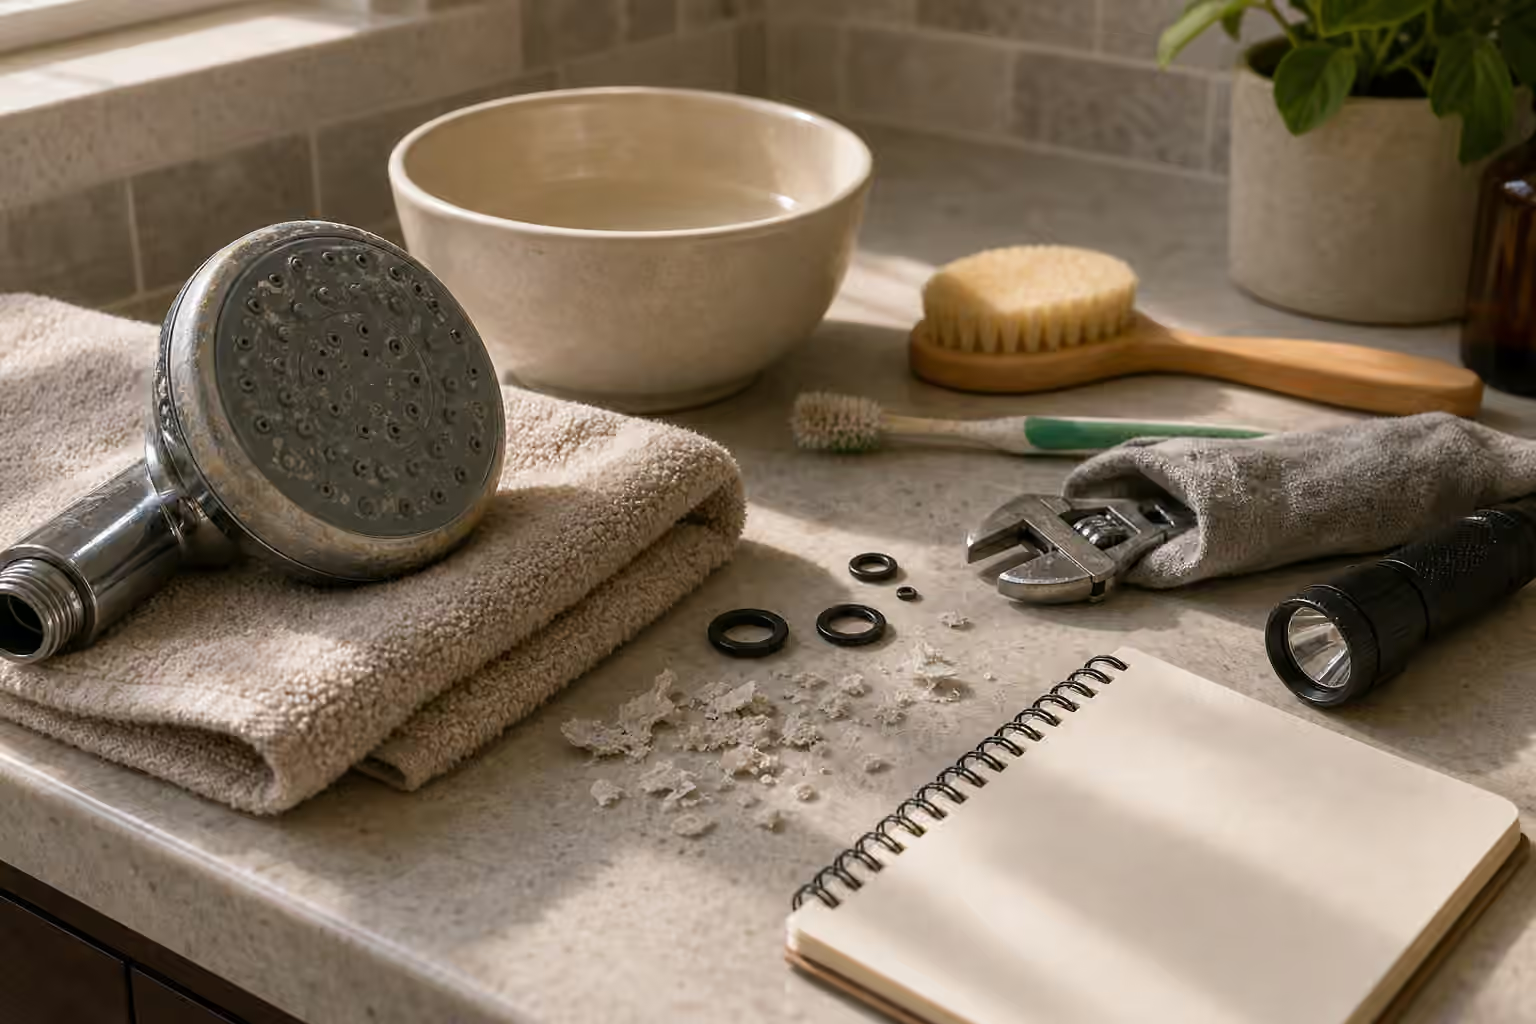
Rinse loose grit first. Use a soft brush or toothpick to clear screen openings from the back side when possible, pushing debris out rather than wedging it deeper. Mineral scale may need soaking in a mild descaling solution appropriate for the material, but the faucet finish and rubber parts should not be treated as if they were stoneware. If the aerator contains rubber washers, plastic inserts, or coated parts, keep the soak controlled and short, then rinse well.
Look for deformation while cleaning. A screen that has torn, a washer that has flattened, or a plastic insert that has cracked may not recover with scrubbing. A missing washer can cause drips around the aerator even if the stream looks stronger. A crushed aerator may cross-thread when reinstalled. Cleaning is useful because it reveals whether the part is dirty or done.
If the aerator is too corroded, too damaged, or too stubborn to clean neatly, replacement is often a calmer repair than a heroic rescue. Take the old part with you or photograph the thread size, brand markings, and faucet model if known. Replacement Parts is helpful here because faucet-end parts can look interchangeable while differing by thread, diameter, flow behavior, and washer shape.
Reinstall gently and test like a repairer
Thread the aerator back by hand first. It should start smoothly. If it feels crooked or binds immediately, back off and try again. Cross-threading a faucet spout is a much worse outcome than living with a weak stream for another day. Tighten only enough to seat the washer and stop leakage at the joint. More force is not more repair.
Test with a moderate stream. Watch the seam between aerator and spout. Look for side spray, drips, pulsing, or a stream that improves for a second and then fades again. If the flow is strong with the aerator removed but weak when it is installed, the aerator remains the problem. If the flow is weak even with the aerator removed, the clog or restriction is upstream and the beginner faucet-tip job has reached its limit.
After cleaning, let the faucet run briefly to clear loosened grit. Do not leave the sink unattended during the first test. Wipe the counter dry and check again a few minutes later for slow drips. A small leak at the aerator can look harmless but leave mineral rings, water spots, and cabinet edge damage over time.
Know when low flow is a clue, not a defect
Some faucets are designed with lower flow. Some buildings have pressure regulation, filters, softeners, old pipes, shared supply limitations, or service work that affects multiple fixtures. A faucet aerator guide should not become amateur plumbing diagnosis. If low flow appears suddenly across more than one fixture, if hot and cold behave differently in a way you cannot explain, if valves are stuck, or if water quality changes with odor, discoloration, or recurring grit, document what you see and use appropriate help.
The keeper skill is restraint. Removing, cleaning, and reinstalling an aerator is a small reversible action. Forcing stuck parts, opening supply connections, or chasing hidden restrictions changes the risk. When Not to DIY belongs in the decision whenever water can damage cabinets, floors, walls, or electrical equipment nearby.
Add it to the Save Log
Record the faucet location, the symptom, whether hot and cold were affected, what came out of the screen, whether the washer looked healthy, and whether the stream recovered. Note the aerator size or a photo of the old part if replacement might be needed later. If the clog appeared after building work, write that too. A weak faucet may be a one-time nuisance, but repeated grit tells a story worth keeping.
Pair this guide with Clean First for material restraint, Under-Sink Leak Triage when water appears below the fixture, Replacement Parts before buying a new aerator, and When Not to DIY when the symptom stops being faucet-end maintenance.