The point of a keeper kit is that it already exists on the evening something breaks. A loose chair leg or a popped button is a five-minute problem if the tools are within reach, and a week-long problem if fixing it first requires a shopping trip you keep postponing. That gap between having the right small thing on hand and not having it is where most objects quietly slide from repairable to replaced. So the goal of a first kit is not to own a workshop. It is to own the modest handful of things that let you act while the failure is still small.
Buy for your actual objects, not for a fantasy
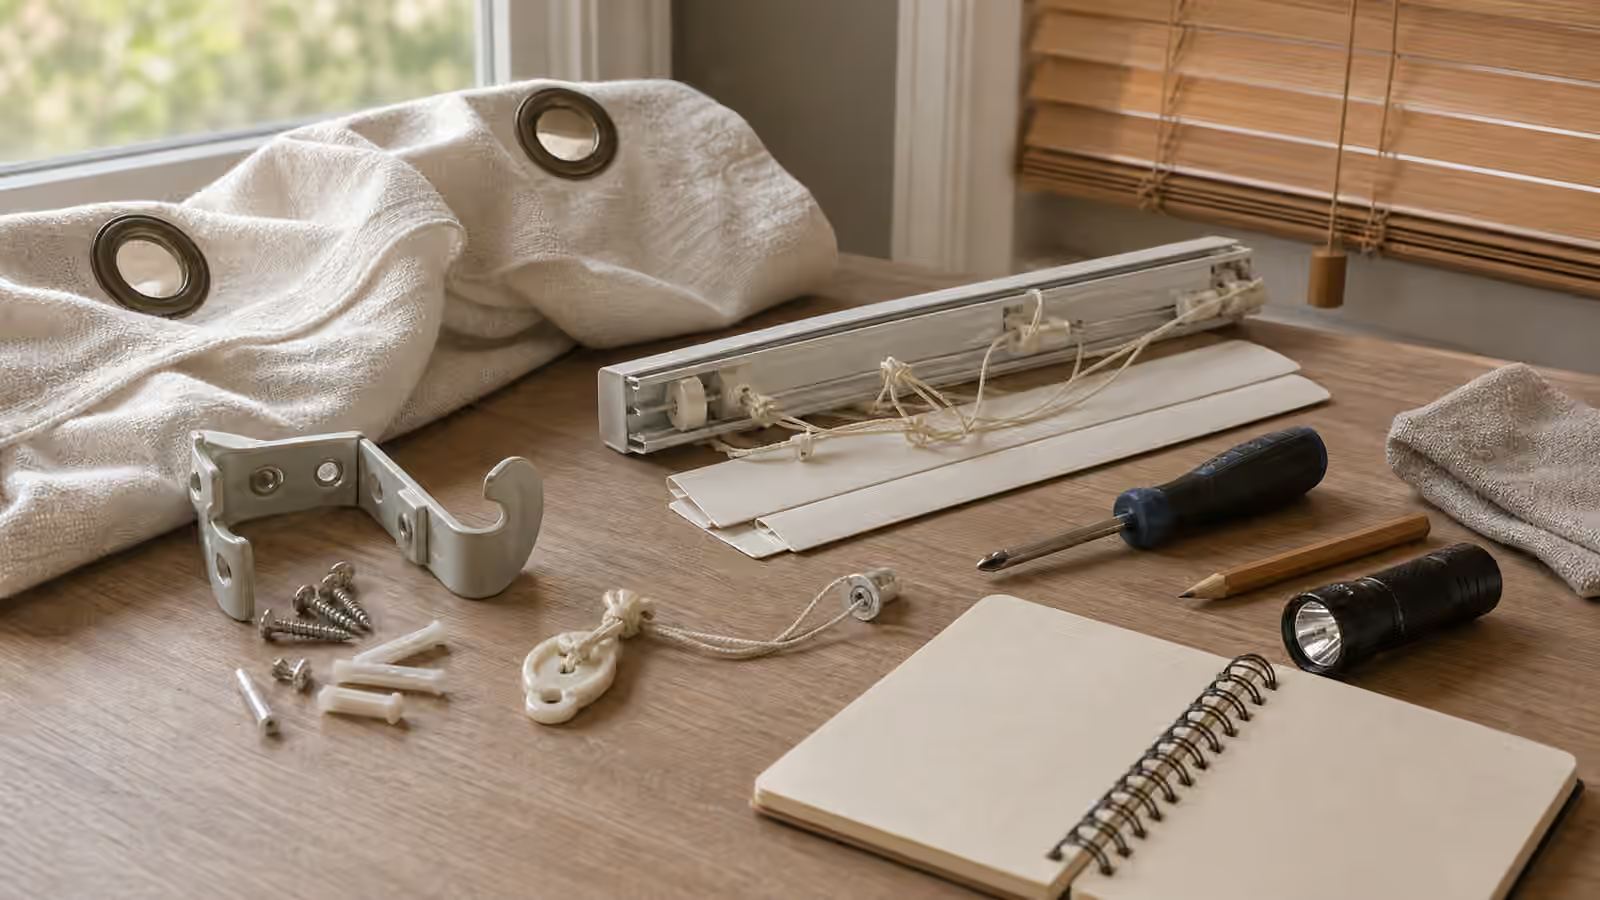
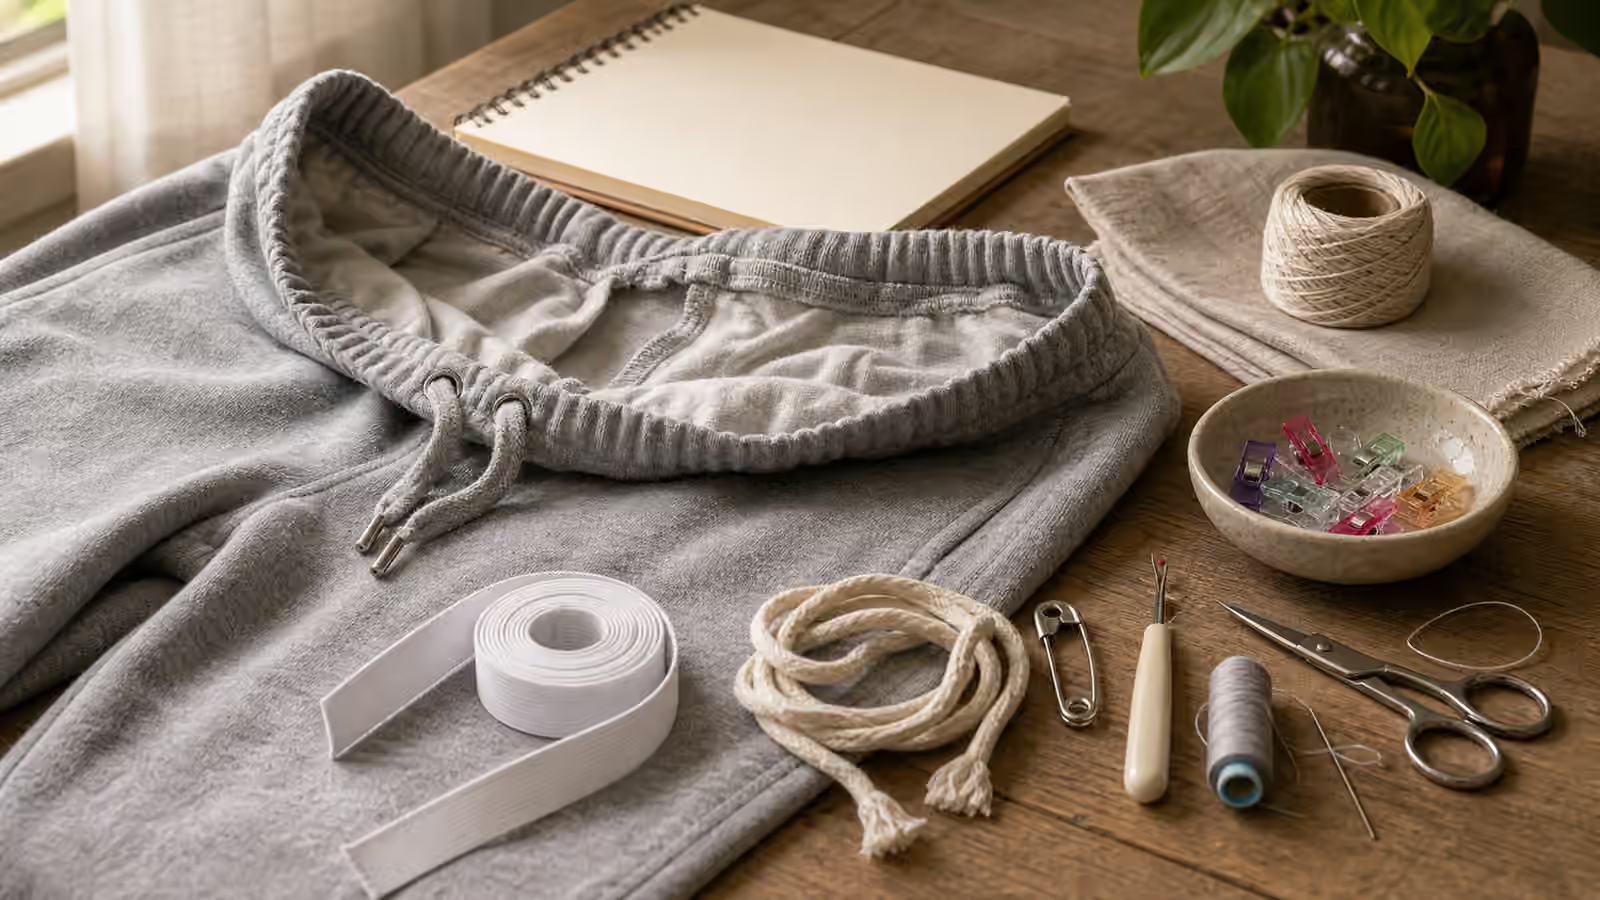
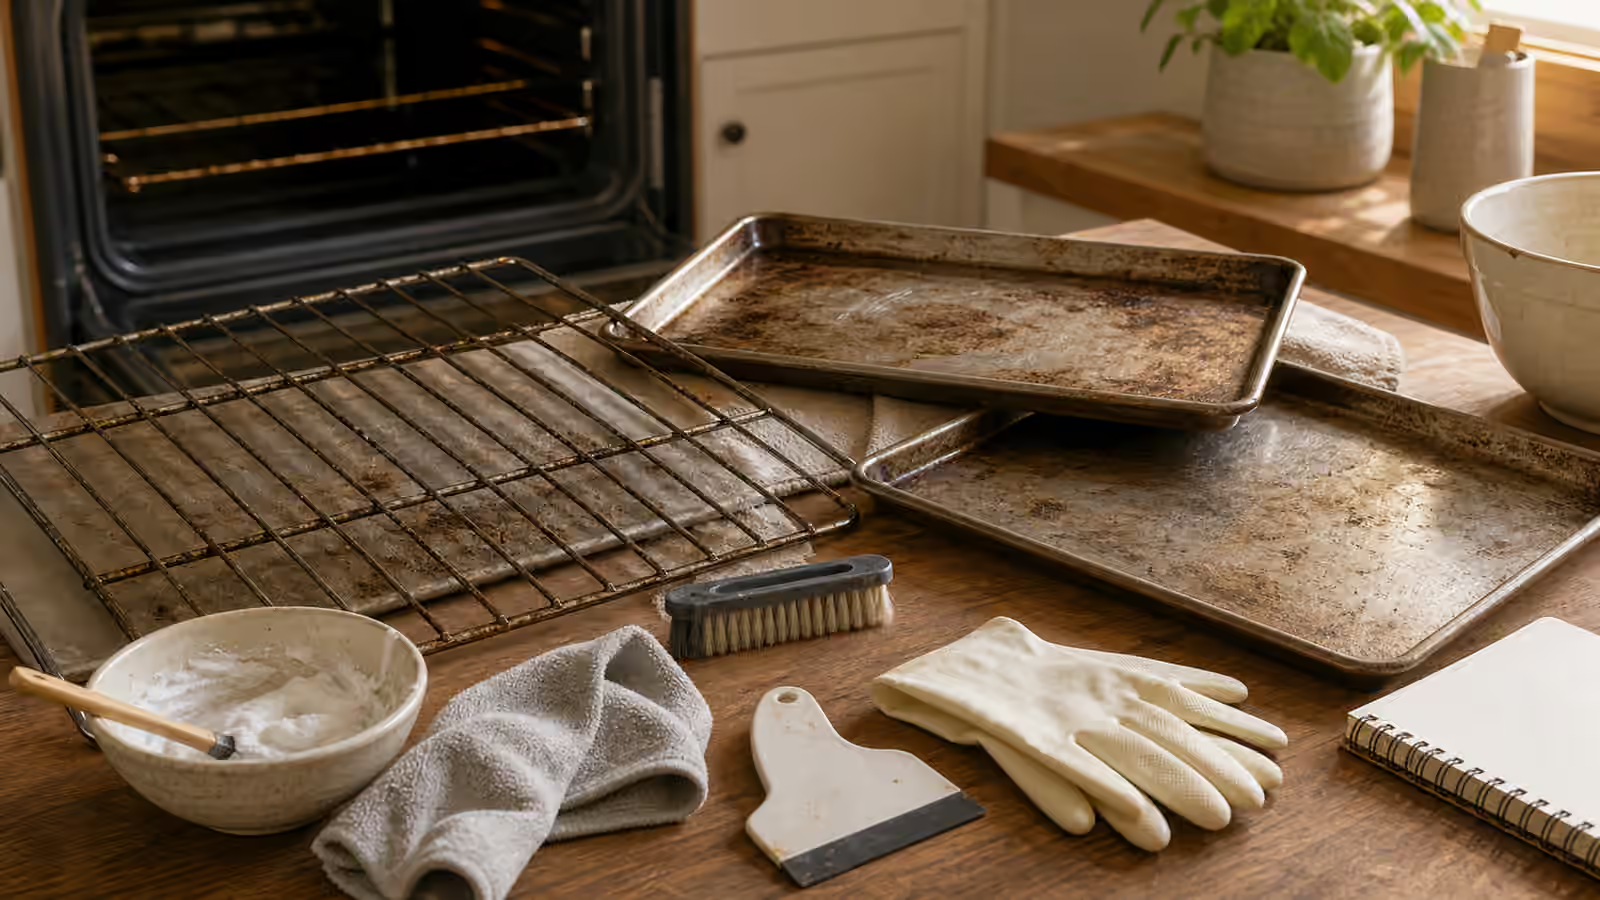
The most common way a beginner kit goes wrong is that it is bought as an aspiration rather than a response to real life. A giant sale set with a hundred pieces feels like preparation, but most of it will sit unused while the one screwdriver you needed turns out to be the wrong type. Before spending anything, look honestly at what you already tend to fix or wish you could. If your recurring annoyances are loose fasteners and wobbly furniture, your kit leans toward drivers and hex keys. If they are hems, buttons, and bag straps, it leans toward needles and thread. If they are grimy appliances and dull-looking surfaces, it leans toward brushes and cloths. Let the pattern of your possessions choose the tools, not the other way around.
There is also a question of where the kit lives, and it matters more than people expect. A kit stored in a garage will not get used for a repair that happens in the kitchen, because the friction of walking to fetch it is enough to make you shrug and leave the job. Keep the everyday kit where the everyday repairs actually happen, which for most homes means a drawer near the center of things, not a distant shelf.
Start with seeing and cleaning, not with power
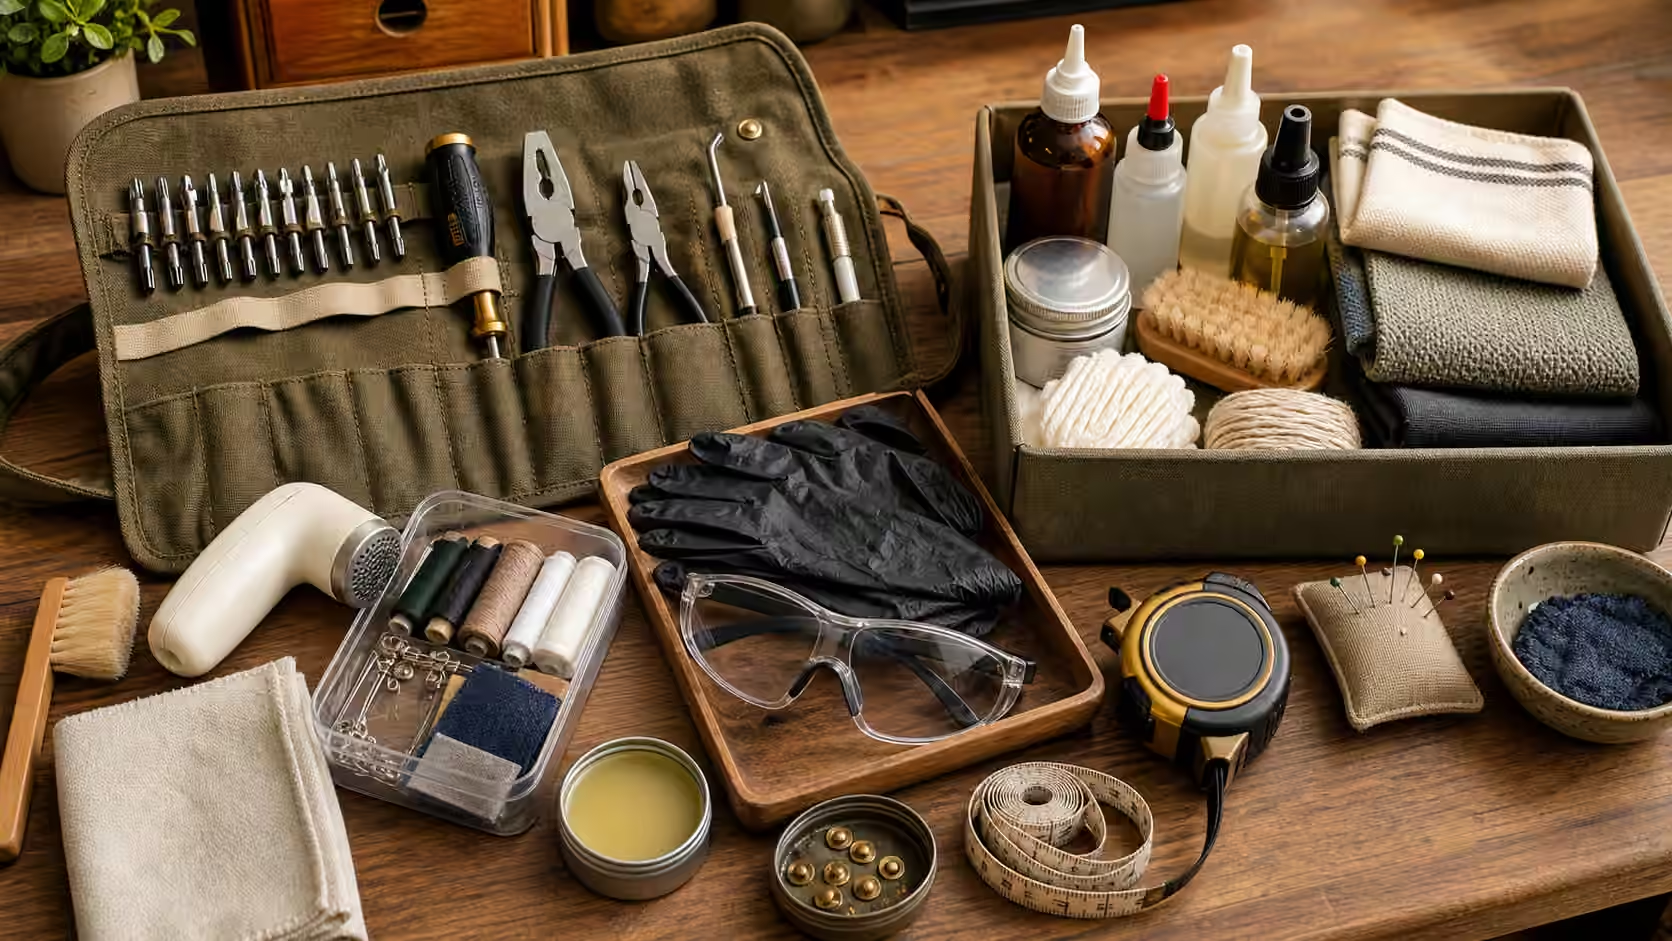
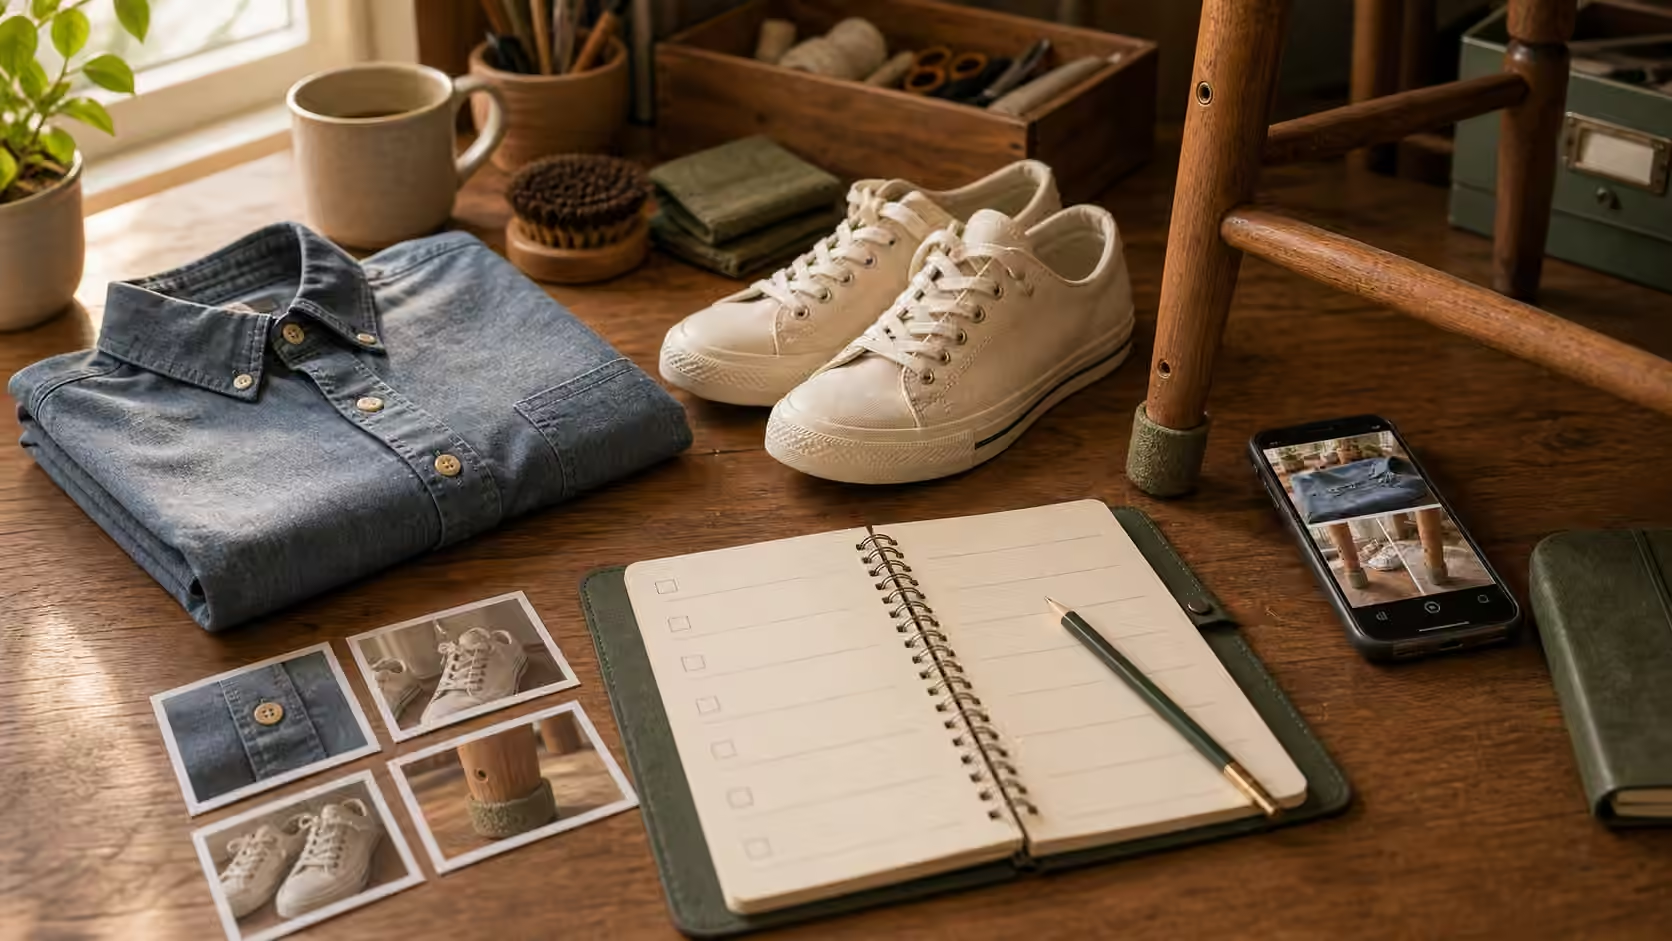
The first tools a keeper should own are the ones that help you understand a problem rather than force it. Good light, a way to photograph the failure before you disturb it, and something to keep small parts in order as you remove them will improve every repair you ever make. Cleaning comes next, because a startling share of “broken” objects are merely dirty, and a soft brush plus a few microfiber cloths resolve more complaints than any power tool. Only after seeing and cleaning do you add the means to act: a driver with the common bits, a set of hex keys for the flat-pack furniture that fills modern homes, and the sewing and fastener basics for clothing, bags, and chairs.
Adhesives and lubricants deserve restraint. A beginner needs very few of them, and the ones they keep should be labeled by what material they are for, because the wrong glue on the wrong surface makes a small problem permanent. Owning glue but no clamps and no cleaning cloths is a classic beginner imbalance; the glue is the least of what a good bond needs. Our guide to the repair cost rule is worth reading alongside this, because it helps you decide which repairs are even worth equipping for in the first place.
The quiet essentials people forget
Two things belong in every kit and are routinely left out. The first is eye protection. It costs almost nothing and matters the one time a spring, a shard, or a flung fastener heads for your face. The second is documentation: a way to log what you did. A repair you cannot remember is a repair you will bungle the second time, and a Save Log entry, even a single line, turns a one-off fix into knowledge you can reuse. Keeping a small parts tray beside the log means the screws you remove tonight are still findable and identifiable next week.
Buy tools that will not betray you at the moment of use. The cheapest drivers strip screw heads and turn an easy job into a rescue operation, so it is worth spending a little more on the few tools you will actually reach for often, and nothing at all on tools you are unlikely to use. Fit, safety, and storage are where your first money is best spent; breadth can come later, once you know your patterns.
What a beginner kit is not
A well-stocked kit can create a dangerous confidence, so it is worth stating plainly what this collection is for and what it is not. It is for low-risk care: cleaning, inspecting, tightening, mending, and small reversible fixes. It is not a license to open mains wiring, work on gas, take on structural repair, prise apart battery packs, touch brakes, or repair the gear that keeps a person from harm. Owning a screwdriver does not qualify anyone for those categories, and the mark of a good keeper is knowing where the kit’s authority ends. Calling a professional at that line is not a failure of the mindset; it is the mindset, protecting the object, the home, and the people who depend on both.
Let the kit grow from use, and prune it
Resist buying material-specific sub-kits for leather, cookware, textiles, and furniture until a repeated need actually shows up. When you find yourself reaching for the same missing item three times, that is the signal to add it, and by then you will know exactly which version to buy. A kit built this way stays small and stays used, which is the whole point.
Twice a year, open the kit and take stock. Throw out the adhesive that has dried to a brick, replace the needles that have gone missing, sort the loose screws back into order, and note which tools you genuinely used since last time. A kit that is reviewed stays honest; a kit that is only ever added to becomes another junk drawer. Building a good first kit gradually, spending first on fit and safety and storage, gives you a small, trustworthy set of tools that turns breakage from a crisis into a task. From here, the natural next skill is putting the kit to work, and our guide to button repair is a friendly first outing that uses almost nothing but a needle, thread, and the patience the kit was built to reward.