Bathroom caulk is a small line with a large job. It bridges joints where water wants to travel, flexes when surfaces move, and gives a room a cleaner edge when it is healthy. When it fails, the first signs are often subtle: a dark stain, a lifted corner, a hairline gap, a rubbery section that stays wet, or a bead that has pulled away from one side. The beginner mistake is sealing over those clues because a fresh line looks reassuring. The keeper move is to find out whether the seam is dirty, tired, wet behind the edge, or protecting a problem that needs more than caulk.
The Seam Is Evidence
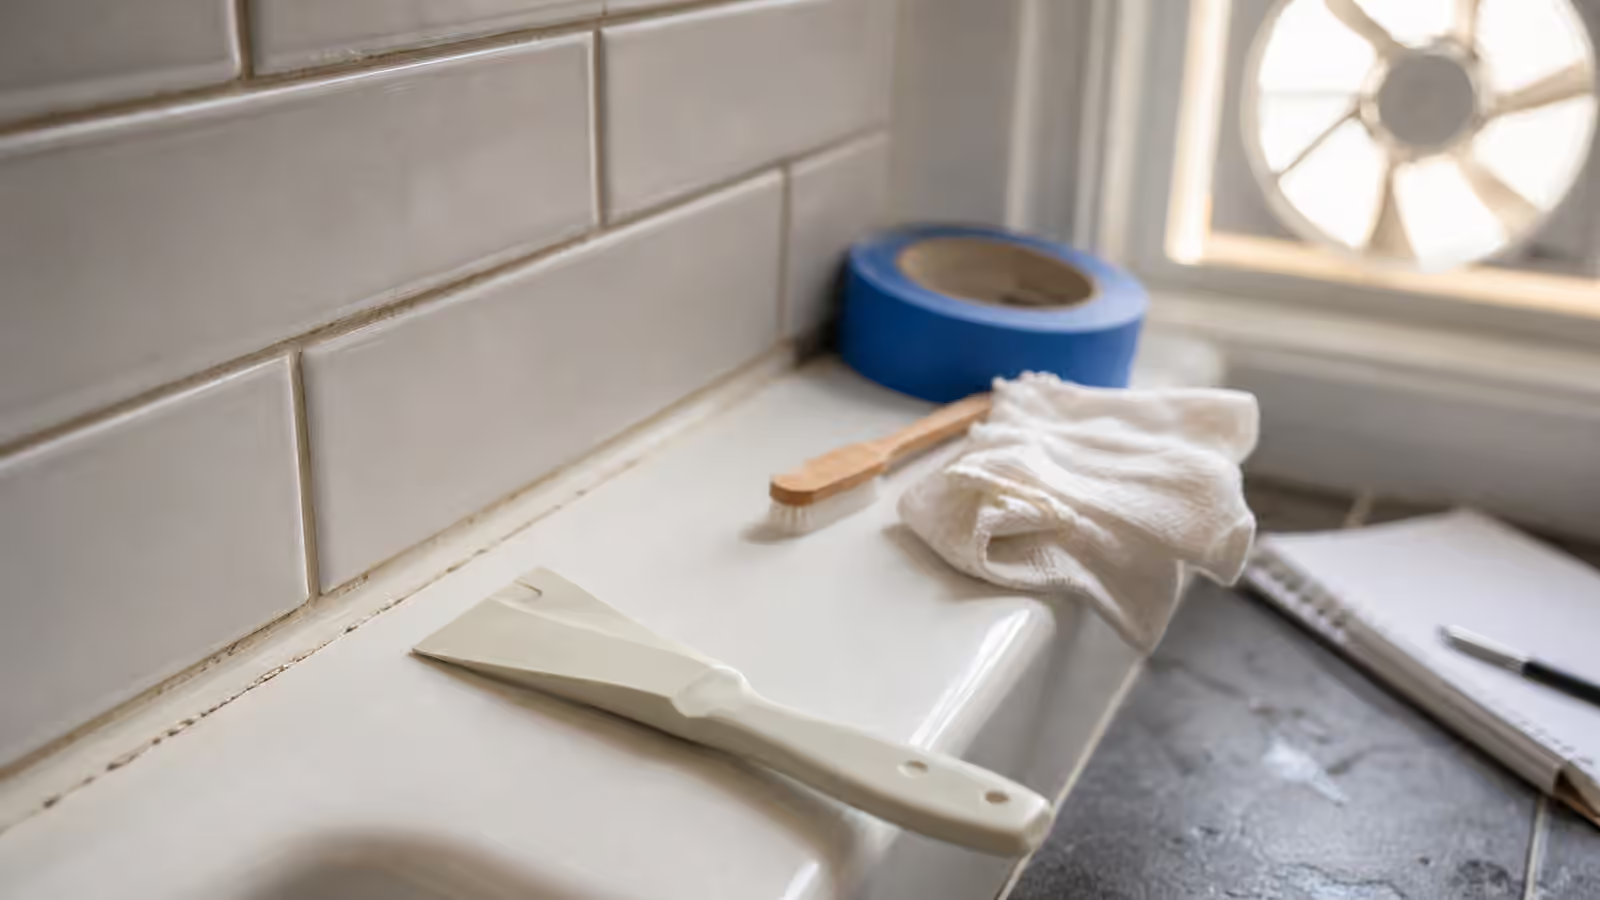
A caulk seam fails for reasons. It may be old, applied over dirt, stretched by movement, attacked by standing water, or hiding a joint that was never dry enough in the first place. Look at the whole run, not only the ugliest inch. A clean split along one side often means adhesion failed. A dark stain sitting on the surface may be soap residue or mildew on top. A dark stain coming from behind the bead is different. A bead that feels soft, swollen, or detached may have water behind it.
Begin the same way you would in The 10-Minute Triage : name what changed and what is still safe. Did the stain appear after a leak, after a long period without ventilation, or after someone scrubbed aggressively? Does water pool there after showers? Does the joint move when the tub is filled or when a shower door is used? Caulk is not a structural repair. It is a seal at the surface. If the underlying joint moves too much or remains wet, a new bead will fail again.
Clean Before You Condemn It
Some seams look worse than they are because soap film, dust, and mineral residue have settled into the edge. Clean gently first. Use ventilation, a soft brush, a cloth, and a cleaner appropriate to the surface. Do not mix chemicals. Do not use harsh abrasives on finishes that can scratch. Dry the seam and wait long enough to see whether the dark area returns from behind the caulk or was simply surface soil.
This is a good example of the Clean First habit. Cleaning is not pretending. It is a way to reveal the actual state. A seam that looks clean, remains attached, and sheds water after gentle cleaning may only need better ventilation and routine wiping. A seam that lifts when wiped, exposes gaps, or stays damp after normal drying has moved past maintenance.
Do Not Seal Moisture In
Caulk needs a clean, dry surface. The phrase sounds simple until you are staring at a bathroom that someone needs to use tonight. Rushing is how many poor caulk repairs begin. If the old bead has failed, water may have traveled behind it. Cutting out the visible caulk and immediately applying new material can trap that moisture. The new bead may look bright while the joint underneath remains damp.
Give the area real drying time when the situation allows. Improve ventilation, remove loose surface material, and watch whether water keeps appearing. If water returns without use, you may be looking at a plumbing leak, failed grout, condensation pattern, or hidden damage. That is no longer a small caulk job. Under-Sink Leak Triage covers a similar habit: slow the water, trace the source, protect the area, and avoid declaring victory before the moisture path is understood.
Removal Is Part Of The Repair
New caulk bonds poorly to old caulk, soap film, and dust. A careful reseal usually means removing the failed bead, cleaning residue, letting the joint dry, and applying a bead that bridges the two surfaces without smearing across them. Plastic scrapers and patient slicing are kinder than gouging tile, tub finish, or countertops. Metal blades can be useful, but they can also scratch, chip, or cut into soft surfaces if handled casually.
Tape can help beginners keep edges neat, but it is not a substitute for surface prep. A neat bead over contamination is still a weak bead. Apply only as much material as the joint needs, smooth it once with the right pressure, and remove tape before the skin forms if tape is used. Then respect cure time. Water exposure too soon can weaken the seal even if the bead looks finished.
Choose The Right Product Without Overclaiming
Bathrooms ask for sealants that tolerate moisture, cleaning, and movement. The exact product depends on the surface, joint, and manufacturer instructions. Read the label for compatible materials, cure time, paintability if relevant, ventilation needs, and cleanup method. A product that works around a sink may not be the right choice for every shower joint. A product that bonds fiercely may be a poor choice on a delicate surface that will need future removal.
This is where Replacement Parts is useful in spirit even though caulk is a consumable. Match the material to the job rather than buying by habit. Keep a photo of the product and the area where you used it. If the repair fails early, that record helps you distinguish poor prep, wrong product, joint movement, and hidden moisture.
Mold, Soft Surfaces, And Loose Tile Are Boundaries
Small surface mildew on a sound seam is a cleaning and ventilation problem. Spreading mold, soft drywall, crumbling backer material, loose tile, swelling wood, and stains that grow beyond the seam are different. Do not cover them with caulk. Sealing over a moisture problem can make inspection harder and damage worse. A seam is allowed to be the clue that stops the DIY, not the thing you force into service.
The same boundary applies around electricity, fixtures, and structural surfaces. If a caulk failure sits near outlets, lights, fans, wiring, loose fixtures, or a shower enclosure that shifts under load, use qualified help. When Not to DIY is the companion guide for recognizing when a small visible repair belongs to a larger risk category.
Make The Next Cleaning Easier
Once a seam is sound, maintenance is mostly about air and attention. Wipe standing water where it tends to pool. Keep ventilation working. Avoid letting soap residue harden into the edge. Watch corners and horizontal ledges because they stay wet longer than vertical runs. If a seam fails repeatedly in the same place, the useful question is not which caulk is strongest. It is why that joint keeps moving, staying wet, or collecting soil.
Add the repair to the Save Log with the room, joint location, product type, date, drying time, surface prep, and any evidence of hidden moisture. Photograph the finished bead after it cures. A later comparison can show whether the same edge is lifting, the same stain is returning, or the room simply needs a better drying routine.
Related Keepers Guild guidebooks
Use Clean First before judging stains, Under-Sink Leak Triage when water source matters more than surface appearance, Replacement Parts for matching materials and keeping product records, and When Not to DIY when mold, hidden water, power, loose tile, or structural damage changes the repair category.