Glue looks simple because the bottle looks simple. A cap comes off, a bead goes on, and the object is supposed to become whole again. In real repairs, adhesive is less a magic liquid than a small engineering decision. It has to match the material, the stress, the surface, the gap, the temperature, the moisture, and the way the object will be cleaned later. A poor adhesive repair can make a later professional repair harder because it leaves residue in the joint, hides cracks, or bonds the wrong surfaces while the real load path remains broken.
Start with material and load
The first adhesive question is not “What glue is strongest?” It is “What materials are being joined, and what will the joint experience?” A decorative wooden corner, a loose rubber foot, a ceramic handle, a peeling shoe sole, and a cracked plastic latch all ask different things from an adhesive. Strength in one direction may not matter if the joint fails by peel. A waterproof claim may not matter if the surface is oily. A fast-setting glue may be the wrong choice if you need time to align parts carefully.
Use the Keepers Guild triage habit before opening a tube. Name the material on both sides of the joint. Decide whether the part carries load, sees heat, gets wet, flexes, touches food, or needs future disassembly. The 10-Minute Triage is useful here because many failed glue repairs begin when someone names a product before naming the failure. If you cannot identify the material or the risk category, the first move is documentation and research, not adhesive.
Wood often wants a clean, close-fitting joint and even pressure. Fabric may need stitching, patching, or a flexible adhesive depending on the location. Leather and shoe repairs may need surface preparation and a repairer who has the right cement and pressing setup. Ceramics can sometimes be bonded for display, but a mug handle, a teapot spout, or anything used with heat and liquid deserves more caution than a decorative figurine. Plastics are especially tricky because many look similar while bonding very differently. The wrong adhesive can skin over, turn brittle, fog the surface, or peel away in a flexible sheet.
Clean, dry, and test fit before the tube opens
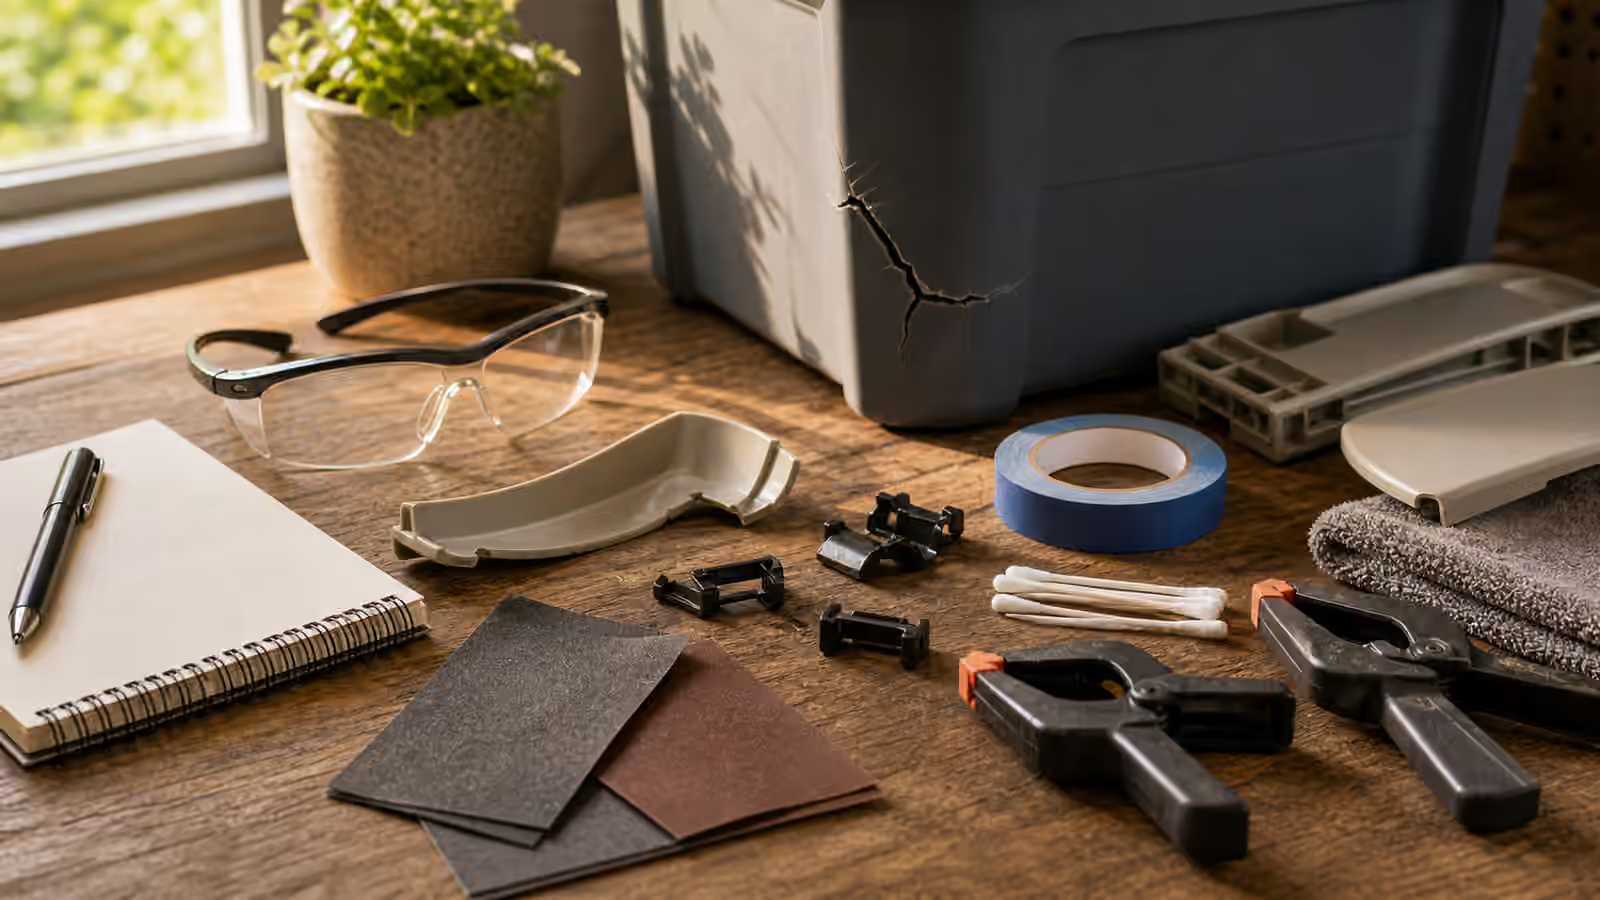
Adhesive likes prepared surfaces. Dust, old glue, oil, soap residue, wax, food residue, and dampness all weaken the repair. The habit from Clean First matters as much here as it does with cookware or hinges. Clean gently enough that you do not enlarge the damage. Let water-based cleaning dry fully. Keep solvents away from finishes, plastics, painted surfaces, and anything that could stain unless you know the material tolerates them.
Dry fitting is the overlooked repair. Put the parts together without adhesive and ask whether they actually meet. Does the crack close cleanly, or is a chip missing? Does the clamp fit, or will it slide when pressure increases? Can excess adhesive squeeze out without gluing the object to the bench? Can the part sit undisturbed for the full cure time? If you need three hands during the dry run, the wet run will not be calmer.
Masking can protect visible surfaces, but it should not become a way to ignore messy application. Use only enough adhesive to wet the joint. A bead that squeezes out everywhere may look reassuring, but excess adhesive can stain, prevent a joint from closing, or leave hard ridges that interfere with moving parts. On porous materials, too little adhesive may starve the joint. On smooth nonporous materials, too much can create a slippery layer that prevents good contact. The right amount is usually less dramatic than the instinctive amount.
Clamping is part of the repair, not an afterthought
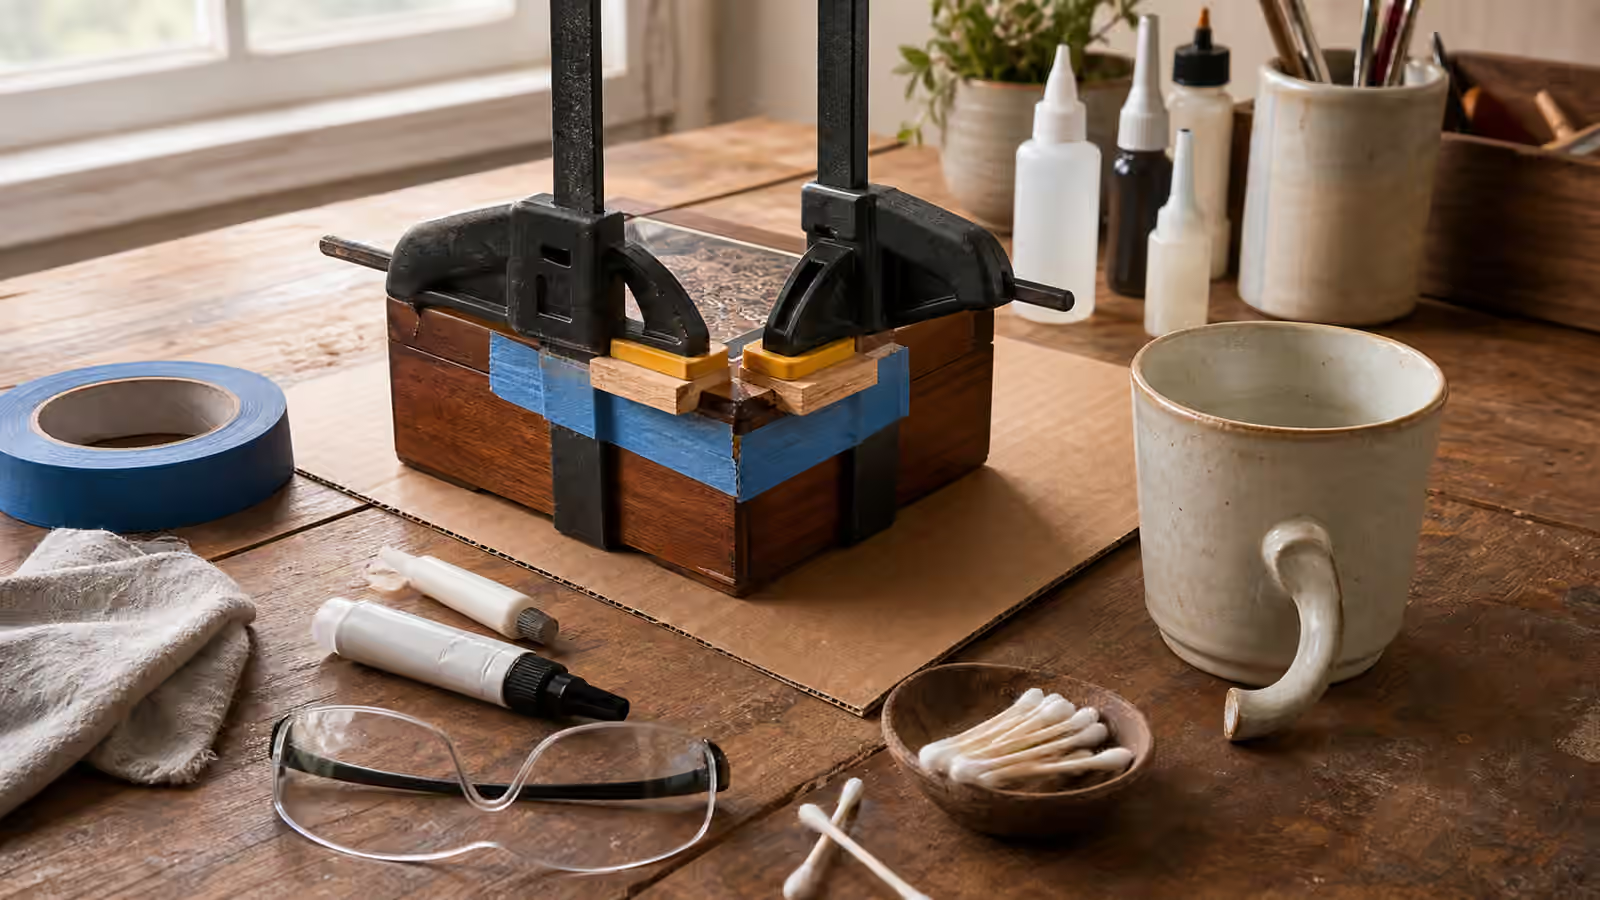
Many adhesives do not fail because they were weak. They fail because the joint moved while curing. Clamping does not always mean a metal clamp. It may mean tape, a rubber band, a padded weight, a fixture made from scrap wood, or simply setting the object in a stable orientation where gravity helps rather than hurts. The pressure should close the joint without crushing the material, starving the adhesive, denting a finish, or bending the object out of shape.
Clamp pads matter. A hard clamp directly on soft wood or finished furniture can leave a repair scar larger than the original crack. Scrap wood, cork, folded cardboard, or cloth can spread pressure, but anything absorbent near wet adhesive can become part of the repair if squeeze-out reaches it. Plan for removal before the adhesive is applied. Keep a damp cloth or appropriate cleanup method ready only when the adhesive and material allow it. Some adhesives clean with water before curing. Others smear, stain, or require ventilation and careful disposal.
Respect open time and cure time. Open time is the period when you can still position the parts. Cure time is the period before the joint reaches useful strength. Handling time is not the same as full cure. A repair that feels solid after twenty minutes may still be weak inside. Returning it to service early can create a nearly invisible failure layer that lets go later under normal use. Write the cure time on a piece of tape beside the object if needed, but do not put readable labels in site images or on public-facing assets.
Know when glue is the wrong repair
Adhesive is sometimes a poor substitute for a fastener, stitch, patch, part, or professional repair. A chair joint that opens under load may need woodworking repair, not glue squeezed into a visible gap. A backpack strap that carries weight usually needs stitching through sound material, as described in Backpack Strap Repair . A sneaker sole may need a cobbler or a careful adhesive process that includes cleaning, roughening, clamping, and realistic expectations, which is why Sneaker Sole Separation treats glue as only one part of the decision.
Heat and food contact deserve conservative judgment. Do not glue a pan handle, kettle part, oven component, pressure vessel, or anything near high heat unless the repair is manufacturer-approved and within the adhesive’s documented use. Do not glue cracked food-contact surfaces casually. Even if the bond holds, the crack may trap residue or the adhesive may not belong in that use. Replacement, manufacturer parts, or retirement can be the keeper-like choice when the repair would make the object less cleanable or less safe.
Electrical repairs are another hard boundary. Adhesive can hold a plastic cover, but it should not become a substitute for proper insulation, strain relief, or case integrity around mains voltage or batteries. When Not to DIY is the companion for that decision. If the case protects people from electricity, heat, moving parts, or stored energy, a glue repair may hide damage instead of fixing it.
Make the next repair easier
A clean adhesive repair is documented. Photograph the damage before prep, after dry fitting, and after clamping if the object matters. Note the adhesive type in plain language, not only the brand, because brands disappear and formulas change. Record the date, cure time, material, and whether the joint returned to normal use. If the repair fails, that note helps you understand whether the adhesive was wrong, the prep was poor, the load was too high, or the object had reached the end of a reasonable repair path.
Avoid making a permanent mess around a temporary object. Some household items are worth a small, honest repair and no more. Others have sentimental value that justifies a specialist. A chipped keepsake box, an old frame, or a family tool may be cheap in market terms and still worth careful work. Sentimental value can justify more time, better clamps, slower prep, and a professional quote. It does not justify ignoring safety limits.
The strongest adhesive habit is patience. Let the joint cure where it will not be bumped. Do not test it by stressing it harder than normal use. Clean squeeze-out before it becomes a ridge if the adhesive allows it, and leave it alone when cleanup would do more harm. Put the object back into service gently and check it after a few uses. If the joint opens again, the answer is not automatically more adhesive. The answer is to ask what the first repair taught you.
Add it to the Save Log
Record the object, materials, adhesive family, surface prep, clamping method, cure time, and whether the repair changed how the object should be used. If the part is now decorative only, say so. If the object should avoid heat, water, dishwasher cycles, heavy load, or flexing, write that down where future-you will see it.
The best adhesive repair is quiet and specific. The glue matches the material, the joint closes cleanly, pressure is controlled, cure time is respected, and the object returns to ordinary use without a story attached. When those conditions are not present, the keeper move is to choose a different repair path before the nearest tube turns a small crack into a larger problem.
Related Keepers Guild guidebooks
Use Clean First before surface prep, Tighten, Lubricate, Patch, Glue, Replace for the broader beginner repair mindset, Sneaker Sole Separation when footwear adhesive is involved, Backpack Strap Repair when stitching may be safer than glue, and How to Ask for a Repair Quote when the object is valuable or the joint carries real load.