Bringing home a new houseplant is the moment when people are most likely to do too much. The plant has already moved from a grower to a store, from store light to car or delivery box, and from a production pot into a room with different temperature, humidity, airflow, and watering habits. Acclimation means giving that plant a calm landing before asking it to handle a new pot, a new soil blend, fertilizer, pruning, a brighter window, and a place among every other plant you own.
Let the first week be boring
The first week is mostly observation. Set the plant somewhere bright enough to see clearly, but not so harsh that direct sun hits tender leaves that were grown under greenhouse shade cloth or shop lighting. Keep it away from heat vents, cold glass, door drafts, and crowded shelves. If you have pets or curious children, treat the plant as unknown until you have checked its identity and placement. The goal is not to find a perfect forever location on day one. It is to create a stable holding area where changes are easy to notice.
A new plant often looks best on the day it comes home because the grower and retailer have already done the work of presenting it well. That can make intervention feel urgent: the soil is not the mix you would choose, the pot is plastic, the leaves have water spots, the stems are tied oddly, or the roots are visible near the drainage holes. Some of those details matter, but very few require action before the plant has had time to show whether it is hydrated, pest-free, and able to use the light in your room.
Water is the one decision that does deserve early attention, but even there the right move is a check, not a reflex. Lift the pot. Feel the surface and a little below it. Look through the drainage holes if the pot allows it. Nursery peat-heavy mixes can feel dry on top while still damp inside, and a plant that was watered heavily before sale can arrive with a rootball that remains wet longer than expected. The method in Stop Watering Houseplants on a Schedule applies especially well here: water because the plant and pot show need, not because a new plant feels like a new responsibility.
Inspect before integrating
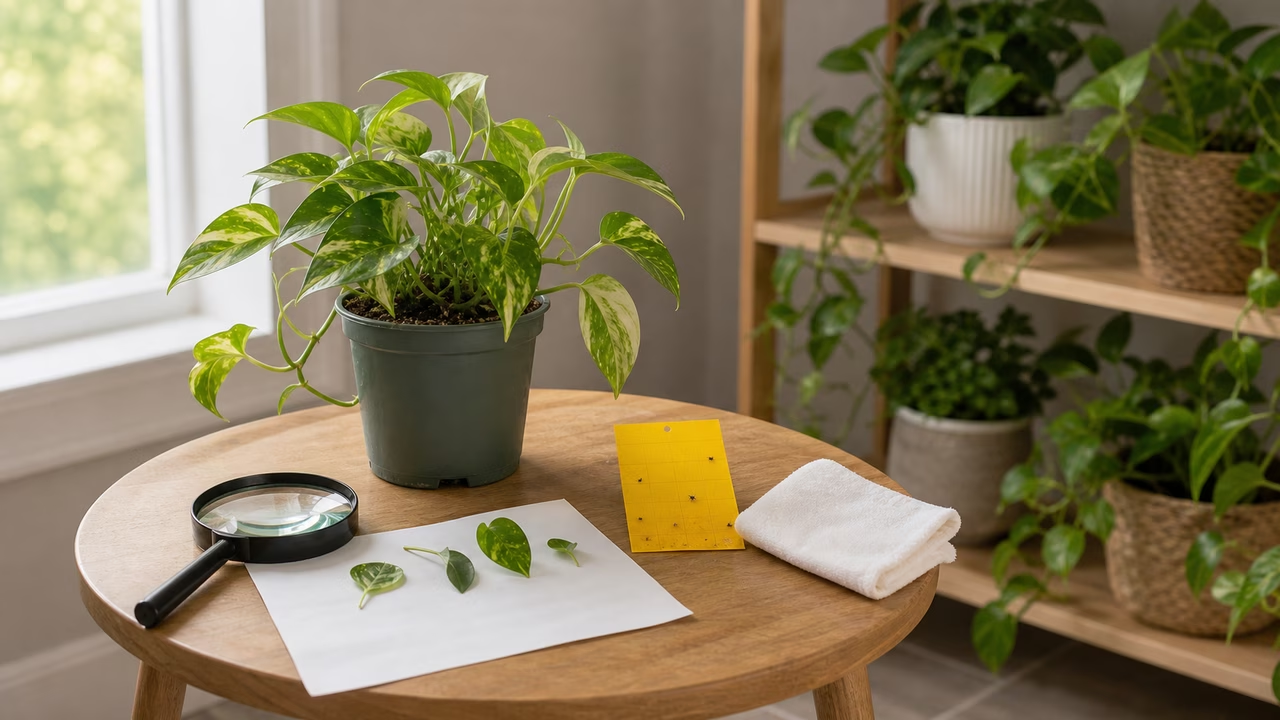
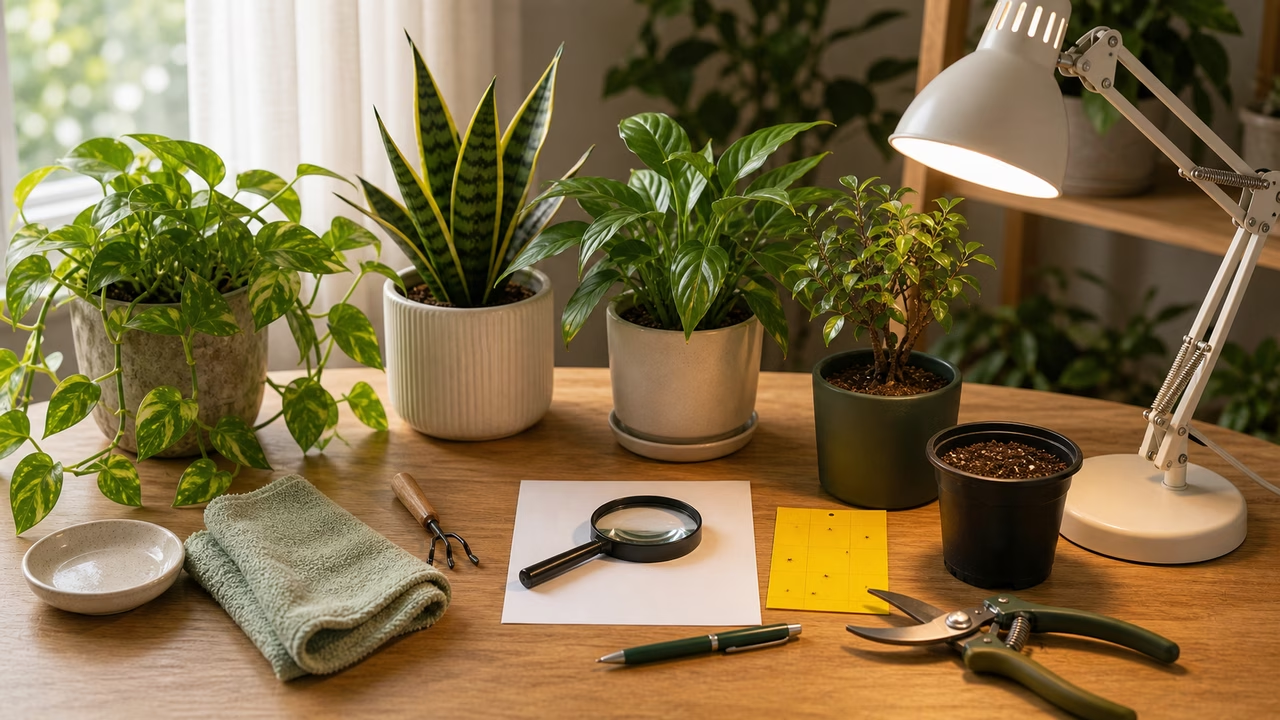
Acclimation and quarantine overlap, but they are not identical. Quarantine is about protecting the rest of the collection from pests and diseases. Acclimation is about reducing stress while the new plant adjusts. A practical setup does both. Place the plant apart from other leaves, give yourself room to turn the pot, and inspect slowly in good light. Check new growth, leaf undersides, stem joints, the soil surface, the pot rim, and the outer cachepot if one came with the plant. A hand lens helps, but the more important tool is patience.
Do not panic at every torn leaf or cosmetic blemish. Retail plants are handled, sleeved, transported, unwrapped, and watered by different people. A bent petiole, rubbed leaf, clipped tip, or old yellowing lower leaf may tell you more about shipping than about the plant’s future. What matters more is whether damage is fresh, spreading, sticky, webbed, distorted, clustered around new growth, or paired with moving specks. If anything seems suspicious, keep the plant isolated and use the habits from Houseplant Pest Inspection Routine before it joins the main shelf.
This is also the time to learn how the nursery pot behaves. Some plastic pots drain freely and sit inside decorative sleeves that trap water. Others have holes so small that water leaves slowly. Some rootballs are dense enough that water runs down the side without wetting the center. Instead of replacing the pot immediately, watch one careful watering cycle. Water when the rootball is ready, let the pot drain fully, and then check how the weight changes over the next several days. That information is more useful than a guess made while the plant is still recovering from the trip home.
Wait on repotting unless the plant insists
Repotting is sometimes necessary soon after purchase, but it is not a welcome-home ritual. A plant that is stable, pest-free, and drying at a reasonable pace can often stay in its nursery pot while you learn its pattern. Repotting too quickly can turn a mild adjustment period into root disturbance, moisture confusion, and leaf drop, especially for plants that dislike sudden change. If the plant is already stressed from cold, heat, darkness, rough transport, or underwatering, new soil can make the story harder to read.
There are cases where you should act sooner. A pot with no drainage, sour-smelling saturated mix, roots that are collapsing into rot, or a plant that tips dangerously because the pot is too small may need a careful reset. If that evidence appears, use Repotting Without Panic as the slower path. Choose a pot only slightly larger, keep the root work gentle, and resist washing every bit of old mix away unless there is a real reason. The aim is to correct the condition that is causing harm, not to impose an idealized setup all at once.
Fertilizer can wait too. A new plant has usually been fed during production, and a stressed plant is not helped by more salts in the root zone. If it has enough light, healthy roots, and active new growth after settling, feeding can become part of normal care later. Until then, light, water, drainage, and observation matter more. The plain approach in Fertilizer Without Guesswork is useful because it treats fertilizer as support for growth, not as medicine for stress.
Read the plant after the move
Some adjustment signs are ordinary. A ficus may drop a few leaves after a move. A peace lily may wilt dramatically if it dries during transport, then recover after a proper watering. A trailing plant may shed a damaged vine tip. A plant grown under stronger production light may pause while it recalibrates to a home window. These are reasons to watch, not reasons to stack treatments.
The clues that deserve more attention are patterns. Yellowing that spreads upward while the pot stays wet points toward root or drainage trouble. Crisp patches appearing only on the side facing a hot pane of glass suggest light or heat stress. Curling new leaves can point toward pests, dry air, root stress, or watering inconsistency. A plant that never dries, even in a bright room, is telling you about pot size, mix density, drainage, or light. The diagnosis guides in Why Are My Houseplant Leaves Turning Yellow? , Curling Leaves on Houseplants , and Overwatered vs Underwatered Houseplants become easier to use when you have not changed five variables in the first three days.
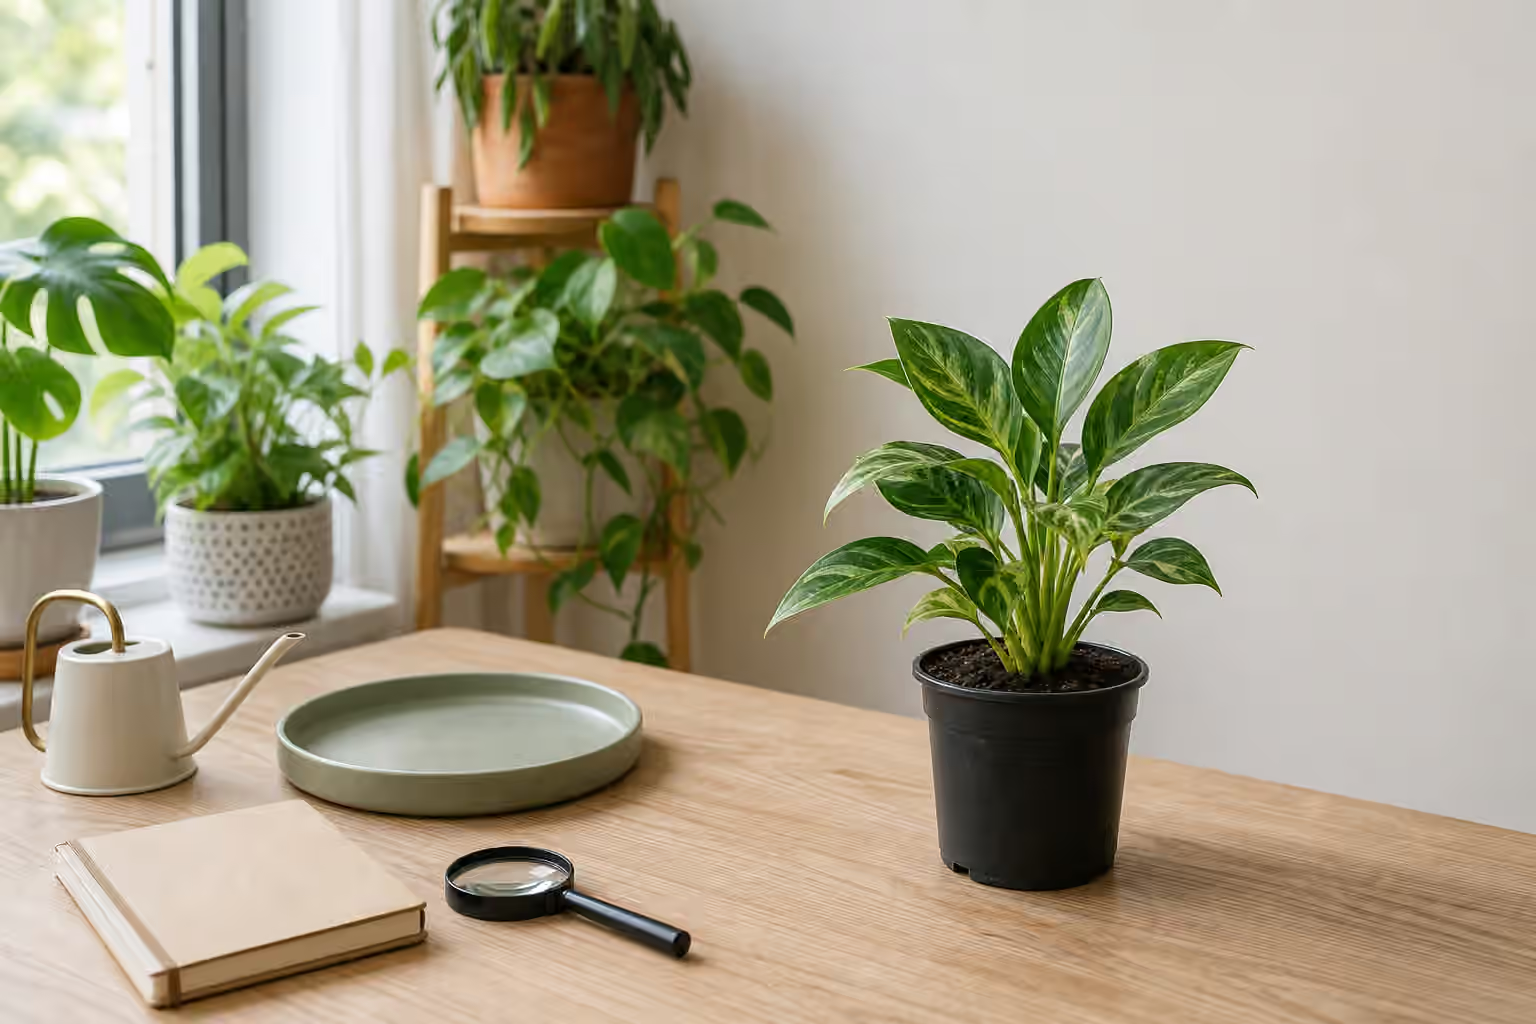
Keep a simple note during the first month. Record the arrival date, where the plant is sitting, whether you watered it, how long the pot stayed heavy, and any marks that were already present. This prevents the common mistake of treating old shop damage as new decline. It also gives you confidence when the plant improves quietly. A new leaf, firmer stems, a predictable drying rhythm, and no pest signs are better evidence than a dramatic makeover.
Move into normal care gradually
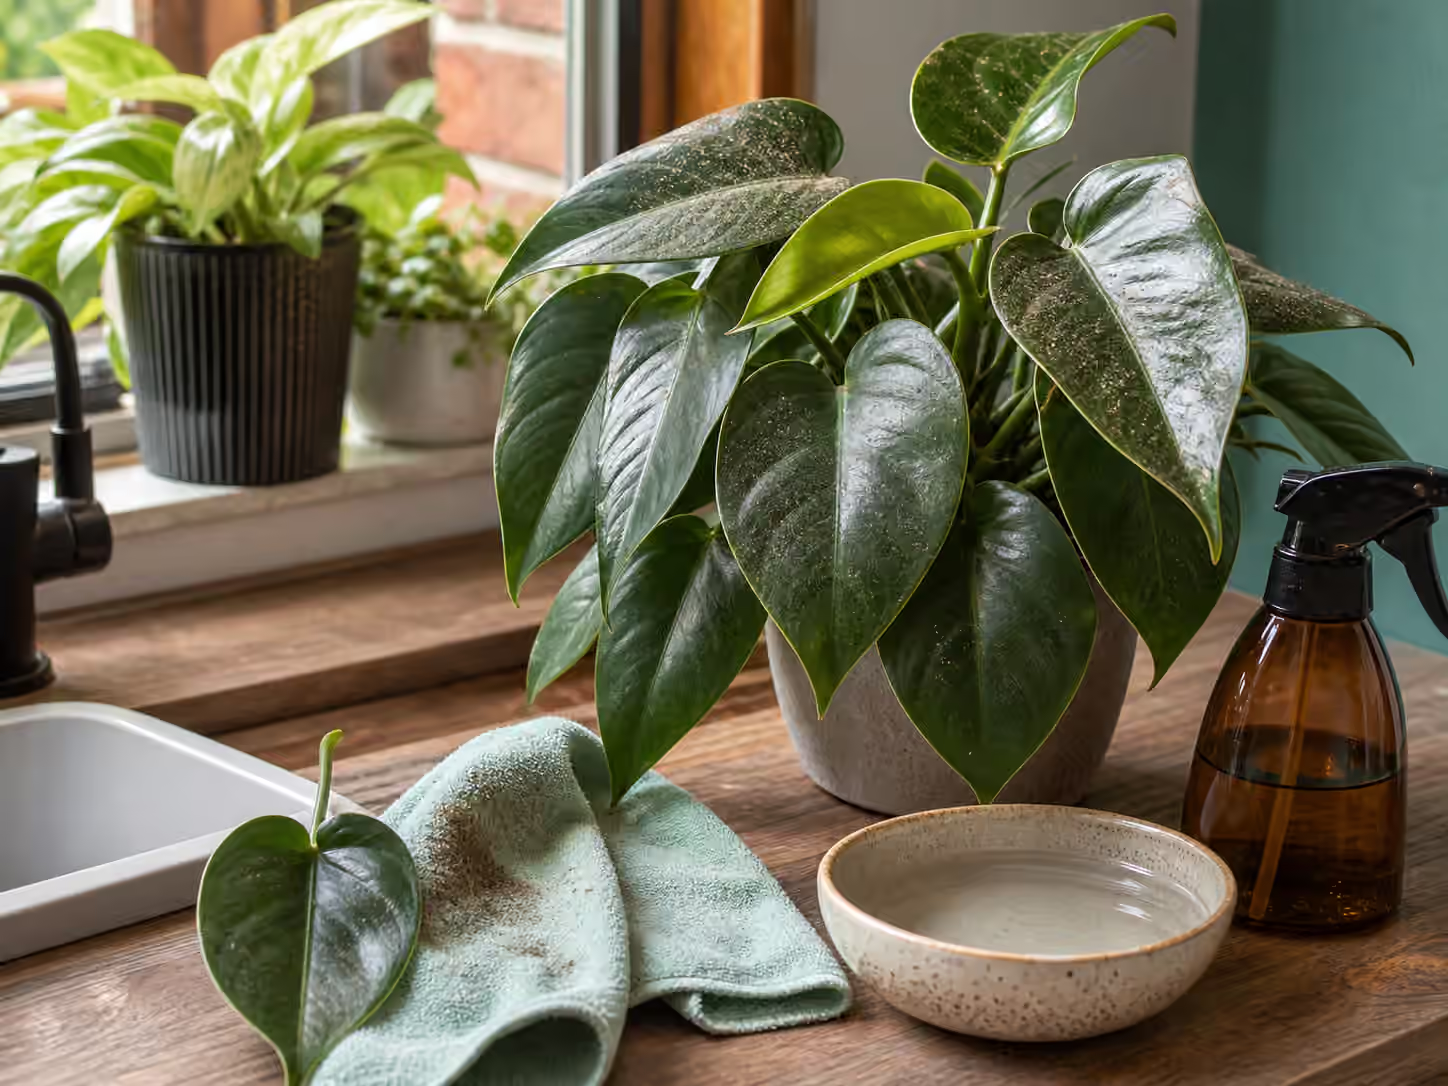
After the first couple of weeks, the plant can begin moving from holding pattern to routine care. If it has passed inspection, it can join nearby plants with similar light needs. If it is stable but stretching, move it toward better light in stages. If the soil is drying far too fast or far too slowly, consider repotting or adjusting the mix. If the plant arrived dusty, clean the leaves gently once you know they are not hiding pest residue. Each change should have a reason and enough time to show its effect.
Acclimation is less glamorous than repotting day, but it prevents many beginner problems. The plant gets a chance to recover from shipping and retail handling. You get a chance to learn the pot, the mix, and the room. The rest of the collection stays protected. By the time the new houseplant reaches its permanent spot, you are not guessing from excitement. You are working from observations that belong to your actual home.