Why Grow Your Own
There’s a satisfaction to making hot sauce from peppers you grew yourself that store-bought can never match. You control the variety, the heat level, the freshness, and the flavor. And unlike many garden crops, chili peppers are surprisingly easy to grow—they thrive in containers, tolerate heat, and produce abundantly once they get going.
Whether you have a backyard, a balcony, or just a sunny windowsill, you can grow peppers. This guide covers everything from seed selection to harvest, with practical advice for turning your crop into hot sauce at the end.

Choosing Your Varieties
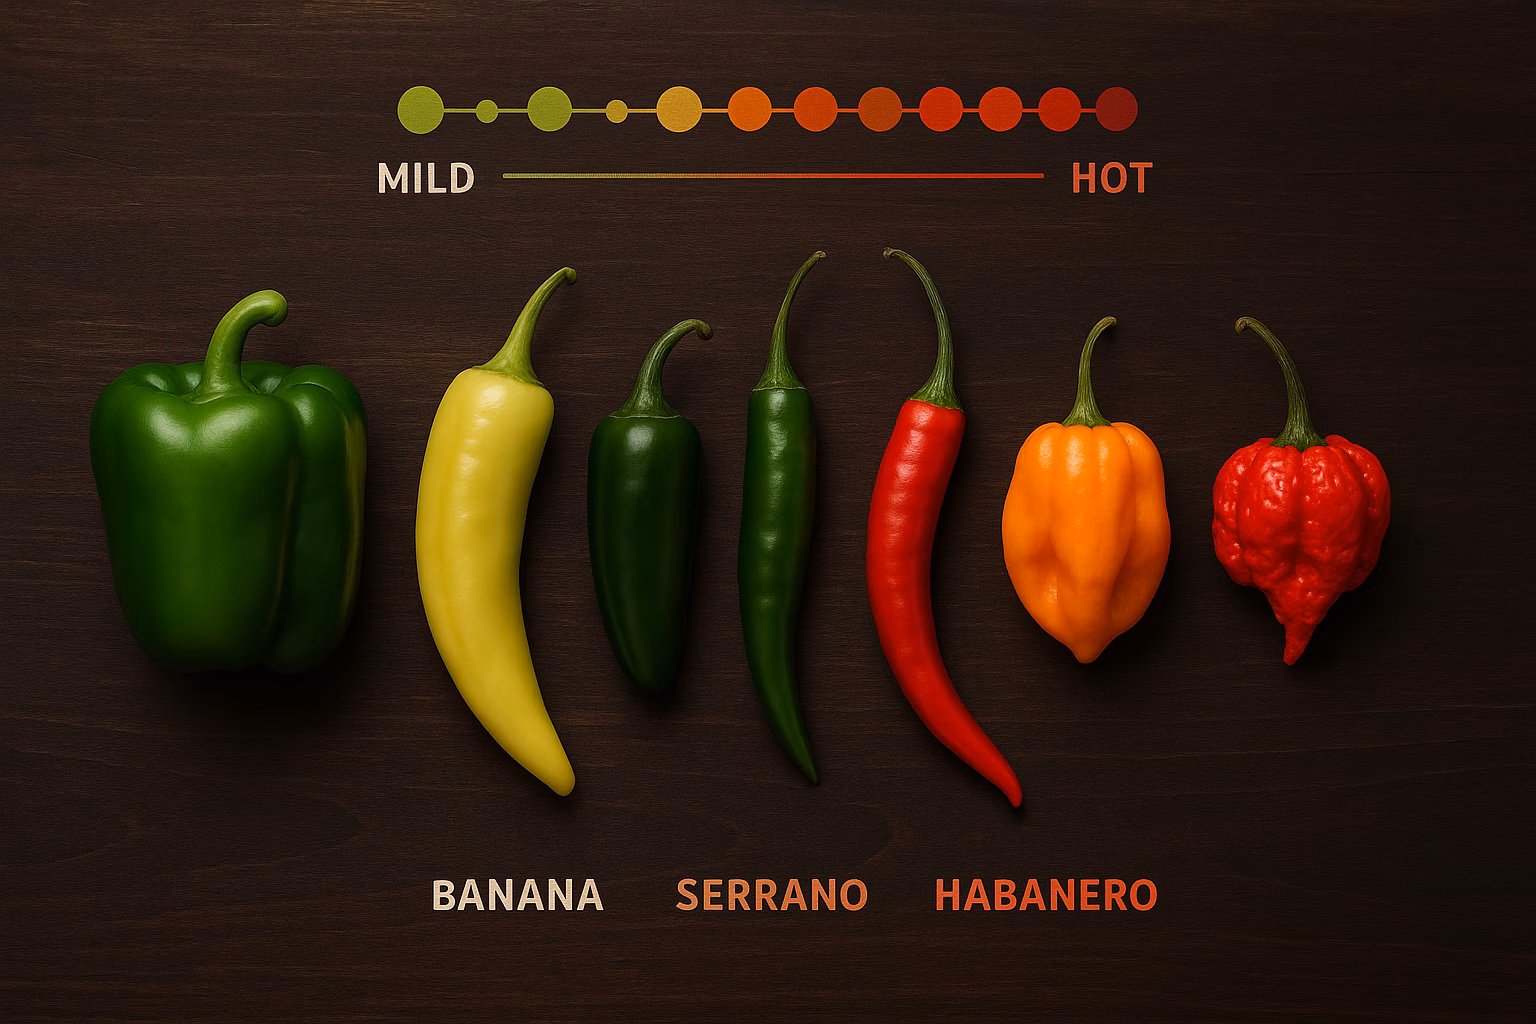
The first decision is what to grow. Peppers range from zero heat (bell peppers) to nuclear (Carolina Reaper), and each variety brings different flavors and growing characteristics.
For Beginners
Start with varieties that are reliable, productive, and forgiving. Jalapeño is the obvious workhorse: versatile, fairly fast, and useful in everything from salsa to fermented sauce. Cayenne is another beginner favorite because it fruits heavily and dries easily, which makes it a practical bridge into homemade flakes and vinegar-forward sauces. Serrano is the step up if you want the same basic utility as jalapeño but with more heat and a slightly sharper profile.
For Heat Seekers
Once you have a season or two under your belt, the superhots become more realistic. Habanero is often the smartest first leap because it combines serious heat with genuinely great fruit-and-floral flavor. Ghost pepper asks for more patience, both in germination and ripening, but rewards you with a distinctive slow-building burn. Carolina Reaper is best treated as a specialized project rather than a casual add-on: spectacular, but demanding and excessive for most cooks.
For Flavor Chasers
Some peppers are worth growing primarily because they taste distinctive, not because they win heat contests. Aji amarillo brings bright, tropical fruitiness that makes Peruvian sauces taste unmistakably themselves. Scotch bonnet shares some DNA with habanero, but usually lands sweeter and more aromatic. Poblano sits at the mild end, but its earthy depth and roasting quality make it one of the most useful peppers in the garden.
Starting Seeds Indoors
Pepper seeds need warmth and time to germinate. Start them indoors 8–10 weeks before your last expected frost date.
What You Need
The setup is simple: seed-starting trays or small pots, a light sterile seed-starting mix, dependable warmth, and strong light. Temperature matters more than most beginners expect. Peppers germinate best at 80–90°F / 27–32°C, so a heat mat or reliably warm indoor spot usually does more for success than expensive equipment.
The Process
Start by soaking seeds overnight in warm water, which softens the seed coat and can noticeably speed germination, especially with thicker-skinned superhot varieties. Plant them about 1/4 inch deep in moist mix, ideally two seeds per cell so a weak germination rate does not leave you with empty trays.
Cover the tray to hold humidity, then focus on the variable that matters most: warm soil. Below 70°F, peppers become slow and unreliable. At 80–85°F, most common varieties emerge in a week or two, while superhots may still take several weeks and test your patience.
As soon as seedlings appear, remove the cover and give them long, bright days under a sunny window or grow lights. Once the first true leaves appear, thin each cell down to the strongest seedling so the plants do not compete with themselves from the start.
Transplanting and Growing
Hardening Off
Before moving seedlings outside, gradually expose them to outdoor conditions over 7–10 days. Start with a few hours of filtered sunlight and gradually increase. This prevents transplant shock.
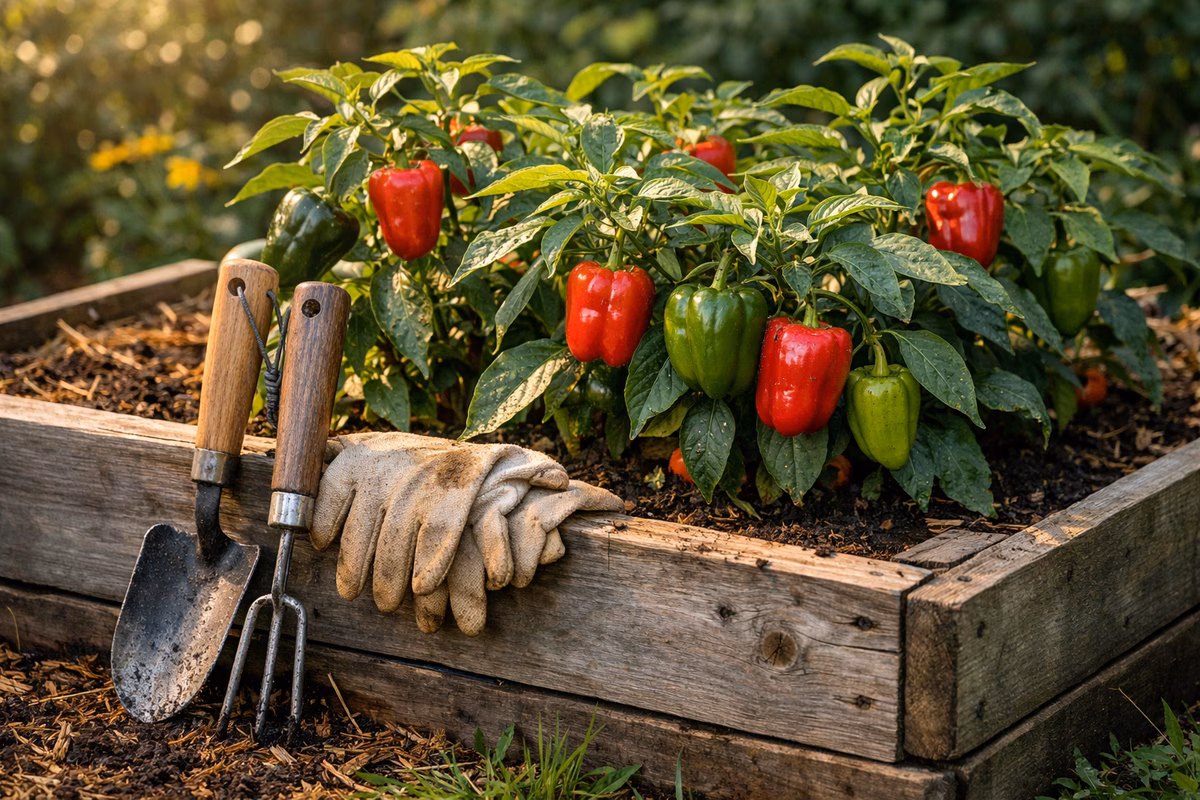
Soil and Containers
Peppers like well-draining soil, a pH around 6.0 to 6.8, and as much direct sun as you can give them. They also dislike cold roots, so wait until nighttime temperatures are consistently above 55°F (13°C) before moving them out for good. If you are growing in containers, treat 5-gallon (19-liter) pots as the real minimum rather than the ideal. Larger containers buffer watering mistakes better and give roots room to support a heavier harvest.
Spacing
In-ground, space plants 18–24 inches apart. In containers, one plant per 5-gallon pot. Peppers don’t like to be crowded—good airflow reduces disease.
Feeding and Watering
Water deeply, then let the top inch of soil dry before watering again. Peppers hate sitting in soggy soil, and overwatering is a more common mistake than underwatering. At transplant time, a balanced fertilizer is fine; once flowering starts, shifting to a higher-phosphorus formula helps direct energy toward fruit instead of endless leaves. Mulch around the base if you can, because stable moisture is one of the easiest ways to avoid stress-related problems later.
Common Problems
Blossom Drop
Flowers form but fall off without producing fruit. Causes: temperatures too high (above 95°F) or too low (below 55°F at night), inconsistent watering, or too much nitrogen. Usually resolves itself as conditions improve.
Aphids
Small green or white insects clustering on new growth. Spray with a strong water jet, use insecticidal soap, or introduce ladybugs. Catch early—aphids multiply fast.
Blossom End Rot
Dark, sunken spots on the bottom of the fruit. Caused by calcium deficiency, usually triggered by inconsistent watering rather than lack of calcium in the soil. Water regularly and mulch to even out moisture.
Slow Growth
If plants stall, check soil temperature (too cold), drainage (too wet), and sun exposure (too little). Peppers are heat lovers—they won’t perform in cool, shady conditions.
Harvesting
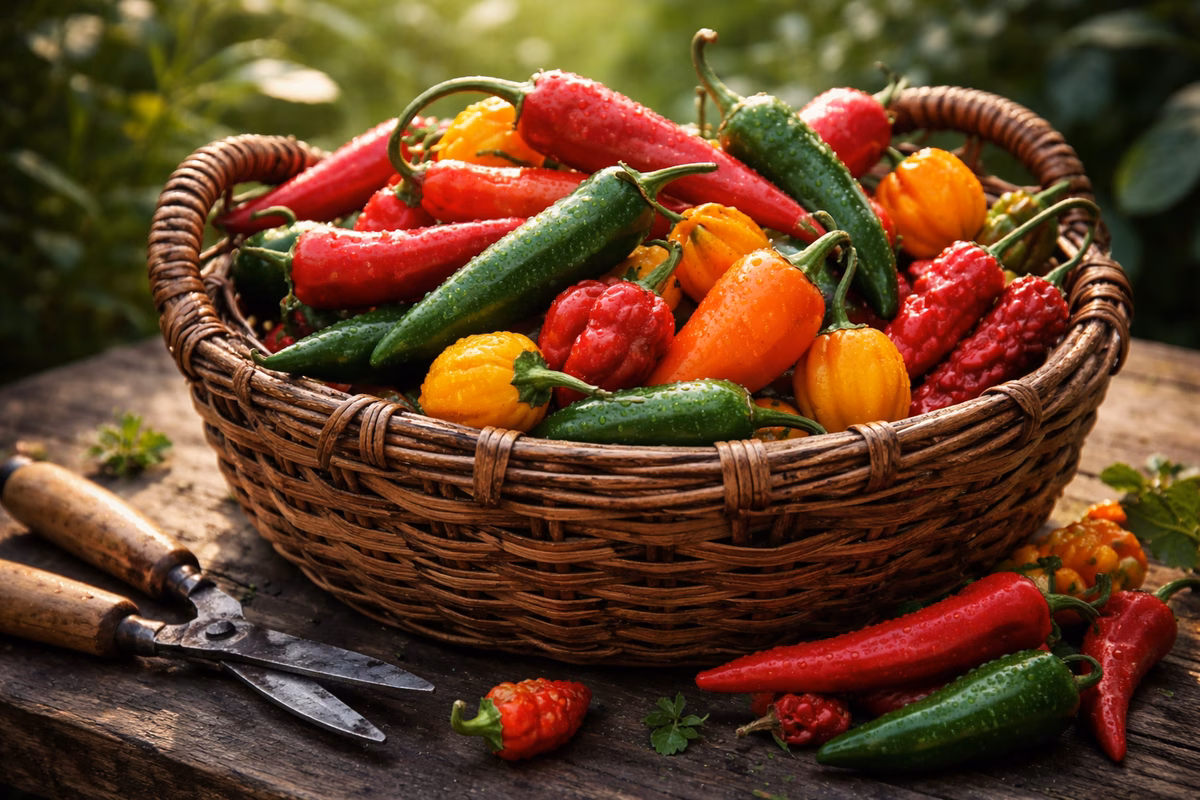
Most peppers can be harvested at any stage, but they develop more flavor and heat as they ripen fully.
When to Pick
Jalapeños are flexible: pick them green for the classic grassy profile, or let them turn red if you want sweeter, deeper heat. Cayennes are best harvested fully red, especially if you plan to dry them. Habaneros should reach their final color and soften slightly before picking, while superhots are worth waiting on until they are fully wrinkled and deeply colored. Unripe superhots are mostly pain without the fruit character that makes them interesting.
Use scissors or pruning shears to cut peppers from the plant. Pulling can damage the stem and the plant.
Yield
A healthy jalapeño plant produces 25–35 peppers per season. Cayenne can yield even more. Superhots typically produce fewer but more potent pods—around 20–30 per plant.
From Harvest to Hot Sauce
Once you’ve picked your peppers, the simplest path to hot sauce is:
- Roast or char the peppers for smoky depth (optional but recommended)
- Blend with vinegar, salt, and garlic
- Simmer for 15–20 minutes
- Strain for a smooth sauce or leave chunky
- Bottle in sterilized glass jars or bottles
For a fermented sauce (like Tabasco-style), see our Making Hot Sauce guide for the full fermentation process.
Preserving Your Harvest
If you have more peppers than you can use immediately:
Drying works especially well for thin-walled peppers like cayenne and Thai chiles, whether you hang them in moving air or use a dehydrator. Freezing is the easiest no-planning option and works well if the peppers are destined for sauces anyway. Pickling gives you a ready-to-eat condiment, while fermentation turns extra harvest into a far more complex hot-sauce base.
Next Steps
From here, the Scoville Scale will help you calibrate the heat of what you grow, Making Hot Sauce picks up the preservation and fermentation side, and the Sauce Pairing Guide helps you decide what to do with the finished bottles.