The seeds were so small I almost sneezed them away.
I was holding a packet of habanero seeds over a tray of damp seed-starting mix, trying to place one seed per cell using my fingertip, and the seeds were the size of rice grains and light enough that my breathing moved them. I pressed each one gently into the soil, covered them with a thin layer of mix, misted the tray, and placed it on a heat mat in front of a south-facing window.
Then I waited.
If you’ve never grown food from seed, the wait is the first surprise. You plant the seed and nothing happens. For days. Sometimes weeks. You mist the soil and stare at it like someone waiting for a text reply from someone who doesn’t have your number.
Pepper seeds, I learned, are among the slowest to germinate. The packet said 7–21 days. Mine took 16.
On day 16, I noticed a small, curved stem pushing through the soil in one cell, like a tiny green question mark asking whether it was safe to come out.
By day 20, eleven of twelve cells had sprouted.
This is the story of the five months between those sprouts and the afternoon I turned the harvest into my first bottle of homemade hot sauce—and the guide I wish I’d had when I started.
Phase one: starting seeds indoors (January – March)
Why start early
Peppers are tropical plants. They want warmth, full sun, and a long growing season—90 to 150 days from transplant to harvest depending on the variety. In most of North America, that means starting seeds indoors 8–10 weeks before the last frost date.
I started mine in late January. The last frost in my area is mid-April, so that gave the seedlings about 10 weeks to develop before they went outside.
The setup
- A seed-starting tray with individual cells
- Seed-starting mix (light, sterile, and fluffy—not garden soil)
- A heat mat (peppers germinate best at 80–85°F soil temperature)
- A light source (a sunny window works; a grow light is better)
- A spray bottle for misting
Plant seeds ¼ inch deep. Keep the soil moist but not waterlogged. Cover the tray with a humidity dome or plastic wrap until sprouts appear.
The seedling weeks
Once the sprouts emerged, I moved the tray under a grow light (a basic shop light with daylight bulbs would have worked too). Seedlings need 14–16 hours of light per day. Without enough light, they grow tall and spindly—“leggy”—reaching for whatever dim source they can find.
For the next eight weeks, the seedlings grew slowly. Painfully slowly. Pepper seedlings don’t rush. Two tiny seed leaves appeared first (cotyledons), then the first set of true leaves—slightly fuzzy, recognizably pepper-shaped—two weeks later.
I watered when the top of the soil felt dry. I fed them once every two weeks with a diluted liquid fertilizer. I rotated the tray so they didn’t lean toward the light.
By mid-March, the seedlings were 4–5 inches tall with three or four sets of true leaves. They looked small and delicate and completely unready for the outside world.
For the full growing reference, see Growing Your Own Peppers.
Phase two: hardening off and transplanting (April)
Hardening off
“Hardening off” is the process of gradually introducing indoor seedlings to outdoor conditions. Plants raised indoors have never experienced wind, direct sunlight, or temperature fluctuation. Put them outside suddenly and they sunburn, wilt, or go into shock.
I hardened my seedlings over ten days:
- Days 1–3: Outside in shade for two hours, then back inside
- Days 4–6: Outside in partial sun for four hours
- Days 7–9: Outside in full sun for six hours
- Day 10: Outside all day, brought in at night
This was the most tedious part of the entire process. Carrying a tray of seedlings in and out of the house twice a day for ten days felt like being a very attentive parent to very small, very quiet children.
Transplanting
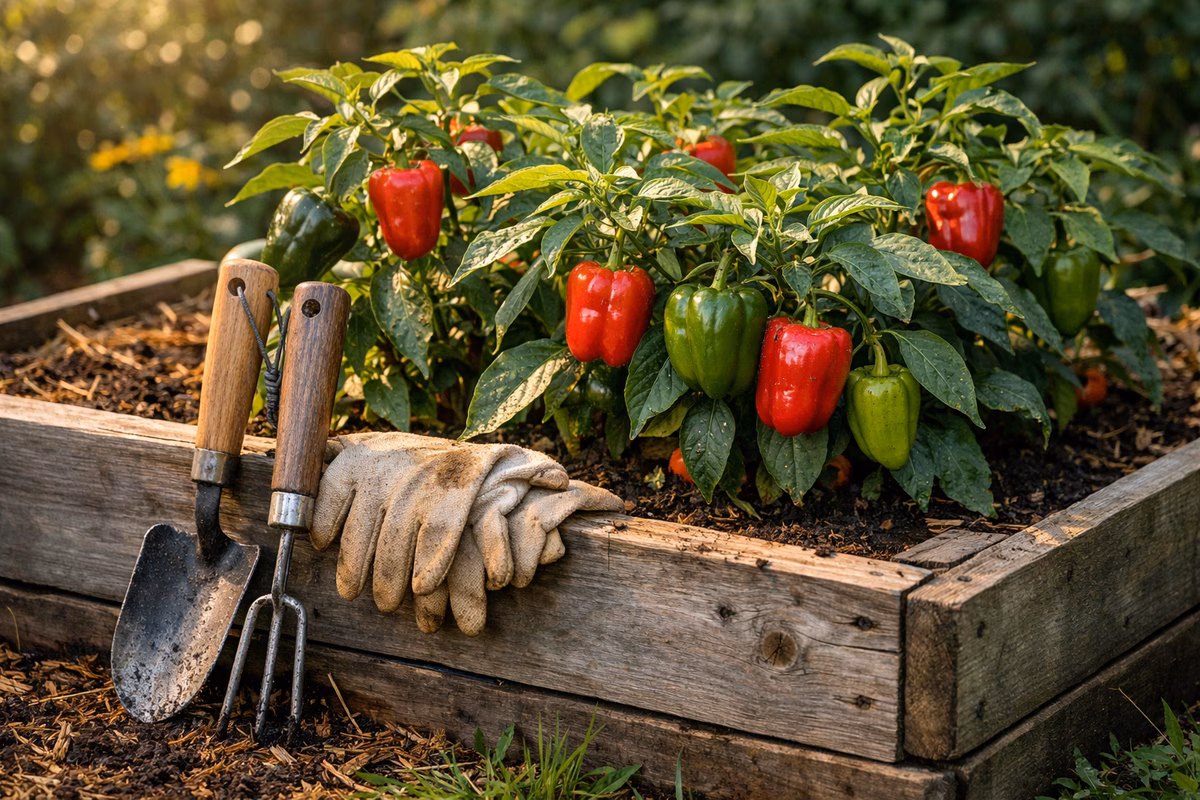
After the last frost passed (and I’d checked the ten-day forecast to be sure), I transplanted the seedlings into a raised bed in the sunniest spot in my yard.
I spaced them 18 inches apart, buried each one up to its first set of true leaves (the buried stem sprouts new roots), watered deeply, and mulched around the base with straw to retain moisture.
The seedlings looked absurdly small in the garden bed. Twelve tiny plants in a four-by-eight-foot rectangle of soil, each one barely visible above the mulch.
“Give them a month,” said my neighbor, who grows tomatoes and always has garden advice I didn’t ask for but always need.
Phase three: the growing season (May – August)
The slow build
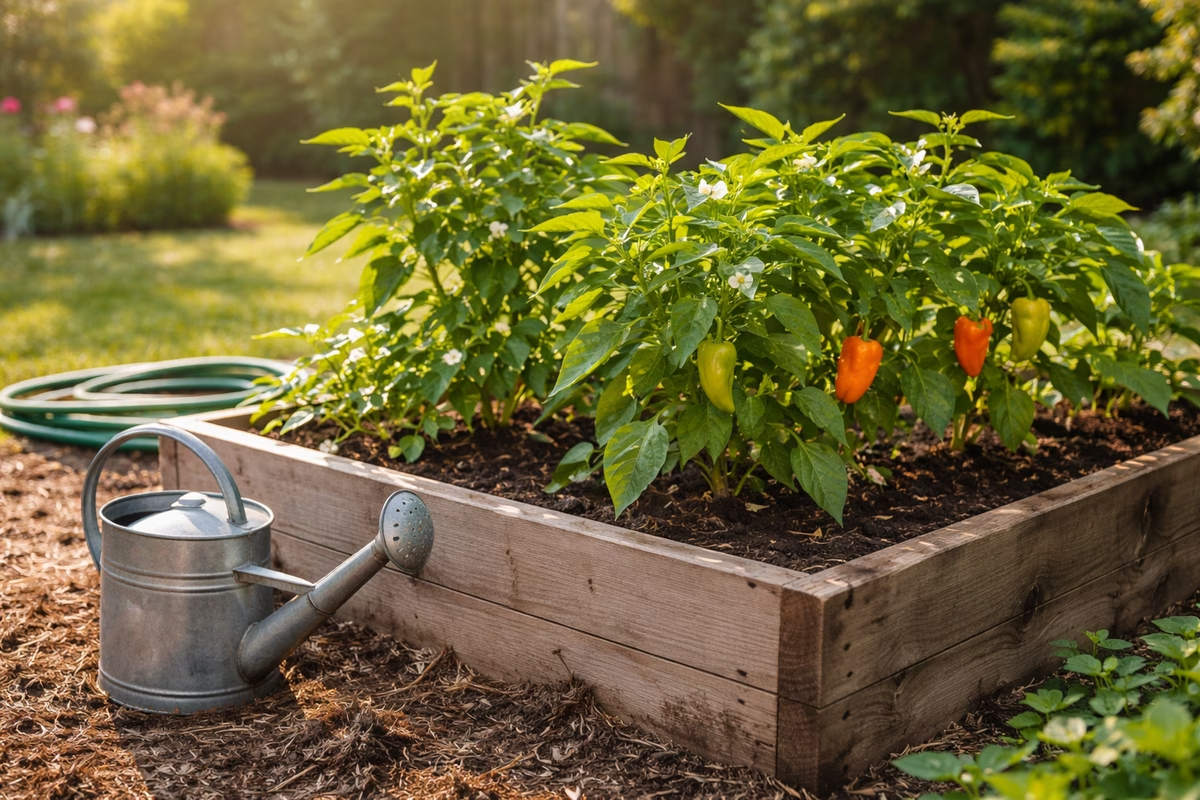
May was agonizing. The plants grew, but slowly. An inch a week. Maybe two. The stems thickened. New leaves appeared. But the plants were still small enough that I worried a strong wind or a careless squirrel would end the project.
By mid-June, something shifted. The warm soil and long days kicked the plants into a higher gear. They doubled in size in three weeks. The stems went from pencil-thick to finger-thick. The leaves darkened and spread. The plants started to look like plants—substantial, confident, taking up space.
In late June, I saw the first flowers: small, white, star-shaped blossoms that opened in the morning and attracted bees by midday.
Flowers on a pepper plant are a promise. Each flower, if pollinated, becomes a pepper. I counted the flowers on my largest plant: twenty-two.
Watching fruit develop
The first tiny pepper appeared in early July—a green nub, barely half an inch long, hanging from a stem where a flower had been. Over the next two weeks, it grew into a recognizable habanero shape: a small, lantern-like pod, waxy and bright green.
Then more appeared. By mid-July, each plant had a dozen or more green peppers in various stages of development. The plants were heavy with fruit, some branches bending under the weight.
The green peppers sat there. Stubbornly green. For weeks.
Habaneros ripen from green to orange (or red, or yellow, depending on the variety). The color change signals full ripeness—maximum sugar, maximum capsaicin, maximum flavor. You can pick them green, but the flavor is grassier and less complex.
I waited. Every morning I’d walk out to the garden, coffee in hand, and examine the peppers for any hint of color change. Green. Green. Green. Green.
In mid-August—five weeks after the first pepper appeared—I walked out and found it: a single habanero, on the largest plant, with a blush of orange at the tip.
Within a week, half the peppers were changing color. The garden went from green to a riot of orange, and the transformation happened so suddenly it felt like the plants had been holding their breath and finally exhaled.
Phase four: harvest and sauce (September)
The harvest
I picked the peppers when they were fully orange and slightly soft to the touch—not squishy, but yielding. Each one came off the stem with a clean snap.
I wore gloves. Not because I’m cautious, but because I once rubbed my eye after handling a habanero and spent twenty minutes at the sink in genuine distress. Habanero oil is no joke. It survives hand-washing and transfers to everything you touch.
The harvest filled a large mixing bowl: roughly sixty habaneros from twelve plants. The bowl smelled incredible—fruity, tropical, floral, with an aggressive capsaicin edge that made my nose tingle from a foot away.
The sauce
I kept the sauce recipe simple. This was my first time, and I wanted the peppers to be the star.
Ingredients:
- 25 ripe habaneros, stems removed
- 4 cloves of garlic
- 1 small onion, quartered
- 1 cup white vinegar
- ½ cup water
- 1 teaspoon salt
- ½ teaspoon cumin
- Juice of 1 lime
Process:
- Roasted the habaneros, garlic, and onion under the broiler until charred (about 8 minutes, turning once)
- Combined everything in a blender and blended until smooth
- Simmered the mixture in a saucepan for 15 minutes
- Strained through a fine mesh sieve for a smoother sauce (optional—I did half strained, half chunky)
- Bottled in sterilized glass bottles
The kitchen smelled like a combination of a tropical fruit stand and a chemical weapons lab. I opened every window.
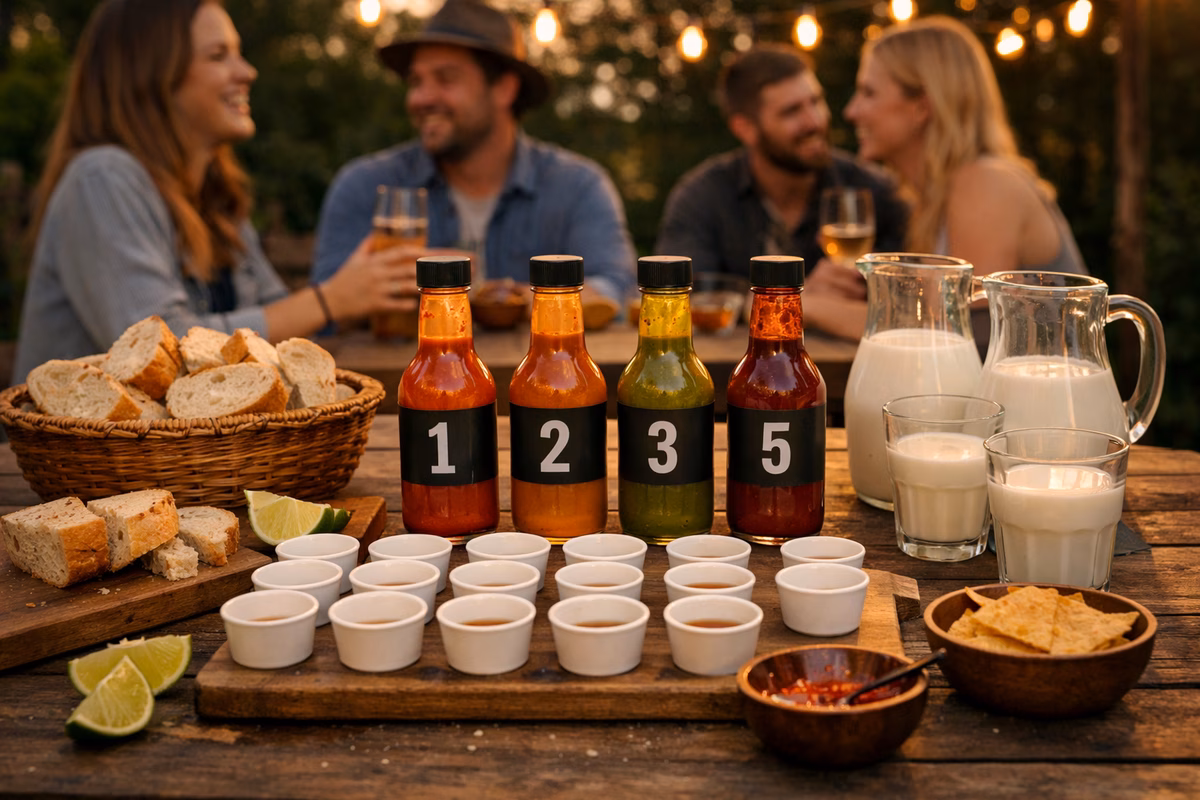
For full hot sauce making instructions, see Making Hot Sauce. For fermented sauce methods, see The Fermented Hot Sauce Weekend.
The first taste
I let the sauce cool to room temperature, poured a small puddle onto a plate, and dipped a tortilla chip.
The heat was immediate—sharp, clean habanero fire that spread across my tongue and lingered. But underneath the heat was flavor: fruity and tropical, with a roasted sweetness from the charring and a tangy backbone from the vinegar and lime. The garlic and cumin sat quietly in the background, adding depth without competing.
It was the best hot sauce I had ever tasted. Not objectively—there are better-balanced, more refined sauces in the world. But it was the best because I knew where every molecule of flavor came from. I had planted the seeds. I had watered the plants. I had watched the flowers become fruit and the fruit become a bottle of sauce that tasted like five months of sunlight and patience.
My neighbor tried it the next day. He put it on scrambled eggs, paused, and said: “You need to make more of this.”
I made more.
What growing peppers teaches you about hot sauce
You understand heat differently. When you’ve watched a pepper develop on the vine—slowly, over weeks, the capsaicin building inside the placenta of the fruit—you understand that heat is not a binary. It’s a spectrum that the plant developed for a reason (to deter mammals, not birds) and that different peppers sit at different points on that spectrum with different flavor profiles alongside the heat.
You appreciate simplicity. The best hot sauces are often the simplest: peppers, vinegar, salt. When you’ve grown the peppers yourself, you understand why. Good peppers don’t need much help.
You become a label reader. After making sauce from your own harvest, you look at commercial hot sauces differently. You check the ingredient list. You notice when “pepper extract” appears instead of named pepper varieties. You understand the difference between a sauce built on whole peppers and one built on concentrated capsaicin.
You get patient. Five months from seed to sauce. That timeline changes your relationship with hot sauce. You stop thinking of it as a commodity and start thinking of it as a crop—something that requires land, sun, water, time, and attention before it reaches a bottle.
Next steps
- Read Growing Your Own Peppers for the complete growing reference
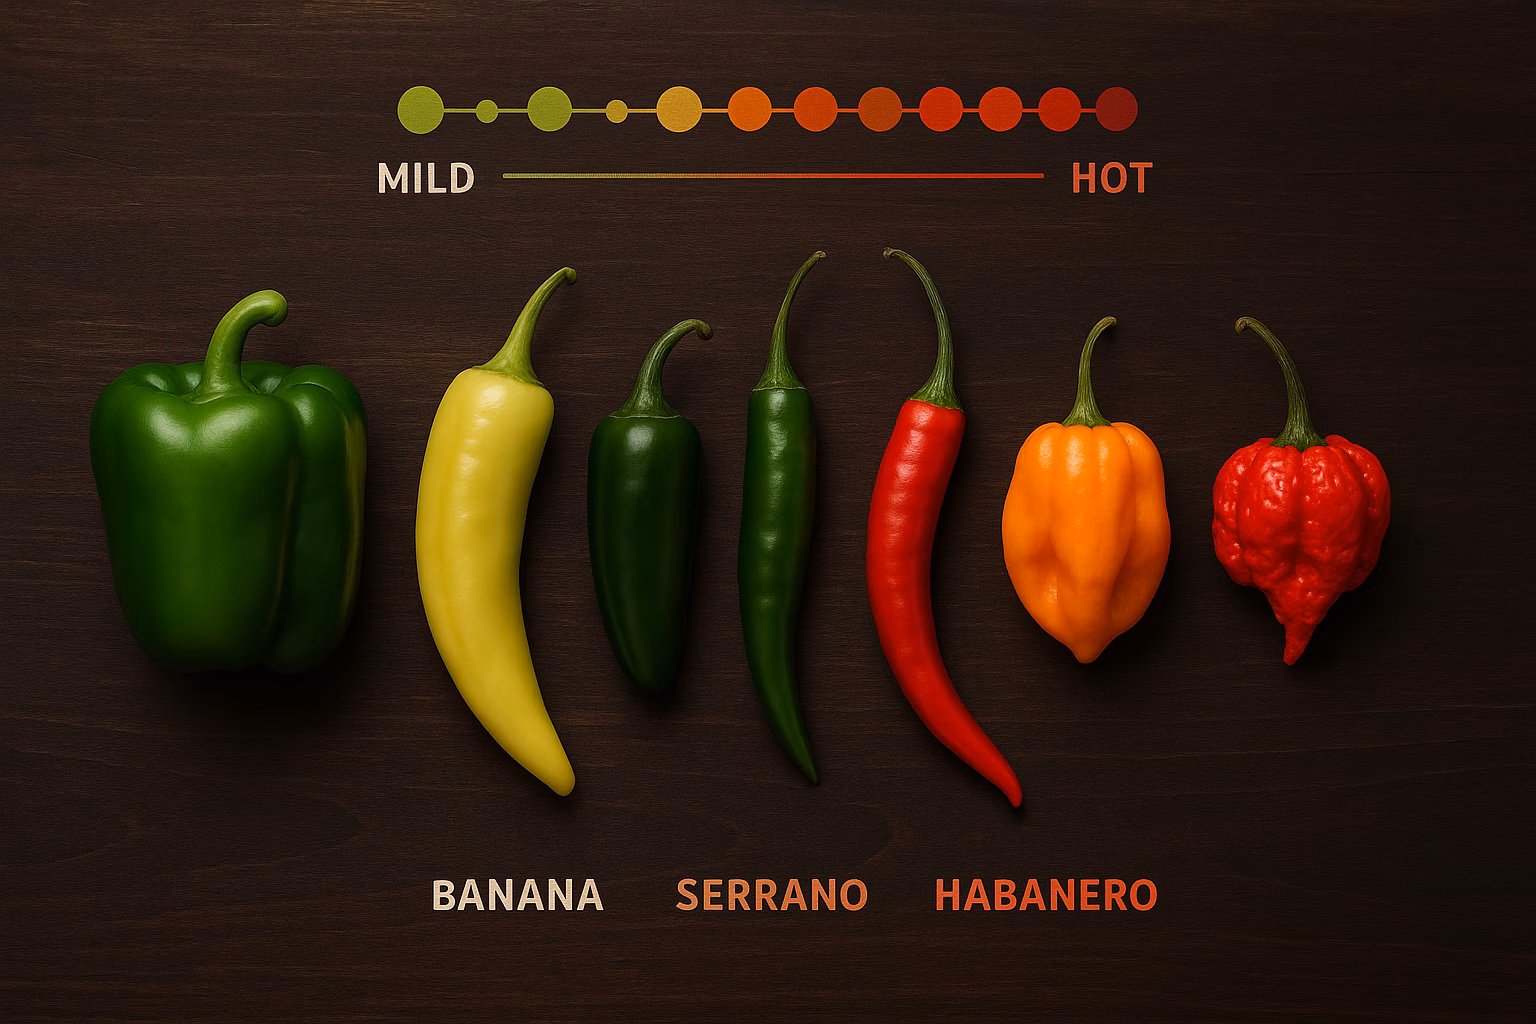
- Explore The Scoville Scale for understanding where your peppers fall on the heat spectrum
- See Making Hot Sauce for techniques beyond this first recipe
- Try Fermentation Flavor Design for the next level of homemade sauce
- Check Storage and Safety for keeping your sauce fresh and safe