A grilled sandwich is not just indoor comfort food moved outside. The grill gives bread smoke, heat, and a larger cooking surface, but it also makes the timing less forgiving. Bread burns fast, cheese melts slowly unless heat is managed, wet fillings can steam the crust, and leftovers need clean handling before they become lunch. A good outdoor sandwich uses the grill’s strengths without pretending every sandwich belongs directly on open bars. Sometimes the right tool is the grate. Sometimes it is a griddle, a cast-iron pan, a plancha, a foil-wrapped brick, or a cooler zone with the lid closed.
Bread sets the pace
Bread is the first decision because it determines how much heat the sandwich can tolerate. A thin sandwich loaf may toast before the cheese softens. A crusty roll may need gentler heat so the outside does not harden before the filling warms. Flatbread can blister quickly and fold around grilled vegetables. Split buns can become excellent melts if the cut face is toasted and the filling is not too wet. The guide to Grilled Bread, Buns, and Toast covers the basic bread behavior, and sandwiches add pressure because the bread must protect what is inside.
Oil and butter should be used with restraint. A little fat helps browning and flavor. Too much fat drips into the fire, smokes, or makes the bread greasy before it crisps. If using direct grates, brush the bread lightly rather than flooding the grill. If using a griddle, a thin film on the surface can be enough. The goal is a crisp shell that still tastes like bread, not a fried sponge with grill smoke.
Choose the right surface
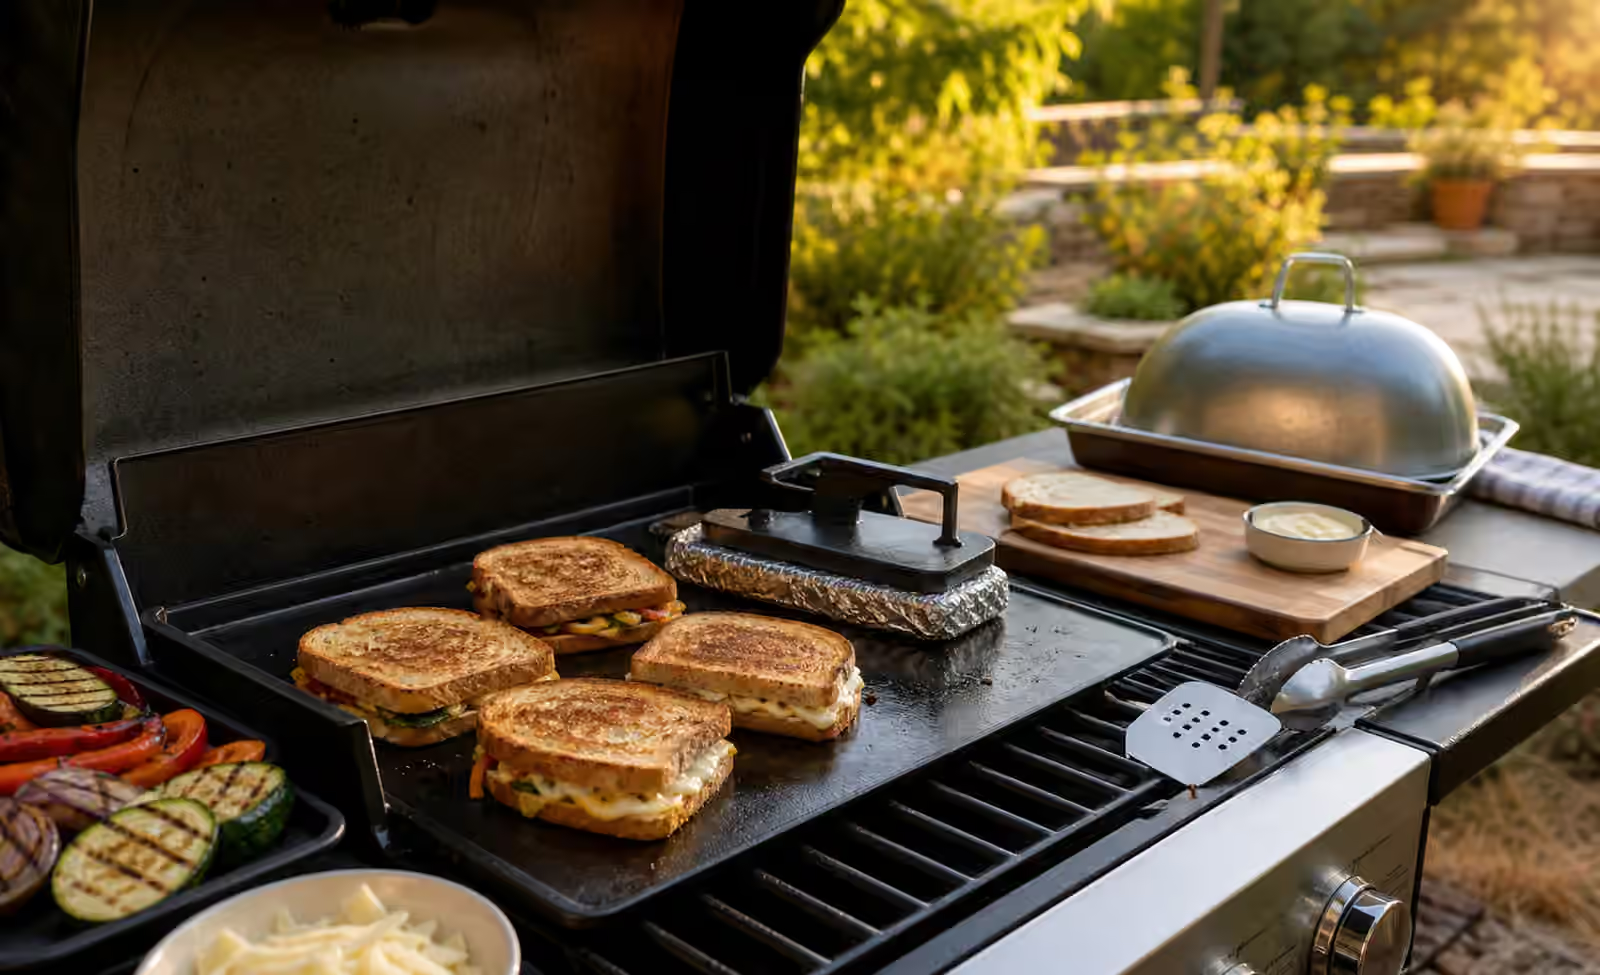
Open grates work for sturdy bread, split rolls, flatbreads, and sandwiches that are not packed with melting cheese. They add smoke and char, but they contact the bread in lines and can squeeze out filling if the sandwich is turned awkwardly. A griddle or plancha gives broad contact and makes melts much easier. Cheese softens more evenly, vegetables stay contained, and a spatula can lift the whole sandwich without tearing the bottom.
Plancha and Griddle Cooking on the Grill is the natural companion. A flat surface turns the grill into a sandwich station where onions can brown, mushrooms can sear, bread can toast, and a press can flatten the sandwich gently. Cast iron also works, especially for smaller batches. It holds heat, protects bread from direct flame, and gives the cook a familiar surface while still using the outdoor cooker.
Melting needs indirect thinking
The common sandwich failure is burned bread with cold cheese. Cheese melts when it has time, not just when the grate is hot. If the sandwich is thick, use moderate heat, a covered grill, or a cooler zone after the first side browns. A lid turns the grill into a small oven and helps warmth reach the center. A melting dome or inverted metal bowl on a griddle can help, but it should be used with caution and ventilation, not as a way to trap steam until the bread softens.
The same logic appears in Lid Open or Lid Closed? . Open-lid cooking gives direct control over toast. Closed-lid cooking helps the inside warm. A sandwich may need both. Start with contact to set the crust, then shift to gentler covered heat if the filling needs time. If the bread is browning too quickly, move away from the flame instead of pressing harder.
Fillings should already make sense
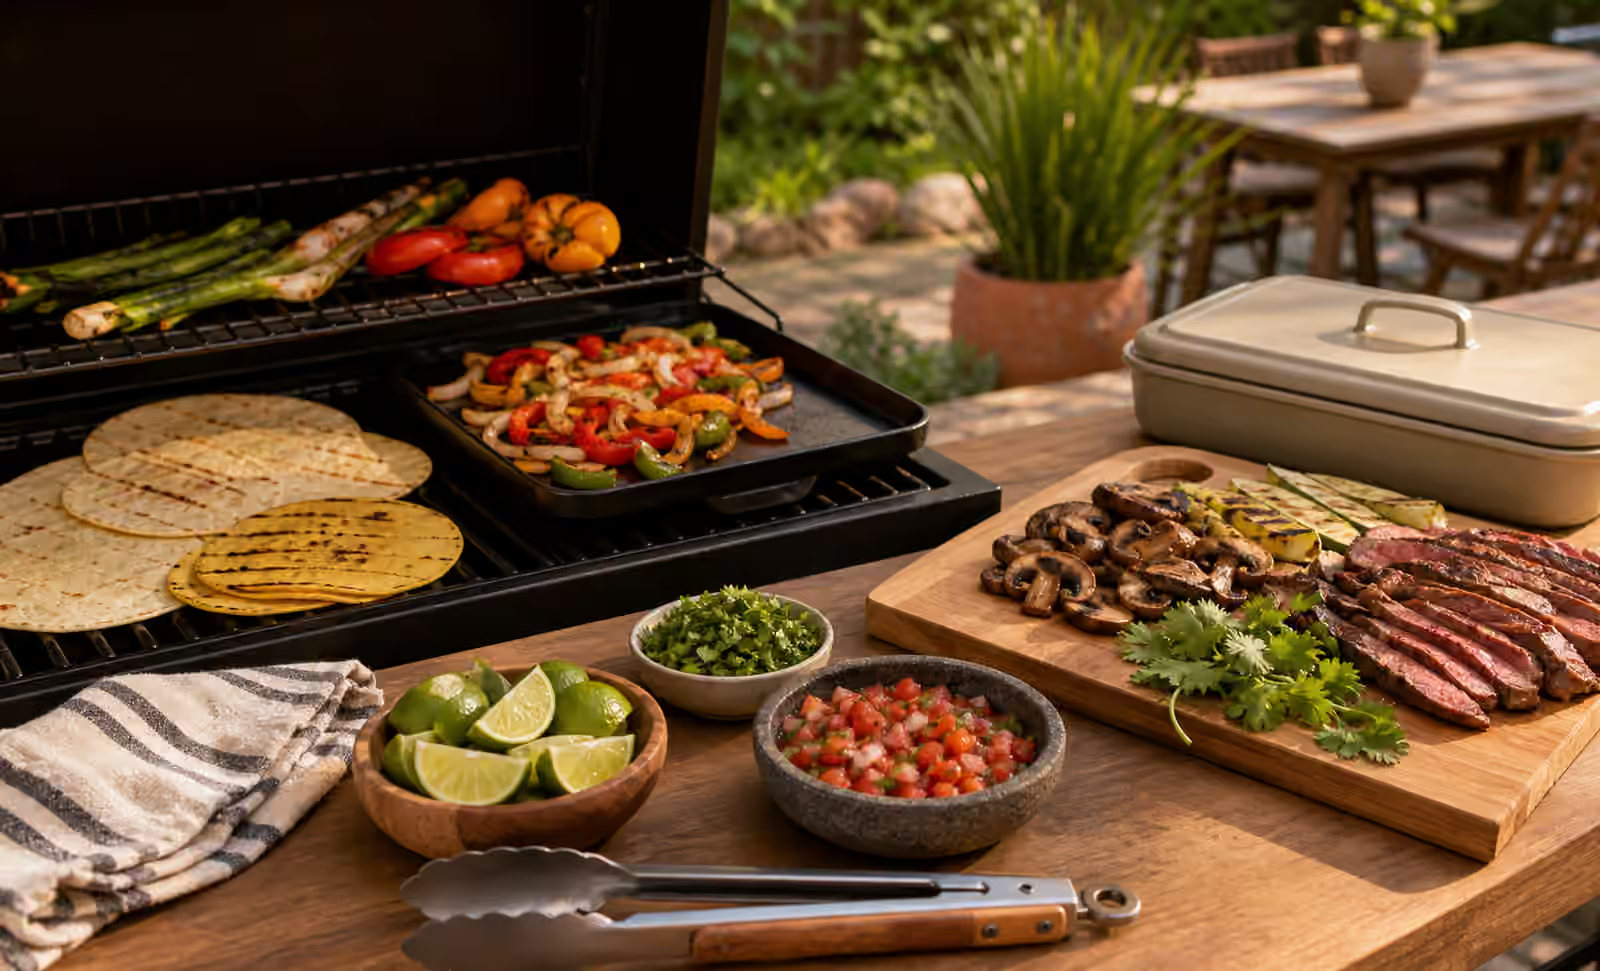
The grill is not a slow cooker for a sandwich’s raw interior. Most fillings should be cooked, sliced, and seasoned before the bread closes around them. Grilled mushrooms, peppers, onions, eggplant, zucchini, chicken, steak, sausage, tofu, tempeh, and leftover vegetables all work when they are handled with attention. Wet fillings should be drained or reduced. Very thick pieces should be sliced. Cheese should be placed where it can glue the sandwich rather than slide out in one molten sheet.
Grill Leftovers and Next-Day Meals is especially useful here. A leftover steak sandwich needs gentle reheating and thin slicing, not another blast over hard flame. Leftover grilled vegetables need enough heat to wake up without turning limp. Pulled pork, chicken, or beans can become a melt if the filling is warm and not too wet. The sandwich is a way to reuse good grill work, not a reason to ignore storage and reheating discipline.
Pressing without crushing
Pressed sandwiches cook more evenly because the bread contacts the hot surface. The press can be a cast-iron press, a small pan, or a foil-wrapped brick. The pressure should be firm enough to make contact and gentle enough to preserve the filling. Crushing a sandwich until cheese and sauce pour out defeats the purpose. If the filling is escaping, the sandwich is overloaded, the bread is wrong for the job, or the heat is too aggressive.
A press also changes timing. Once the bread is compressed, it browns faster. Check earlier than you would with an unpressed sandwich. Turn with a wide spatula, not only tongs. If using grates, keep the sandwich aligned so the bars support it. If using a griddle, scrape the surface between batches so burned cheese or sugary sauce does not season the next sandwich with bitterness.
Build flavor after the fire
Some sandwich elements belong off the heat. Fresh herbs, lettuce, tender greens, raw onion, pickles, slaw, yogurt sauce, mayonnaise, mustard, and sharp relishes usually taste better added after grilling or kept away from the hottest contact. If they go inside before cooking, they may wilt, split, or soak the bread. A pressed vegetable sandwich can come off the grill, rest briefly, then receive herbs, acid, or a cool sauce before serving.
This is the same finishing logic as Grilled Salads and Charred Dressings . Grill the ingredients that benefit from fire. Keep fresh ingredients fresh. Let char and acid meet at the end. The sandwich becomes more vivid when every part has a reason for being hot, warm, cool, crisp, or soft.
Serving and batch rhythm
Sandwiches are best close to the moment they leave the heat. Hold them too long under foil and the crust steams. Stack them too tightly and the bottom pieces soften. Cut them too early and cheese and juices can run out before the plate reaches the table. For a crowd, work in small batches and serve from a warm board or tray with space between pieces. If the rest of the cookout is still moving, sandwiches should be the final assembly, not the first item finished.
Cookout Planning helps because sandwiches often look simple until the cook is juggling bread, fillings, sauce, knives, boards, and guests. Set the clean board before cooking. Keep raw-contact tools away from finished food. Put napkins and plates near the serving area, not beside the hot grate. A sandwich meal should feel relaxed because the station is organized, not because the cook is improvising with greasy hands.
A sandwich is a heat-control lesson
Grilled sandwiches teach several core grill habits quickly. They reward clean grates, moderate heat, patience, surface contact, and finishing restraint. They punish distraction. Bread tells the truth about the fire faster than almost any other food. If it burns before the filling warms, the heat is too direct or the sandwich is too thick. If it dries without browning, the surface is too cool or too crowded. If smoke overwhelms the cheese and vegetables, the grill needed cleaning or the fire needed air.
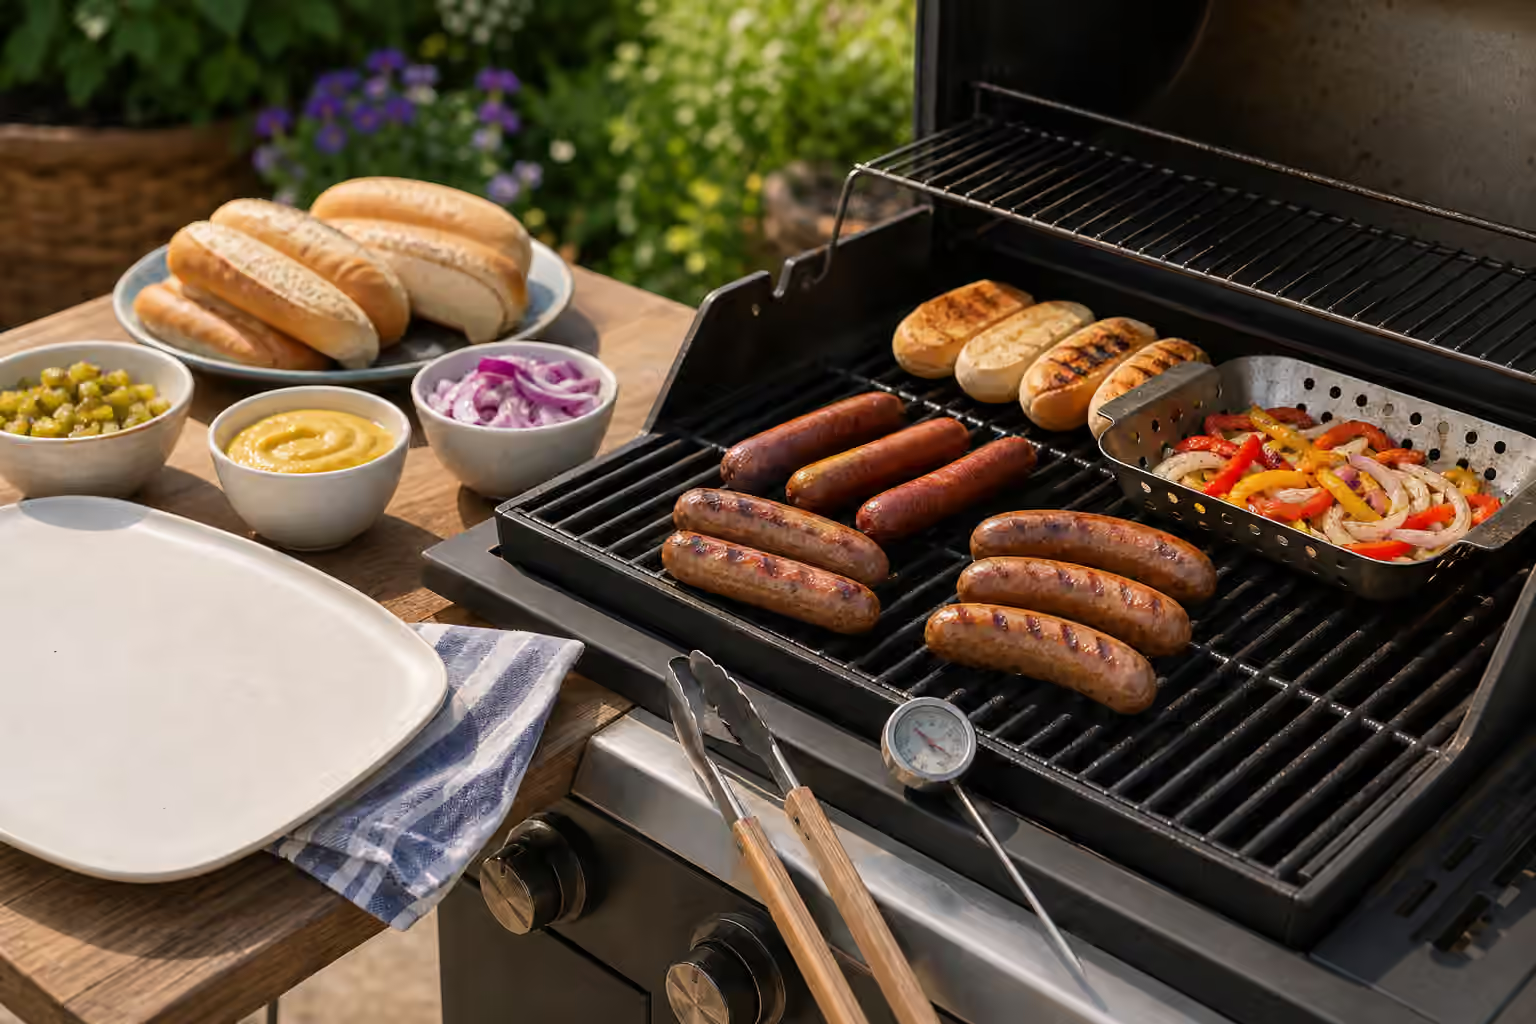
Start with a simple melt: sturdy bread, one cooked filling, one cheese, and one fresh finish added after heat. Use a griddle or cooler zone before trying to manage a loaded sandwich over open bars. Once the rhythm is clear, the grill can handle pressed vegetable sandwiches, sausage melts, leftover brisket toasties, mushroom and cheese flatbreads, or simple tomato and halloumi rolls. The method stays the same: choose the surface, manage the bread, warm the center, and serve before the crust loses its reason for being there.