A gas grill is often sold as the easy outdoor cooker, but easy ignition is not the same as easy heat control. The fire appears when the knob turns, yet the grate still has hot spots, cool edges, wind exposure, lid behavior, grease flare-ups, and food that changes temperature as it cooks. Once a gas grill is treated as a set of heat zones instead of a row of identical burners, it becomes a much calmer tool.
Gas heat is adjustable, not automatic
The strongest habit a gas-grill cook can build is to separate ignition from control. A burner that lights cleanly has only started the cook. It has not told you how hot the grate is, how evenly the lid holds heat, how much wind is stealing from the back of the grill, or whether grease in the firebox is ready to smoke. The grill still needs a preheat, a clean grate, a plan for direct and indirect heat, and a thermometer check before food leaves the station.
The guide to Grill Types Explained introduces gas grills as convenient and responsive. That responsiveness is real. Turning a knob changes heat faster than adjusting charcoal vents. The risk is that the cook starts turning knobs constantly, chasing every sound and flame. A steadier approach is to set deliberate zones, give the metal time to respond, and move food before changing every burner.
Most gas grills have stronger and weaker areas even when all burners are set the same. The back may run hotter because heat collects near the lid. The front may run cooler because opening the lid vents heat there first. A side near the wind may struggle. A thin grate may recover slowly after cold food lands. None of this means the grill is broken. It means the cook should learn the map.
Preheating is part of the cook
Preheating does more than make the grate look ready. It burns off some residue, warms the lid and firebox, and lets the grate store enough energy to brown food when it arrives. A weak preheat is why chicken sticks, vegetables steam, and burgers turn gray before they crust. A reckless preheat, on the other hand, can fill the grill with stale smoke from old grease. Clean first, preheat with intention, then adjust down if the food needs gentler heat.
The lid should be closed during most preheats because the entire cooker needs to warm, not only the bars above the flame. After preheating, open the lid, brush the grate if needed, oil the food rather than flooding the grate, and place food where the heat matches the task. A steak or burger may need a hard direct zone. Chicken pieces often need browning followed by a cooler finish. Thick sausages can split if forced over fierce heat from start to finish.
That habit connects directly to Direct vs. Indirect Heat . On a gas grill, indirect heat usually means turning one or more burners off or down and placing the food away from the strongest flame. It does not require a special accessory. It requires enough space to move food and enough patience to stop treating the whole grate as one temperature.
Build zones before food hits the grate
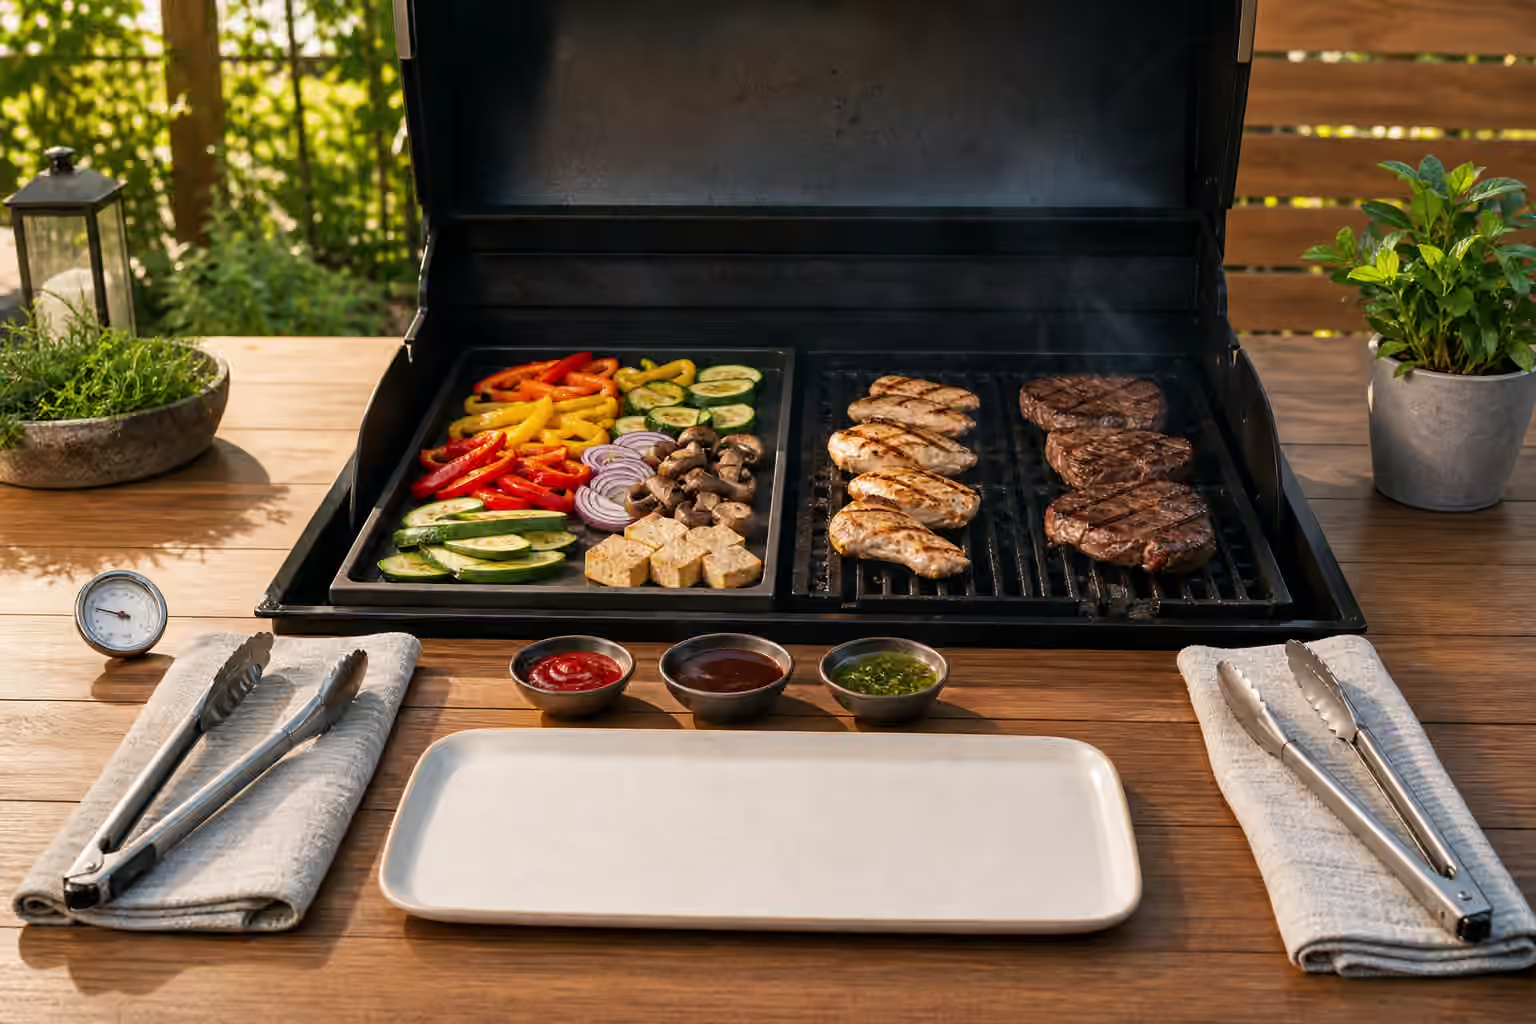
A three-burner gas grill can behave like a simple kitchen range. One burner can be high for searing, one can be medium for steady cooking, and one can be low or off for holding and rescue. A two-burner grill can still make a hot side and a cooler side. A large four-burner grill gives more options, but the principle is the same: the food should have somewhere to go when the surface is browned before the center is ready.
Zones matter because gas heat is direct and close. Fat dripping onto flavorizer bars, shields, or burner covers can flare. Sugary sauces can burn. Thin vegetables can race from browned to bitter. A cooler zone gives the cook a pause button. It also helps with batch cooking because finished pieces can sit away from the strongest heat while slower pieces catch up, as long as safe holding habits are respected.
Two-Zone Grilling is often taught with charcoal, but the idea may be even easier to practice on gas. Turn one side higher, turn the other side lower, close the lid long enough for the grill to settle, then cook by movement rather than panic. If food is too dark, move it. If it is pale, move it toward stronger heat. If a flare-up starts, lift the food away from the flame path instead of spraying water into the grill.
Lid position changes the kind of heat
Gas grills lose heat quickly when the lid stays open, especially in wind. With the lid open, food cooks mostly from the grate and nearby burners. That can be useful for thin foods that need attention, quick turning, or surface browning without much interior heating. With the lid closed, the grill behaves more like a small outdoor oven. The air, lid, and sidewalls help cook the food from all directions.
The distinction in Lid Open or Lid Closed? is especially important on gas because the knobs can create a false sense of precision. A burner set to medium with the lid open is not the same environment as a burner set to medium with the lid closed. Chicken thighs, thick pork chops, potatoes, foil packets, and whole vegetables often need lid-down time. Thin fish, shrimp, asparagus, and delicate flatbreads may need the lid open or only brief lid-down moments.
Avoid lifting the lid every few seconds during indirect cooking. Each look changes the environment you are trying to control. Check with purpose, rotate when needed, and close the lid again. If you need frequent access because the food is small or fragile, use lower direct heat and accept that you are doing a different style of cook.
Thermometers keep the knobs honest
The thermometer in the grill lid can be useful for trends, but it does not tell you the grate temperature everywhere and it does not tell you the internal temperature of food. It is mounted above the grate, usually near one part of the lid, and it responds slowly. Treat it as a weather report, not a verdict.
An instant-read thermometer is more useful for food decisions. Probe the thickest part, avoid bone and large fat pockets, and check earlier than your eyes think necessary. A leave-in probe can help with roasts, whole poultry, and large pieces cooking indirectly, though probe placement still matters. The habits in Grill Thermometers and Doneness make gas grilling less dependent on guesswork.
Surface temperature tools can be helpful, but they should not replace learning the grill. A simple toast test, a few runs with vegetables, or watching where chicken skin browns first can reveal the map. Record which side runs hot, how long the grill takes to recover after loading food, and how wind changes the back edge. Those notes are more valuable than a perfect number once.
Flare-ups and grease are heat-control problems
Gas grills can flare because fat and oil drip onto hot metal. The solution starts before the cook: clean the firebox, empty the grease tray, trim excessive fat without stripping food bare, and avoid over-oiling. During the cook, keep a cooler zone open. If flames appear, move the food out of the flare path and close the lid only when that helps starve the flare without trapping the food over it.
Managing Flare-Ups covers the broader pattern: do not confuse drama with flavor. A little live fire can kiss an edge, but sustained flames coat food with soot and bitterness. Gas grills make it easy to turn down a burner, but burner changes are not instant at the grate. Movement is usually the faster fix.
Gas grilling is at its best when convenience supports attention. The fuel lights quickly, the heat adjusts, and cleanup can be manageable, but the cook still has to build zones, respect the lid, preheat properly, and verify doneness. Once those habits are in place, a gas grill becomes less like an outdoor appliance with mysterious hot spots and more like a responsive cooking surface that can handle weeknight chicken, burgers for a group, vegetables, sausages, and steady indirect cooks without needing a new theory every time.