If grilling feels intimidating, it is usually because it seems to demand a kind of instinct that other people apparently have and you do not: the ability to glance at a fire and just know. The reassuring truth is that this instinct is not a gift. It is a small set of habits stacked on top of one simple mental model, and you can carry that model to your very first cook. Everything that happens over a fire fits into five words: heat, food, time, smoke, and rest. When something goes wrong at the grill, one of those five moved in a way you did not expect. Learn to name which one, and grilling stops being mysterious.

The five words, unpacked
Heat is the fire and where it lives on the grate: how hot, and whether the food is sitting over it or beside it. Food is the thing you are cooking, described honestly by its thickness, moisture, fat, and seasoning, because a thick fatty thigh behaves nothing like a thin lean fillet. Time is the cook itself plus the carryover cooking that continues after the food comes off the fire. Smoke is fuel, airflow, wood, and above all restraint, because a little makes food taste like the outdoors and a lot makes it taste like an ashtray. Rest is the pause at the end that lets the interior settle, the juices redistribute, and the serving happen without a scramble.
Nearly every beginner failure is one of these five slipping out from under you. Burned outside, raw inside? Heat was too direct for the thickness of the food. Dry and tough? Time ran long, or the rest was skipped. Bitter and acrid? Smoke was overdone. Rushed and chaotic at the table? Rest and timing were never planned. Once you have the five words, you stop treating each mishap as proof that you are bad at this, and you start treating it as a single variable to adjust.
Ignore the mythology for your first cook
The internet is full of people describing the perfect fire in reverent tones, and none of it matters for your first few cooks. What matters is picking one forgiving food, setting up a hot area and a gentler area, and promising yourself that a thermometer gets the final vote on doneness. Burgers, sausages, sturdy vegetables, and bone-in chicken thighs are ideal starter foods precisely because they are hard to ruin and because they teach the core moves: browning over the fire, sliding food to a calmer spot when things flare, and serving in easy batches. A giant brisket or a whole holiday bird can wait. Confidence comes from a string of small, successful cooks, not from one heroic attempt.
A first cook you can actually pull off
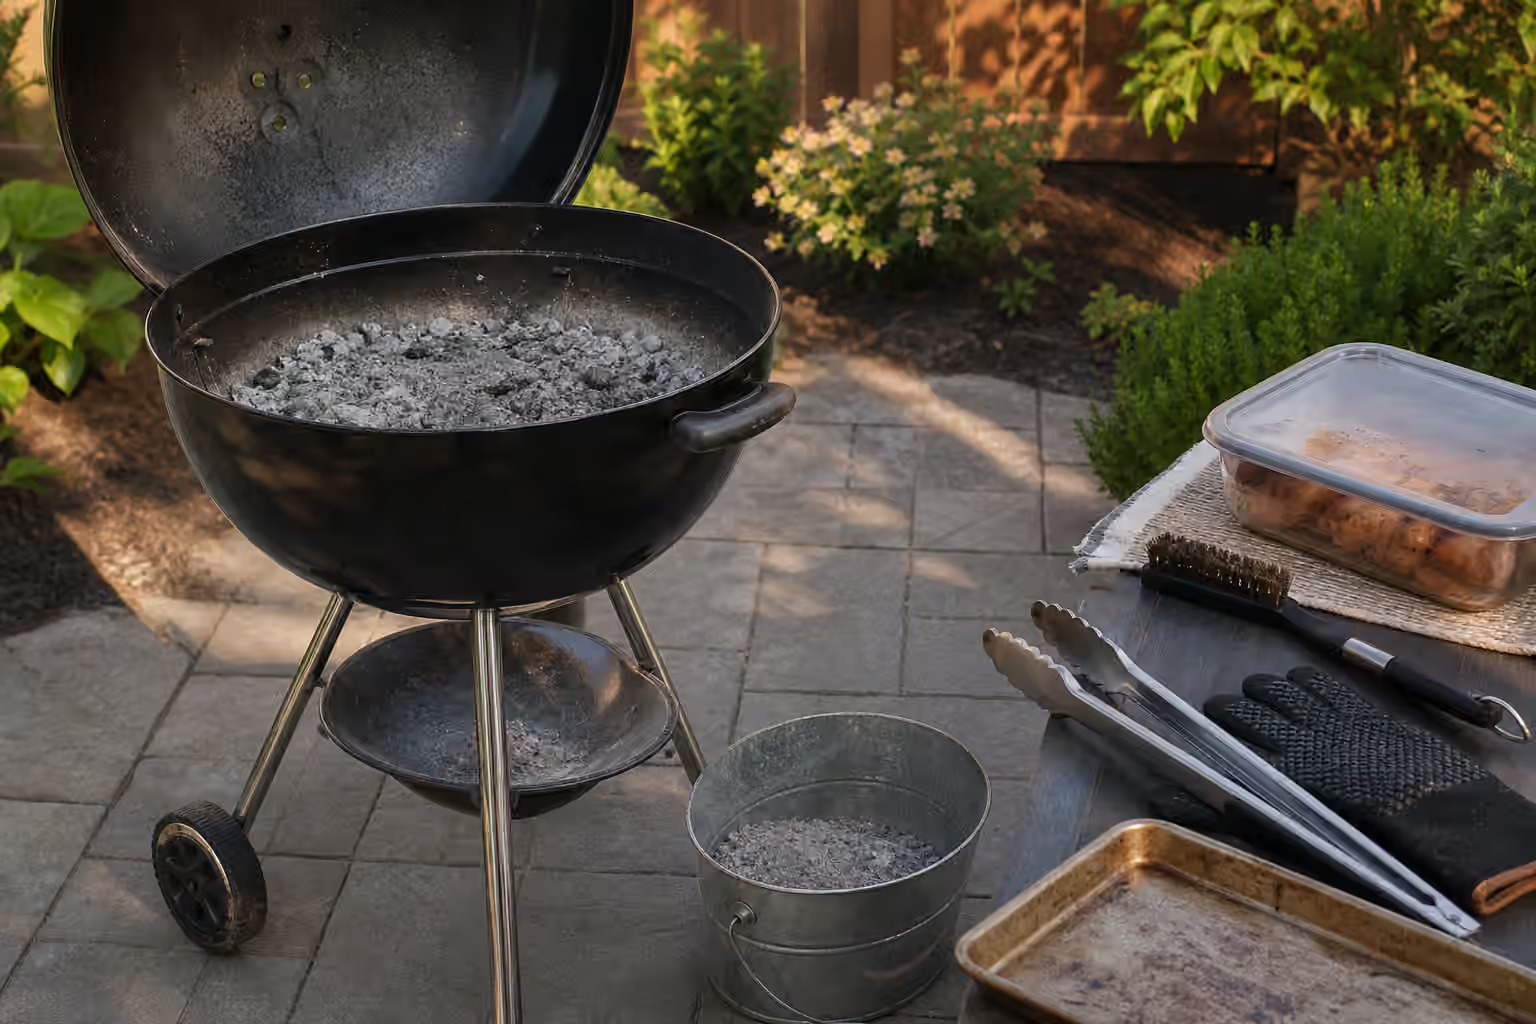
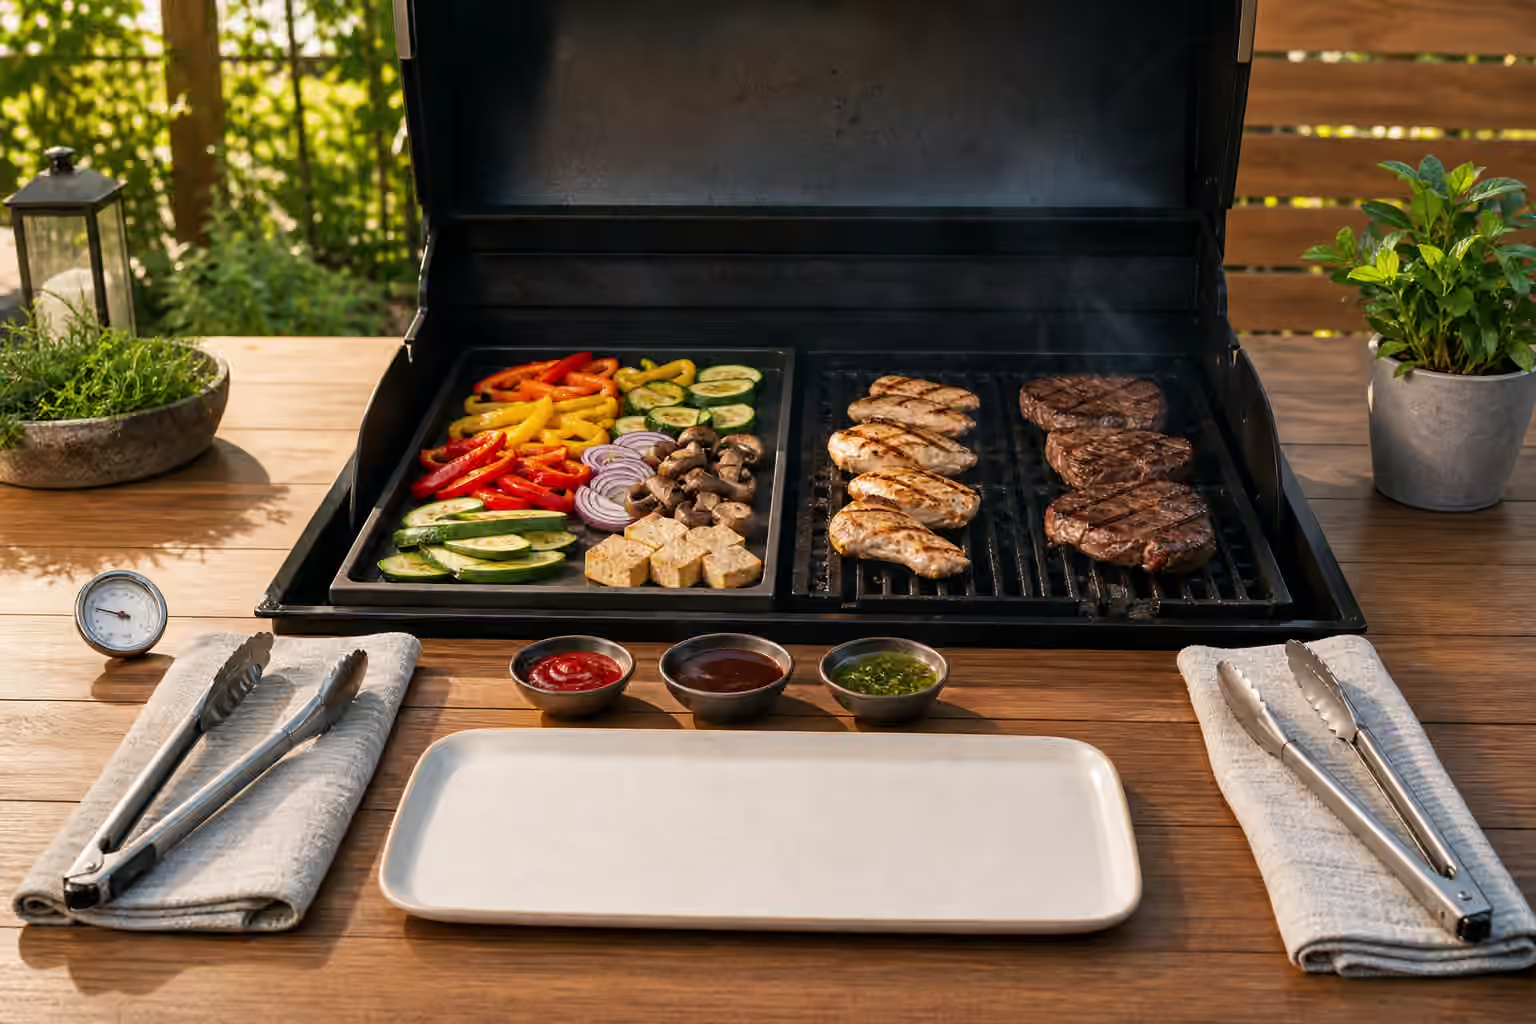
Choose a single main and one vegetable side rather than a spread. Preheat the grill so the grate is genuinely hot before food touches it. Oil the food lightly instead of drowning the grate, which only invites flare-ups. Keep one tray for raw food and a separate clean tray for cooked food, and never let them mix. Cook with the lid down whenever the food is thick enough to need oven-like heat to finish through. And when it comes to whether the meat is done, do not trust color, firmness, or the look of the juices, because none of those is a safety system. An instant-read thermometer in the thickest part is the only answer that does not lie to you.
The short list of gear that matters
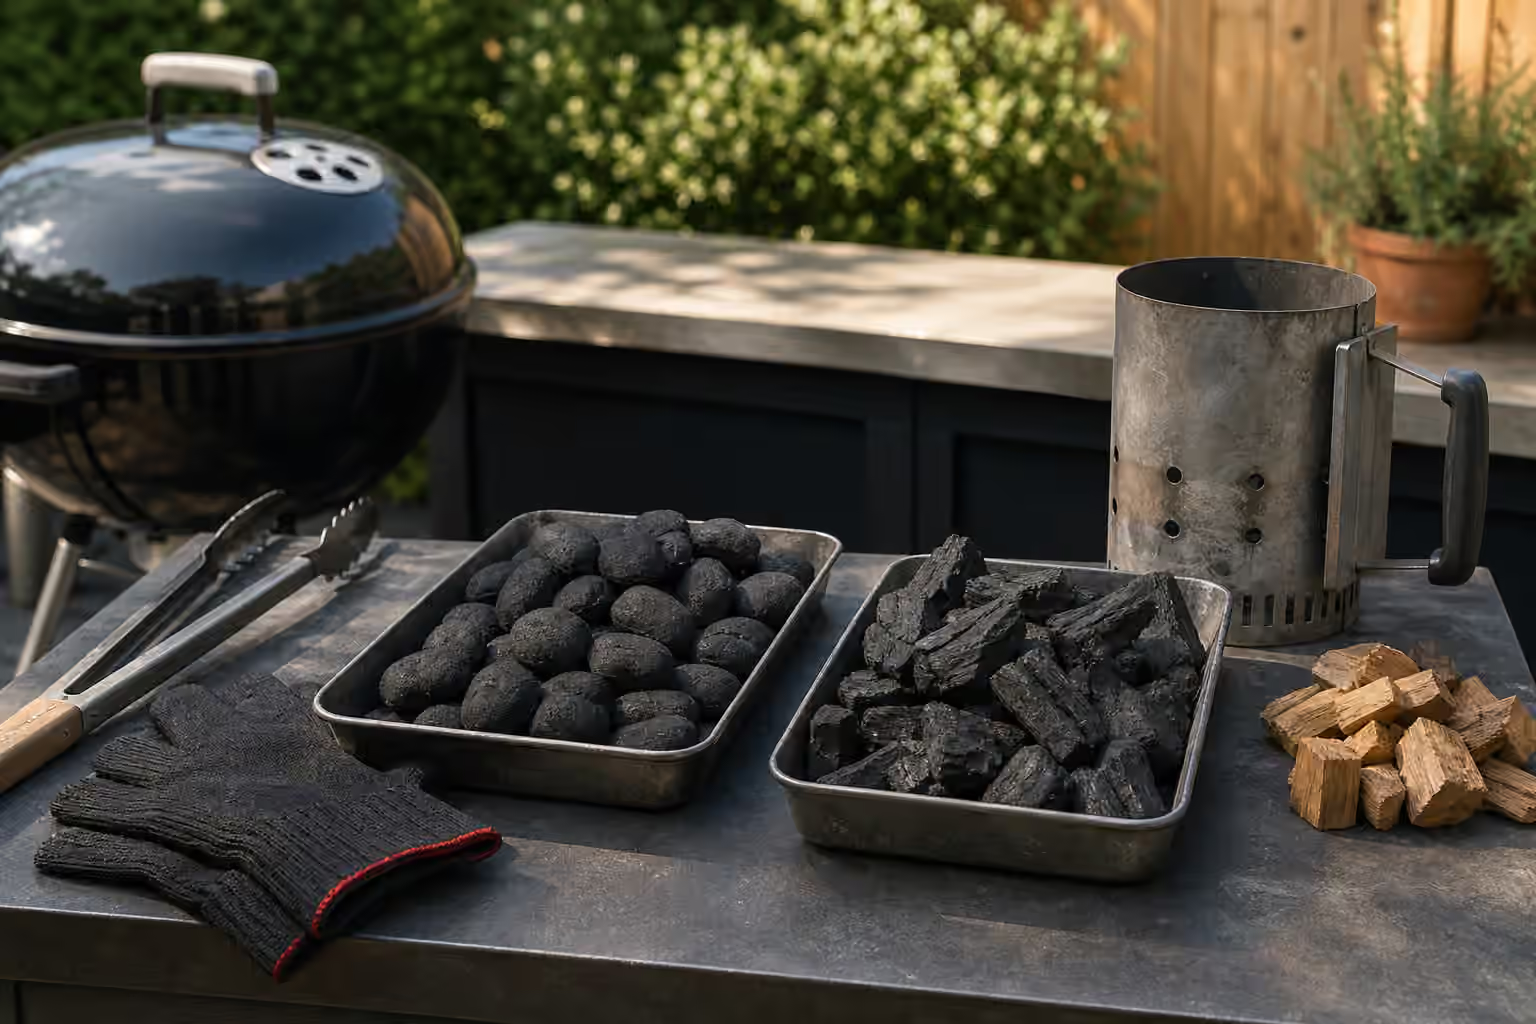
You do not need a wall of gadgets. You need a few tools that solve real problems: long tongs to keep your hands away from the heat while moving food between zones, an instant-read thermometer so doneness is a measurement instead of a guess, a safe grate-cleaning tool, a chimney starter if you burn charcoal so you can light it cleanly without lighter-fluid taste, heat-resistant gloves for handling hot lids and baskets, some foil or a small pan for holding finished food, and enough clean plates that raw and cooked never share a surface. Every item on that list buys you either distance from the fire, control over temperature, or clean handling. That is the whole point of grill gear, and anything that does not do one of those three things is optional.
The rhythm of a calm cook
The workflow that ties it all together is short enough to remember while you are standing at the grill. Set up your two zones, a hot side and a cool side, before any food goes on. Sear or brown over the hot side to build color and flavor. Move thicker food to the cool side, close the lid, and let it finish gently while you check the internal temperature. Then rest the food briefly and serve. That is it. The reason to keep it this plain is that a repeatable route is what builds confidence, and confidence is what lets you improvise later. After a cook or two, jot down what you changed and what happened, so the next one starts from knowledge instead of nerves.
Food safety is not optional, and it is not complicated
Use a thermometer for meat, poultry, and seafood, and for reheating leftovers. Keep raw and cooked foods on separate surfaces and wash your hands and tools after touching raw food. On a warm day, do not let perishable food sit out in the outdoor danger zone while everyone talks; move it toward chilling. These are habits, not chores, and once they are automatic they cost you nothing. Keep FoodSafety.gov’s safe minimum internal temperatures and its clean, separate, cook, chill guidance within reach, along with the USDA FSIS grilling food safely resource that speaks directly to outdoor cooking, holding, and leftovers.
From here, the path forward is short and clear. Read grill types explained to understand the machine you are cooking on, move to direct vs. indirect heat to master the single most important skill on the grate, and study grill thermometers and doneness so that safety and quality both become measurements you can trust. Five words, a hot side and a cool side, and a thermometer with the final vote. That is enough to cook your first real meal over fire and enjoy it.