Almost every grilling problem a beginner runs into traces back to a single misunderstanding: the belief that all cooking on a grill happens directly over the fire. It does not, and learning when to pull food off the flame is the skill that separates confident outdoor cooks from anxious ones. Direct and indirect heat are not two techniques for two kinds of people. They are two tools that the same cook reaches for at different moments in the same cook, sometimes on the same piece of food, and knowing which one a given food needs at a given minute is most of the game.

What direct heat actually does
Direct heat means the food sits right over the active fire, the glowing coals, the lit burner, the hottest patch of grate. This is where browning happens, and browning is why grilled food tastes like grilled food. The intense, dry radiant heat drives off surface moisture and triggers the reactions that build crust, color, and the deep savory flavor you cannot get any other way. For thin, fast-cooking foods, direct heat is often the entire cook: a burger, a piece of asparagus, a shrimp, a thin steak, all of these can go over the fire and come off done before the outside has a chance to burn.
The trouble starts when you ask direct heat to cook something thick all the way through. The outside is exposed to far more energy than the inside can absorb in the same time, so the surface races ahead. You get the classic beginner disaster: a char-black exterior wrapped around a center that is still cold, raw, or unpleasantly underdone. This is not a sign that you are bad at grilling. It is a sign that a thick food was left over direct heat when it needed somewhere gentler to finish. The food was fine; the zone was wrong.
What indirect heat actually does
Indirect heat means the fire is beside the food rather than beneath it. Close the lid over this arrangement and something useful happens: the grill stops being a searing surface and becomes a convection oven. Hot air circulates around the food, cooking it from all sides at a temperature far lower than the naked flame. This is slower, calmer, and dramatically more forgiving. A bone-in chicken thigh, a thick chop, a rack of ribs, a whole head of cauliflower, a dense potato, all of these want indirect time so the center can reach doneness before the surface overcooks.
Indirect heat is also your escape hatch. When fat drips and a flare-up erupts under a piece of chicken, the fix is to slide the chicken to the cool side, away from the flames, where it can keep cooking without burning. When a sugary sauce starts to darken faster than the meat is finishing, the cool zone is where you move the food to let it catch up. Having a place to send food that is under threat is the practical reason two zones matter so much. Without one, your only options when something goes wrong are to stand and watch it burn or to yank it off entirely.
Building two zones on any grill
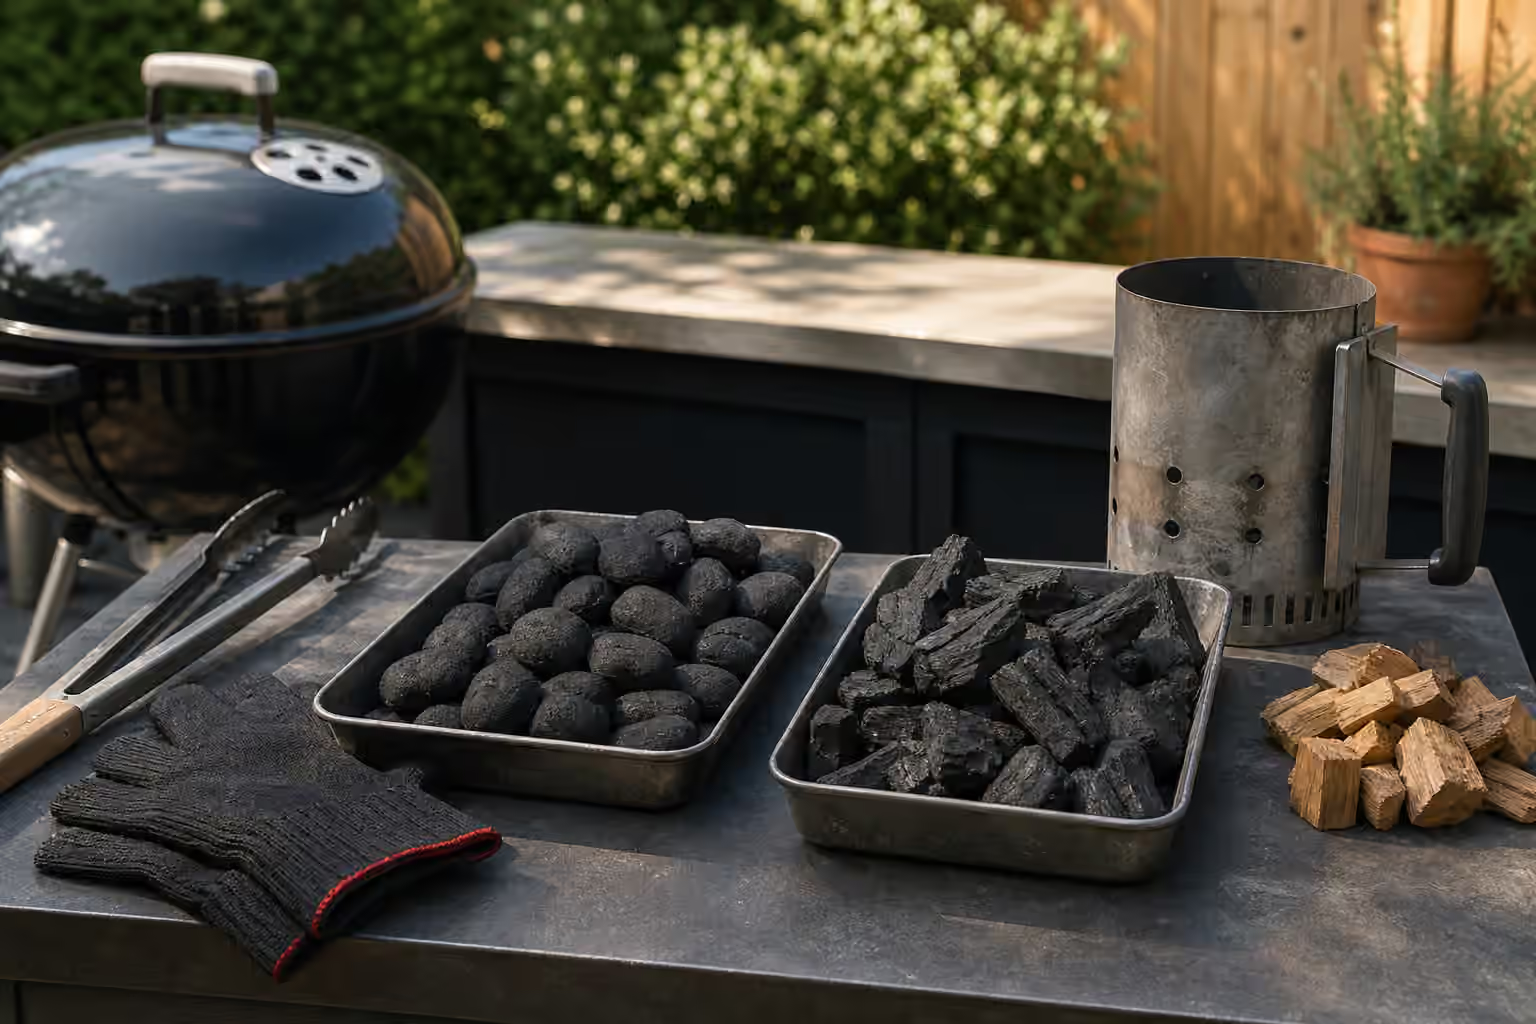
A two-zone fire is simply a grill with a hot side and a cooler side, and every kind of grill can make one. On a charcoal kettle, bank the lit coals to one half and leave the other half empty, or corral them with baskets. On a gas grill, run one burner high and leave the others low or off, cooking the food over the unlit section with the lid down. Pellet grills make true zones harder because they hold one convection temperature, so there you lean on the cooler edges, an upper rack, or a separate hot surface like cast iron for the searing step. The equipment changes; the principle does not. You want a place that is hot enough to brown and a place that is gentle enough to finish, and you want to be able to move food between them at will.
The habit that ties it together is searing over direct heat and finishing over indirect heat. Get your color early or late over the fire, but let the interior come up to temperature in the calm zone with the lid closed and a thermometer making the final call. Thin foods may never leave the hot side. Thick foods spend most of their time on the cool side and only visit the flame for a browning pass. Learning to read which category a food falls into, by its thickness and density more than anything else, is how you stop guessing.
Reading foods by thickness
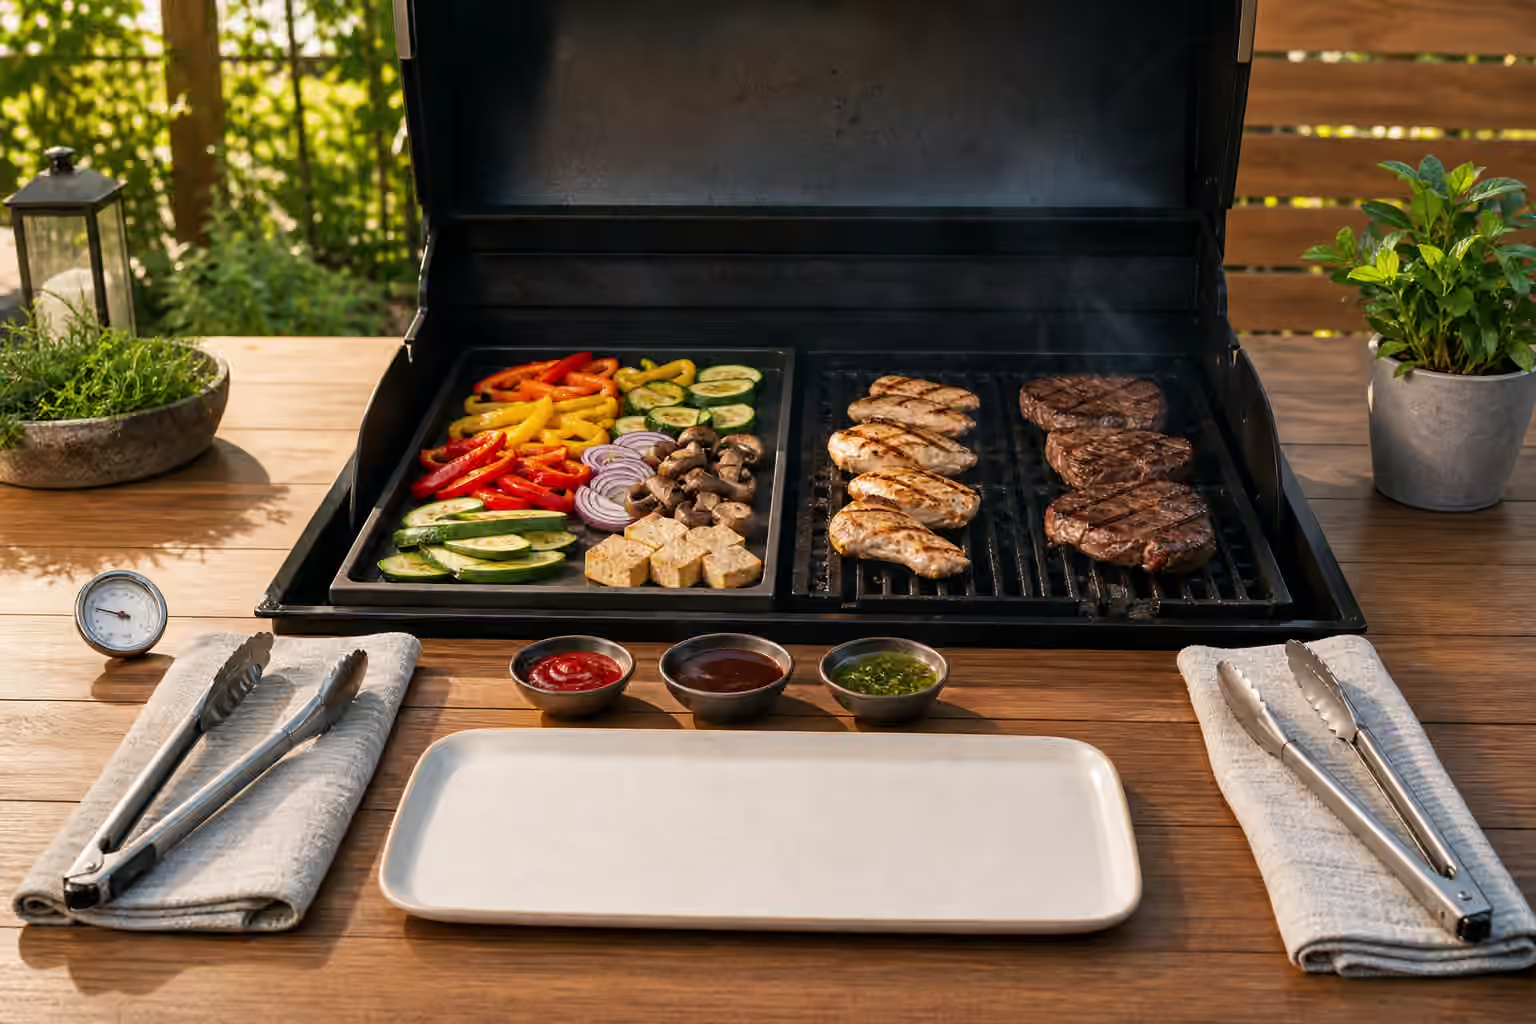
Thin cuts, small vegetables, and quick proteins mostly live over direct heat: zucchini rounds, thin fish fillets that can take it, shrimp, thin steaks, and burgers all brown and finish in the same short window. Thick and dense foods need the indirect side to do the real work: bone-in chicken pieces, sausages that would split and leak if blasted, thick chops, wedges of cauliflower, whole onions, squash halves, and foil-wrapped potatoes all want covered, circulating heat. Fish sits in its own category, generally wanting a clean, well-oiled surface and a gentler hand than beef or pork, because it goes from perfect to dry in moments. When you are unsure, start a food on the cool side and move it to the fire for a finishing sear rather than the reverse, since it is far easier to add color at the end than to undo a burnt exterior.
Habits that keep you in control
Grill marks are a cosmetic result, not a doneness signal, so never let a handsome sear talk you into believing the center is cooked. Use a thermometer for meat, poultry, and seafood every time. Remember that indirect heat only behaves like an oven when the lid is closed, so resist the urge to peek every minute and bleed away the heat you are trying to build. And keep your cool zone genuinely clear, because a landing area crowded with food is no landing area at all when a flare-up sends you scrambling. FoodSafety.gov’s safe minimum internal temperatures and its clean, separate, cook, chill guidance are the references worth keeping close, alongside the USDA FSIS grilling food safely guidance for outdoor cooking specifically.
Once the two-zone idea clicks, the rest of the craft opens up. Go deeper on two-zone grilling to refine the setup, read searing without scorching to sharpen your browning without the burn, and keep managing flare-ups handy for the moment the fat hits the fire. Direct and indirect heat are the two hands you cook with; learn to use both and the grill stops feeling like a gamble.