A charcoal grill can do more than burn hot for burgers. With a planned fuel layout, it can run gently for ribs, pork shoulder, turkey breast, beans, or a long afternoon of indirect cooking. The charcoal snake and Minion-style method both solve the same problem: how to light a small part of the fuel and let the rest catch gradually instead of igniting everything at once. The result is not automatic perfection, but it gives the cook a calmer fire to manage.
Why longer charcoal cooks need a layout
Dumping a full chimney into the grill creates a strong fire, but it also spends fuel quickly. That can be useful for searing, chicken pieces, vegetables, and small batches. It is less useful when food needs steady indirect heat for hours. If all the charcoal is lit at once, the cook may spend the afternoon choking vents, adding fuel, opening the lid, and fighting spikes. A long-cook layout starts smaller and lets the fire travel.
Charcoal BBQ Basics explains the behavior of lump charcoal, briquettes, ash, and airflow. This guide focuses on arrangement. The charcoal snake is a line or crescent of unlit fuel, usually around the edge of a kettle, lit at one end. The Minion method places lit coals onto or beside a larger bed of unlit coals so the fire grows gradually. Both methods turn fuel into a timed path rather than a pile.
The snake is a fuse
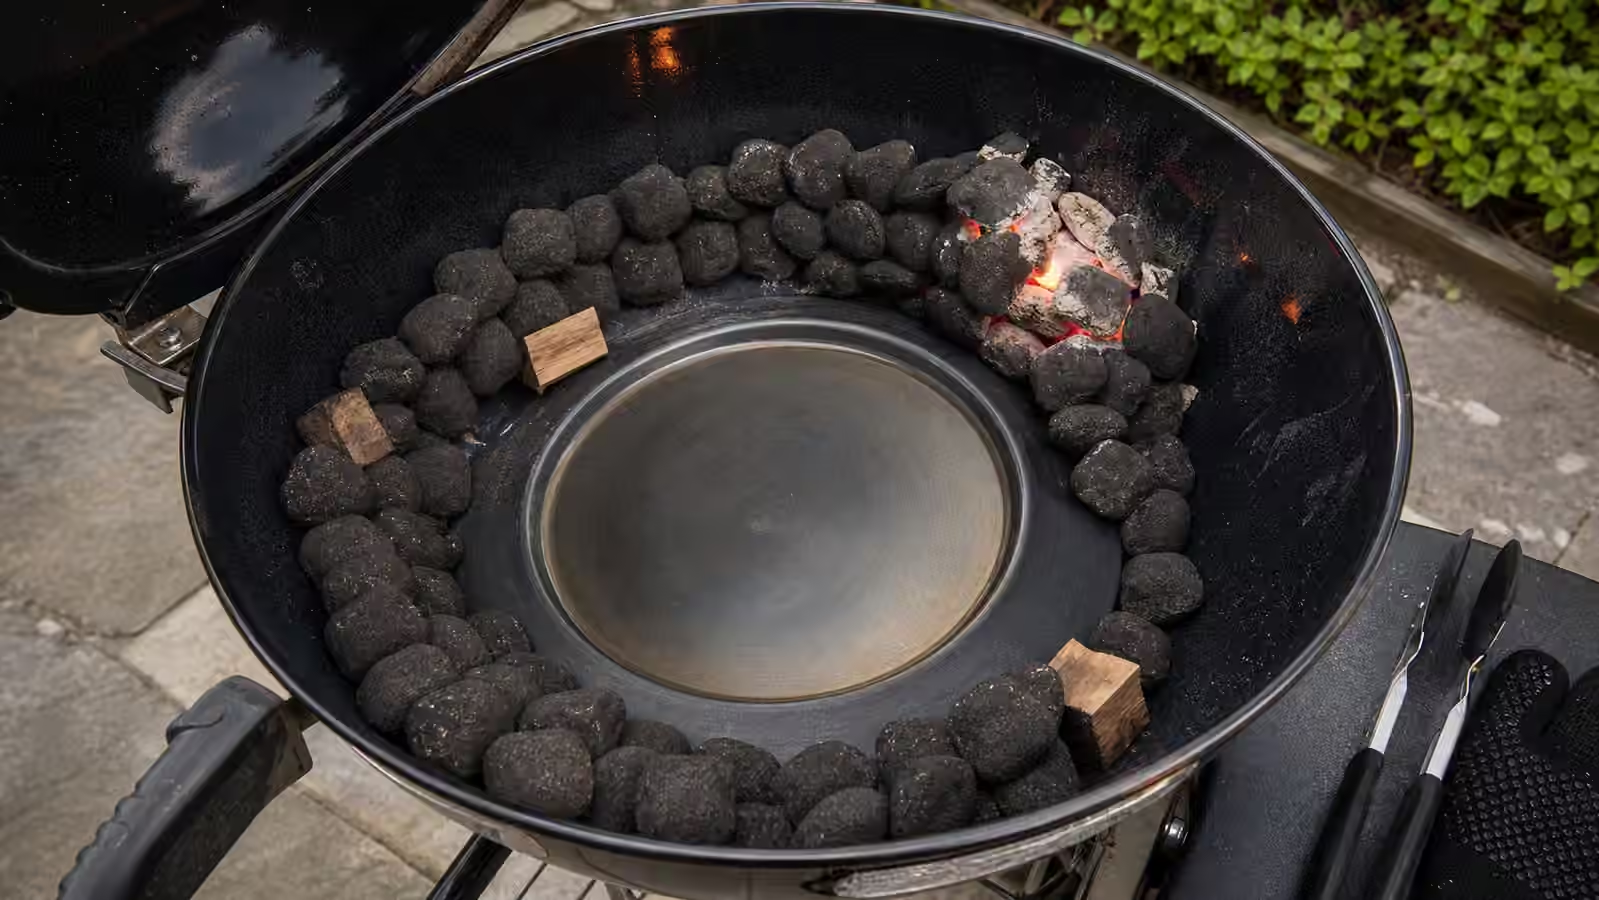
A charcoal snake works because fire moves from one piece of fuel to the next. In a kettle grill, briquettes are often arranged in a curved line around the outside edge, with a drip pan or empty center zone below the food. A small number of lit coals starts one end. As the first coals burn down, they ignite the next section. The food sits away from the burning edge, heated by circulating air under the lid rather than direct flame below.
The layout does not need to be theatrical. A two-briquette-wide, two-briquette-high line may run differently from a thinner line. Wood chunks placed along the early part of the snake can add smoke as the fire reaches them. Too much wood can make smoke heavy, especially if airflow is restricted. The snake is useful because it makes the fire’s future visible. You can see where the heat will travel and where the food should not sit.
The Minion method is a controlled start
The Minion-style method is often used in charcoal smokers, but the idea translates: add a modest amount of lit charcoal to a larger amount of unlit charcoal, then let the lit coals bring the rest along gradually. Instead of lighting a full chimney, the cook lights a smaller starter batch. The cooker warms up more gently and can run longer before new fuel is needed. This is especially useful in setups where fuel sits in a basket, ring, or charcoal chamber.
The risk is smothering or overshooting. If too many lit coals are added, the fire can race. If airflow is too restricted, the cooker can produce dirty smoke and struggle. If the unlit fuel is damp, dusty, or poorly arranged, the start may be uneven. Fire, Airflow, and Fuel matters because a long-cook layout is still an oxygen machine. The fuel plan only works when air can enter, pass through the burning zone, and leave cleanly.
Pick the method for the cooker
A kettle grill often likes the snake because the round shape gives the fuel a natural path around the perimeter. A charcoal smoker with a basket may prefer a Minion-style start because the fuel chamber is deeper and more contained. A kamado may need extra restraint because ceramic bodies hold heat so well that a large lit start can overshoot and take a long time to calm down. Kamado Grill Basics is the better guide for that cooker because airflow changes can take time to show up.
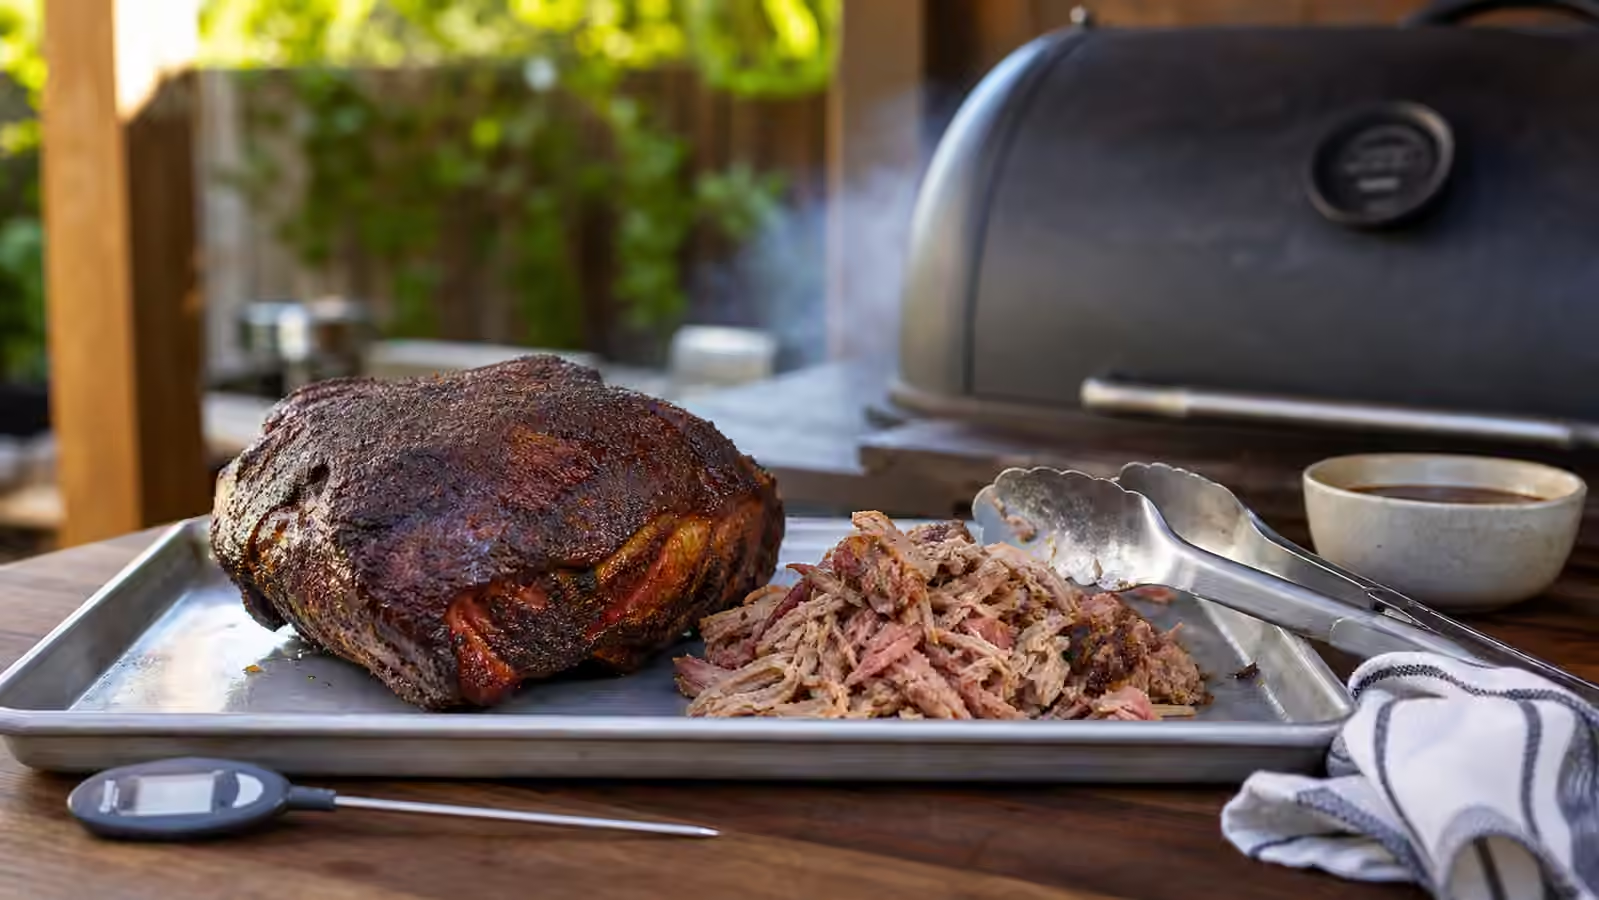
The food also matters. Ribs, pork shoulder, and smoked poultry can benefit from a long gentle setup. A small roast may need only a shorter indirect cook and a finish. A pan of beans or braised vegetables may not require an elaborate snake, but it may appreciate the steady heat. If the cook only needs forty minutes, a normal two-zone layout from Two-Zone Grilling may be simpler. The layout should fit the job rather than prove the cook knows a method.
Start smaller than pride suggests
Many charcoal mistakes start with too much lit fuel. A big start feels confident, then the cooker climbs fast and the cook closes vents dramatically. The fire then smokes poorly or swings back later. A long-cook layout rewards a smaller start and a patient warmup. Light enough coals to begin the path. Let the cooker approach the target range with the lid on. Adjust vents early and gently. Wait for the change to show itself before adjusting again.
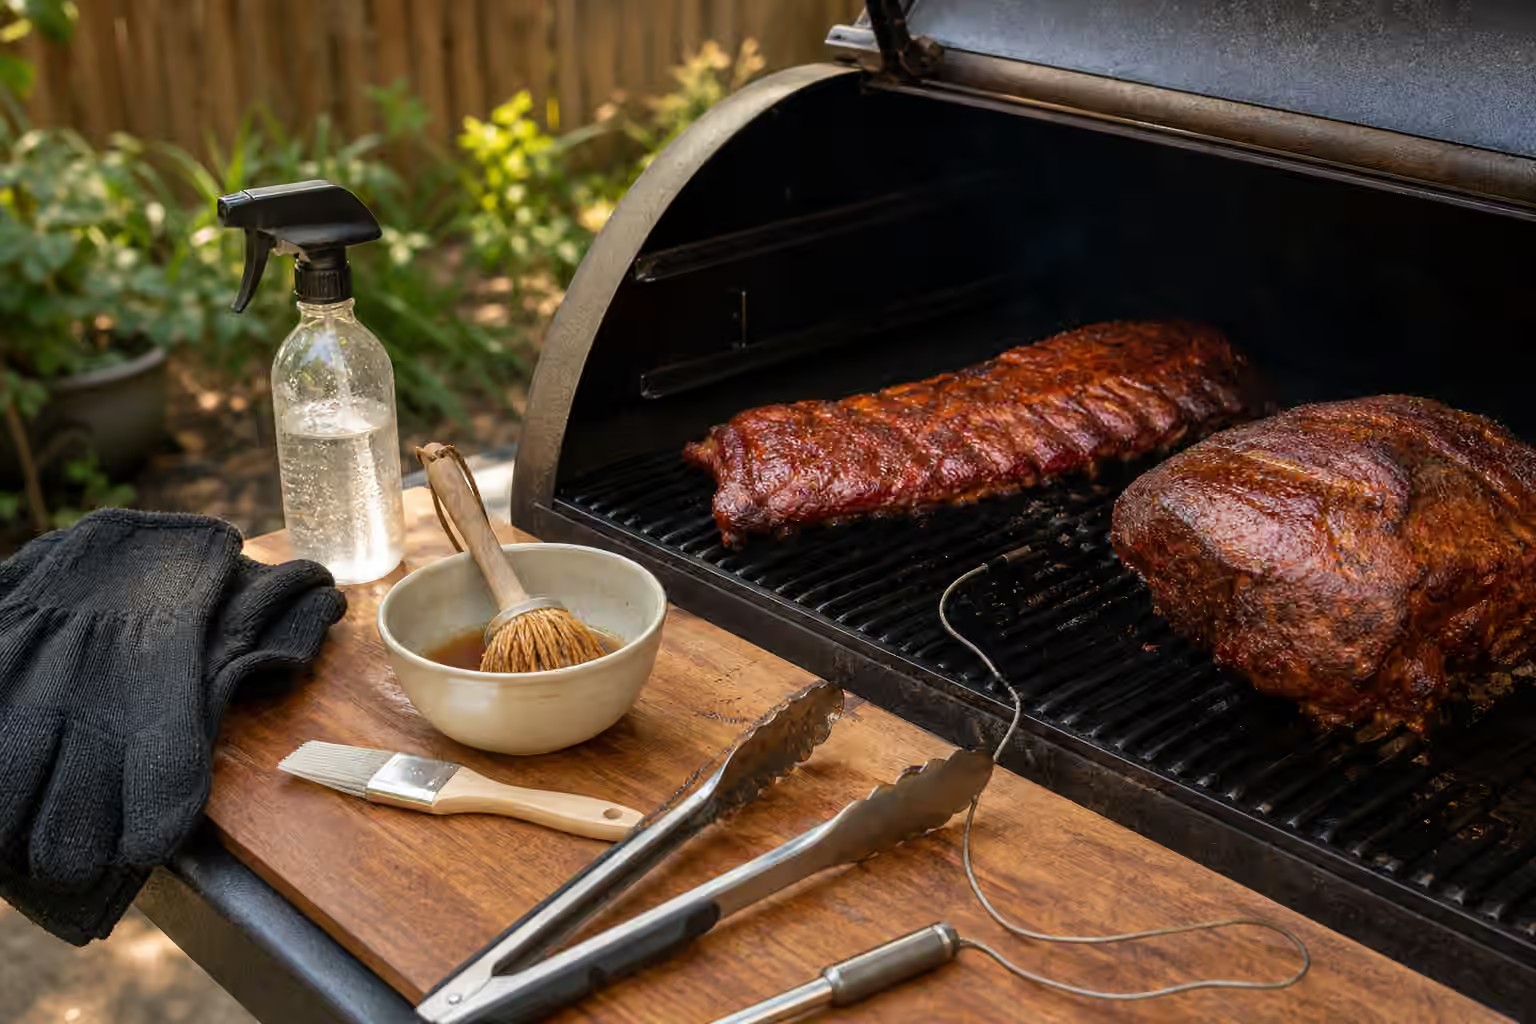
Charcoal Lighting Without Lighter Fluid is useful here because a clean start affects the whole cook. A chimney starter, natural starter, and good airflow keep ignition separate from flavor. Once the starter coals are ready, place them carefully with long tongs and heat-safe gloves. The fire should look controlled from the beginning. A dramatic flare is not a requirement for barbecue.
Use vents as steering, not brakes
Vents do not behave like instant stove knobs. A bottom vent feeds oxygen. A top vent helps exhaust and draws air through the cooker. Closing them too far can make the fire smolder. Opening them wide can make the snake race. The most useful adjustments are small and patient. If the cooker is climbing too fast, reduce intake a little and wait. If the cooker is fading, open intake slightly or check whether ash is blocking airflow. Do not open the lid every few minutes to look for reassurance. Every look changes the system.
Weather adds another layer. Wind can push a kettle harder than expected. Cold air can slow recovery after the lid opens. Rain can chill metal and complicate ash handling. Outdoor Cooking Weather Guide applies before the meat is even seasoned. A windbreak, a stable cooker position, and a clear path for safe ash handling may matter more than one extra handful of charcoal.
Smoke belongs in the path
Wood chunks should be placed where the fire will reach them at useful times. If all the wood catches at once, smoke can become heavy early and disappear before the food has taken on much flavor. If wood sits too far down the line, it may arrive after the meat has already built a dry surface and needs less smoke. A few chunks along the first third of the snake or near the lit start of a Minion layout is often enough. Chips burn quickly and can be fussy unless protected or used with restraint.
Wood for Smoke and Smoke Flavor Without Bitterness are the references for flavor. The layout controls when wood ignites, but clean combustion controls whether the smoke tastes good. White billows from starved fuel are not a sign that flavor is improving. Thin, steady smoke and a cooker that breathes are better than a dramatic plume.
Food placement makes the layout work
The food should sit away from the active fire. In a kettle snake, that usually means over the center or opposite side, with a drip pan below if useful. Rotate food only when needed, and do it quickly. If one side of a roast faces the heat path for a long time, turning may help even cooking. If ribs are arranged around the cooler side, make sure the thinner ends are not hovering over the hottest section. The fuel path and food geometry should be considered together.
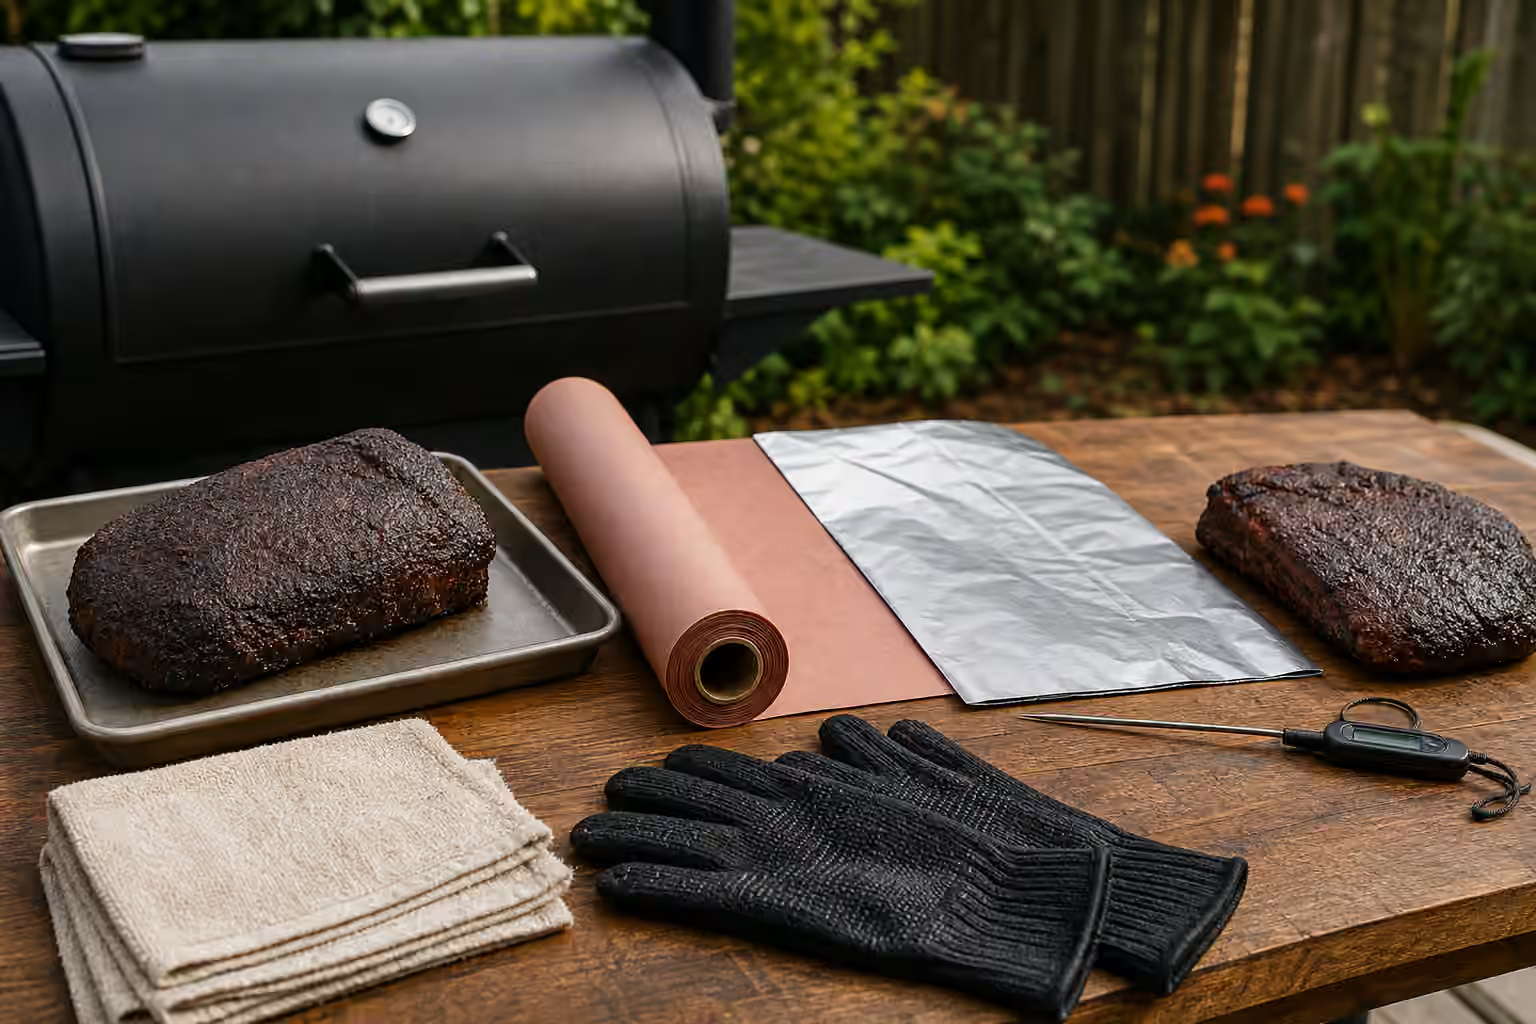
Large cuts still need thermometer discipline. The layout may be steady, but it does not guarantee doneness. Grill Thermometers and Doneness and Resting, Holding, and Serving complete the long-cook system. A well-built snake can get food through the cook, but the finish still depends on checking, resting, and serving with a clean plan.
A repeatable fire is the point
The charcoal snake and Minion method are not tricks for avoiding attention. They are ways to spend attention better. Instead of feeding a fire in panic, the cook builds a fuel path, starts it cleanly, lets vents breathe, places wood with restraint, and checks food with purpose. The grill still asks for judgment, especially in wind or cold, but the fire has a plan.
Start with a simple cook, not the largest pork shoulder you can find. Watch how your cooker responds. Notice how quickly the snake travels, how ash collects, how vents behave, and where food browns. The next cook will be easier because the layout will no longer be an idea from a recipe. It will be a map you have watched in your own grill.