Lighting charcoal well is not a trick for people who enjoy fussing with fire. It is the first control decision of the cook. If the coals start unevenly, the grill asks you to solve heat problems before any food arrives. If the fire smells harsh, the first smoke that touches the food may taste sharp rather than clean. If the coals are dumped too soon, the cook spends the first twenty minutes chasing weak heat. A chimney starter, a small natural starter, and patient airflow make charcoal less mysterious.
Why lighter fluid creates more problems than it solves
Lighter fluid promises speed, but it often trades a few saved minutes for flavor and control problems. The smell can linger when the coals are not fully ready. The flame can look dramatic while the coal bed remains uneven. A cook who keeps adding fluid because the fire seems weak is no longer building a predictable heat source. They are adding fuel to a situation they have not read clearly.
The better habit is to separate ignition from cooking. The starter lights the charcoal. The chimney concentrates heat and airflow. The grill receives coals only after they have caught well enough to support the cook. That rhythm fits the broader lessons in Fire, Airflow, and Fuel , where oxygen and patience matter more than showy flame. A good charcoal start should look almost boring once it is underway.
The chimney starter earns its space
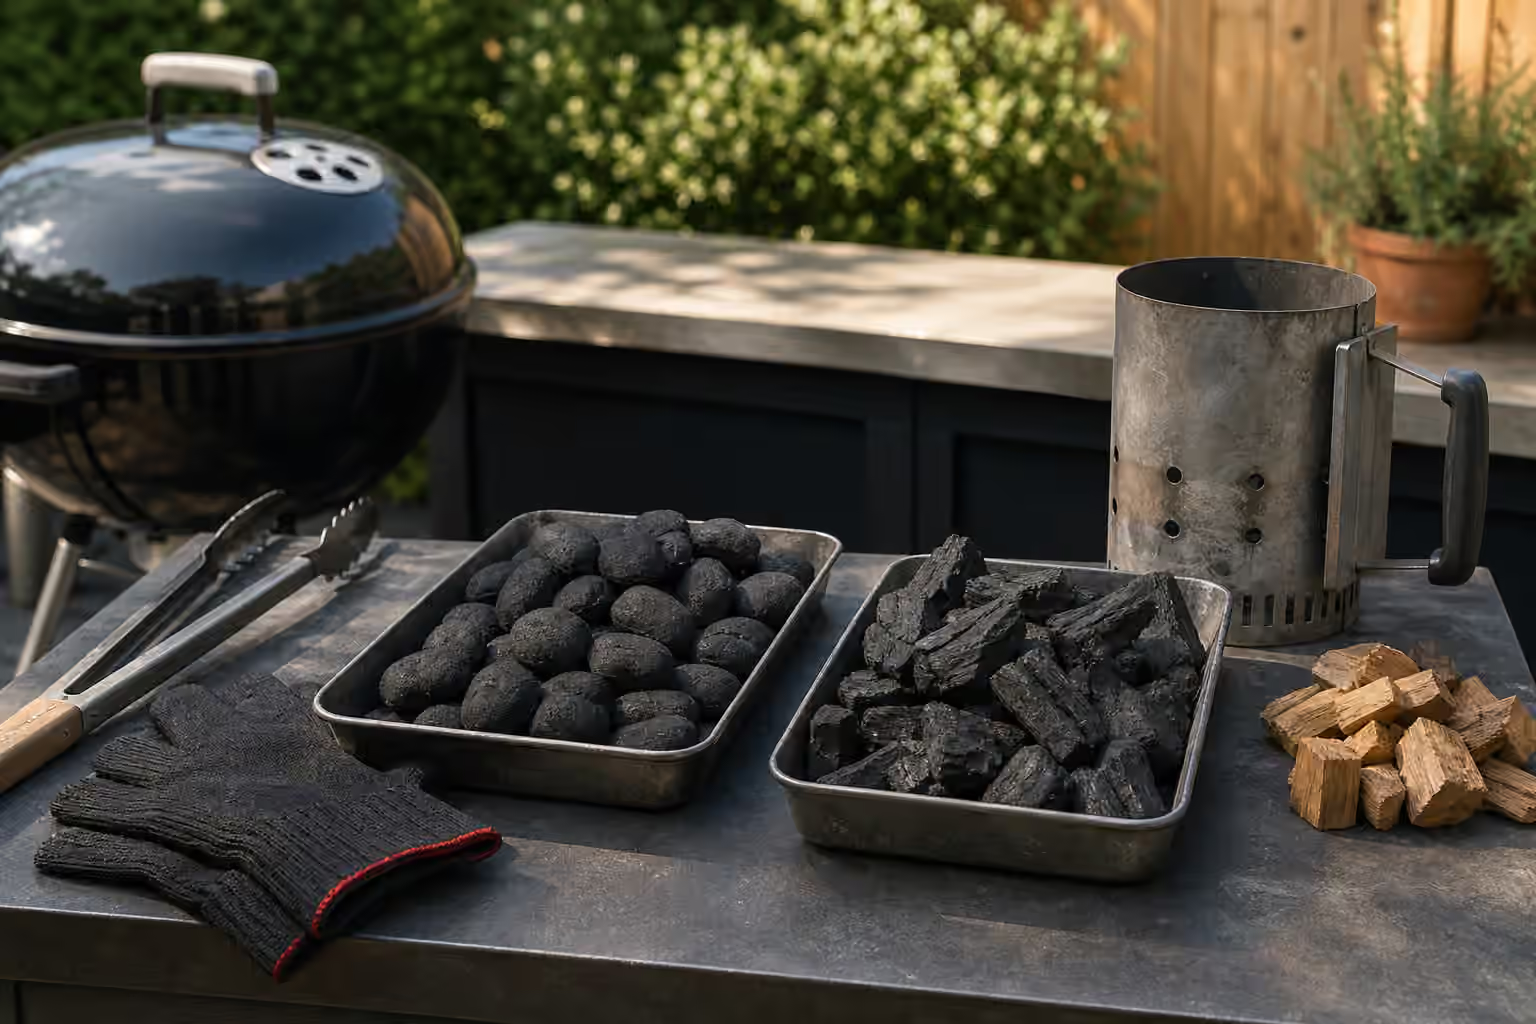
A chimney starter is a metal cylinder with a grate inside and vents at the bottom. Charcoal sits above the grate. A starter cube, twisted paper, or other approved starter sits below. When the bottom catches, hot air rises through the coals and pulls more oxygen in from below. The chimney turns a small flame into a draft system. Instead of spreading fire across a wide charcoal grate, it stacks the coals where the heat can climb.
Use the chimney on a fire-safe outdoor surface, not on dry grass, plastic, a painted tabletop, or a surface that can crack from heat. Many cooks set it on the charcoal grate itself while the grill is open, because the grill is designed to hold heat and catch ash. Others use a paver or another manufacturer-appropriate surface. The point is to decide before lighting, not after a chimney full of coals is too hot to move casually.
The amount of charcoal should match the job. A full chimney may be useful for a large batch of burgers or a long two-zone cook. A half chimney may be enough for a small weeknight grill. Lump charcoal lights and burns differently from briquettes, and the charcoal guide at Charcoal BBQ Basics explains those fuel choices in more detail. For lighting, the important move is to avoid packing the chimney so tightly that air cannot rise.
Reading readiness without rushing
Charcoal changes in stages. At first, the starter catches and the bottom coals begin to glow. Then heat climbs upward, the edges of more pieces ash over, and small flames may appear near the top. Eventually the chimney feels powerful, the lower coals glow strongly, and the upper coals show enough gray at the edges to tell you the fire has spread. This does not mean every piece must be pale gray from top to bottom. It means the mass of charcoal is burning steadily enough to carry heat into the grill.
Dumping too early creates a weak bed with scattered hot pieces and many black pieces still waiting to catch. The cook often compensates by opening vents fully, leaving the lid off, or crowding food over the few hot spots. Dumping too late wastes fuel and gives you a blast of heat that may be stronger than the food needs. The sweet spot is a live, confident chimney that still has work left to do on the grate.
Weather changes the reading. Wind can make a chimney race. Cold can slow the grill’s recovery after the coals are poured. Damp charcoal can frustrate the whole process. The Outdoor Cooking Weather Guide matters before the food appears, because weather affects ignition just as much as doneness timing.
Pouring coals is part of heat design
The moment you pour charcoal, you are choosing a heat map. For most beginner cooks, dumping the entire chimney into an even layer is less useful than building zones. Bank the coals on one side for a hot direct area and leave the other side clear for a gentler indirect area. This gives food an escape route and gives the cook time to think. Two-Zone Grilling is easier when the coal pour creates the zones from the start.
Wear heat-resistant gloves if the manufacturer recommends them, keep your face and arms away from the chimney opening, and pour slowly enough that sparks and small coals do not scatter. Set the empty chimney somewhere fire-safe. Do not drop it on a deck board, a plastic mat, or a place where a child or guest can brush against it. A chimney looks like a tool after it is empty, but it is still dangerously hot.
Once the coals are in place, install the grate, close the lid if the cook calls for it, and let the grill settle. Beginners often rush food onto the grate the instant coals are poured. That can work for some quick direct cooks, but many foods benefit from a brief preheat so the grate warms, the airflow stabilizes, and the initial ash or starter smell clears. A clean, hot grate also releases food better, which keeps lighting and sticking from becoming tangled problems.
If the charcoal struggles
A weak start usually has a plain cause. The starter did not catch fully. The chimney lacked airflow. The charcoal was damp. The surface under the chimney blocked the bottom vents. The wind was either starving the flame in one direction or blowing ash and heat away too aggressively. Instead of adding liquid fuel, diagnose the system. Make sure the lower vents on the chimney are open to air. Use a starter that stays lit long enough. Store charcoal dry. Give the chimney more time.
If the top coals remain black while the bottom burns hard, the chimney may be overloaded or packed with small fragments that restrict airflow. If the starter burns out before the lower coals catch, use a more reliable starter next time. If the first attempt fails completely, let everything cool enough to handle safely before resetting. Fire problems are easiest to solve when the cook refuses to improvise dangerously.
Starting clean supports cleaner flavor
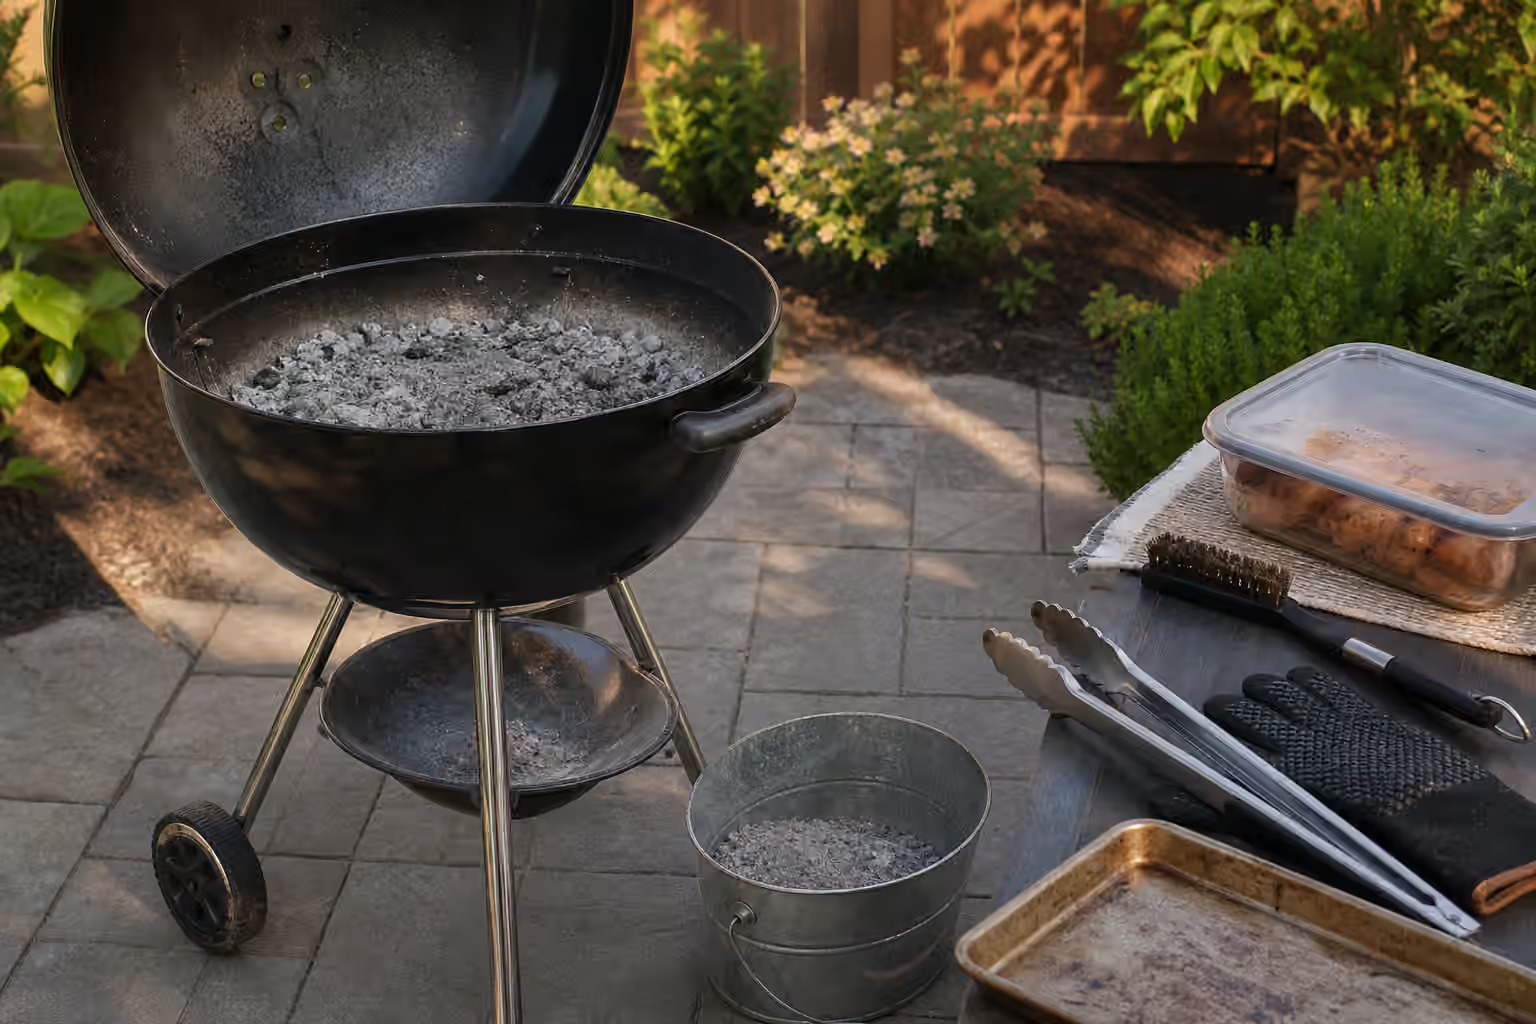
Lighting is not separate from flavor. A charcoal grill that starts with stale ash, old grease, and restricted vents will not breathe well. Empty ash when the grill is cool and safe to handle. Keep the charcoal grate from being buried. Make sure vents move freely. The cleaning guide at Grill Cleaning and Maintenance is part of good fire management, not a chore to postpone until something smells wrong.
Charcoal cooking becomes calmer when the first fifteen minutes have a repeatable order. Place the chimney safely, load a sensible amount of fuel, light a small starter, wait for the coal bed to catch, pour with zones in mind, preheat the grate, and cook with a clean landing plan. None of those moves is dramatic. That is why they work. The goal is not to prove mastery over fire. The goal is to begin the cook with heat that makes sense.