A grill station is not a piece of furniture. It is a small workflow arranged in physical space, and its whole purpose is to make the safe move also the easy move. When people describe a stressful cook, they rarely mean the fire misbehaved. They mean they were juggling raw chicken with nowhere clean to set it, hunting for tongs while food charred, or squinting at a dark grate wondering whether the burgers were done. Every one of those problems is a layout problem, and every one of them is solvable before you strike a match. This guide is about building that layout so the cook feels calm and the food stays safe.

A good station makes the right move obvious
The measure of a grill station is not how it looks but whether it steers you toward the correct action without thinking. Raw food should have a home, cooked food should have a different home, tools should be within reach, trash should not be wandering the yard in your hand, the lighting should work after sunset, and the thermometer should not be buried at the bottom of a drawer. A gorgeous cart that forces you to carry raw chicken across the salad bowl is a bad station no matter what it cost. A plain folding table with clearly marked zones can be a genuinely excellent one. Function first, appearance second, always.
The four zones that keep food safe
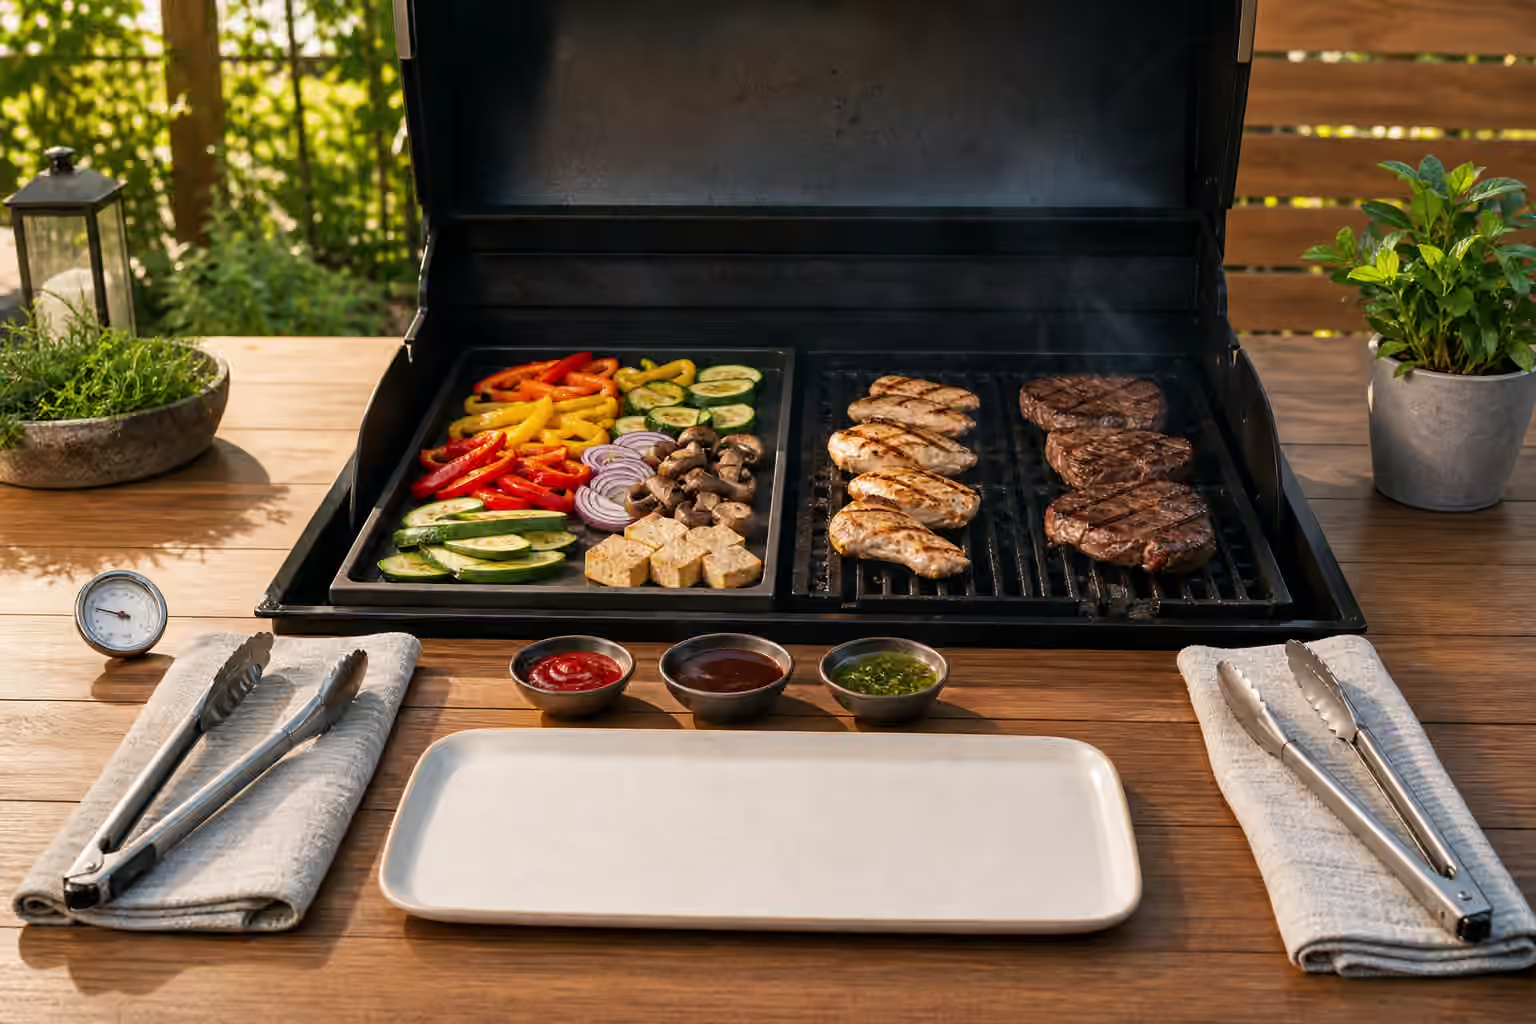
The backbone of any station is a clean separation between raw and cooked, and the simplest way to guarantee it is to think in four zones. The raw zone holds raw meat, poultry, seafood, marinades, and the tongs and cutting board that touch them, and nothing from this zone should ever migrate toward the food people will eat. The cooked zone holds clean platters, buns, salads, sides, and serving utensils, and finished food comes off the grill onto this side and never back onto the raw tray it started on. The tool zone keeps the thermometer, tongs, gloves, brush or scraper, and a light gathered in one predictable place, ideally on a tray so nothing rolls off into somewhere unsafe. The cleanup zone holds the trash, towels, a hand-washing or sanitizing setup, and a plan for grease and ash, positioned where you will actually reach for it before your hands are messy rather than after.
That last detail matters more than it sounds. The reason people cross-contaminate is almost never ignorance; it is that the clean option was three steps too far away at the moment they needed it. Put the hand-wash setup and the cooked platter where a busy, distracted cook will reach them by reflex, and the safe habit takes care of itself.
The starter kit worth owning
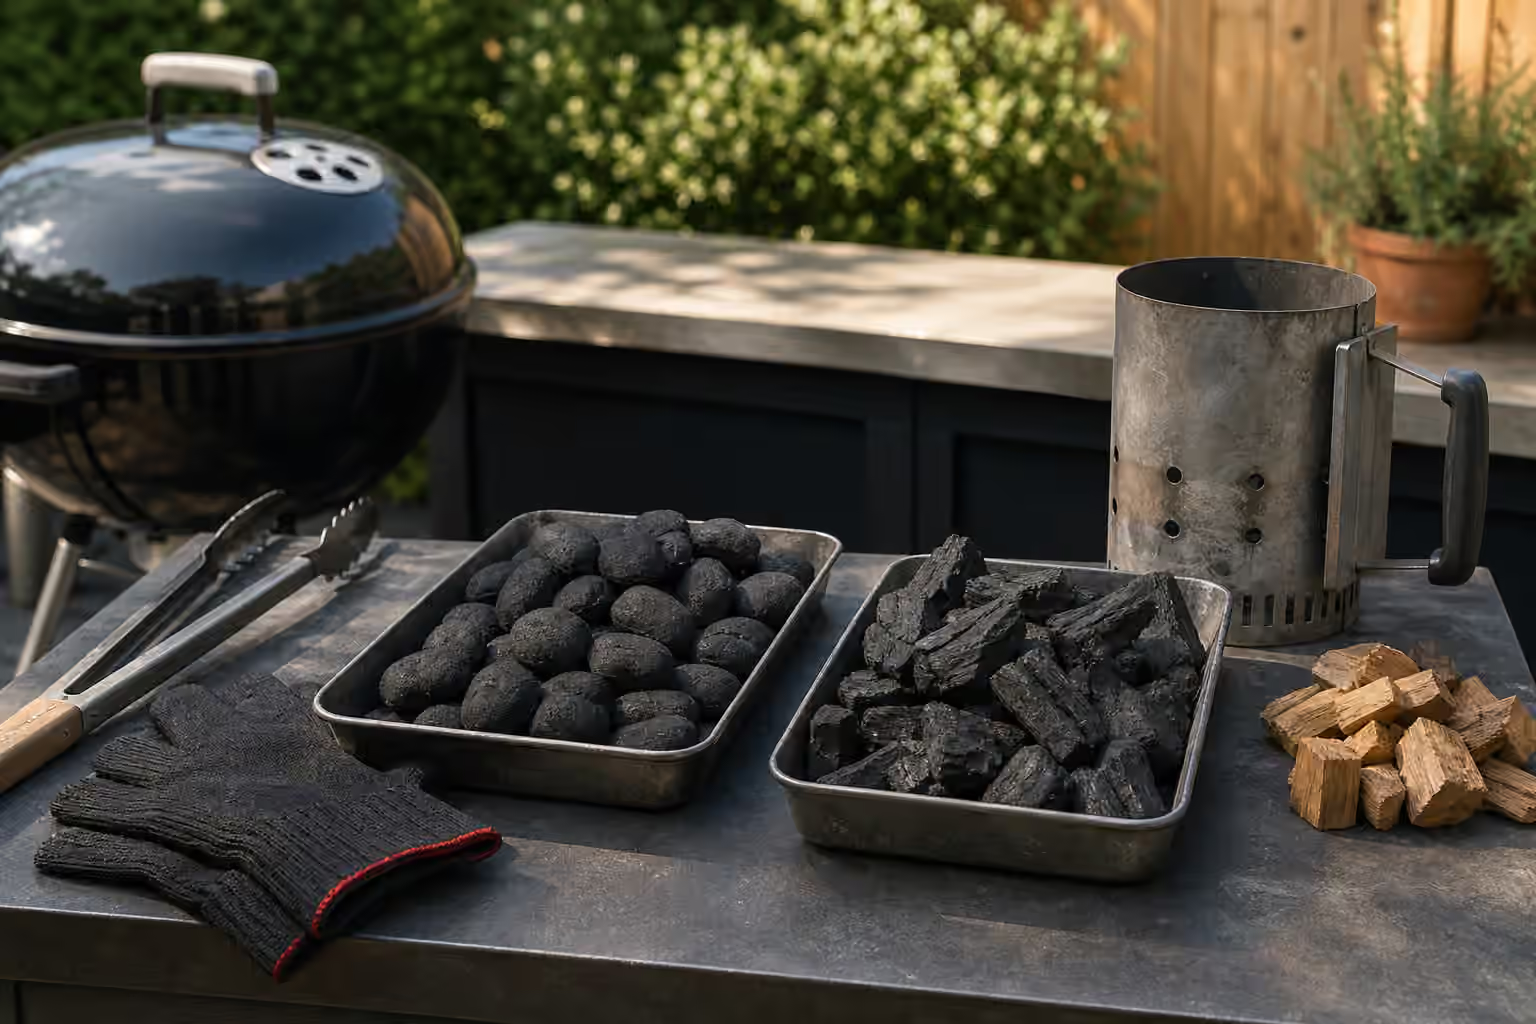
You can build a completely functional station from a short, honest list. Long tongs give you reach over a hot grate. A food thermometer settles doneness arguments and is the single most valuable tool you will own. Sheet pans or trays serve as raw and cooked landing surfaces when you keep them clearly separated and never mix them. A cutting board dedicated to raw prep, plus a separate clean board or platter for serving, enforces the zoning. Add towels, a light for evening cooks, a trash bag or bin, and a pair of heat-resistant gloves. Store fuel according to the manufacturer’s and your local rules. If you cook with charcoal, add a chimney starter and fire starters so you never reach for lighter fluid. If you cook with gas, build in the leak-check and cylinder-handling habits your grill’s manual and official guidance describe.
Notice what is not on that list. Rotisserie kits, novelty branding irons, sprawling twenty-piece tool sets, oversized griddle attachments, and specialty racks are all things to skip until you know what you cook again and again. The smart way to buy is by friction, letting each purchase answer a problem you have actually hit. If small food keeps falling through the grate, buy a basket. If evening cooks are dark, buy a light. If vegetables feel like an afterthought, buy a tray or some skewers. And if you are ever unsure whether food is done, buy the thermometer before anything decorative, because it is the one tool that protects the people you are feeding.
Setting up and resetting
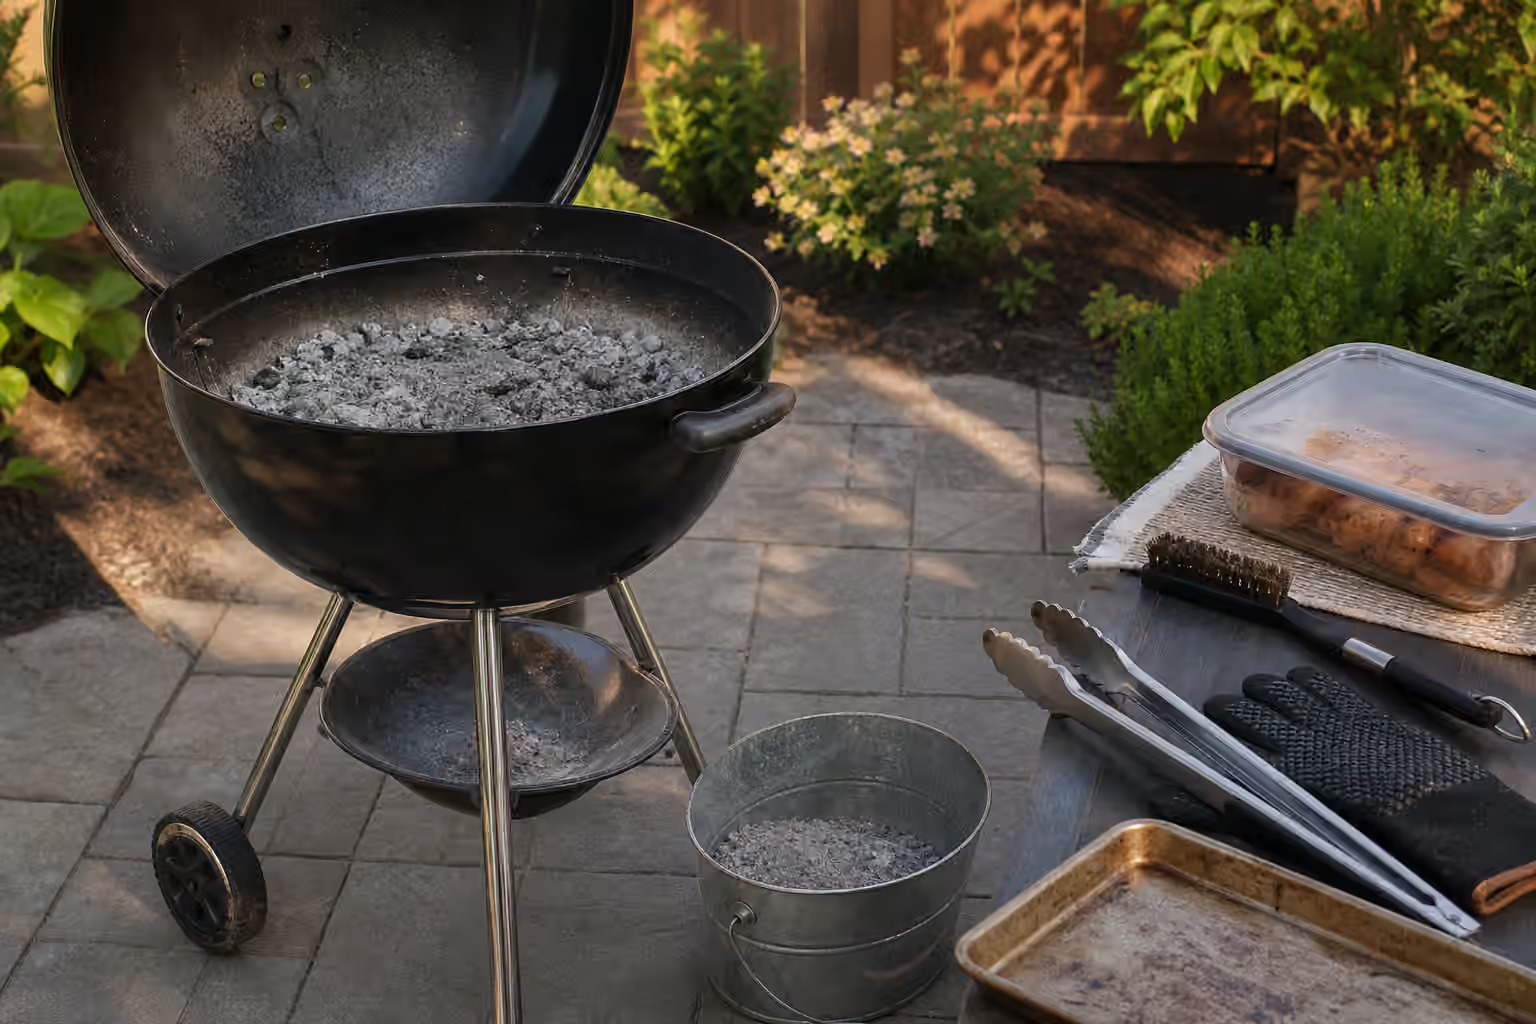
The station works best when you build it before you light the grill, not while food is already sizzling. Lay out the four zones, separate the raw and cooked trays so the difference is visible at a glance, and put the thermometer exactly where your hand will expect it so you are never patting your pockets mid-cook. When the meal is over, reset the station while the memory of what happened is still fresh, wiping down surfaces, bagging trash, and dealing with grease and ash on a plan rather than a panic. After a cook or two, it helps to note what you would change, from where the light sat to how far the cooked platter was from the grill, so the next setup is a little smoother than the last.
Keep the core food-safety habits steady on top of the layout. Use thermometer-based doneness for meat, poultry, seafood, leftovers, and reheating. Keep raw and cooked foods genuinely separate, wash hands and tools after any raw contact, and move perishables toward chilling instead of leaving them out in the outdoor danger zone while everyone lingers and talks. Visual cues help you judge quality, but they never replace official guidance. For current reference, keep FoodSafety.gov’s safe minimum internal temperatures and clean, separate, cook, chill guidance close by, and USDA FSIS keeps a grilling food safely resource that speaks directly to outdoor setups.
Once the station is dialed in, the natural next steps are Outdoor Cooking Gear That Actually Helps for buying by friction rather than hype, Grill Cleaning and Maintenance for keeping the setup working, and Cookout Planning: Timing, Sides, Drinks, and Guest Flow for scaling the same calm workflow up to a crowd. If your station feeds a broader kitchen habit, Boy Kibble Kitchen applies the same component-and-zone thinking indoors, and The Tea House is handy if cookout drinks are part of your menu.