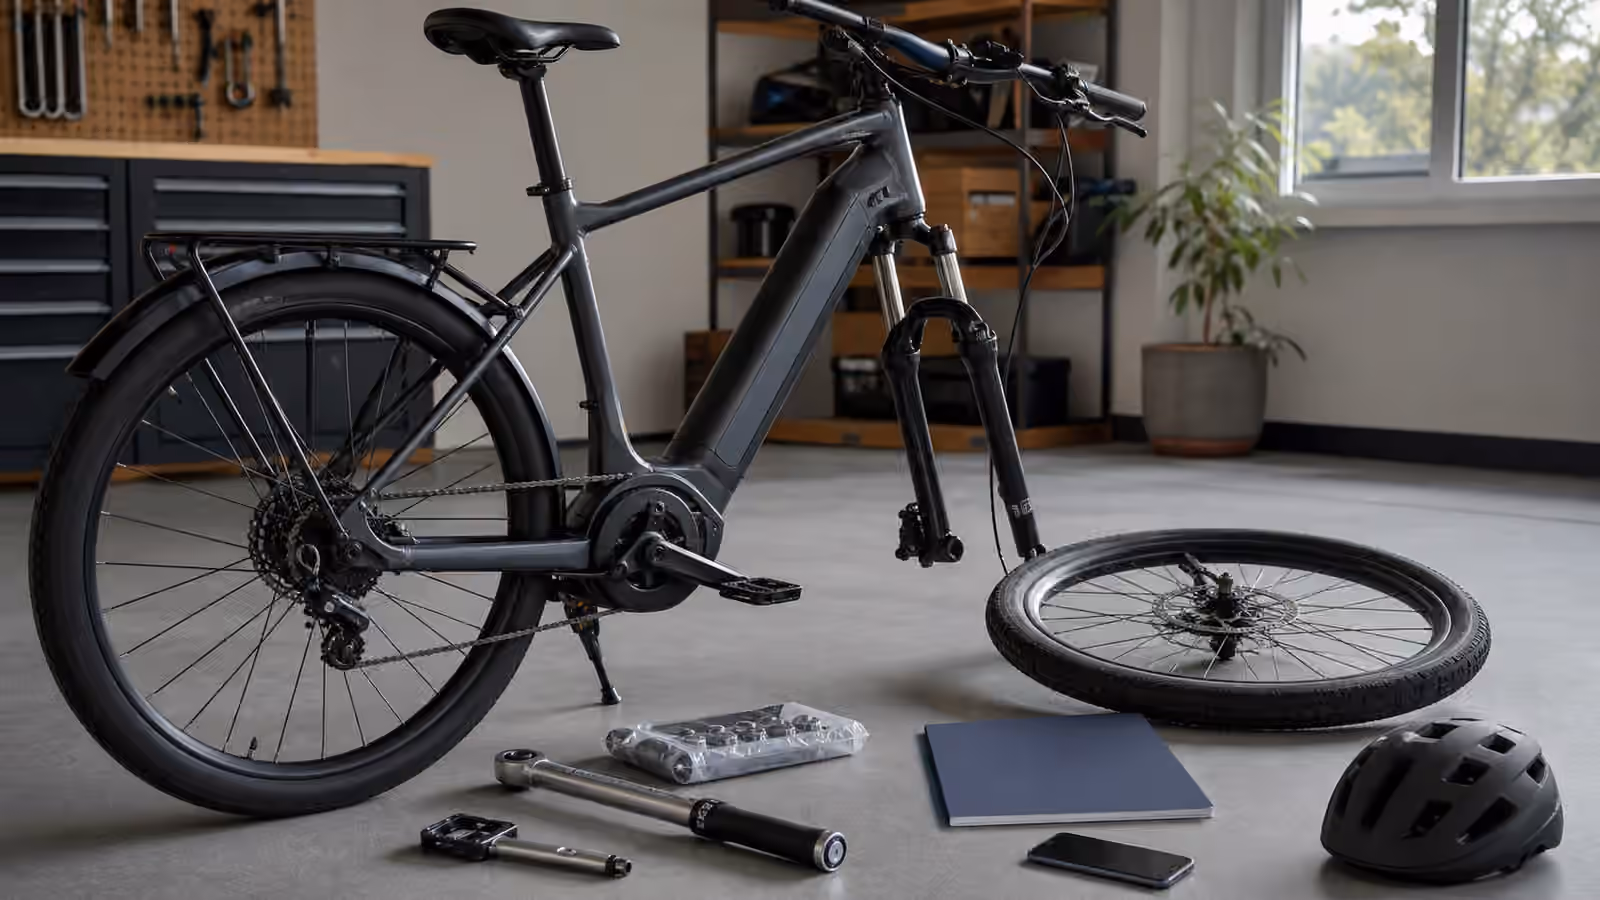
A boxed e-bike can feel almost finished. The frame is painted, the motor is installed, the battery has a key, the display lights up, and the marketing photos show a complete vehicle. The remaining steps may look ordinary: straighten the handlebar, install the front wheel, attach pedals, set the saddle, charge the battery, and ride. That appearance is exactly why home assembly deserves a slower boundary.
The question is not whether a careful owner can do anything at home. Many can. The question is which steps must be correct before a heavy powered bicycle becomes transportation. Wheels, brakes, steering, pedals, racks, child seats, battery mounts, chargers, and motor wiring are not decorative. A first ride should not be the test of guessed assembly.
Read before cutting the last strap
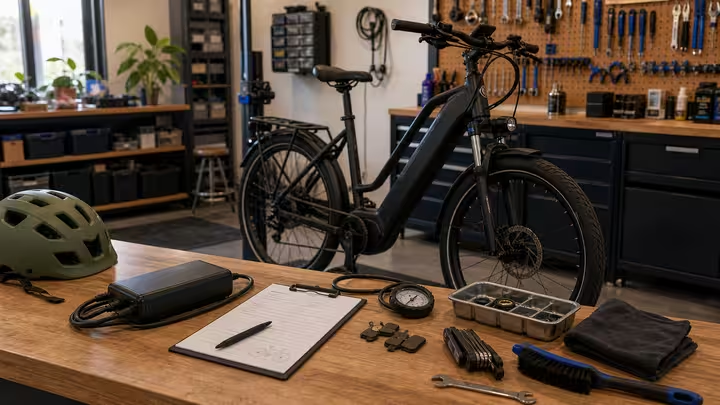
The manual is not a souvenir. Read the assembly section before parts are scattered across the floor. Identify what tools are required, what torque values are specified, what steps are dealer-only, what charger is approved, and what must be inspected before use. If the manual is missing, vague, or does not match the bike in front of you, that is a support question, not an invitation to improvise.
Take photos during unpacking. Photograph axle hardware, washers, spacers, brake calipers, cable routing, rack mounts, battery keys, serial number, and any shipping damage. Keep packaging until the bike is verified. If a part is missing or bent, records matter. The Warranty, Manual, and Recall Records guide exists because support conversations get much easier when the owner can show what arrived.
Torque is a specification, not a mood
Some bolts can be snugged by feel by people who know the part and have experience. Beginners should be cautious with that confidence. E-bikes include aluminum parts, carbon parts on some models, stems, handlebars, seatposts, racks, brake mounts, rotors, fenders, and accessories that may require specific torque. Too loose can slip. Too tight can damage threads, crush parts, or create a hidden failure.
If the manual gives torque values, use the correct tool or get help. Do not assume that tighter is safer. Do not use a long wrench to overpower a small fastener. Do not add threadlocker unless the instructions call for it. A torque wrench does not make someone a mechanic, but it does show that the part deserves measured tightening, not guesswork.
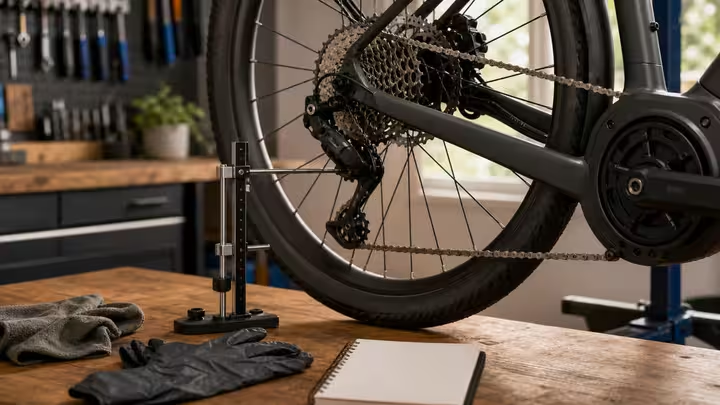
Wheels and brakes are the strict boundary
A front wheel installed poorly can affect steering, braking, axle security, rotor alignment, and motor cable routing on some designs. A brake caliper knocked during shipping can rub. A hydraulic brake can feel wrong. A mechanical brake cable can be loose. A rotor can be bent. None of these should be solved by a fast first ride around traffic.
Before riding, confirm the wheel is seated according to the manual, axle hardware is correct, brakes engage firmly, rotors do not scrape badly, and the wheel spins without obvious wobble. If anything feels uncertain, stop. The Brake Pad Wear and Shop Boundaries guide is written for wear, but the same attitude applies to assembly. Brakes and wheels are not places to learn through hope.
Pedals and cockpit parts can fool beginners
Pedals have left and right threading. A forced pedal can ruin a crank. Handlebars and stems may have alignment marks, torque sequences, cable-clearance concerns, and minimum insertion lines. A display mount or throttle where legal may need a position that does not interfere with braking or shifting. A mirror or bell should not crowd a brake lever. Small cockpit choices shape control.
After setting the cockpit, stand over the bike and turn the handlebar fully both ways. Look for cables pulling tight, brake hoses rubbing, display wires pinched, or accessories hitting the frame. Then squeeze both brakes, shift through gears in a safe stand-supported or shop-supported way if appropriate, and make sure the saddle and seatpost respect insertion marks. The Saddle, Grip, and Cockpit Comfort guide can help after the bike is mechanically sound.
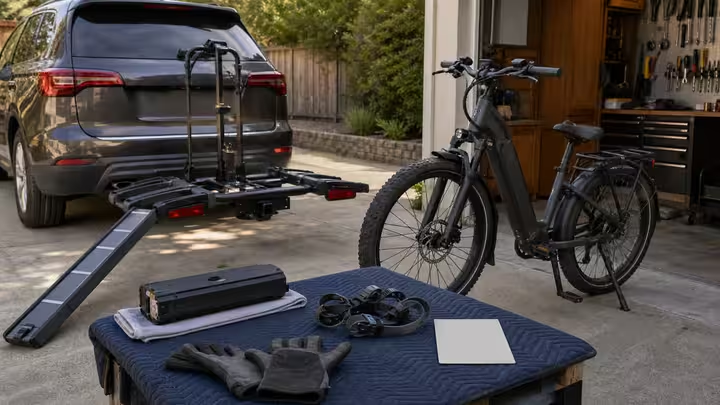
Battery and charger setup should stay boring
Do not open a battery pack. Do not use an unapproved charger. Do not charge on packaging foam, a couch, a bed, or a pile of cardboard from the box. Inspect the battery, mount, charger, cord, and connector for shipping damage. If anything is cracked, swollen, wet, odd-smelling, unusually hot, or visibly damaged, stop and contact the seller or manufacturer before charging.
The first charge is a good moment to create the household battery routine from the Battery Care Planner . Choose a clear location, keep the correct charger identified, and write down the battery serial or model information if available. Assembly is not finished until the charging habit is part of ownership.
The first ride should be a shakedown
Do not assemble at midnight and commute at sunrise without a shakedown. Choose a quiet legal area. Start slowly. Test both brakes at walking speed, then a little faster. Listen for rubbing, clicking, clunks, skipping, rattles, loose fenders, loose racks, and strange motor behavior. Check that assist turns on and off as expected. Confirm lights, display, bell, and any legal equipment required for your area.
The Test Ride Before Buying guide teaches listening before believing the pitch. A home assembly shakedown is the same habit after purchase. The bike should earn the next, longer ride.
A shop visit is not defeat
Some shipped bikes should go to a shop before normal use. That may be because the owner lacks tools, the manual is unclear, brakes need adjustment, the wheel arrived out of true, the headset feels loose, a rack carries passengers, the bike has hydraulic brakes, or the seller requires professional assembly for warranty. Paying for a safety check can be part of the purchase price, not a sign that the owner failed.
When calling a shop, be specific. Say the bike is boxed or recently assembled. Mention brand, model, motor system, battery, brake type, and what concerns you. Ask whether they service that brand and whether they can inspect an e-bike bought elsewhere. The Bike Shop Service Conversation guide gives the tone: bring facts, not pressure.
Home assembly is successful when it ends with a bike that is verified, documented, and calm to ride. If the box leaves you with uncertainty about wheels, brakes, steering, pedals, racks, battery, wiring, or local-rule equipment, the right next step is support. The first miles should teach fit and routine, not reveal avoidable assembly guesses.