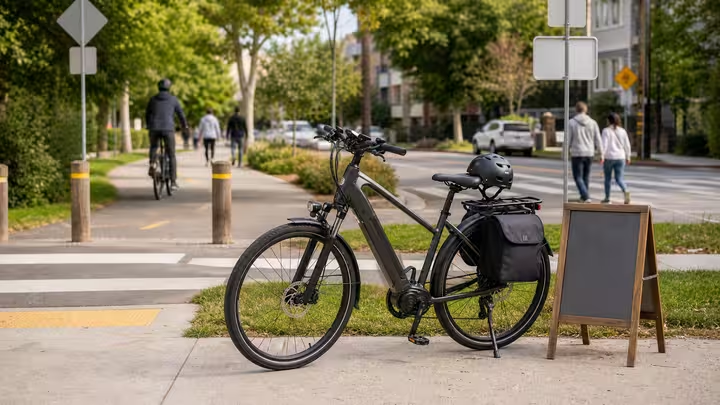
Gravel paths and park trails can make an e-bike feel wonderfully useful. They may offer shade, quieter crossings, river routes, school connections, and a break from fast traffic. They can also hide assumptions. The surface may be loose, the path may be crowded, e-bikes may be limited or prohibited, and a bike that feels stable on pavement may behave differently when assist meets dust, ruts, leaves, wet bridges, or walkers with dogs.
This guide is not about turning an ordinary commuter e-bike into a mountain bike. It is about reading the path that is actually there. A calm gravel or park ride begins with access rules, then checks surface, tires, speed, braking, weather, sight lines, and the people sharing the space. If any of those pieces are weak, the right answer may be a slower ride, a different route, or no ride on that path.
Check access before the scenery wins
Park and trail rules vary by place and by bike type. Some paths allow all bicycles. Some allow pedal-assist e-bikes below certain limits. Some prohibit throttles. Some separate paved greenways from natural-surface trails. Some change rules by season, event, land manager, or posted sign. Do not assume a path is open because another rider used it or because an app drew a line through the park.
Look for current local guidance, posted signs, trailhead information, and agency rules. If the rule is unclear, choose a route where the bike is clearly allowed. This is especially important when traveling or riding a borrowed bike. The E-Bike Class, Throttle, and Speed Guide gives vocabulary for classes and assist limits, but the trailhead still gets the final say.
Ride the surface, not the marketing category
“Gravel” can mean compacted stone as smooth as a driveway, loose marbles over hardpack, deep crushed rock, washboard, sand, mud, wet leaves, or potholes hidden in shade. “Park trail” can mean a wide paved greenway, a narrow shared path, a boardwalk, a maintenance road, or a natural trail with roots. The label matters less than the surface under the tires.
Slow down before the surface changes. Stay loose on the bike. Avoid sharp steering, hard braking, or high assist surges on loose patches. Give yourself more distance for stops. If the front wheel feels vague, the rear tire spins, or the bike drifts in a turn, that is feedback. Do not answer it with more speed. Turn around before the path becomes a test of pride.
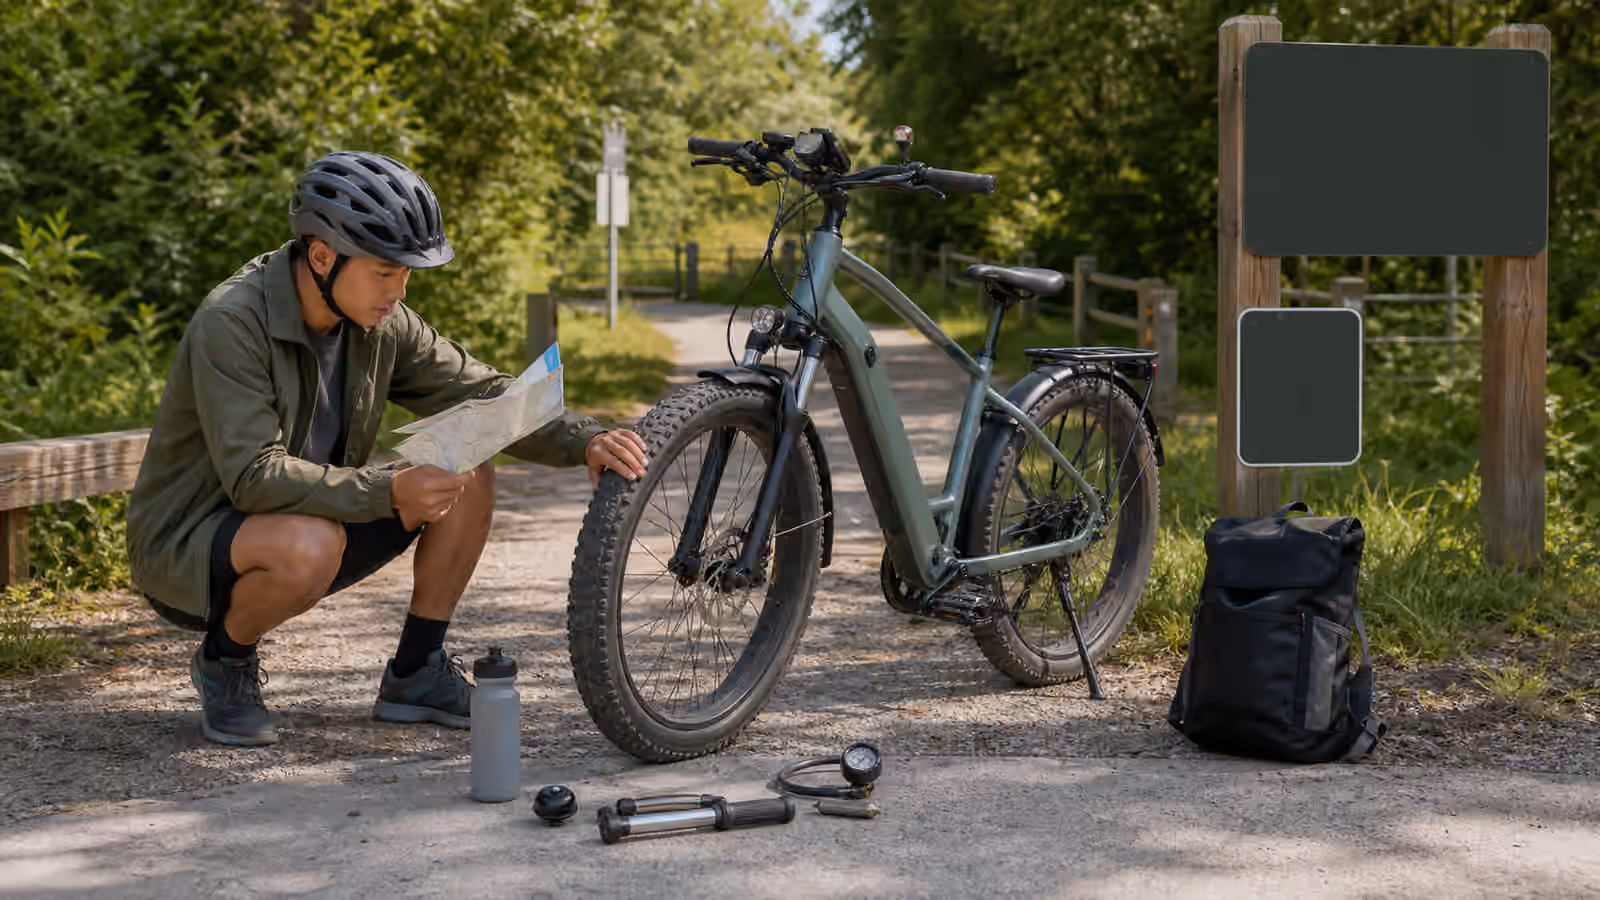
Tires and pressure set the mood
Tires decide much of the gravel experience. Narrow slick tires at high pressure can feel harsh and skittish on loose surfaces. Wider tires with appropriate tread and pressure may feel calmer, but every bike has limits. Follow tire sidewall, rim, and manufacturer guidance. Do not drop pressure below safe limits because someone online praised a soft setup for a different bike, rider, load, and surface.
The Tire Pressure and Puncture Readiness guide is worth reading before making gravel a habit. Gravel paths can reveal underinflation, worn tires, embedded glass, sidewall cuts, loose valve cores, and wheels that are not ready for rougher use. Carry the flat plan you actually know how to use, or stay close enough to home that walking out is realistic.
Assist should smooth the ride, not dominate it
E-assist can be helpful on gravel because it reduces the effort needed to keep momentum. It can also make the bike surge at exactly the wrong time. High assist on a loose climb may spin a wheel. A throttle, where legal, may create abrupt movement. A mid-drive motor may reward smoother shifting. A hub motor may push differently out of slow turns. Learn the bike’s behavior on a calm surface before taking it onto a busy park path.
Use lower assist when traction or crowding is uncertain. Pedal smoothly. Shift before steep sections when the bike requires it. Avoid sudden bursts near pedestrians, dogs, children, horses, or other riders. The Motor Assist and Shifting Practice guide is not only for streets. Its main lesson is that power should feel predictable before the route becomes complicated.
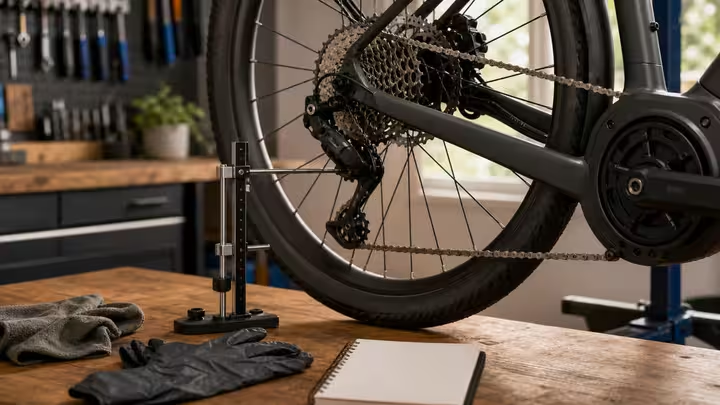
Braking needs more space
Loose surfaces reduce braking confidence. Wet leaves, dust, small stones, wooden bridges, painted crossings, and mud can all change how the bike stops. Heavy e-bikes and cargo loads add more distance. Practice gentle braking on a clear section before the path points downhill or enters a crowd. Use both brakes according to your bike handling skill and avoid grabbing suddenly.
If the brakes pulse, scrape, fade, squeal unusually, or feel weak, leave the path and get help. Gravel and park riding are poor places to test questionable brakes. The Brake Pad Wear and Shop Boundaries guide keeps the beginner boundary clear: noticing symptoms is useful; guessing at brake repair is not.
Shared paths require slower manners
Park paths are not private bike lanes. Walkers may drift. Children may stop suddenly. Dogs may cross the path. Joggers may wear headphones. Other riders may pass without warning. Horses, mobility devices, strollers, and maintenance vehicles may appear where the path is open to them. E-bikes can surprise people because they close distance quietly and quickly.
Slow early. Pass with room. Use a bell or voice with enough time for people to respond. Do not buzz walkers because the motor makes it easy to regain speed. On narrow paths, wait. On blind corners, assume someone is there. The Etiquette and Local Law Awareness habit is simple in parks: be predictable enough that other people do not have to solve your ride for you.
Weather can close a path without a gate
Rain can turn dust into slick mud, expose roots, flood low sections, and create ruts. Heat can make exposed gravel unpleasant for riders and passengers. Wind can drop branches. Winter can hide ice in shade. Some natural-surface trails are damaged by use when wet, even if no one has put up a closed sign. Riding through soft surfaces can leave tracks that make the path worse for everyone.
A good park-route habit includes turning around. If the surface is soft, the path is flooded, visibility is poor, or the bike begins sliding, do not keep going because the map says the exit is ahead. Use the No-Ride Day Backup Plan idea at trail scale: another route is not a defeat when the path conditions have changed.
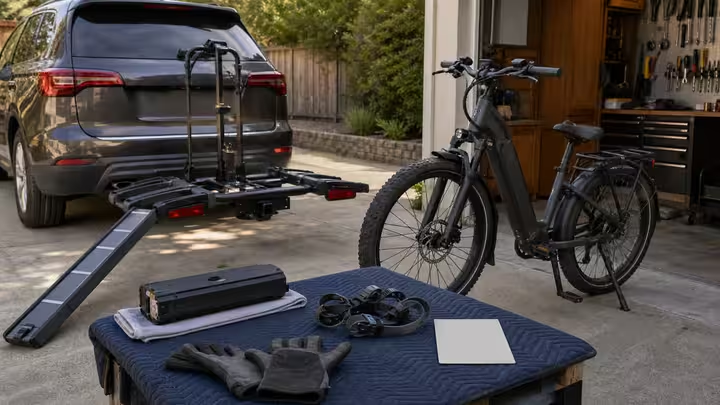
Inspect after rougher rides
After a gravel or park ride, give the bike a short look before putting it away. Check tires for cuts or embedded debris. Listen for new rattles. Look at racks, fenders, lights, bags, and battery mounts. Wipe dust where it affects moving parts or contacts, following the bike’s cleaning instructions. If the bike picked up mud, clean gently rather than blasting water into bearings, brakes, or electronics.
Rougher surfaces do not have to be forbidden. They simply ask for more attention. The best gravel path is the one where access is clear, the surface matches the bike, the rider slows down, the tires are ready, the brakes have margin, and shared-space manners are visible. Ride the actual path, not the idea of the path, and the e-bike remains welcome there longer.