Water Quality for Coffee
Here’s a fact that might blow your mind: your morning cup of coffee is roughly 98% water. That means no matter how lovingly you sourced your single-origin Ethiopian Yirgacheffe, no matter how precisely you dialed in your grind size, if the water going into that brew is subpar, you’re essentially sabotaging yourself before the first drop hits the cup. Water quality dramatically affects extraction, flavor, and even the longevity of your beloved coffee equipment. Put simply, great beans plus bad water equals mediocre coffee — and nobody wants that.
Why Water Matters
Water’s Role in Coffee
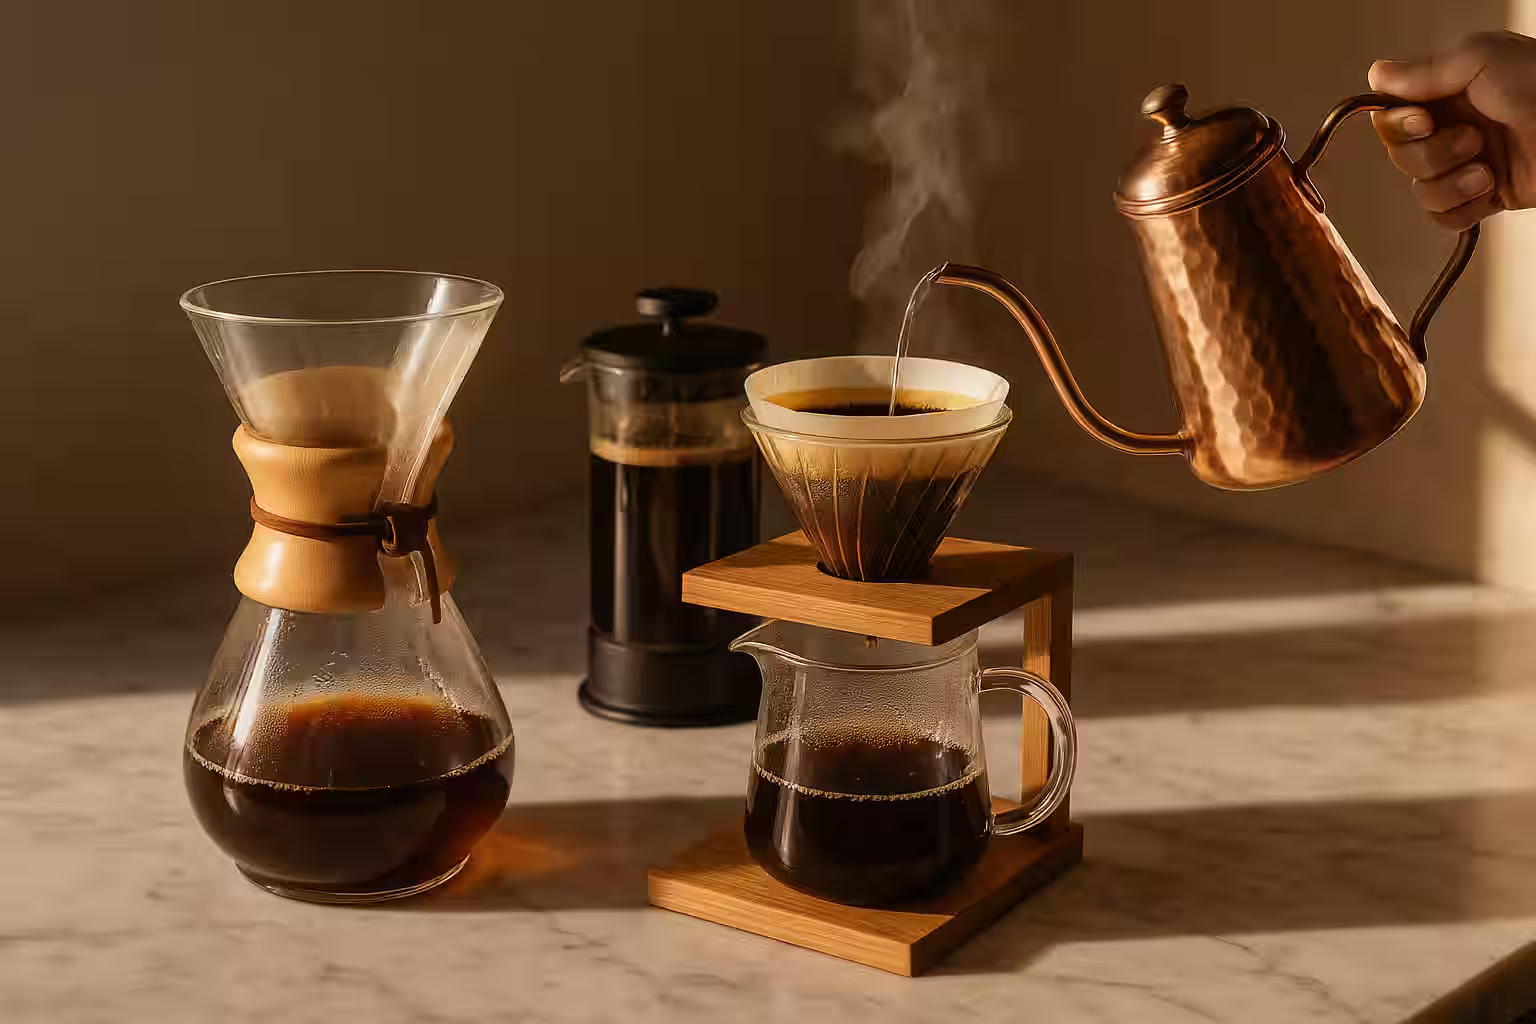
Let’s break down what water actually does in the coffee brewing process, because it’s doing a lot more than just getting hot and wet.
First up, there’s extraction. When hot water meets coffee grounds, it goes to work dissolving hundreds of flavor compounds — acids, sugars, oils, and bitter substances. The mineral content of your water directly affects how efficiently this extraction happens. Think of minerals as tiny little helpers that grab onto flavor molecules and pull them into your cup. Too few helpers and you get a thin, underwhelming brew. Too many and they start dragging out stuff you didn’t want — harsh, bitter, astringent flavors that make you wince.
Then there’s flavor. Water isn’t just a neutral carrier — it contributes its own taste to the party. If your tap water has a whiff of chlorine, a metallic twang from old pipes, or any other funky contaminant, all of that is going straight into your coffee. You might not notice these flavors in a glass of cold water, but heat amplifies everything, and coffee extraction concentrates it further. That faint swimming-pool smell in your tap water? It becomes a full-on chemical assault in your morning pour-over.
Finally, think about your equipment. Hard water — water loaded with calcium and magnesium — leaves behind mineral deposits called scale. Over time, scale clogs up boilers, restricts flow, reduces heating efficiency, and can eventually destroy an espresso machine entirely. On the flip side, water that’s too soft or completely stripped of minerals can actually corrode metal components. Your coffee gear is happiest somewhere in the middle.
Ideal Water Composition
TDS (Total Dissolved Solids)
If you hang around coffee nerds long enough, you’ll hear the term “TDS” thrown around constantly. TDS stands for Total Dissolved Solids, and it’s a measurement of all the minerals and substances dissolved in your water, expressed in parts per million (ppm) or milligrams per liter (mg/L). Think of it as a single number that gives you a rough snapshot of what’s going on inside your water.
The Specialty Coffee Association (SCA) recommends a TDS range of 75 to 250 ppm for brewing coffee, but most experts agree that the sweet spot sits right around 100 to 150 ppm. Go too low — below about 50 ppm — and your water simply doesn’t have enough mineral content to extract flavors effectively. You’ll end up with coffee that tastes flat, sour, and disappointingly thin. Go too high, above 250 ppm, and you’re headed into over-extraction territory. The coffee will taste harsh and muddled, and your equipment will start accumulating scale at an alarming rate.
The good news? Testing your water’s TDS is dead simple. Grab a TDS meter off Amazon for about $15 to $30, dip it in your water, and you’ll get an instant reading. It’s one of the cheapest and most impactful upgrades you can make in your coffee journey.
Key Minerals
Not all dissolved solids are created equal. The specific minerals in your water play different roles in extraction, and understanding them gives you superpowers when it comes to dialing in flavor.
Calcium (Ca²⁺) is the workhorse of coffee extraction. It enhances the overall extraction process and adds body and mouthfeel to your cup — that satisfying, rounded, almost creamy sensation you get from a well-brewed coffee. The ideal range is about 50 to 75 ppm. However, calcium is also the primary culprit behind scale buildup, so there’s a real balancing act here. Too much calcium and your espresso machine’s boiler turns into a limestone cave.
Magnesium (Mg²⁺) is where things get really interesting. Magnesium has a particular affinity for extracting fruity, bright, acidic compounds from coffee. If you love those sparkling citrus notes in a light roast, magnesium is your best friend. The ideal range is around 10 to 30 ppm. Push it too high, though, and you’ll swing into bitter over-extraction — the coffee equivalent of squeezing a teabag too hard.
Bicarbonate (HCO₃⁻) acts as a buffer against acidity. It’s the balancing act that keeps your coffee from being mouth-puckeringly sour or disappointingly flat. At the ideal range of about 40 to 75 ppm, bicarbonate provides just enough alkalinity to round out the acidity without smothering it. Too much bicarbonate and your coffee tastes chalky and lifeless. Too little and you’re drinking pure acid — bright to the point of being aggressive.
Sodium (Na⁺) plays a subtle supporting role. At very low levels — we’re talking under 10 ppm — it can actually enhance perceived sweetness and complexity, much like a pinch of salt in baking brings out other flavors. But even a modest excess turns your coffee salty and can damage equipment over time. Keep sodium low and let it do its quiet work in the background.
pH Level
The pH of your brewing water should fall somewhere between 6.5 and 7.5 — essentially neutral to just slightly acidic. If your water dips below 6.5, it becomes corrosive to equipment and tends to produce coffee that’s aggressively bright and sharp. Above 7.5, and you’ll notice a chalky quality — the coffee will taste flat and muted, as if someone turned the volume knob down on all the flavors you were hoping to enjoy.
Common Water Problems
Tap Water Issues
Most of us start our coffee journey with whatever comes out of the faucet, and honestly, that’s fine as a starting point. But tap water can carry a whole suitcase of problems depending on where you live.
Chlorine is the most common offender. Municipalities add it to kill bacteria and make water safe to drink, which is great for public health but terrible for coffee. Chlorine gives water a medicinal, pool-like taste that transfers directly into your cup. The fix is refreshingly simple: a basic carbon filter will strip out chlorine, or you can just let a pitcher of water sit uncovered overnight and the chlorine will evaporate on its own.
Chloramine is chlorine’s tougher cousin. Some water systems use chloramine instead of chlorine because it’s more stable and longer-lasting — which also means it doesn’t evaporate. You can’t just let it sit overnight and hope for the best. For chloramine, you’ll need a higher-quality carbon filter, or you can sidestep the issue entirely by starting with distilled water and adding minerals back in with something like Third Wave Water.
Heavy metals like lead and copper can leach into your water from old pipes, especially in older homes and buildings. Beyond the obvious health concerns, these metals introduce off-flavors that no amount of fancy beans can mask. If you suspect heavy metal contamination, reverse osmosis filtration is your best bet — it strips out virtually everything.
Hard water, or water with high mineral content, is a double threat. It causes relentless scale buildup inside machines while simultaneously pushing your extraction into over-extracted, muddy territory. The solution usually involves some combination of a water softener and remineralization to get the mineral balance right.
Soft water swings in the opposite direction but brings its own headaches. With too few minerals, your water can’t extract flavors efficiently, leaving you with flat, dull, lifeless coffee. And here’s the kicker — very soft water can actually corrode metal equipment over time. The fix is to add minerals back in, either with commercial products like Third Wave Water or with a DIY recipe.
Distilled/RO Water Issues
You might think that starting with perfectly pure water would be ideal, but distilled or reverse osmosis water with zero minerals is actually a terrible choice for brewing coffee straight out of the jug. Zero minerals means zero extraction efficiency. Your water has no mineral “hooks” to grab onto flavor compounds, so you end up with coffee that tastes flat, sour, thin, and tragically under-extracted. The fix is simple: remineralize it. Add a mineral packet (like Third Wave Water) or mix up a quick DIY recipe, and suddenly that blank canvas becomes the perfect brewing water.
Water Solutions
Carbon Filters (Basic)
Carbon filters are the entry-level water solution, and for a lot of people, they’re all you’ll ever need. They work by passing water through activated carbon, which grabs onto chlorine, some organic contaminants, and various compounds that cause off-flavors and odors. A basic Brita pitcher runs about $25, inline carbon filters for under-sink installation cost $30 to $50, and simple faucet-mounted filters come in around $20.
The beauty of carbon filtration is its simplicity. It’s cheap, requires minimal effort, and makes a noticeable improvement in how your water tastes. The trade-off is that carbon filters don’t adjust mineral content — they won’t soften hard water or add minerals to soft water. They also don’t catch everything; heavy metals and certain contaminants can slip through. But if your tap water is already reasonably good and just needs chlorine stripped out, a carbon filter gets you 80% of the way to great coffee water for the price of a bag of beans.
Reverse Osmosis (RO) Filtration
Reverse osmosis is the nuclear option in water filtration. An RO system forces water through an incredibly fine membrane that removes 95 to 99 percent of all minerals, contaminants, bacteria, and basically everything else dissolved in the water. What comes out the other end is about as close to pure H₂O as you can get at home.
An under-sink RO system typically costs $150 to $500, plus you’ll need to factor in installation. The big advantage is that you’re starting with the cleanest possible water — a blank slate that you can build back up however you want. The downsides are that RO systems waste a fair amount of water (roughly three to four gallons for every one gallon produced), and the output water absolutely must be remineralized before you use it for coffee. Pure RO water brews terrible coffee on its own and can even damage equipment. But if your tap water is genuinely bad — high in contaminants, heavy metals, or off-flavors — an RO system combined with remineralization gives you the ultimate control over your brewing water.
Bottled Water
Sometimes the simplest solution is just grabbing a bottle off the shelf. For coffee brewing, not all bottled waters are created equal. Crystal Geyser is a favorite among coffee enthusiasts, clocking in at around 70 to 80 ppm TDS with a nicely balanced mineral profile. Volvic offers a similar balance, and Fiji also provides a good mineral composition for extraction.
On the flip side, you’ll want to steer clear of distilled water (zero TDS means zero extraction power), high-mineral waters like Evian or San Pellegrino (way too much going on), and generic purified water that’s been stripped of minerals without anything added back.
Bottled water gives you consistent, predictable results with zero equipment investment, and it’s great for travel or when you’re away from your home setup. The downsides are real, though — it’s expensive over the long run, it generates a lot of plastic waste, and you don’t have fine-grained control over the mineral content. For everyday home brewing, most people will want a more sustainable solution.
Third Wave Water
If you want competition-grade water without doing any chemistry homework, Third Wave Water is probably the most popular turnkey solution in the specialty coffee world. It’s a set of mineral packets — each one precisely formulated to hit the SCA’s recommended water composition — that you simply drop into a gallon of distilled or RO water.
At about $15 for a box of 12 packets, it works out to roughly $1.25 per gallon. The process couldn’t be easier: buy distilled water (or use your RO system), dump in one packet, wait about five minutes for everything to dissolve, and you’re done. The resulting water is perfectly balanced for coffee extraction, delivers remarkably consistent results from gallon to gallon, and meets SCA standards. No fuss, no measuring, no precision scales required.
The only real downside is the ongoing cost — $1.25 per gallon adds up if you’re brewing multiple cups a day — and the fact that you need a supply of distilled or RO water as your base. But for many home baristas and even competition-level brewers, that trade-off is well worth the consistency and convenience.
BWT Water Filter Pitcher
BWT (Best Water Technology) makes a unique pitcher filter that’s specifically designed for coffee. Unlike standard Brita-style filters that just remove contaminants, BWT’s proprietary filter cartridges actually add magnesium back into the water as it filters. This means you’re getting chlorine removal and mineral optimization in a single, pour-through step.
The pitcher itself costs about $40 to $50, with ongoing costs for replacement filter cartridges. It’s incredibly easy to use — just fill it up and let gravity do the work. The added magnesium helps enhance bright, fruity flavors in your coffee, making it a great match for light to medium roasts. The capacity is limited compared to a whole-gallon solution, and filter replacements add up, but for home brewers who want a dead-simple path to better water, it’s a fantastic option.
DIY Water Recipes
Now we’re getting into the fun part — making your own brewing water from scratch. If you’ve ever wanted to feel like a mad scientist in your kitchen, DIY water recipes are your gateway drug. The concept is simple: start with distilled or RO water (a completely blank canvas) and add precisely measured minerals to create your ideal brewing water.
The Barista Hustle Recipe
This is one of the most popular and well-tested DIY recipes in the coffee community. For one liter of brewing water, you’ll add 0.06 grams (60 milligrams) of Epsom salt (magnesium sulfate) and 0.04 grams (40 milligrams) of baking soda (sodium bicarbonate) to one liter of distilled water. The result is water with about 100 ppm TDS and a beautifully balanced mineral profile that works well across a wide range of brewing methods. And the cost? About five cents per liter. Not five dollars — five cents.
The Rao/Perger Recipe
For those who want to scale up, the Rao/Perger recipe is formulated for a full gallon. Add 1.68 grams of Epsom salt and 1.12 grams of baking soda to one gallon of distilled water, and you’ve got SCA-compliant, competition-quality water. This is the recipe that championship-level baristas have used to win titles, and it’s sitting in your kitchen cabinet right now for the price of a box of baking soda and a container of Epsom salts from the pharmacy.
Simple Magnesium Water
If you really want to push the bright, fruity side of your coffee, this minimalist recipe is all about magnesium. Just add 0.08 grams (80 milligrams) of Epsom salt to one liter of distilled water — no baking soda, no buffer. The result is a low-TDS, magnesium-forward water that extracts those juicy, acidic, fruity notes with laser focus. It’s particularly lovely with natural-processed light roasts where you want all that berry and citrus character to shine through, though be aware the lack of buffer means it can push acidic coffees into sour territory if you’re not careful.
DIY Water Tips
To get started with DIY water, you’ll need a few basic supplies: a digital scale with 0.01-gram precision (essential — regular kitchen scales aren’t accurate enough at these tiny measurements), distilled water, Epsom salt from any pharmacy or grocery store, baking soda from the baking aisle, and a clean storage container.
When mixing, precision is key. Measure your ingredients carefully, add them to the distilled water, and shake well until everything is fully dissolved. Store the finished water in a sealed container, and it’ll keep indefinitely. There’s no expiration date on mineralized water as long as you keep the container sealed and clean. Make a big batch on the weekend and you’re set for the whole week — or longer.
Water for Different Brewing Methods
Different brewing methods have different relationships with water, so it’s worth thinking about what you’re optimizing for.
Espresso
Espresso is where water quality matters most — and where getting it wrong costs the most money. Espresso machines push water through finely ground coffee at high pressure, and the internal boilers, pumps, and solenoid valves are exquisitely sensitive to scale buildup. Use hard water in a $2,000 espresso machine and you might be looking at expensive repairs within a year.
For espresso, aim for lower mineral content in the range of 50 to 100 ppm, with an emphasis on magnesium for clean extraction. Your best options are RO water with remineralization or Third Wave Water. Treat your espresso machine’s water like you’d treat premium fuel in a sports car — it’s not the place to cut corners.
Pour Over / Drip
Pour-over and drip methods are more forgiving than espresso, but water quality still makes a meaningful difference in the cup. Aim for moderate mineral content around 100 to 150 ppm with balanced extraction characteristics and, of course, zero chlorine. Carbon-filtered tap water works beautifully here, and bottled water like Crystal Geyser is a reliable fallback. If your tap water falls in the right TDS range and you run it through a basic carbon filter, you’re in great shape for pour-over brewing.
Cold Brew
Cold brew is the most laid-back brewing method when it comes to water requirements, and the water story is no different. Because cold brew extraction happens over 12 to 24 hours, the long contact time compensates for a lot of water imperfections. You still want clean water free from chlorine and off-flavors, but lower mineral content is perfectly fine here since the extended steep time does the heavy lifting. Carbon-filtered tap water or any reasonably clean water will produce excellent cold brew.
French Press
French press is a full-immersion brewing method, which means the coffee grounds sit in the water for the entire brew time. This makes extraction fairly thorough regardless of mineral content, but moderate to higher mineral levels in the 100 to 150 ppm range tend to produce the fullest, most satisfying results. Carbon-filtered tap water with moderate hardness is ideal. French press is forgiving and flavorful — it’s a great method for showing off what good water can do without requiring laboratory precision.
Testing Your Water
TDS Meter
A TDS meter is the single most useful tool for any coffee lover who cares about water quality. For $15 to $30, you get a pen-sized device that measures the total dissolved solids in your water instantly — just dip it in and read the number.
Here’s how to interpret the results: readings below 50 ppm mean your water is too soft and needs remineralization. Between 50 and 75 ppm is a good range for espresso where you want to minimize scale risk. The golden zone of 100 to 150 ppm is ideal for most coffee brewing methods. Readings from 150 to 250 ppm are still acceptable but pushing it, and anything above 250 ppm means you need to filter or soften your water before it clogs up your equipment and muddles your coffee.
Test Strips
For a broader picture of what’s in your water, test strips are a cheap and easy option. A pack of 50 strips costs about $10 to $20, and they can measure pH, hardness, chlorine levels, and even some metals. Just dip a strip into your water sample and compare the color changes to the included chart. They’re not as precise as a TDS meter, but they give you a helpful multi-dimensional view of your water quality at a glance.
Professional Water Test
When things get serious — maybe you’ve just invested in a high-end espresso setup, or you’re dealing with persistent off-flavors that you can’t track down — a professional water test is worth the investment. For $30 to $100, you can send a water sample to a lab and receive a complete mineral breakdown plus a full contaminant analysis. This is the gold standard for understanding exactly what’s in your water and is especially valuable if you’re setting up a home espresso station and want to get your water dialed in from day one.
Equipment Scale Prevention
Descaling
Scale is the silent killer of coffee equipment. Every time you run hard water through a machine, a tiny layer of mineral deposits gets left behind inside the boiler, in the heating elements, along the tubing, and through the valves. Over time, those tiny layers add up into a thick, rock-hard coating that restricts water flow, reduces heating efficiency, and eventually causes parts to fail.
How often you need to descale depends on your water. If you’re using hard water above 150 ppm, plan on descaling monthly. Moderate water in the 100 to 150 ppm range means you can stretch it to quarterly. And if you’re already using soft or RO water below 100 ppm, you’ll rarely need to descale at all — which is yet another reason to get your water sorted out.
For descaling products, Urnex Dezcal is a popular choice at about $15, and plain citric acid is a cheap, effective alternative that works beautifully. Most commercial descaling solutions work fine too. The process is straightforward: fill your machine’s reservoir with the descaling solution diluted per the product’s instructions, run it through the machine without any coffee, then flush with two to three cycles of clean water to rinse out any residue.
Scale Prevention
Of course, the best descaling routine is the one you don’t have to do. Preventing scale in the first place is far better than dealing with it after the fact. Use low-TDS water — especially for espresso machines, where you want to stay under 100 ppm. Descale on a regular schedule even if you think you don’t need to, as prevention is easier than treatment. Empty your machine’s reservoir at least weekly to prevent stagnant water from depositing minerals. And always use filtered or properly remineralized water rather than straight tap. Your machine will thank you with years of reliable service.
Water Storage
Storage Container
What you store your water in matters more than you might think. Glass and stainless steel are the gold standard because they’re completely inert — they won’t leach any flavors, chemicals, or odors into your water. A simple glass carafe or a stainless steel water bottle works perfectly. Try to avoid storing water in plastic containers for extended periods, as plastics can leach trace chemicals over time, especially when exposed to heat or sunlight. For short-term storage, plastic is fine, but if you’re making big batches of DIY water to use over a week or more, reach for glass.
Shelf Life
Here’s the good news: properly stored water lasts a long time. Distilled or RO water keeps indefinitely in a sealed container, and remineralized water (whether from Third Wave Water packets or your own DIY recipe) has the same indefinite shelf life as long as the container stays sealed. Filtered tap water is the one exception — because it still contains trace organic matter, bacteria can grow over time. Use filtered tap water within about a week for the best results, or store it in the fridge to slow down any microbial activity.
Common Water Mistakes
Mistake 1: Using Distilled Water Without Remineralizing
This is probably the most common water blunder in the coffee world. Someone reads that tap water is bad, buys a gallon of distilled water, and brews with it expecting perfection. Instead, they get a cup that tastes sour, thin, and oddly empty. That’s because distilled water has zero minerals, which means it has almost no ability to extract flavor compounds effectively. The fix is easy — add minerals back in using Third Wave Water or a simple DIY recipe, and that distilled water transforms from terrible to terrific.
Mistake 2: Ignoring Water for Espresso
Espresso machines are the most expensive and most vulnerable pieces of equipment in most home coffee setups, yet many people run unfiltered tap water through them without a second thought. Hard water will coat the boiler and internals with scale, leading to declining performance and eventually costly repairs or total failure. If you’re investing in espresso, invest in your water. RO filtration with remineralization is the gold standard for espresso machine care.
Mistake 3: Assuming Bottled Water Is Good
“It’s bottled water, it must be fine for coffee, right?” Not necessarily. Many popular bottled water brands have mineral profiles that are completely wrong for coffee brewing — either way too high in minerals, weirdly unbalanced, or stripped down to nothing. Always check the TDS (most brands list it on the bottle or their website), and stick to known-good options like Crystal Geyser if you’re going the bottled route.
Mistake 4: Over-Complicating Water
Here’s where we need to take a collective deep breath. Yes, water matters enormously for coffee. But if you’re obsessing over your water’s magnesium-to-bicarbonate ratio while brewing three-week-old pre-ground coffee from the back of your pantry, you’ve got your priorities mixed up. Fresh, quality beans are still the single most important factor in great coffee. Water optimization should enhance an already solid foundation — not be a distraction from the basics. Get good beans, get reasonable water, and enjoy the ride.
Takeaway
Water is 98% of coffee, making it the most important ingredient after the beans themselves. The good news is that improving your water doesn’t have to be complicated or expensive.
If you want to start simple, a decent carbon filter on your tap water gets you about 80% of the way to great coffee water. Just eliminating chlorine and the most obvious contaminants makes a dramatic difference. Pair that with a $15 TDS meter so you know what you’re working with, and you’re already ahead of the vast majority of home brewers.
When you’re ready to level up, Third Wave Water offers the easiest path to consistent, competition-quality water with zero effort beyond dropping a packet into a jug. RO filtration combined with remineralization gives you the most control and flexibility. And DIY mineral recipes are the cheapest long-term solution once you’ve invested in a precise scale.
For espresso specifically, water quality isn’t just about flavor — it’s about protecting a serious financial investment. Use low-TDS, properly remineralized water, and your machine will reward you with years of beautiful shots. For everything else — pour-over, drip, French press, cold brew — carbon-filtered tap water works wonderfully for the vast majority of people. Don’t let perfect be the enemy of good. Start where you are, improve one step at a time, and enjoy every cup along the way.
Next Steps
- Brewing Methods - Brew with your optimized water
- Espresso Techniques - Advanced espresso with proper water
- Equipment Guide - Machines and filtration systems