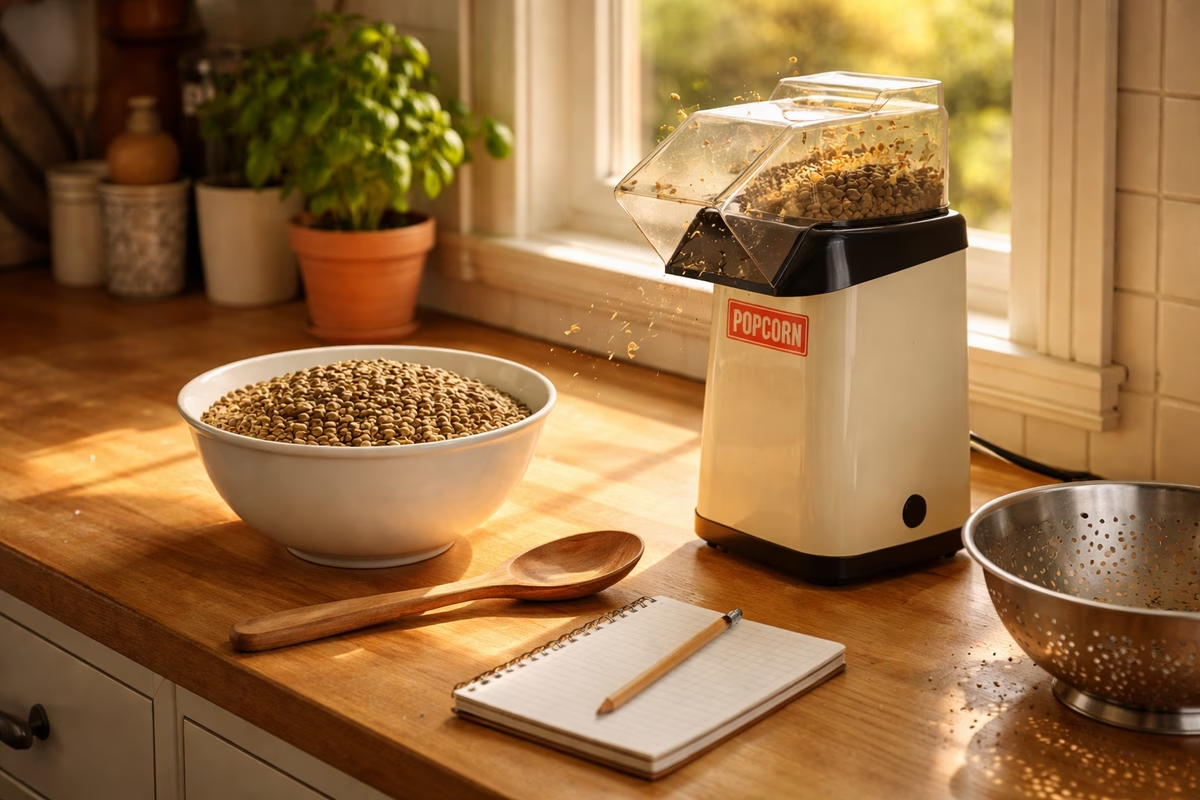
I didn’t plan to roast coffee. I planned to make popcorn.
The popcorn popper had been sitting in the back of the cabinet for a year, a graduation gift from someone who apparently thought I was the kind of person who makes popcorn from scratch. I am not that person. But one Saturday afternoon, while reading about coffee origins and wondering why the light-roast Ethiopian I’d been buying tasted different from batch to batch, I came across a forum post that changed the trajectory of my weekend:
“You can roast coffee in a hot-air popcorn popper. It takes about eight minutes. The beans will crack like popcorn. The smoke alarm will probably go off. You will never buy pre-roasted coffee again.”
Three of those four sentences turned out to be true. I still buy pre-roasted coffee. But the poster was right about everything else.
The beans arrived green
I’d ordered a one-pound bag of Ethiopian Yirgacheffe green beans from an online supplier. When I opened the package, I was confused.
These were not coffee beans. Not the coffee beans I knew, anyway. They were pale—somewhere between sage and khaki—and they were hard, like little pebbles. They smelled faintly grassy, like dried herbs or hay. Nothing about them said coffee.
This is the first surprise of home roasting: the flavor you know and love doesn’t exist in the raw bean. It’s created entirely by heat. Every note of chocolate, caramel, fruit, and toast is a chemical reaction waiting to happen—a reaction you’re about to trigger in a popcorn popper on your kitchen counter.
Setting up: less equipment than you’d think
Home roasting can be as simple or as elaborate as you want. I started with:
- A hot-air popcorn popper (the kind with vents on the side of the chamber, not the bottom—this matters for airflow)
- A metal colander for cooling the beans
- A wooden spoon for stirring if needed
- A kitchen scale to weigh the beans
- A timer (my phone)
- An open window or porch for the smoke
That’s it. No drum roaster, no thermometer, no sophisticated equipment. Professional roasters use machines that cost thousands and control temperature to the degree. I used a $20 popcorn popper and the scientific method of “watch, listen, smell.”
How much to roast
The popper’s chamber held about 80–100 grams of green beans comfortably. That’s enough for roughly a week’s worth of pour-over coffee for one person—which turned out to be the perfect cadence. Roast on Saturday, drink all week, roast again.
The roast: eight minutes that changed how I taste coffee
I measured 90 grams of green beans, poured them into the popper, put the lid on (loosely—chaff needs to escape), and flipped the switch.
Minutes 0–3: The drying phase
The beans tumbled in the hot air. Nothing dramatic happened. The color shifted slowly from green to pale yellow, like bread beginning to toast. A thin, papery skin—the chaff—started to separate and float out of the popper. The kitchen smelled like warm hay.
I stood there watching, feeling slightly ridiculous. This was either going to work or I was going to ruin ninety grams of Ethiopian coffee and set off the smoke alarm.
Minutes 3–5: Yellowing and the first aromas
The beans turned golden, then tan. The hay smell gave way to something warmer—bready, almost like fresh toast. The beans were shrinking slightly as moisture evaporated. I could hear them starting to make small ticking sounds as they moved in the chamber.
This is the Maillard reaction beginning: amino acids and sugars reacting under heat to create the brown pigments and complex flavors that make roasted food taste like roasted food. It’s the same chemistry that browns a steak or toasts bread, happening inside each bean simultaneously.
Minutes 5–6: First crack
Then: crack.
Not a subtle sound. A sharp, audible pop—like a kernel of popcorn, but drier. Then another. Then a cascade of them, like distant firecrackers.
First crack is the defining moment of coffee roasting. It happens when the moisture inside the bean turns to steam and the pressure fractures the cell structure. The bean physically expands, doubles in size, and becomes porous. Its color shifts rapidly from tan to cinnamon to light brown.
And the smell—the smell at first crack is the moment you understand why people roast their own coffee. It’s not the smell of coffee from a bag or a café. It’s bigger, more alive, more aromatic. Notes of caramel and fruit and toast fill the kitchen in a wave, and you realize you’re smelling coffee being born.
I stood at the counter with the wooden spoon in my hand, completely transfixed.
Minutes 6–8: Development and the decision
After first crack, you’re making decisions. Every second the beans stay in the heat, they get darker, the sugars caramelize further, and the flavor profile shifts:
- Just after first crack (light roast): Bright, acidic, fruit-forward. Origin characteristics are most pronounced. This is where specialty coffee roasters often stop for single-origin beans.
- One minute after first crack (medium roast): Balanced. The acidity softens, sweetness peaks, body develops. Chocolate and caramel notes appear.
- Two minutes after first crack (approaching second crack / medium-dark): The origin character fades. Roast flavors dominate—dark chocolate, toasted nuts, a deeper body. Getting close to what most people think of as “strong” coffee.
I killed the popper about sixty seconds after first crack ended—aiming for medium-light. The beans were a warm chestnut brown, slightly oily, and radiating heat and fragrance.
I poured them immediately into the metal colander and shook them in the open air to cool. Cooling quickly is important: the beans continue roasting from residual heat (called “carry-over”), and slow cooling can push them darker than you intended.
The whole thing took seven minutes and forty seconds.
The wait: degassing and patience
Here’s the part nobody tells you: you can’t drink the coffee yet.
Freshly roasted coffee releases CO₂ for the first 12–24 hours—a process called degassing. If you grind and brew immediately, the CO₂ interferes with extraction. The bloom in your pour-over will be explosive (fun to watch, but not ideal for flavor), and the cup will taste sharp, gassy, and underdeveloped.
The conventional wisdom: wait at least 24 hours. Better yet, wait 3–5 days for the flavors to settle and bloom.
I waited exactly 18 hours. I’m not a patient person.
The first cup
Sunday morning. I ground the beans—and the first thing I noticed was the smell. Not the smell of ground coffee from a bag. Something more: wilder, fruitier, more complex. Like coffee had a dimension I’d never accessed.
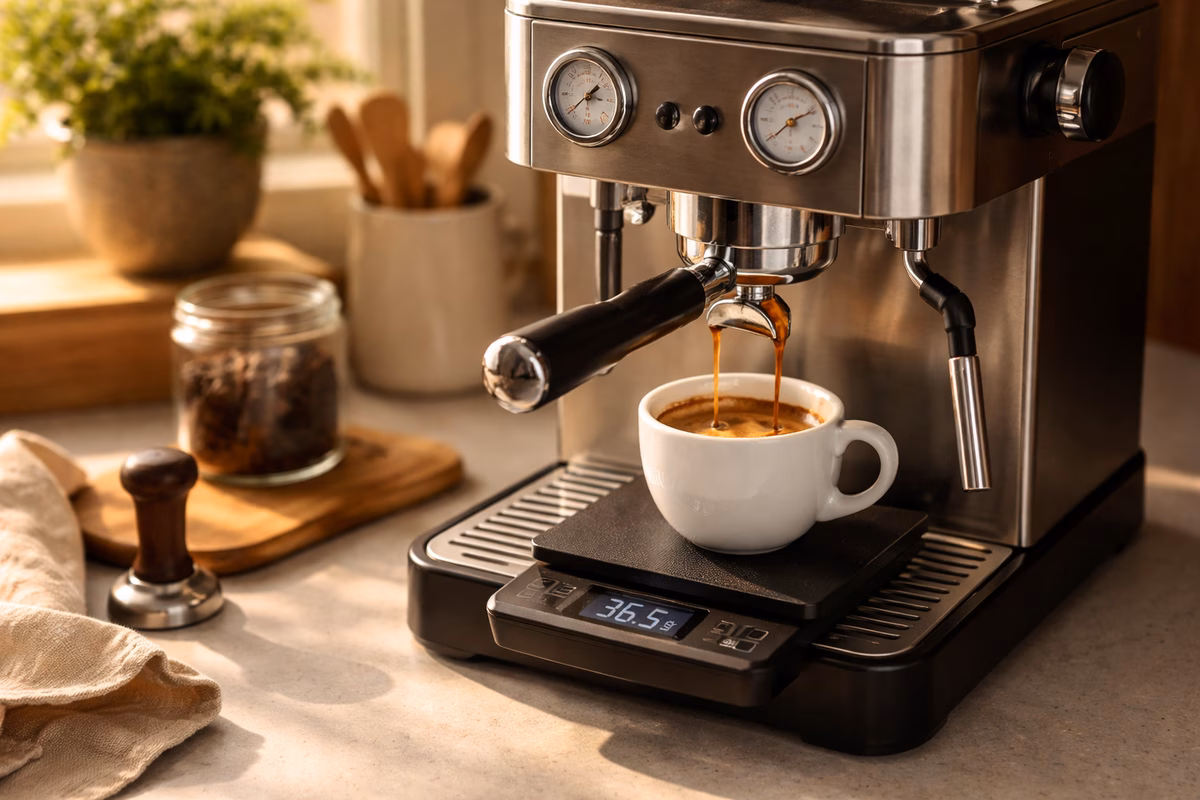
I brewed a pour-over using my normal recipe—15g coffee, 250g water, 205°F, 3-minute brew time.
The cup was unlike anything I’d brewed before.
It was bright—citrusy, almost lemon-forward, with a floral quality that reminded me of jasmine tea. There was a sweetness underneath that I can only describe as berry jam on toast. And the finish was clean, lingering, gently warming.
But here’s the thing that stunned me: this was the same Ethiopian Yirgacheffe origin I’d been buying pre-roasted for months. I recognized the character. But the home-roasted version was louder. More vivid. The origin characteristics—the lemon brightness, the berry fruit, the floral quality—were turned up in a way that made the pre-roasted version seem like a photocopy.
Freshness is the answer. Pre-roasted coffee, even from the best roasters, is usually 1–4 weeks post-roast by the time you brew it. My beans were 18 hours old. The difference is like the difference between a tomato from the garden and a tomato from the supermarket. Same fruit. Different universe.
The second roast: learning to listen
The following Saturday, I roasted again—same beans, same popper, but this time I pulled the beans fifteen seconds earlier, right at the tail end of first crack.
The result was noticeably different. Brighter. More acidic. The lemon note was sharper, almost tart. The berry sweetness was less developed. It was interesting but a little aggressive for a morning cup.
The third roast, I let them go thirty seconds longer—into the gap between first and second crack. The acidity softened. Chocolate appeared. The cup was rounder, heavier, more like a hug.
Three roasts, same beans, three different coffees. That’s when I understood what roasting actually is: it’s not cooking. It’s composing. You’re choosing which flavors to emphasize and which to subdue, using nothing but time and heat.
I started keeping a notebook. Each entry: the date, the bean, the weight, the start-to-first-crack time, the total roast time, the color, and a one-sentence tasting note. Within a month, I could predict roughly how a roast would taste based on where I stopped it.
Upgrading (or not)
After two months of popcorn-popper roasting, I started reading about dedicated home roasters—machines with temperature probes, variable fan speeds, and drum or fluid-bed designs that give you more control.
I almost bought one. Then I roasted another batch in the popper, brewed a cup that tasted like blueberries and dark chocolate, and thought: Why fix what works?
The popper has limitations. Batch size is small. Temperature control is nonexistent. You can’t roast dark without risking fire. But for light-to-medium roasts of 80–100 grams, it’s genuinely excellent—because the fundamental variables (time, sound, color, smell) are the same regardless of equipment. Learning on simple equipment teaches you to trust your senses instead of relying on readouts.
That said, if you roast regularly for more than six months and want larger batches or darker roasts, a dedicated roaster (the Behmor 2000 or the Fresh Roast SR series are popular starting points) is a worthwhile upgrade. But start with what you have. The popper is the right first roaster for the same reason a hand grinder is the right first grinder: it teaches you fundamentals through constraint.
What home roasting teaches you about coffee
You taste origin more clearly. When the roast is fresh and you control the level, the bean’s inherent character—its terroir, processing method, variety—becomes the main voice. You start understanding why people care about where coffee comes from. It’s not snobbery. It’s because the differences are real, and home roasting makes them audible.
You understand roast profiles. “Light” and “dark” stop being abstract labels. You’ve heard first crack. You’ve smelled the transition from bread to caramel to smoke. You know what each stage does because you’ve tasted the results.
You waste less. A bag of green beans costs 40–60% less than the same beans roasted. And because you roast in small batches, you never have stale coffee sitting on the shelf.
You slow down. Eight minutes of watching beans change color, listening for cracks, smelling the progression—it’s a small meditation. In a hobby full of gear and technique, roasting is the step that most closely resembles cooking: attentive, sensory, intuitive.
The ending: the smell that stays
Six months later, I still roast on Saturday afternoons. The popper is scarred and stained. The colander has a permanent coffee-oil patina. The notebook has forty-two entries.
The best part isn’t the coffee, though the coffee is the best I’ve ever had. The best part is the smell.
When first crack starts and the kitchen fills with that wave—caramel and fruit and something alive and complicated—it smells like a Saturday that isn’t going anywhere. Like patience turned into something you can drink.
My neighbors have started asking about the smell. One of them knocked on the door last month and said, “I don’t know what you’re doing in there, but it smells incredible.”
I gave her a bag of beans. She came back two weeks later with a popcorn popper she’d found at a thrift store.
We roast together now, on the porch, comparing batches and arguing about when to stop.
Next steps
- Read Roasting for the full technical reference behind the science of home roasting
- Explore Coffee Bean Origins to choose your next green beans by flavor profile
- Check Grind Size for dialing in your grinder to match a fresh roast
- See Brewing Methods for how to showcase a home-roasted batch
- Try The First Espresso That Ran Right for what happens when fresh beans meet a pressure machine