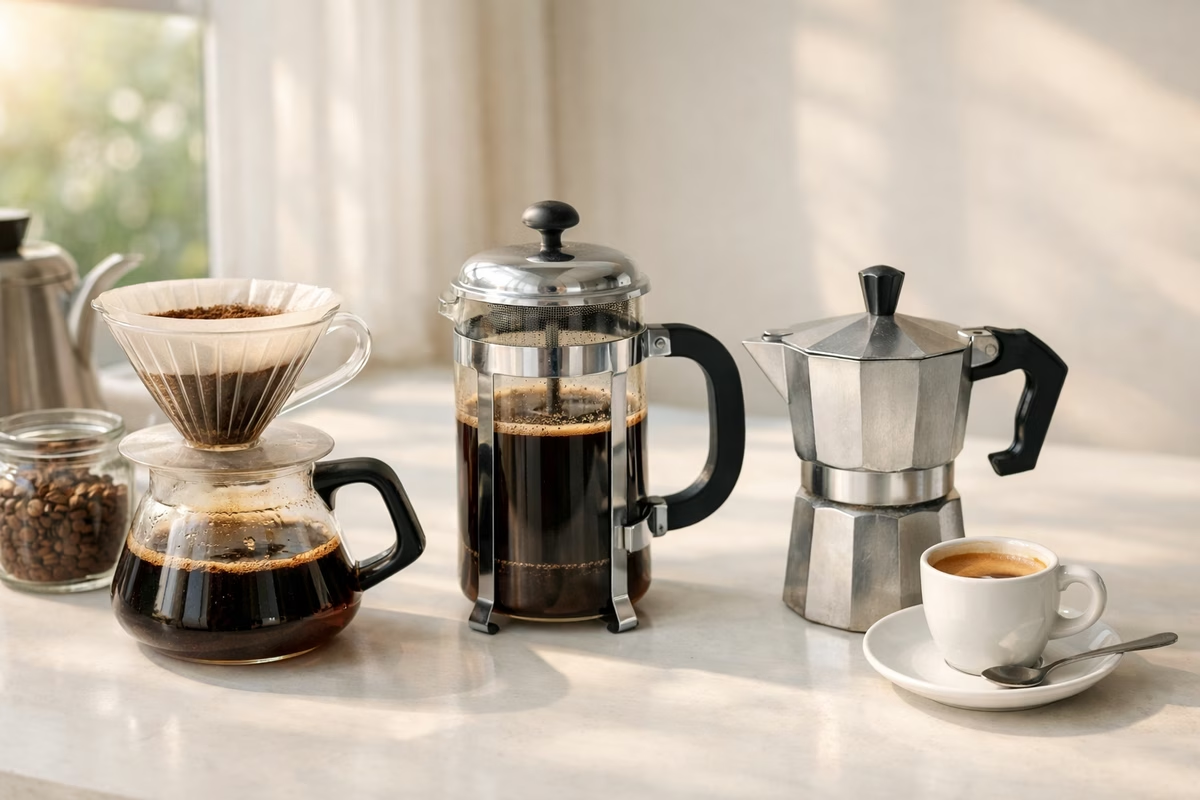
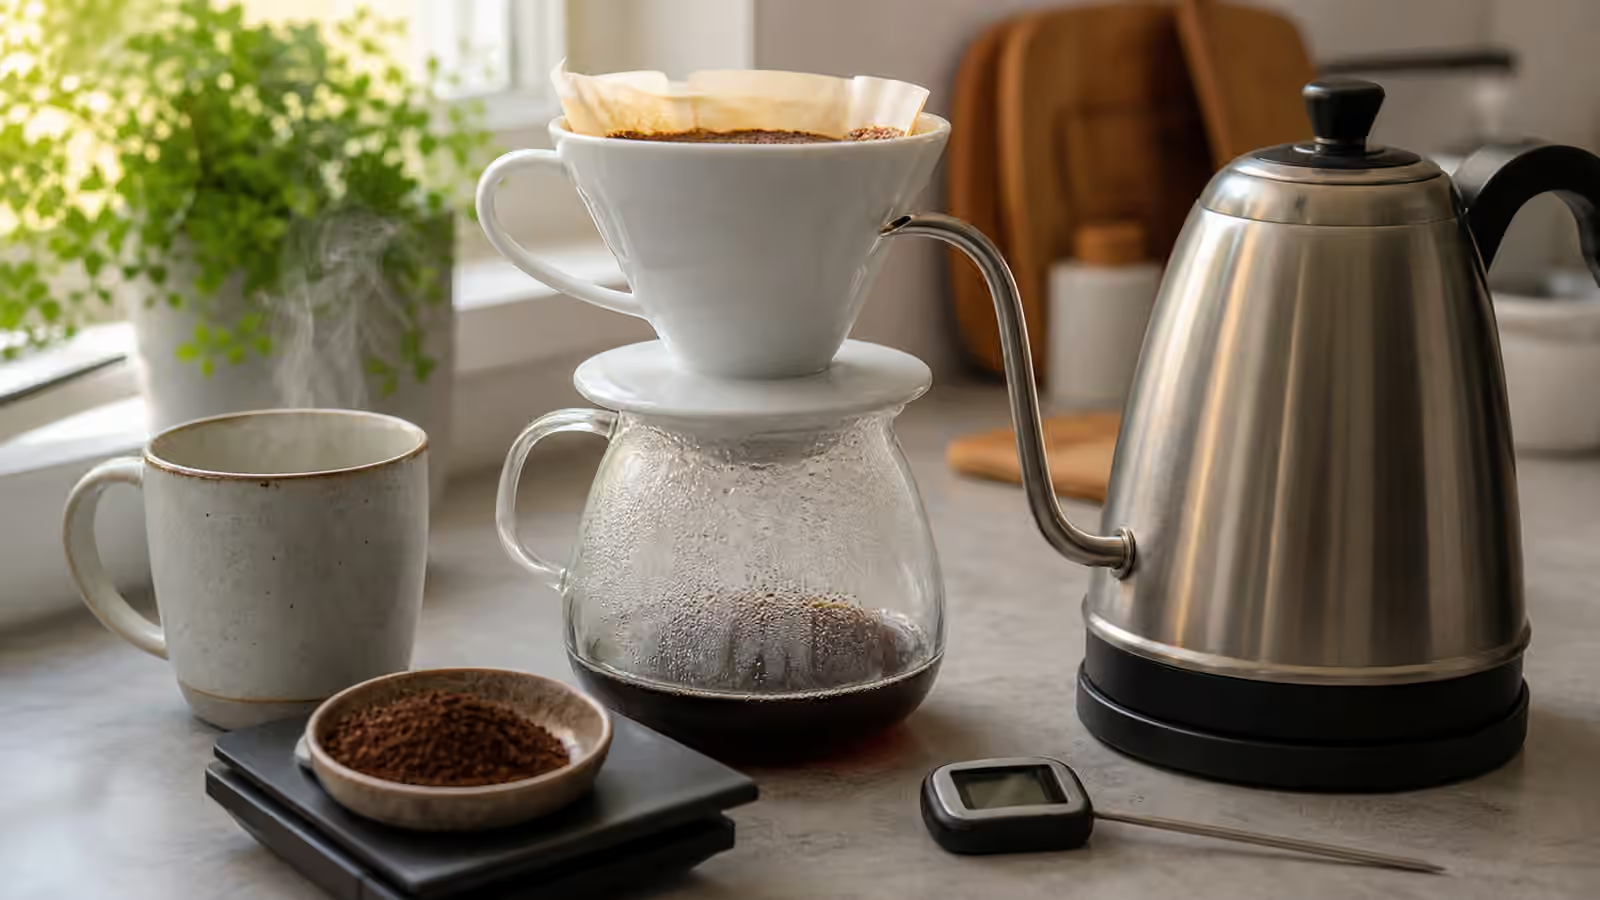
Pour-over coffee looks quiet from the outside. A filter sits in a dripper, a kettle moves in slow circles, and a stream of water turns ground coffee into something clear enough to read through. The method can seem almost ceremonial, but the useful part is practical: pour-over gives you direct control over saturation, flow, agitation, and time. Those controls can make a bright coffee feel sweet and transparent, or they can make the same coffee taste sharp, hollow, muddy, or dry.
This guide is not about memorizing one sacred recipe. It is about understanding what your hands are doing so you can repeat a good cup and fix a rough one. If you want the larger map of methods, start with Coffee Brewing Methods . If your brews already taste close but keep drifting, keep the Coffee Dial-In Log open beside this. Pour-over technique becomes much easier when every change has a reason.
What Pouring Really Changes
Pour-over is percolation brewing. Water enters from above, passes through a bed of coffee, and exits through a filter. That sounds simple, but the water does not extract evenly by default. It follows paths of least resistance. It can rush through a crack in the bed, slide down the wall of the filter, or churn one area while leaving another nearly dry. Good technique is mostly the art of making the water behave fairly.
The first job is saturation. Every particle needs to get wet early, because dry pockets extract late and unevenly. The second job is flow. Water should move through the coffee bed at a pace that gives flavor enough time to dissolve without dragging too much bitterness and dryness into the cup. The third job is agitation. Pouring, swirling, and stirring all disturb the bed. A little disturbance helps extraction. Too much can clog the filter with fines, deepen channels, and make the finish feel rough.
This is why two people can use the same brewer, coffee, grinder setting, ratio, and water temperature, yet produce different cups. Their hands changed the brew. The goal is not to make your hands invisible. The goal is to make them consistent enough that taste, not accident, tells you what to change next.
Build a Repeatable Starting Point
A stable recipe gives your technique a place to stand. For a single mug, a sensible starting point is 20 grams of coffee to 320 grams of water, which sits at a 1:16 ratio. Grind in the medium-fine range for a cone brewer such as a V60, a little coarser for a Chemex, and slightly more forgiving in the middle for many flat-bottom brewers. The Grind Size Guide is useful here because pour-over lives in a narrow range where small grinder changes are easy to taste.
Rinse the filter with hot water before brewing. This seats the filter, removes loose paper flavor, and warms the dripper and carafe. It also makes the next brew more comparable to the last one. A dry paper filter, a cold ceramic dripper, and a rushed rinse all change how heat and flow behave in the first minute. The Coffee Filters guide explains how paper, metal, and cloth affect body and drawdown, but the immediate habit is simple: make the filter stable before the coffee arrives.
Add the grounds and level the bed with a gentle shake. You do not need to sculpt it. You only want water to meet a reasonably even surface instead of a mound against one wall. Start your timer when water first touches the grounds, then let the brew proceed with the same sequence every time. If the cup tastes wrong, you can adjust from a known place instead of wondering which part of the morning changed.
The Bloom Is Preparation
The bloom is the first small pour, usually about two to three times the weight of the coffee. With 20 grams of coffee, that means roughly 45 to 60 grams of water. Its purpose is not decoration. Fresh roasted coffee holds carbon dioxide, and that gas pushes back against water. If the main pour begins before the bed is fully wet and the gas has started to escape, extraction becomes uneven from the beginning.
Pour the bloom slowly enough to wet the whole bed. Aim for the center, move outward, and avoid blasting water against the filter wall. If your grinder produces clumps or the coffee is especially fresh, a gentle swirl can help. Some brewers prefer a brief stir with a spoon or small paddle. Either can work, but choose one and repeat it. A bloom that gets stirred one day, aggressively swirled the next day, and ignored the day after will make the rest of the recipe harder to read.
Let the bloom sit for about 30 to 45 seconds. Very fresh coffee may foam and rise dramatically. Older coffee may barely move. Neither reaction is a score by itself. Freshness, roast level, processing, and grind all affect the bloom. What matters is that the coffee bed looks evenly wet before the main extraction begins. If one pale dry island remains near the edge, the later pour will not fully erase that early imbalance.
The bloom also gives aroma a chance to speak. Smell the wet grounds before you continue. Bright coffees may show citrus, flowers, berry, or black tea. Medium roasts may show cocoa, nuts, caramel, or toasted grain. This small pause connects technique to tasting. You are not just waiting for a timer; you are learning what the coffee is likely to offer.
Pour With Calm Pressure
After the bloom, the main pour decides how evenly water travels through the bed. A gooseneck kettle helps because it lets you control flow rate, but it does not need to become theater. Keep the stream steady, modest, and close enough to the bed that it does not crash into the slurry. Pouring from high above adds turbulence. Pouring too timidly can let the bed drain and cool between additions. The best middle ground feels controlled but not precious.
A continuous pour keeps the slurry level stable. This can produce clean, sweet cups when your grind and kettle control are good. Pulse pouring, where you add water in several smaller pours, can be easier to manage and can increase extraction through repeated agitation. Neither is automatically better. Cone brewers often respond clearly to pour rhythm because the bed is deeper and the exit hole is open. Flat-bottom brewers can be more forgiving because water spreads across a wider bed. Chemex brewing usually needs patience because the thicker filter slows the drawdown.
Pay attention to where the stream lands. Most of the pour should move in gentle circles from the center toward the middle of the bed and back again. Avoid spending too much time on the filter wall. Water poured down the wall may bypass the coffee, lowering strength without extracting flavor. At the same time, do not obsess over perfect spirals. If the bed is evenly wet, the water level is not surging wildly, and the cup tastes balanced, your pour is doing its job.
Read Drawdown Without Worshiping It
Drawdown is the time between your final pour and the last steady drips from the brewer. It is useful feedback, but it is not a verdict. A V60 recipe might finish around two and a half to three and a half minutes. A Chemex batch may take longer. A flat-bottom dripper may sit somewhere in between. The right time depends on dose, brewer shape, filter, grind, roast, and water.
Use drawdown as a clue. If the brew races through and the cup tastes sour, thin, or grassy, the grind may be too coarse or the pour may be too gentle to extract enough. If the brew stalls and the cup tastes bitter, chalky, or drying, the grind may be too fine, the filter may be clogging, or the pour may be stirring too many fines into the bottom of the bed. If the time looks perfect but the cup tastes uneven, technique may be the missing variable.
The spent bed can offer clues too. A mostly flat bed suggests even flow, though it does not guarantee good flavor. A deep crater may mean the final pour drilled into the center. Grounds plastered high on the wall may mean you poured too wide and left coffee above the active slurry. A muddy, sealed surface often points to fines migration, especially when the drawdown slowed sharply near the end. Look, learn, then taste. The cup still gets the final word.
Adjust by Flavor, Not by Anxiety
Pour-over invites tinkering, which is both its pleasure and its trap. When a cup disappoints, change one meaningful thing. If it tastes sour, sharp, and weak, grind a little finer before changing the ratio or inventing a new pour pattern. If it tastes bitter and dry, grind a little coarser or pour with less agitation. If it tastes strong but not sweet, keep the grind close and add a little more water. If it tastes fragrant but hollow, you may need a slightly finer grind, a better bloom, or a slower early pour.
Technique changes should be small enough to understand. A more vigorous swirl after the bloom can help a stubborn coffee saturate, but it can also clog the filter if your grinder creates many fines. A slower pour can increase contact time, but it can also cool the slurry if you stretch the brew too long. A higher water temperature can help light roasts open up, while a lower temperature can soften harshness in darker roasts. The Water Quality for Coffee guide matters here too, because water with distracting chlorine or heavy mineral character can make technique look guilty when the real problem started in the kettle.
Use tasting language that points to action. “Bad” does not help tomorrow. “Sweet aroma, thin body, lemony finish” does. “Heavy body, dry finish, muted fruit” does. Those notes connect directly to grind, pour, filter, and ratio. They also help you separate brew problems from coffee preferences. Some coffees are naturally bright. Some are naturally heavy. Technique can reveal their character, but it cannot turn every bean into every flavor.
Match the Method to the Coffee
Pour-over is especially good at clarity. Washed coffees, light roasts, floral lots, and citrusy East African coffees often shine because paper filtration keeps the cup clean and lets aroma lift. For these coffees, careful saturation and moderate agitation help preserve definition. If the cup tastes painfully sharp, do not smother it with a chaotic pour. Try a slightly finer grind, a longer ratio, or water that is hot enough to extract sweetness along with acidity.
Natural process coffees and heavier medium roasts may ask for a softer hand. They can taste lush and fruit-forward, but too much agitation can make the finish boozy, muddy, or drying. A flat-bottom brewer, a slightly coarser grind, or a calmer pulse pattern can keep those coffees rounded. Darker roasts usually need restraint. They dissolve readily, so aggressive pouring and very fine grinding can pull bitterness forward. A shorter brew, gentler pour, or slightly cooler water often keeps them more pleasant.
This is where pour-over becomes less about copying cafe recipes and more about listening. The same 20-to-320 recipe may make one coffee sparkle and another feel thin. That is not failure. It is feedback. The brewer is showing you what the coffee wants, and your job is to move one lever at a time until the cup makes sense.
Keep the Ritual Useful
A good pour-over routine should feel steady, not fragile. Rinse the filter, weigh the coffee, grind fresh, bloom thoroughly, pour calmly, note the drawdown, and taste as the cup cools. Once the routine is familiar, it fades into the background. You are no longer performing technique. You are using it to ask better questions.
When a brew works, write down the recipe before memory rounds off the details. When it fails, write the failure in plain language and decide on one next change. Over a few bags, patterns appear. You may learn that your favorite dripper likes a slower first pour, that your grinder needs one click finer for washed coffees, or that a certain filter brand demands a coarser setting. These are small discoveries, but they are the kind that make weekday coffee better.
Pour-over rewards attention because attention shows up in the cup. Not fussy attention, not endless correction, just the quiet discipline of repeating what matters and changing what does not. The bloom prepares the bed. The pour shapes the flow. The drawdown gives clues. The flavor tells you what happened. Once those pieces connect, the method stops feeling delicate and starts feeling dependable.