Milk drinks are where many home espresso routines become both more forgiving and more revealing. A small shot that tastes too intense on its own can become round and sweet under well-textured milk. The same shot can also disappear into a hot, foamy cup that tastes more like warm dairy than coffee. The difference is not latte art. It is texture, temperature, proportion, and timing.
Good milk steaming is a practical skill. It asks for attention, but it is not theatrical. You are trying to turn cold milk into something glossy, pourable, and sweet-tasting, with bubbles so small that the foam feels integrated instead of sitting on top like bath suds. Once that texture becomes repeatable, the familiar drinks start to make sense. A cappuccino feels structured because it has more foam and less total milk. A flat white feels fused because the microfoam is thinner and silkier. A cortado feels direct because the milk softens the espresso without burying it.
This guide assumes you already have a workable espresso base. If the shot is wildly sour, bitter, or inconsistent, fix that before asking milk to perform miracles. The method in How to Dial In Espresso pairs naturally with this one: make the shot repeatable first, then learn how milk changes its shape in the cup. The broader Coffee Brewing Methods guide also gives useful context for why espresso has enough concentration to carry milk in the first place.
What Microfoam Is Really Doing
Microfoam is milk with air folded through it so finely that the foam and liquid behave as one glossy texture. That matters because large bubbles taste empty. They make the cup look inflated but do little for sweetness, mouthfeel, or balance. Fine foam changes how milk lands on the tongue. It feels softer, spreads flavor more evenly, and lets espresso and milk meet rather than stack into separate layers.
Milk contains water, fat, proteins, lactose, and minerals. When you steam it, the proteins help trap air, while heat changes the way sweetness and aroma are perceived. This is why cold milk can taste plain, warm milk can taste sweeter, and overheated milk can taste flat or cooked. You do not need to memorize chemistry to steam well, but it helps to understand the aim: add a controlled amount of air early, then use motion to break that air into tiny bubbles before the milk gets too hot.
The common home mistake is treating steaming as one action. In practice, it has two phases. First you stretch the milk by introducing air. Then you texture the milk by rolling it in a vortex. Stretching is brief and audible. Texturing is quieter and lasts longer. If you stretch too much, you get stiff foam that resists pouring. If you texture too little, the bubbles stay coarse. If you do both at once without control, the pitcher fills with froth while the bottom stays thin.
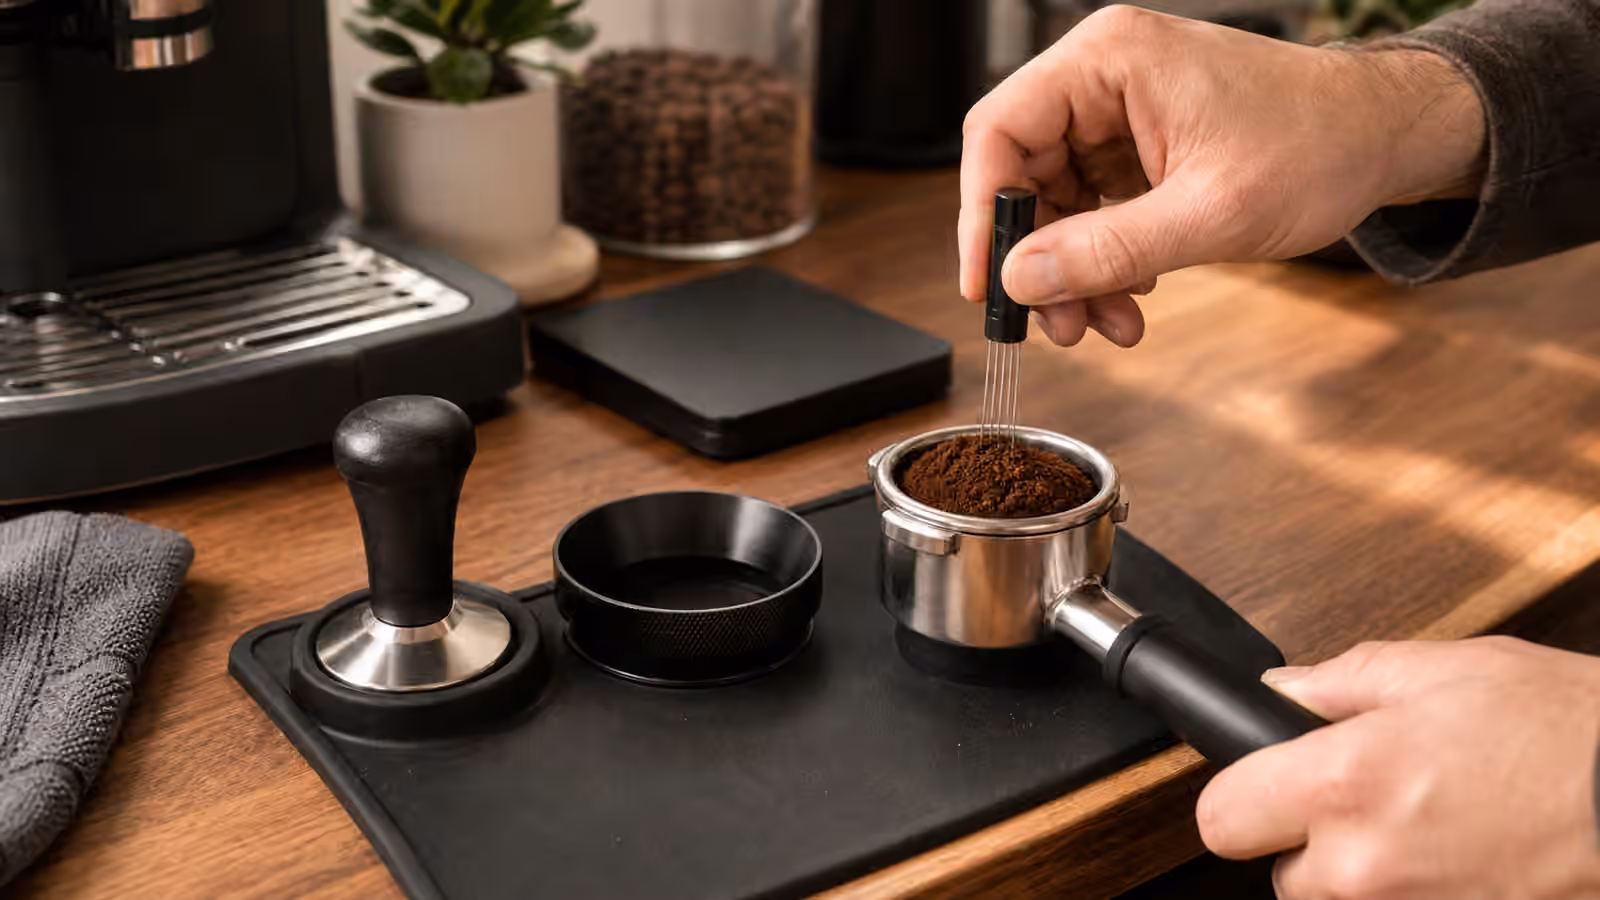
Start With Less Milk Than You Think
A pitcher that is too full makes learning difficult. Milk expands as you add air, and it needs room to roll. For a small home pitcher, filling to just below the base of the spout is often a good practical starting point. The goal is not to use a universal mark; the goal is to give the milk enough depth for the steam tip and enough empty space for expansion.
Cold milk gives you more working time. Start with milk from the refrigerator and a clean, cold pitcher. Whole dairy milk is forgiving because its fat and protein structure tends to create a rounded texture, but many lower-fat and plant-based milks can work if they are formulated for steaming. Plant milks vary widely. Some stretch easily and collapse quickly. Others make stable foam but mute the espresso. Treat each milk as its own ingredient and learn its behavior rather than assuming one technique fits all.
Before steaming, purge the wand briefly to clear condensation. Water trapped in the wand can sputter into the milk, making the start erratic and diluting the texture. After purging, place the tip just below the surface and slightly off center. Off center matters because you want rotation. A centered tip often drives turbulence straight down, while a slightly offset tip encourages the milk to spin.
Listen First, Then Watch
The first seconds decide the foam. Open the steam valve fully if your machine allows it. A weak, half-open valve often makes large bubbles because the tip sputters instead of driving a steady roll. With the tip near the surface, you should hear a controlled paper-tearing sound, not a violent screech and not explosive gulping. That sound means air is being pulled in. Keep it brief. For a latte or flat white, a few seconds of stretching may be enough. For a cappuccino, you can stretch a little longer, but even then you are aiming for fine structure, not a mound.
As soon as the pitcher feels slightly warmer and the milk volume has expanded, lower the tip a fraction deeper so the tearing sound stops and the milk rolls. The surface should look like wet paint moving in a circle. This rolling phase folds the introduced air into the liquid, polishing large bubbles into microfoam. If the milk looks like it is boiling violently, the tip may be too high or too central. If nothing moves, the tip may be too deep, the pitcher angle may be flat, or the machine may not be producing enough steam for the pitcher size.
Temperature is part of flavor. Many milk drinks taste best when the pitcher becomes too hot to hold comfortably for more than a moment, roughly in the familiar cafe range around 140 to 150 degrees Fahrenheit. A thermometer can help while learning, but your hand becomes useful with practice. Stop before the milk smells cooked or the pitcher becomes painfully hot. More heat does not make the drink more professional. It often makes the milk thinner, duller, and less sweet.
Make the Pitcher Glossy Before You Pour
When the steam stops, wipe the wand immediately and purge it again. This is both cleanliness and maintenance. Milk dries quickly on hot metal, and residue can clog the steam tip or sour the next drink. Then turn back to the pitcher. If you see a few surface bubbles, tap the pitcher gently on the counter and swirl. Do not beat the milk into submission. A small tap breaks obvious bubbles; swirling reincorporates the foam and keeps the texture uniform.
The finished milk should look glossy, like white paint or melted ice cream. It should move as a single liquid, not as hot milk with a dry cap floating above it. If the foam separates while you pull the shot or clear your workspace, swirl again before pouring. Timing matters because milk texture changes as it sits. In a smooth workflow, the espresso is ready first or nearly ready, and the milk is poured soon after steaming while the microfoam is still integrated.
This is where equipment choices from the Coffee Equipment Guide become practical. A pitcher with a clean spout helps you pour with control. A machine with stronger steam gives you more authority over texture, though it also gives you less time to hesitate. A smaller pitcher can make single drinks easier because the milk has enough depth to roll without wasting half a jug.
Match Texture to the Drink
The names of milk drinks are not as fixed as people pretend. Cafes vary by country, cup size, and house style. Still, the core relationships are stable enough to be useful at home. A latte is milk-forward, usually with a thin cap of microfoam and enough volume to soften espresso substantially. A cappuccino is smaller and more structured, with a stronger foam presence and a coffee flavor that should still be clear. A flat white is also small, but the foam is very fine and integrated, giving a velvety texture without a tall cap. A cortado uses less milk, closer to equal parts espresso and steamed milk, so the drink stays concentrated.
Instead of memorizing rigid recipes, taste the balance. If the espresso vanishes, use less milk, choose a smaller cup, or dial the shot toward more intensity. If the drink tastes harsh even with milk, the espresso may need work, especially if bitterness or sourness cuts through the sweetness. If the cup feels puffy and bland, you probably stretched too much or poured too much foam too early. If it tastes thin, the milk may be under-textured, overheated, or separated by the time it reached the cup.
Milk also changes how tasting notes show up. Bright coffees can become soft and fruit-like in a small milk drink, but they can taste sharp if the espresso is under-extracted. Chocolatey medium roasts often make forgiving lattes because their sweetness and roast tone blend naturally with milk. Very dark roasts can punch through milk, but they may also bring ash or bitterness if pushed too far. The Coffee Tasting Notes guide is useful here because it helps separate roast flavor, acidity, sweetness, body, and finish before milk blurs them together.
Pouring Is Feedback, Not Decoration
Latte art is not required, but the pour tells you whether the milk was right. If the milk dives under the crema and leaves no trace until the pitcher is empty, it may be too thin or poured from too high for too long. If it blobs onto the surface in stiff clumps, it is too foamy or separated. If it flows smoothly and leaves pale shapes on the surface near the end, you have a workable texture even if the pattern is simple.
Begin by pouring from a little higher to mix milk through the espresso. As the cup fills, lower the pitcher close to the surface so the foam can appear. Slow down near the end. A plain white circle in the center of the cup is not a failure; it is evidence that the foam was integrated enough to ride the surface. Patterns can come later. First, aim for a drink that tastes balanced from the first sip to the last.
One useful practice is to steam milk without pulling a shot, then pour into a clear glass or spare cup and watch how it separates. If it immediately splits into hot milk below and stiff foam above, you stretched too much or failed to roll long enough. If it remains uniform and glossy for a short while, your texture is close. This kind of practice is less glamorous than chasing a rosetta, but it teaches faster.
Keep the Routine Small
A reliable milk routine has only a few moving parts. Start with cold milk in the right amount. Purge. Set the tip just under the surface and off center. Stretch briefly. Roll until glossy and warm. Stop before the milk cooks. Wipe and purge the wand. Swirl the pitcher. Pour while the milk is still integrated.
That sequence becomes easier when the rest of the espresso workflow is calm. Dose, distribute, tamp, and start the shot with the same care you would use for straight espresso. Steam with attention rather than panic. If the shot finishes before the milk, swirl the cup gently while you finish. If the milk finishes first, keep it moving while the shot completes. The goal is not cafe theater. It is a drink where espresso, milk, and texture arrive together.
When milk steaming improves, home espresso feels less binary. A shot no longer has to be flawless to become enjoyable, but milk also stops being a hiding place for bad habits. It becomes another way to read the coffee. Good microfoam makes sweetness easier to notice, rough espresso harder to ignore, and drink size more meaningful. The reward is simple: a smaller set of motions, repeated carefully, turning a sharp little shot into a cup that feels deliberate.