Latte art is easy to dismiss as decoration until you try to pour it. Then it becomes obvious that the pattern is only the visible trace of several practical skills. The espresso needs enough contrast to receive the milk. The milk needs to be glossy and integrated rather than stiff or watery. The cup needs to tilt at the right moment. The pitcher has to move close enough to place foam on the surface and high enough to mix when mixing is needed. A simple heart is not just a picture. It is feedback.
This guide assumes the milk texture is already close. If the pitcher produces dry foam, giant bubbles, or thin hot milk, start with Milk Steaming and Microfoam before worrying about patterns. Latte art cannot rescue separated milk. It can, however, help you improve the same things that make the drink taste better: texture, temperature, timing, and control.
The Drink Comes Before the Pattern
The best latte art practice still ends in a drink you want to finish. That matters because it keeps the goal honest. A beautiful pattern on overheated milk and harsh espresso is a technical trick, not a good cup. A plain white dot on a balanced, sweet latte is already a success. The pattern should grow out of the drink rather than replacing it.
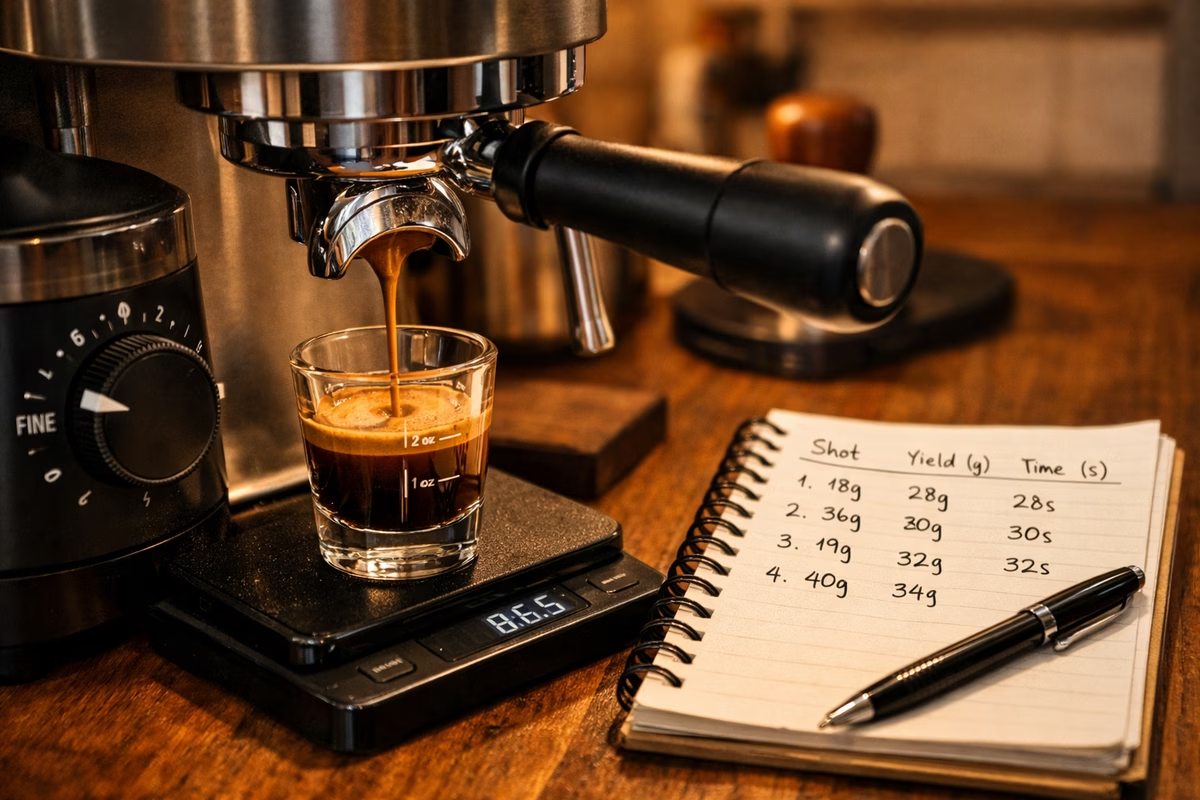
Espresso contrast helps art appear. A fresh shot with a stable crema gives the milk a surface to mark. If the espresso is pale, thin, or broken, the milk may vanish immediately. If the shot is very dark and oily, the pattern may look dramatic but taste bitter. The method in How to Dial In Espresso is the foundation because repeatable shots make milk practice readable. When the espresso changes wildly, every pour teaches a different lesson.
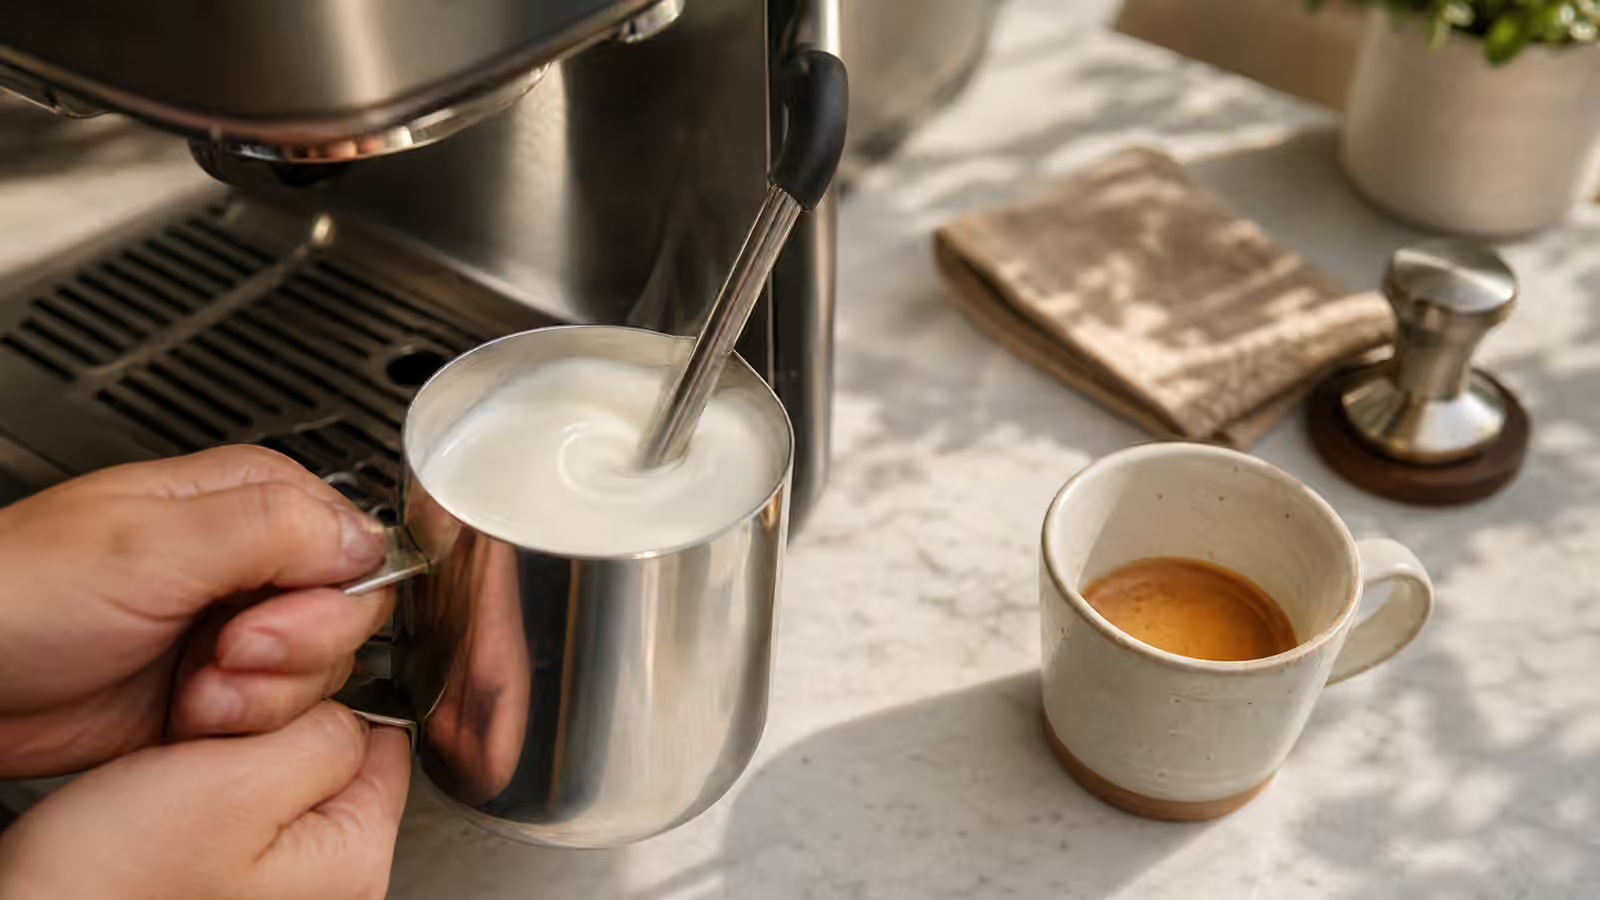
Milk texture decides whether the foam can move. Proper microfoam behaves like glossy paint. It flows as one liquid, with tiny bubbles integrated through the milk. Foam that sits on top of the pitcher in a dry cap will blob into the cup. Milk that is too thin will dive under the crema and leave no mark. The surface pattern shows what the tongue would notice anyway: either the milk and espresso are fused, or they are not.
Start With a Cup That Gives You Room
Cup shape affects learning. A round bowl-shaped cup gives the milk room to roll and the pattern room to spread. A tall narrow mug makes art harder because the surface area is small and the milk has farther to travel. You can make good drinks in many cups, but early practice is easier when the cup is wide enough to let you see what the pour is doing.
Fill the cup with espresso, then tilt it slightly toward the pitcher. Tilting brings the surface closer and creates depth on one side, which helps the milk mix before you place foam. Begin pouring from a little height with a thin stream. This first phase is not about drawing. It is about integrating milk into espresso so the drink tastes unified. If you start too low, foam may sit on the surface too early and make a pale blob. If you start too high for too long, the surface may become too full before you have a chance to mark it.
As the cup fills, lower the pitcher close to the surface. This is where the foam can appear. The spout should be near enough that the white milk rides on top rather than diving underneath. Flow matters too. A timid trickle rarely pushes a shape outward. A violent pour overwhelms the cup. Aim for a steady stream that makes the surface move without splashing.
Pour a Useful White Dot First
Before chasing hearts and rosettas, learn to place a clean white dot. A dot teaches nearly everything you need: milk texture, pitcher height, flow, cup tilt, and timing. Start high enough to mix, lower the pitcher as the cup fills, then hold the spout close and pour into one spot until a white circle appears. Stop before the cup overflows.
If no dot appears, the milk may be too thin, the pitcher may still be too high, or you may be lowering too late. If the dot appears as a stiff mound, the milk is too foamy or separated. If the dot skitters to one side, the cup may be tilted unevenly or the stream may be landing off center. If the dot is large and pale but the drink tastes weak, you may be adding too much milk for the espresso. Coffee for Milk Drinks helps connect pattern practice back to flavor balance.
A white dot may sound too simple, but it is honest practice. Many home pours fail because the basics are rushed in favor of a pattern. When you can place a dot where you want it, you can turn that same motion into a heart by changing how you finish.
Turn the Dot Into a Heart
A heart is a dot with a finish. Begin the same way: mix from a little height, lower the pitcher close, and let the white shape expand near the center of the cup. As the cup approaches full, lift the pitcher slightly, reduce the flow a little, and draw the stream through the middle of the white shape toward the far edge. That final pull creates the point of the heart.
The finish should be confident but not dramatic. If you pull too slowly, the shape may blur into a leaf-like smear. If you lift too high, the stream may cut through and sink without shaping the surface. If you pour too much before the pull, the cup will be too full and the heart will collapse over the rim. The motion is small: place, expand, lift slightly, pull through.
Do not worry if the first hearts are lopsided. Asymmetry usually comes from the pitcher landing off center, the cup tilting sideways, or the spout moving during the expansion. Keep the cup tilted toward the pitcher and aim the stream into the deepest part at first. As the cup fills and levels, the shape has a better chance to settle in the middle.
Keep the Milk Moving Before the Pour
Good microfoam can separate while you are arranging the shot, wiping the wand, or looking for the cup. Swirl the pitcher before pouring so the foam and liquid recombine. The surface should shine. If you see a dry cap, tap once to break obvious bubbles, then swirl. If the milk still looks chunky, the steaming phase went too far. Pouring will reveal it, but it cannot fully fix it.
Timing between espresso and milk matters. If the shot sits too long, the crema can thin and break. If the milk sits too long, the foam can separate. You do not need cafe speed, but you need a calm sequence. Pull the shot, steam or finish the milk, swirl, and pour. If your machine forces a delay between brewing and steaming, keep both components as fresh and stable as your setup allows.
Plant milks add another variable. Some steam beautifully, some separate quickly, and some make patterns but taste thin. Use versions designed for steaming when possible, and treat each milk as its own ingredient. The art may require a slightly different stretch, but the drink still decides whether the result is worth repeating.
Practice Without Wasting Good Coffee
You can practice motion without pulling endless espresso shots. Water with a drop of dish soap can mimic some surface behavior for pitcher drills, though it will not taste or move exactly like milk and crema. Cocoa powder on water can give visual contrast for learning height and placement. These drills are useful for hand movement, but they should not replace real pours completely because real microfoam has weight, sweetness, and timing.
When practicing with real drinks, use a comfortable coffee rather than the most expensive bag in the house. A medium espresso blend is often easier than a very light single origin because it gives stable contrast and forgiving flavor. Keep the cup size consistent. Changing cups, milk amount, espresso yield, and pitcher style every time makes progress hard to read.
Take one lesson from each pour. If the milk vanished, lower sooner or improve texture. If the pattern blobbed, stretch less or swirl more thoroughly. If the heart appeared but tasted bland, use less milk or a stronger espresso base. The point of practice is not to collect failures. It is to connect visible results with physical causes.
Let Simple Stay Useful
There is no obligation to move from hearts to elaborate patterns. A clean dot, monk’s head, or simple heart already shows that the espresso and milk were prepared well enough to meet. More complex designs require more control, but they do not automatically make the drink better. If the pursuit of a pattern leads you to overfill cups, over-stretch milk, or ignore flavor, step back.
Latte art belongs in the home routine when it makes you more attentive, not when it turns coffee into a performance you dread. It asks you to steam with care, pour before the milk separates, keep the cup steady, and taste the result. Those habits improve every milk drink, even the ones with no visible art at all.
The first good heart will feel satisfying, but the better milestone is quieter: a cup that tastes balanced, has a glossy surface, and shows the same simple shape several mornings in a row. That means the skill has moved from accident to habit. Once that happens, the pattern is no longer just decoration. It is a small signature left by a drink that was built properly.