Why Cupping Belongs at Home
Cupping can sound like something that happens only in roasting labs: a long table, identical bowls, timers, spoons, coded samples, and people making small serious noises over hot coffee. That version exists for a reason. Professionals need a repeatable way to evaluate green coffee, roast quality, defects, and buying decisions. At home, the point is simpler. Cupping gives you a clean way to taste coffees beside each other without letting a dripper, espresso machine, filter material, or pouring habit dominate the comparison.
The value is contrast. A coffee that tastes merely “nice” by itself may become obviously floral when placed next to a chocolatey Brazilian coffee. A natural process coffee may seem wildly fruity beside a washed Colombian. A darker roast may show its roast flavor more clearly when a lighter roast sits beside it. This is why cupping is a useful companion to Coffee Tasting Notes . Tasting notes help you name what you notice. Cupping makes those differences easier to notice in the first place.
You do not need a formal score sheet or a judge’s vocabulary. You need a few coffees, the same water, the same grind, the same steep time, and enough quiet to pay attention. When the method fades into the background, the beans can argue for themselves.
Choose Coffees That Teach Each Other
A good home cupping starts before the kettle boils. The coffees should have a reason to sit together. Three random bags can be fun, but a small theme makes the session more useful. You might compare one washed, one natural, and one honey process coffee to understand the flavor impact described in Coffee Processing Methods . You might compare coffees from Ethiopia, Colombia, and Brazil after reading the Coffee Origins Guide . You might compare the same coffee at two roast levels if you are trying to understand how roast changes sweetness, acidity, and bitterness.
The best comparisons are not always dramatic. Sometimes the most useful table is built around two bags you are deciding between for weekday brewing. One may be round, nutty, and forgiving. The other may be brighter, clearer, and more fragile. Cupping tells you which one you want to drink every morning, not just which one sounds more exciting on the bag.
Try to keep freshness reasonably similar. If one coffee was roasted four days ago and another has been open for six weeks, the comparison may teach you more about age than origin or process. That can be useful if freshness is the question, but it should be intentional. For general tasting, use coffees that are close enough in age that staling does not become the loudest variable. The Coffee Storage Guide is worth revisiting if your notes keep pointing toward papery, flat, woody flavors.
Set the Table So Nothing Distracts You
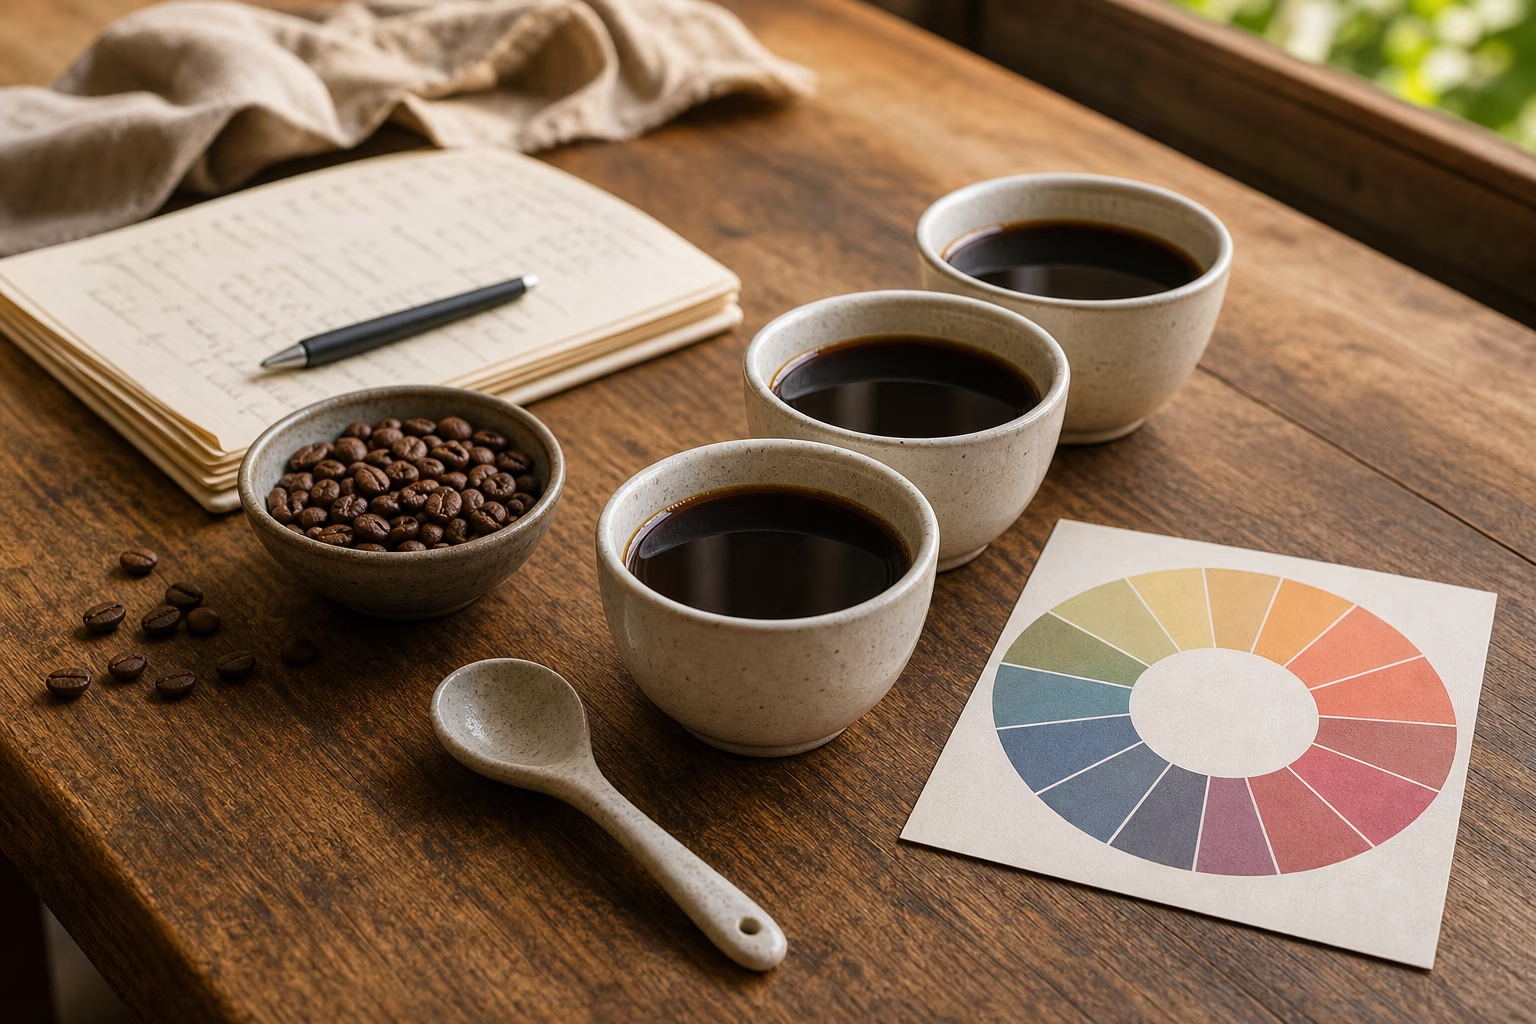
The classic cupping method is simple because it removes distractions. Each coffee is ground into its own bowl, hot water is poured over the grounds, the coffee steeps undisturbed, the crust is broken, the floating grounds are skimmed away, and the liquid is tasted with a spoon as it cools. No filter shapes the cup. No pressure changes texture. No long pour pattern rewards one coffee and punishes another.
At home, identical bowls are helpful but not sacred. Small heatproof bowls, wide mugs, or clean glasses can work as long as each sample gets the same amount of coffee and water. A scale matters more than matching ceramics. Use the same dose for each bowl, the same water mass, and the same grind. A medium grind is a good starting point, close to what you might use for a flat-bottom brewer or a little coarser than a typical pour-over. If you grind much finer, the cup can become silty and harsh. If you grind much coarser, the extraction may feel thin.
Water deserves attention because it touches every sample equally. If your water tastes like chlorine or makes every coffee seem chalky, cupping will faithfully repeat that problem across the table. Clean, neutral-tasting water lets the comparison stay focused on the coffee. The Water Quality for Coffee guide explains the larger chemistry, but the practical rule for a cupping table is plain: use water you would be happy to drink on its own, heated consistently, and poured at the same moment for every bowl.
Smell the dry grounds before adding water. This is not ceremony for its own sake. Dry aroma often gives the first clue: cocoa, toasted nuts, citrus peel, berry jam, spice, flowers, or fading paper. Then pour the water and smell again. Wet grounds usually speak more clearly. A coffee that seemed quiet as whole beans may bloom into fruit or caramel once hot water reaches it.
Taste Through Time, Not Just Once
Cupping is most useful when you return to the cups several times. Very hot coffee can blur detail. It throws steam into your nose, sharpens acidity, and hides sweetness. The first spoonful tells you something, but it should not be the whole verdict. Taste when the cups are hot, then again when they are warm, then once more as they approach room temperature. Many coffees become easier to read as they cool.
The first pass is usually about aroma and structure. Notice which cup smells most expressive, which one feels brightest, which one has the most body, and which one seems muted. The second pass is where flavor often becomes clearer. The Ethiopian coffee that first tasted simply bright may start to suggest lemon, black tea, or jasmine. The medium roast blend may move from generic chocolate toward toasted almond or brown sugar. The natural process coffee may become more obviously berry-like, winey, or fermented.
The cooling phase is revealing because good coffee often stays pleasant as temperature drops. Sweetness may become more visible. Acidity may soften. A clean finish may lengthen. Flaws can also become more obvious. A cup that was charming while hot may become woody, hollow, sour, harsh, or drying. That does not mean the coffee is bad for every use. It means the cup has a shape, and cupping is showing you the whole arc rather than one hot snapshot.
Move back and forth between cups. Taste coffee A, then coffee B, then return to A. That return sip is often where the difference lands. A coffee can feel heavy only after a lighter one. A cup can seem sweet only after a sharper one. This is the same reason side-by-side tasting matters in brewing practice: contrast gives your palate a ruler.
Write Notes You Can Actually Use
Good cupping notes are useful, not theatrical. If the first words that come to mind are “sweet, round, cocoa, low acid,” write that. If a cup feels “sharp, thin, lemon peel, dry finish,” write that too. You are building memory. You are not trying to impress a roaster.
Separate what you taste from what you prefer. A natural process coffee can be expressive and well made while still being too boozy for your daily mug. A darker roast can be technically less transparent but exactly right with breakfast. A washed coffee can be delicate and beautiful but too quiet for milk. Cupping helps because it lets you describe the coffee before you decide whether it belongs in your routine.
Keep your notes connected to future action. If one coffee tastes lively and sweet on the cupping table but thin in your V60, your brew may need a finer grind or a little more contact. If another tastes balanced in cupping but harsh as espresso, the problem may be the espresso recipe rather than the beans. The Coffee Dial-In Log becomes more useful when your buying notes and brewing notes talk to each other. Cupping says what the coffee seems capable of. Dialing in asks how your recipe can get there.
It also helps to write one plain preference sentence at the end of a session. Not a score, not a verdict, just a sentence. “I would buy the Colombian again for morning pour-over.” “The natural Ethiopian is exciting, but I want it as an occasional cup.” “The darker blend loses origin detail, but it tastes best with milk.” These sentences become a map of your own taste faster than borrowed flavor wheels do.
Read the Bag After You Taste
Bag notes are useful, but they can also steer your imagination. If the label says strawberry, you may start hunting for strawberry even when the cup is really closer to red apple or hibiscus. A better habit is to taste first, write your honest notes, then read the bag. The comparison teaches you how roasters use language.
Sometimes your notes will line up closely. That feels satisfying, but it is not the only good outcome. Sometimes the roaster says caramel and orange, while you write honey and black tea. That may be the same coffee seen from two angles. Sometimes you miss a note because your water, grind, or roast age changed the cup. Sometimes the printed note was aspirational. Cupping does not make the bag right or wrong. It gives you a grounded conversation with it.
This is especially helpful when shopping. If you learn that bags described as “winey” often taste heavy to you, or that “floral” coffees make you happy when they are clean and tea-like, you can buy with better odds. The Coffee Beans and Coffee Roasting Guide explain the larger categories, but your own cupping notes turn those categories into preferences.
Keep the Ritual Small Enough to Repeat
The best home cupping is the one you will actually do again. Three coffees are plenty. Two coffees are enough. One known favorite beside one new bag can teach more than a crowded table where everything blurs together. The session should feel calm and repeatable, not like homework.
Clean equipment matters more than fancy equipment. Old coffee oils on spoons, bowls, or grinders can make every cup taste stale. Strong food smells in the room can make subtle aromas harder to catch. A quiet counter, clean bowls, and a few minutes of attention are the real tools.
Cupping will not replace brewing. A coffee that shines in a bowl still has to work in your daily method, with your grinder, water, time, and patience. But it gives you a clearer starting point. You learn what the bean tastes like before your technique starts negotiating with it. Then, when you return to your brewer, you know what you are aiming for: more sweetness, less harshness, clearer fruit, rounder body, or simply a cup that matches the reason you bought the beans.
That is the quiet power of cupping at home. It turns coffee from a series of isolated mugs into a set of comparisons you can remember. The table does not need to be formal. It only needs to be fair. Same grind, same water, same time, honest notes, and enough curiosity to taste again as the cups cool.