Espresso recipes often talk as if the grinder is the whole story. Grind finer, grind coarser, pull longer, stop shorter. Those instructions are useful, but they assume something important: the puck is giving water a fair path through the coffee. When the coffee bed is clumpy, lopsided, cracked, underfilled, overfilled, or tamped at an angle, the water does not behave like the recipe imagines. It searches for weak spots. A shot can run quickly through one channel while other parts of the puck barely brew at all.
This guide belongs beside How to Dial In Espresso . Dialing in tells you how to choose dose, yield, grind, and taste-based adjustments. Puck prep makes those adjustments meaningful. If two shots from the same grinder setting taste different, the problem may not be the grinder dial. It may be the way coffee landed in the basket before the pump ever started.
The Puck Is A Water Path
An espresso puck is not a solid brick. It is a packed bed of thousands of coffee particles with tiny spaces between them. Water under pressure moves through those spaces. If the spaces are even, water meets the coffee broadly and the shot has a chance to taste coherent. If one area is looser than the rest, water rushes there because it is easier. That fast path under-extracts some coffee and overworks the edges around the channel, creating the sour-and-bitter confusion that makes espresso feel irrational.
Channeling is often described visually because bottomless portafilters make it dramatic. A spray from the basket, a sudden blond streak, or a stream that favors one side can be useful feedback. But channeling does not need to look theatrical to affect taste. A spouted portafilter can hide uneven flow. A shot can look acceptable and still taste hollow, sharp, or dry because the puck extracted unevenly inside the basket. The cup remains the final evidence.
The Coffee Extraction guide explains why uneven extraction sends mixed signals. Puck prep is the espresso-specific version of that lesson. Before asking whether a shot needs a different grind, ask whether the current grind had an honest chance.
Start With A Basket That Fits The Dose
Good puck prep begins before distribution. The dose should fit the basket. A basket designed around a certain amount of coffee expects the puck to sit at a workable height after tamping. Too little coffee can leave excessive headspace, making the surface more vulnerable to disruption when water hits. Too much coffee can press into the shower screen, crack after locking in, or restrict flow so severely that every shot feels stubborn.
Basket ratings are not exact promises, because roast level and grind size change how coffee occupies space. A dark roast is often less dense and may fill a basket higher at the same gram weight. A light roast may sit lower because the beans are denser. Still, the rating is a sensible starting point. If an eighteen gram basket behaves well between seventeen and nineteen grams, choose a dose in that area and keep it steady while you learn the coffee.
The surface after tamping should look level and should leave enough room for the machine to lock in without scraping the puck. If the puck comes out with a clear shower-screen imprint before brewing, the basket may be overfilled. If the spent puck is soupy, that does not automatically mean the dose is wrong, because three-way valves and basket geometry affect the leftover water. Look for repeated taste and flow patterns rather than one wet puck.
Distribution Is About Even Density
Fresh grounds do not fall into a portafilter evenly by default. Many grinders produce small clumps, especially at espresso fineness. Some grinders mound coffee in the center. Some send more grounds to one side. If you tamp that pile as it lands, you compress an uneven landscape. The top may look flat, but density underneath can still vary. Water feels density, not appearance.
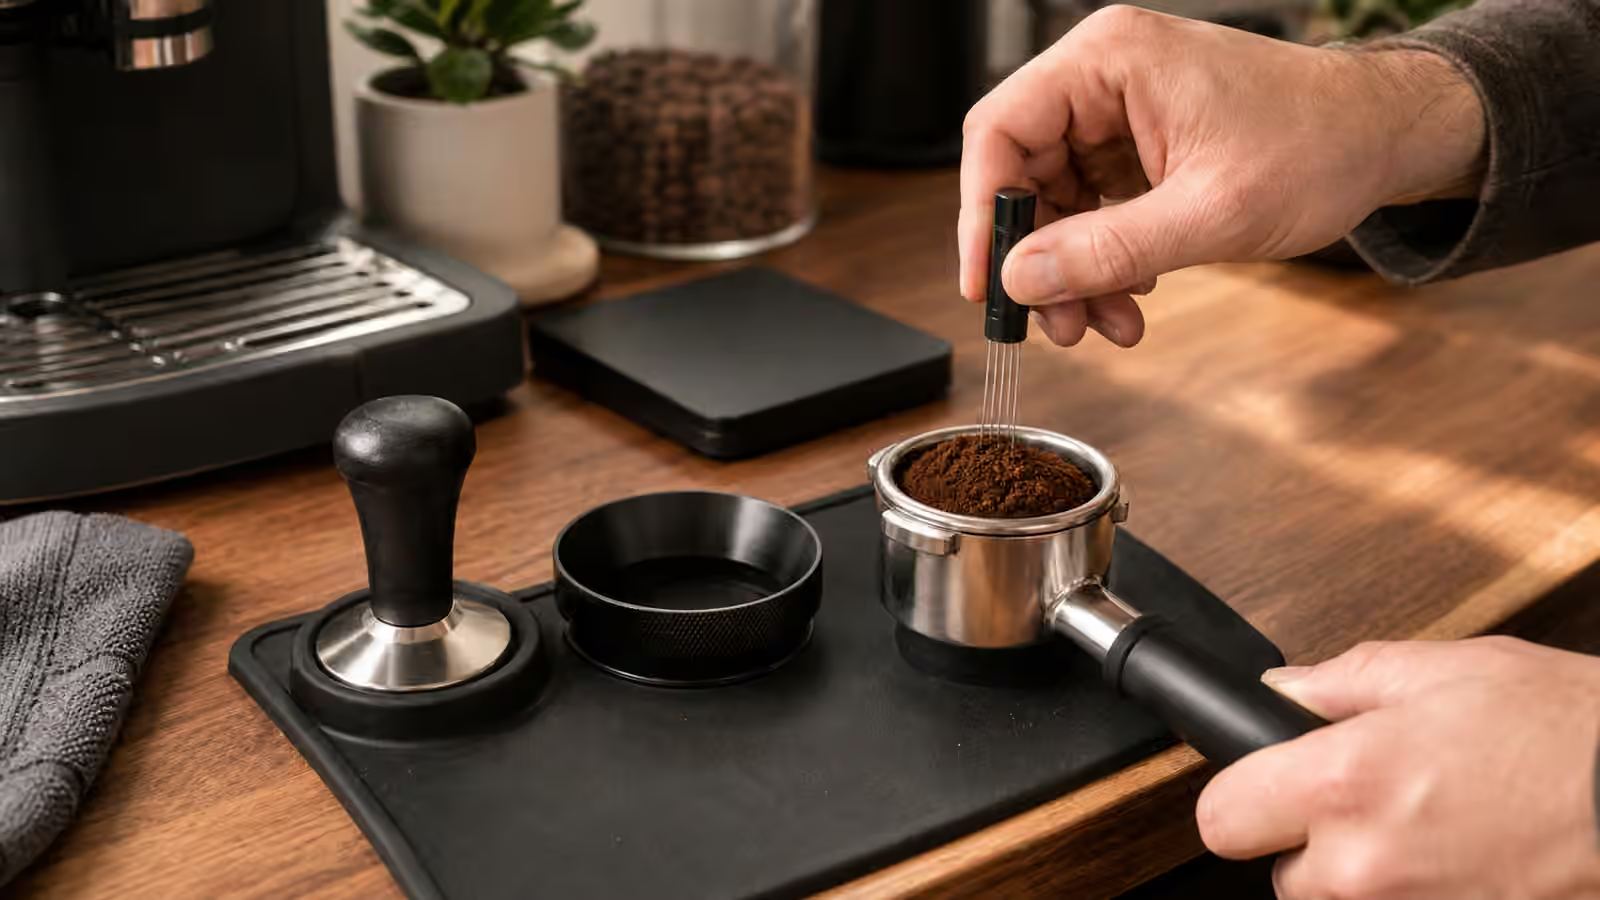
A dosing funnel helps because it keeps coffee in the basket while you work. Gentle tapping can settle a mound, but tapping alone may move dense coffee to the bottom and leave loose pockets elsewhere. A needle distribution tool, often called WDT, can break clumps and spread grounds through the full depth of the basket. The goal is not to stir forever. It is to make the bed more uniform before tamping. Thin needles tend to disturb the coffee without carving large trenches. Heavy tools or wide prongs can create their own unevenness if used carelessly.
Distribution should become boring. Move through the coffee enough to break clumps, even out the mound, and reach the edges. Then let the surface settle. If the bed looks like hills and valleys, the tamper will have to solve a problem it is not designed to solve. If the bed is already level and fluffy, tamping becomes simple compression rather than rescue work.
Tamping Needs To Be Level More Than Heroic
Tamping has a reputation for requiring a specific amount of force. In practice, consistency and levelness matter more than showing strength. Once the coffee is compressed enough that it stops moving much under the tamper, extra force adds little. A crooked tamp, however, creates a puck with one thin side and one thick side. Water will favor the thinner path.
Set the portafilter on a stable surface or tamping mat. Keep the basket level. Place the tamper flat against the coffee before pressing. Feel for the rim of the basket as a reference if your tamper fits closely. Press straight down, then release cleanly. A small polish twist is optional, not magic. If the twist shifts the puck or loosens the edge, skip it.
Tamper fit matters. A tamper that is too small leaves a loose ring around the edge, which is a convenient path for water. Many stock tampers are serviceable, but a better-fitting tamper can make repeatability easier. That does not mean a calibrated tamper or leveling tool is required. Tools can reduce variability, but they cannot fix a poorly chosen dose, clumpy distribution, stale coffee, or the wrong grind. Treat them as supports for a clean routine, not substitutes for tasting.
Clean And Dry Metal Changes Flow
A wet basket makes grounds stick and clump before you even begin distribution. A basket with old oil in the holes changes resistance. A portafilter left dirty between shots can carry stale flavor into fresh coffee. Puck prep is partly cleanliness because flow happens through metal as well as coffee.
Before dosing, the basket should be dry enough that grounds move freely. After knocking out a spent puck, wipe or rinse the basket, then dry it before the next dose. Flush the group briefly to clear loose grounds from the screen, but do not lock a wet portafilter full of fresh coffee into a dripping machine and expect the same result as a dry setup. Water that hits one part of the puck early can start uneven extraction before pressure builds.
The Clean Coffee Gear guide goes deeper on residue, baskets, screens, and portafilters. For puck prep, the immediate point is plain: fresh grounds should meet clean metal, not yesterday’s oil and random moisture.
Puck Screens, Paper, And Extra Tools
Puck screens, bottom papers, distribution tools, and self-leveling tampers can all help in certain setups. They can also distract from the basics. A puck screen may soften how water hits the coffee and keep the shower screen cleaner. Bottom paper can change flow and filtration. A leveling tamper can reduce crooked compression. These tools are most useful after the simple routine is already steady enough to reveal what the tool changed.
Add one tool at a time. If you add a puck screen, a new basket, a paper filter, and a different tamper in the same week, the next shot may improve, but you will not know why. Espresso rewards controlled curiosity. It punishes cluttered experiments because every accessory changes resistance, headspace, heat, cleanup, or workflow.
There is also a cost in attention. A routine with ten steps can be excellent if you repeat it calmly. It can also become fragile on a busy morning. The best puck prep is the one you can perform the same way when you are not trying to impress yourself. A simple dose, clear distribution, level tamp, and clean lock-in will beat a complicated routine that drifts every shot.
Reading The Shot Without Overreacting
After prep, watch and taste. If a bottomless portafilter sprays, do not panic. Look for patterns. A recurring spray from the same edge may mean uneven distribution, a basket issue, a damaged rim, or a tamp that leans. A shot that starts from one side and slowly joins in the center may suggest the bed is denser on one side. A sudden fast blond stream can point toward a channel opening mid-shot.
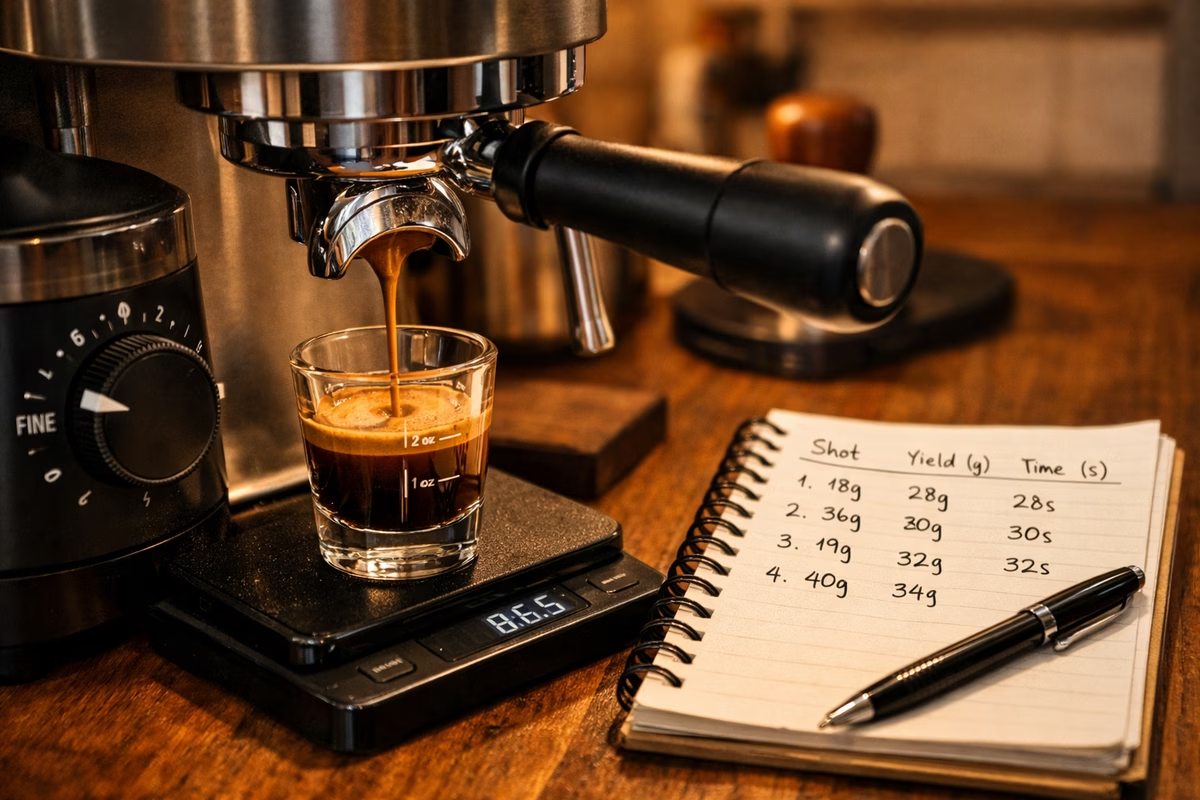
Taste connects the visual feedback to the recipe. Sharp, thin espresso that runs fast may need a finer grind, but if it also sprays or blondes unevenly, puck prep deserves attention first. Bitter and dry espresso that runs slowly may need a coarser grind, but if the puck is overfilled or the basket is clogging with fines, coarsening may only hide the problem. The Grind Size Guide is still essential, but grind changes work best after preparation becomes repeatable.
Do not diagnose from one shot. Espresso has too many small variables for a single extraction to carry the whole truth. Pull another shot with the same recipe and a deliberately calmer prep. If the second shot improves without changing the grinder, you learned something valuable. If both shots behave the same way, then the grinder, ratio, temperature, or coffee itself may be asking for adjustment.
A Repeatable Routine Beats A Perfect Ritual
A useful puck prep routine should feel compact. Start with a dry basket, dose the same amount, distribute until the bed is even, tamp level, clear loose grounds from the rim, lock in gently, and start the shot without delay. The details can vary with your grinder and machine, but the logic should stay stable. You are trying to remove hidden unevenness so flavor can tell the truth.
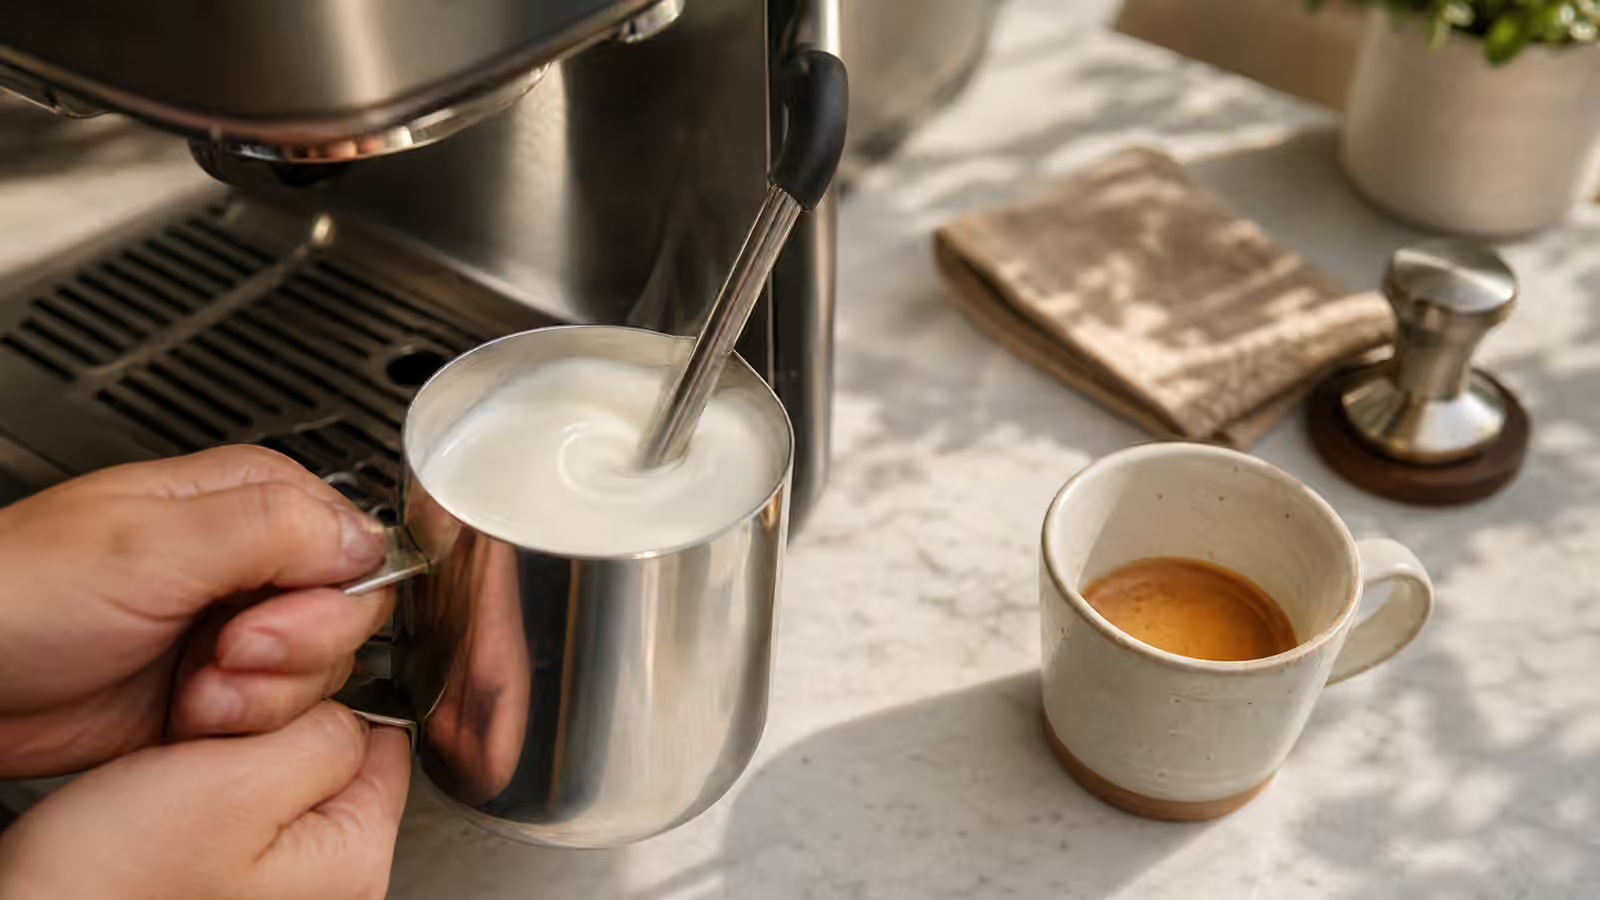
This is especially important when making milk drinks. Steamed milk can soften a harsh shot, but it also exposes thinness. If the espresso disappears in a latte, the recipe may need work, yet the puck may also be extracting unevenly enough that the shot has no clear center. The guide to Milk Steaming and Microfoam explains texture and drink balance; puck prep gives that milk something better to carry.
Espresso is never completely free of variation. Beans age, grinders retain coffee, baskets warm up, and hands move differently from morning to morning. The point of puck prep is not perfection. It is repeatability. When the puck is even, clean, and level, the next adjustment becomes more trustworthy. Grind changes start to make sense. Ratio changes become easier to taste. The shot stops feeling like a lottery and starts behaving like a small, demanding brew method that can be learned.